
Blow off the dust on your Cricut machine, and let’s make some DIY Christmas ornaments. This week, I uploaded a Christmas DIY video on my YouTube channel, and I wanted to use up supplies and materials that I already had in my stash and make some Christmas decorations.
Also, I hadn’t used my Cricut machine in a few week’s, and I wanted to take some time out to play with it.
Here are the three DIYs that I made. Each has its very own video with I will embed below.
*This post contains affiliate links
DIY Christmas Gingerbread village using my Cricut Maker
One of the reasons I got the Cricut Maker over the Explore Air was to cut wood and thick materials. However, I hadn’t gotten around to experimenting much with cutting thicker materials, so I decided to make a gingerbread village on the Cricut Maker.
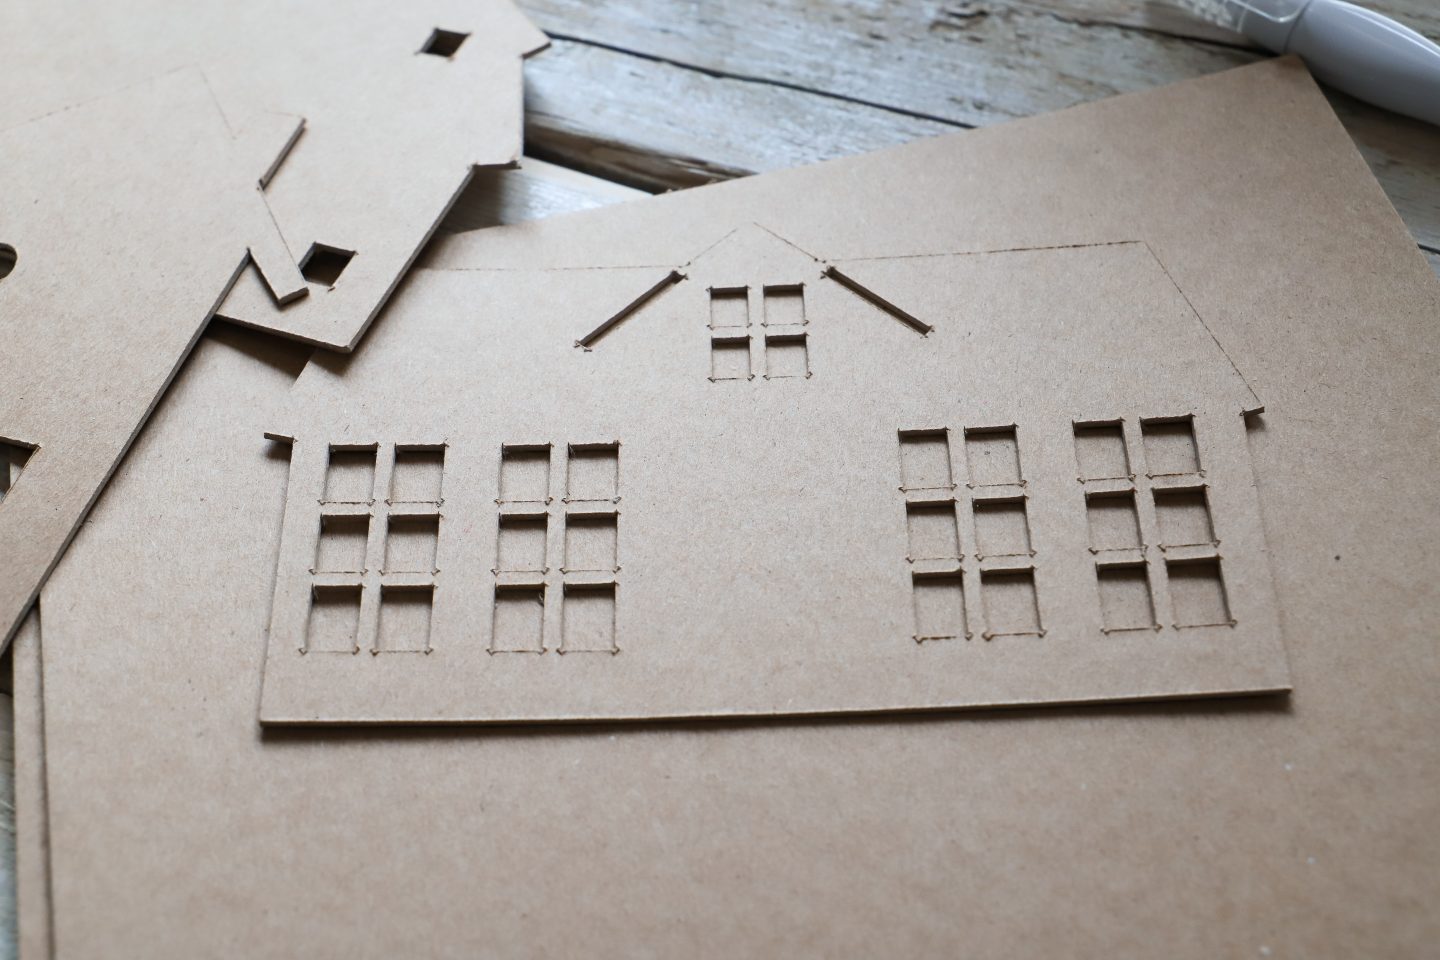
I used the Cricut knife blade on the Cricut maker to cut thick cardboard. In design space, I searched for shapes of houses, and I picked ones that looked like gingerbread ones.
When cutting wood or cardboard on the Maker, bear in mind that each cut takes more time to cut than cutting vinyl.
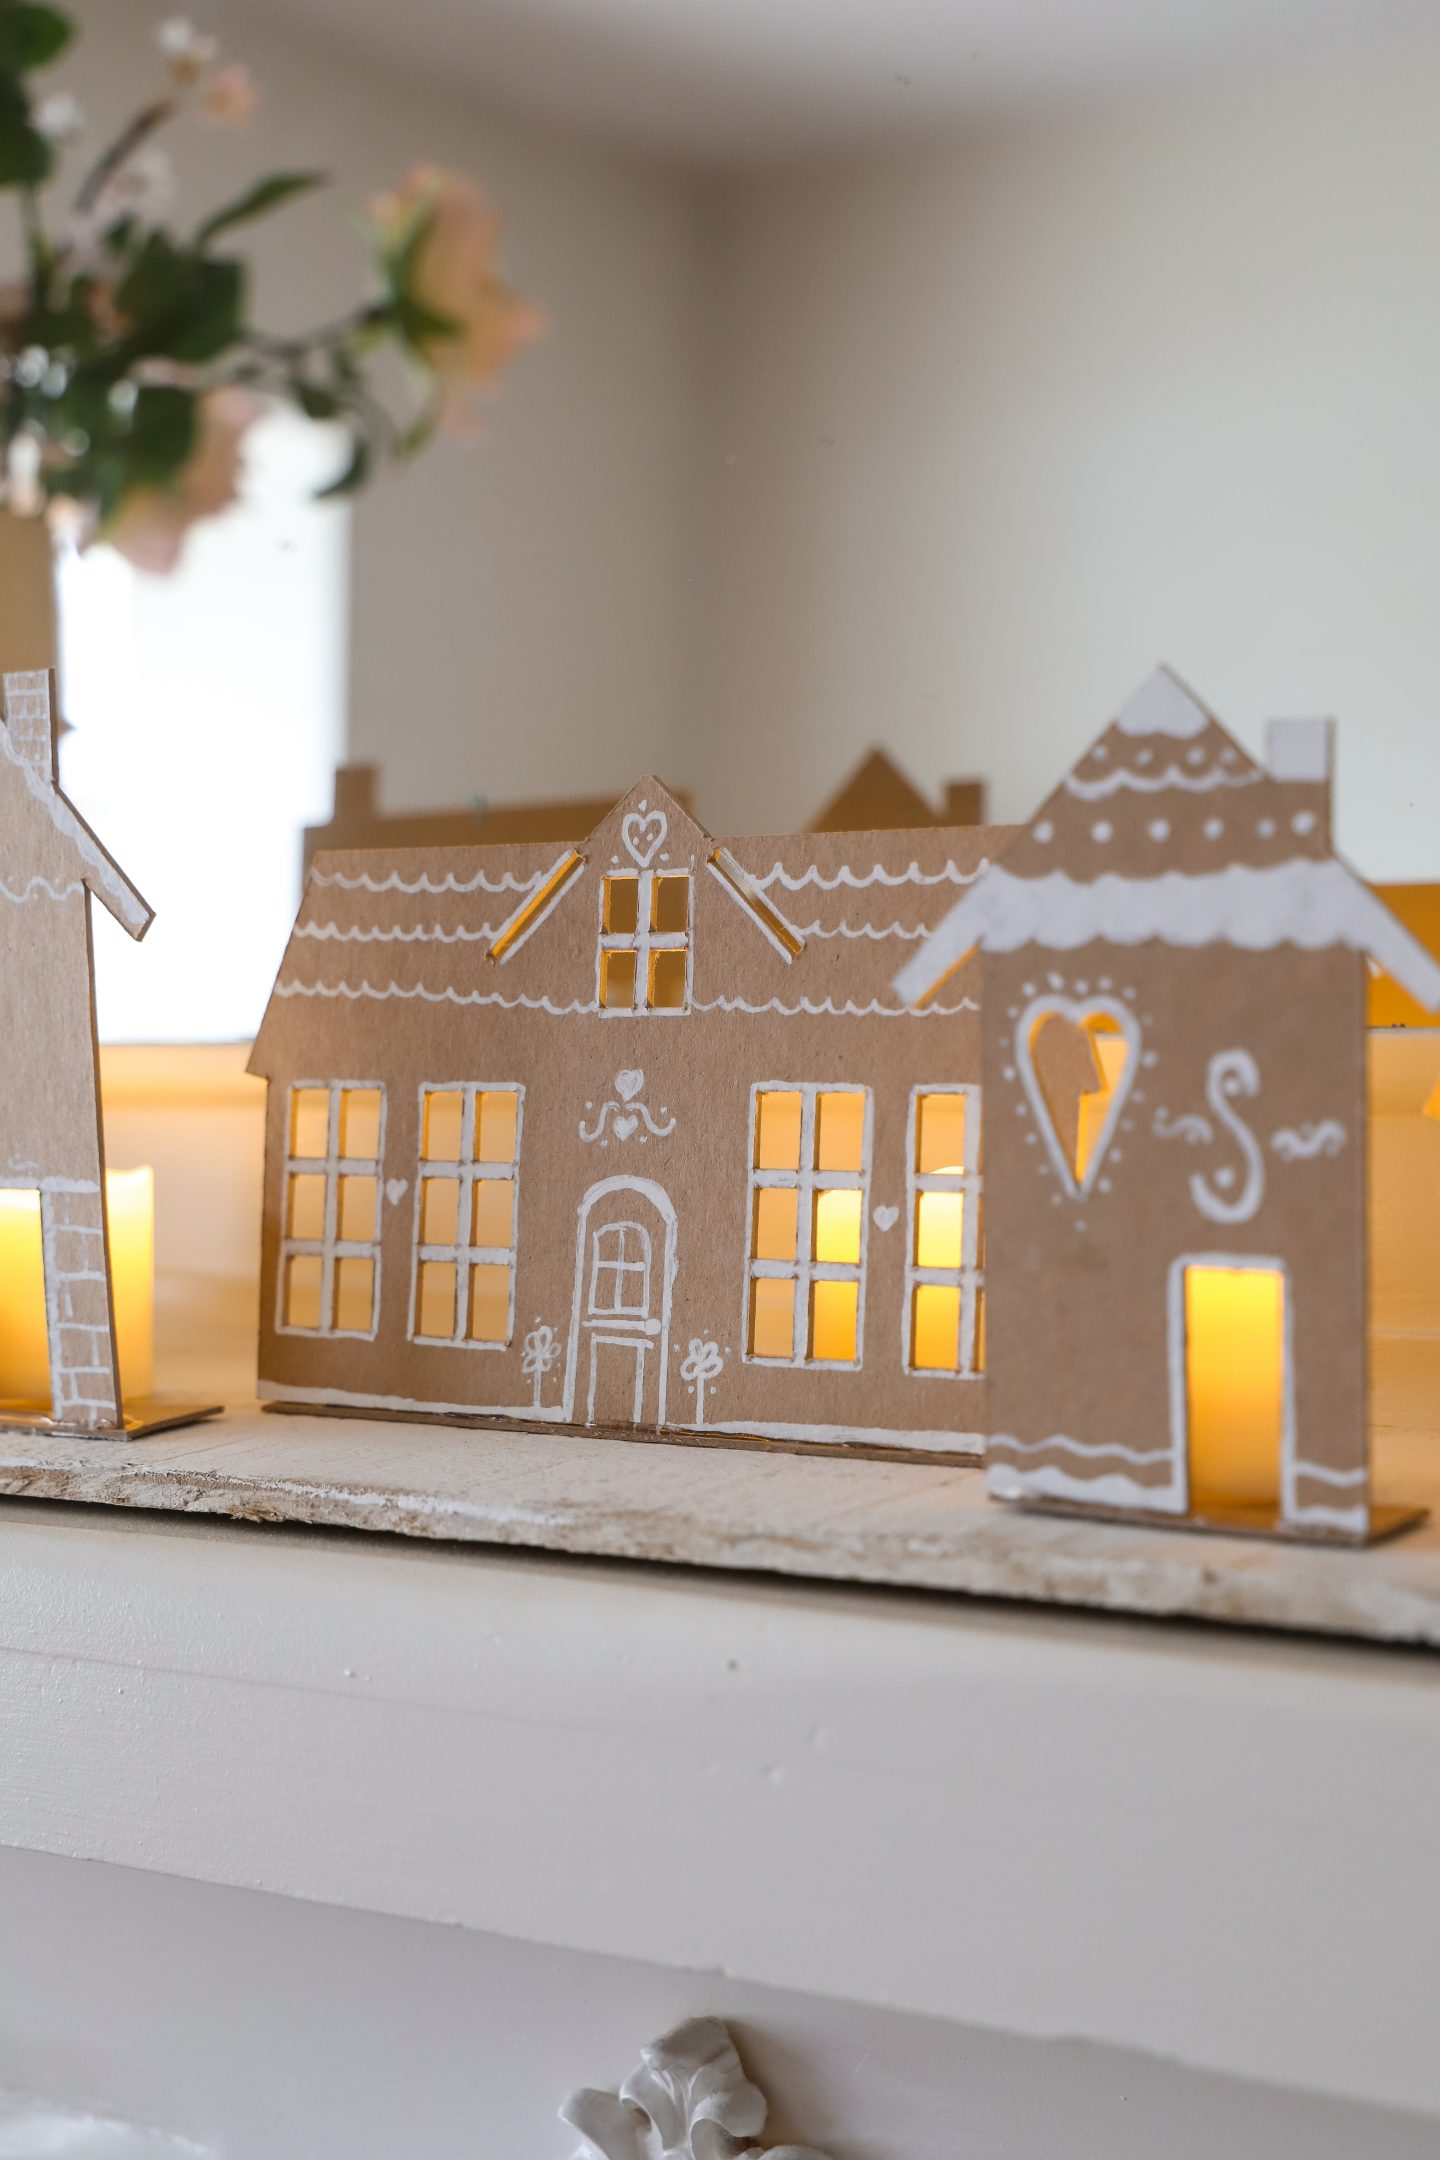
I cut five house shapes, and I used a Tip-Ex pen to draw on gingerbread shapes. A Tip-Ex pen was all I could find in my local craft shops, but a white marker would be easier to use.
There are loads of gingerbread images on Pinterest, and I used them as inspiration for drawing shapes on my houses. Have fun drawing yours, as they don’t have to be perfect as you won’t notice any wonky lines from afar.
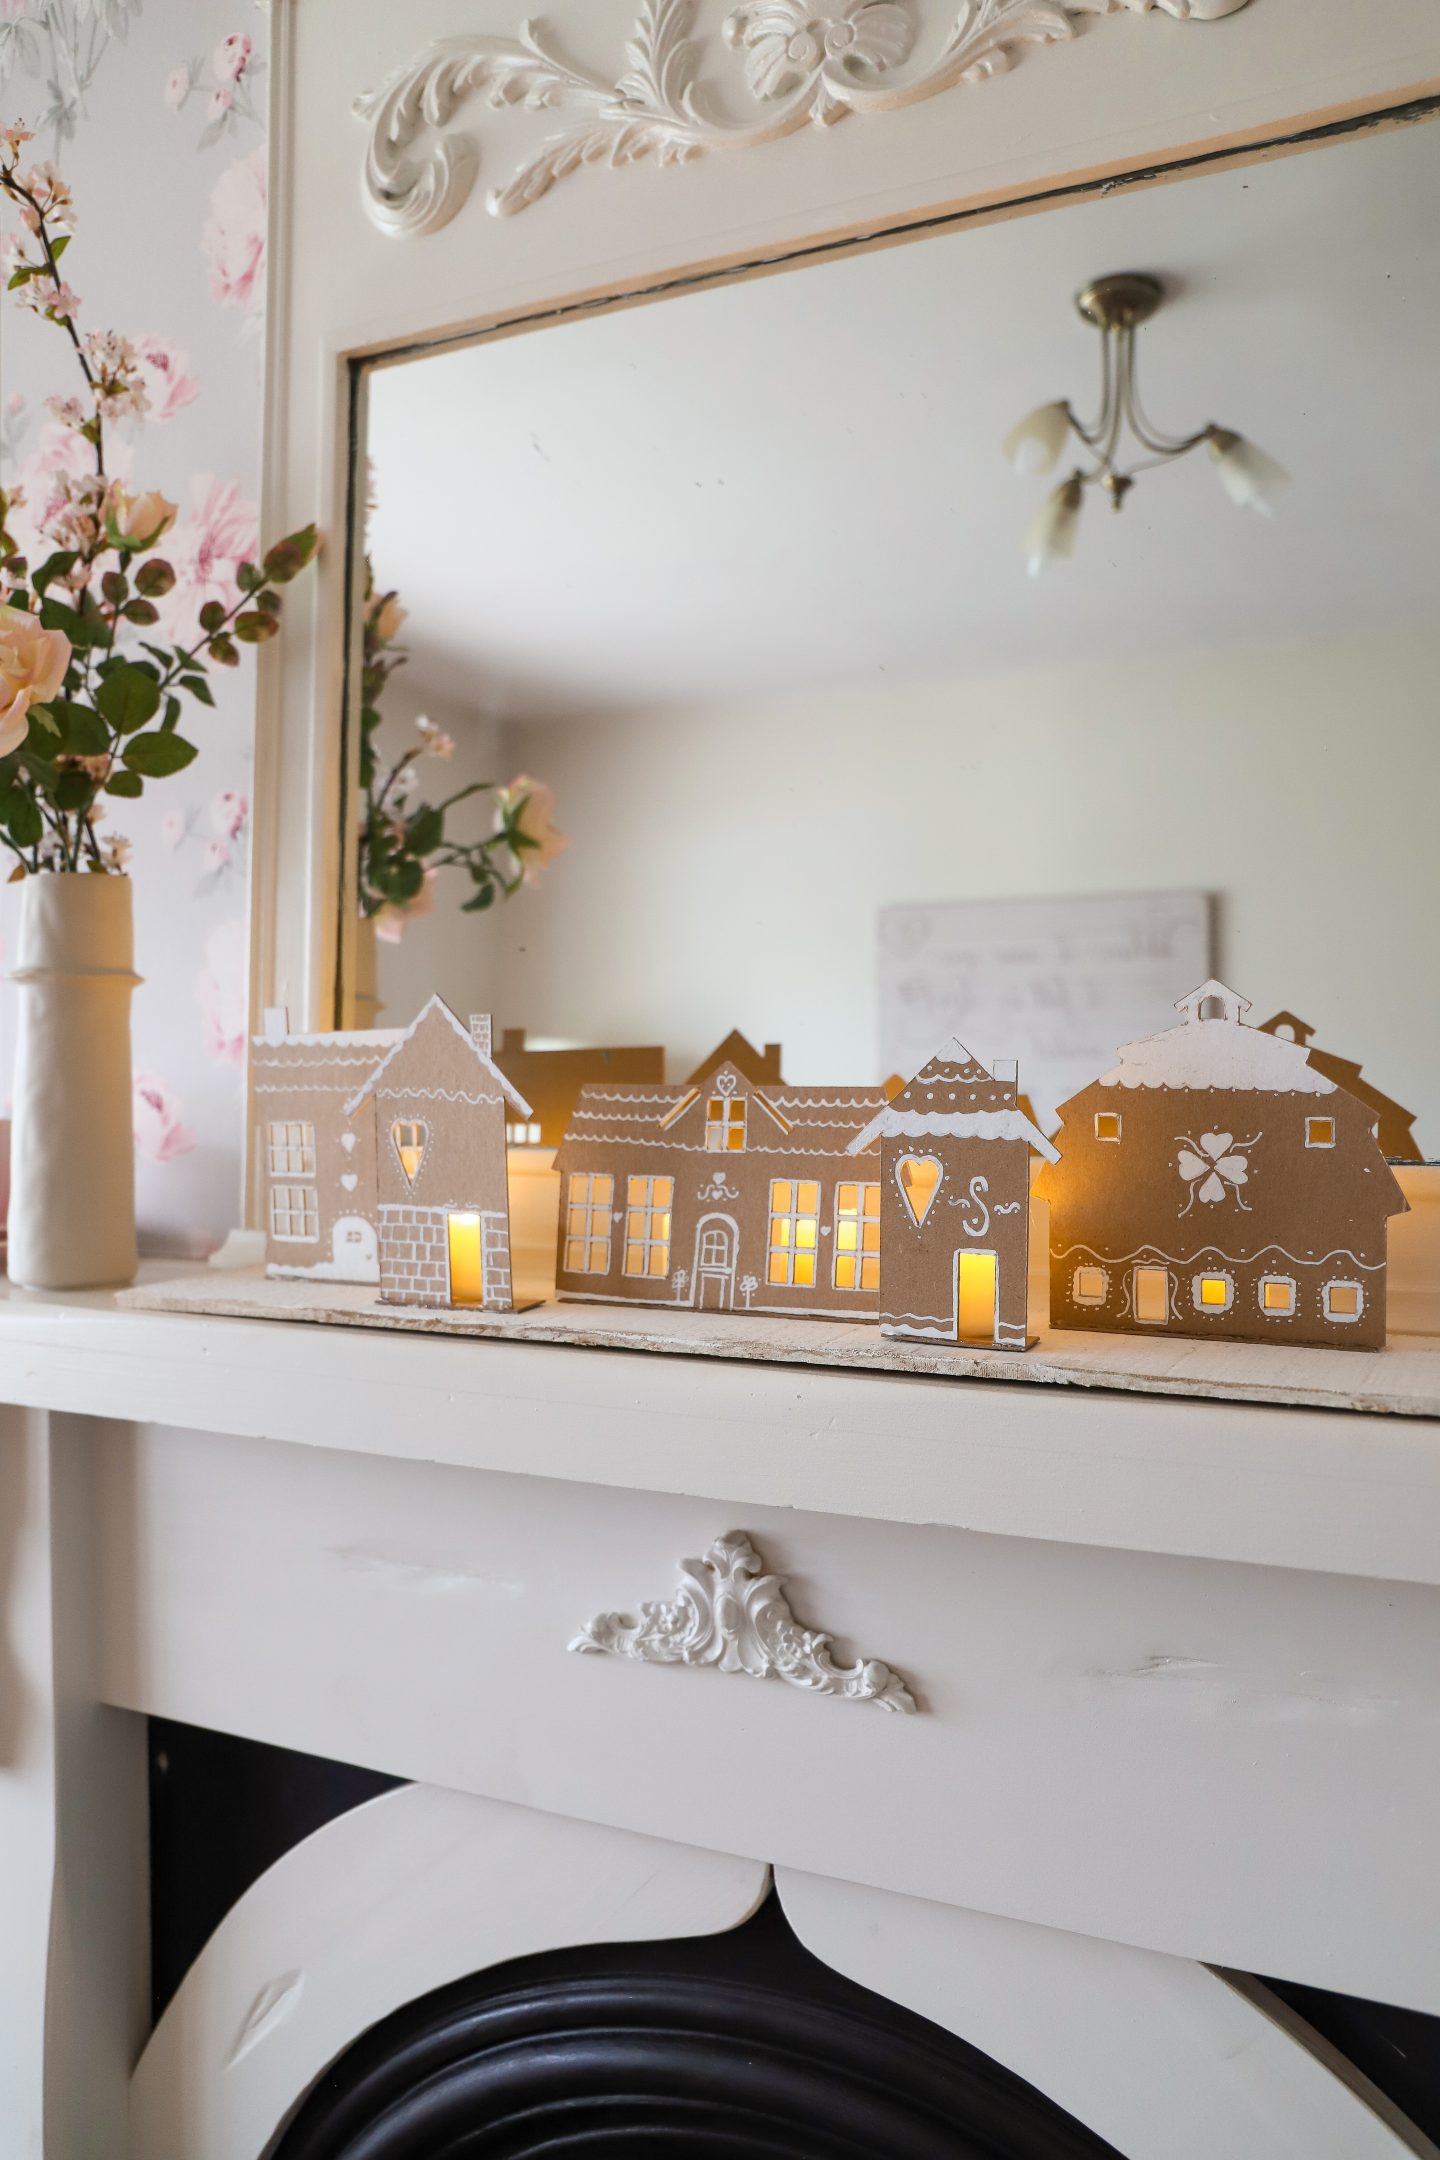
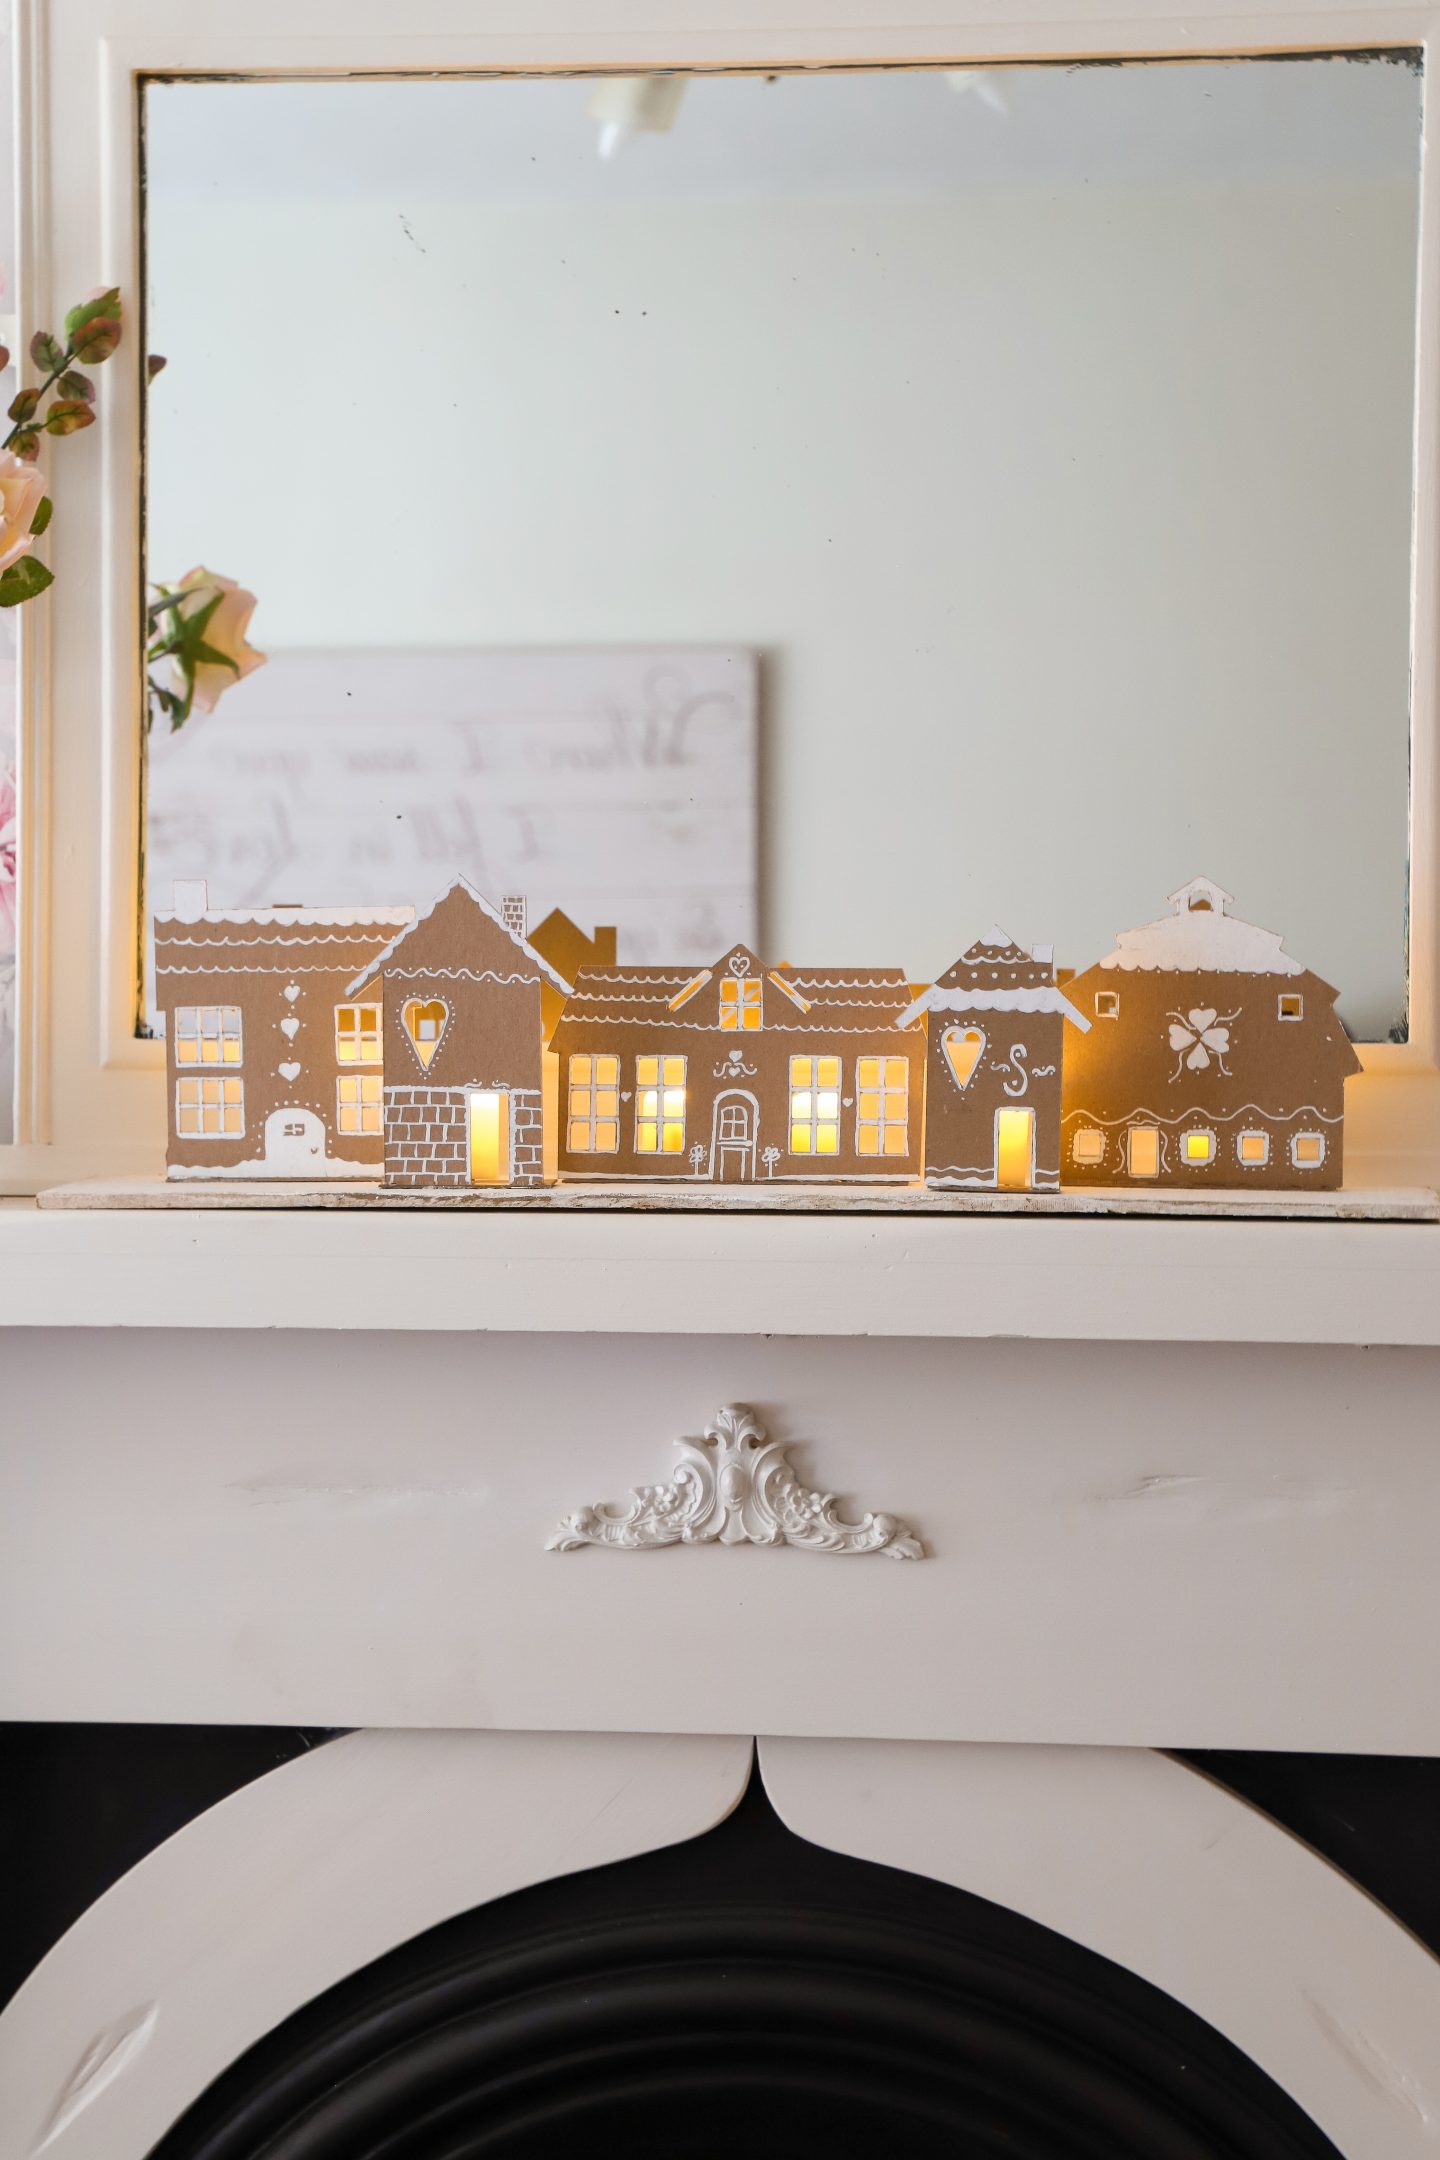
I had a scrap piece of wood in the garden. Using my sander, I smoothed the wood and then cut it to size. I then used my cordless glue gun to glue my gingerbread homes to the base piece of wood.
To add some light, I placed some battery tea lights behind the windows of the house.
Don’t have a Cricut Maker, don’t worry, you could make a paper gingerbread village on the Cricut Joy.


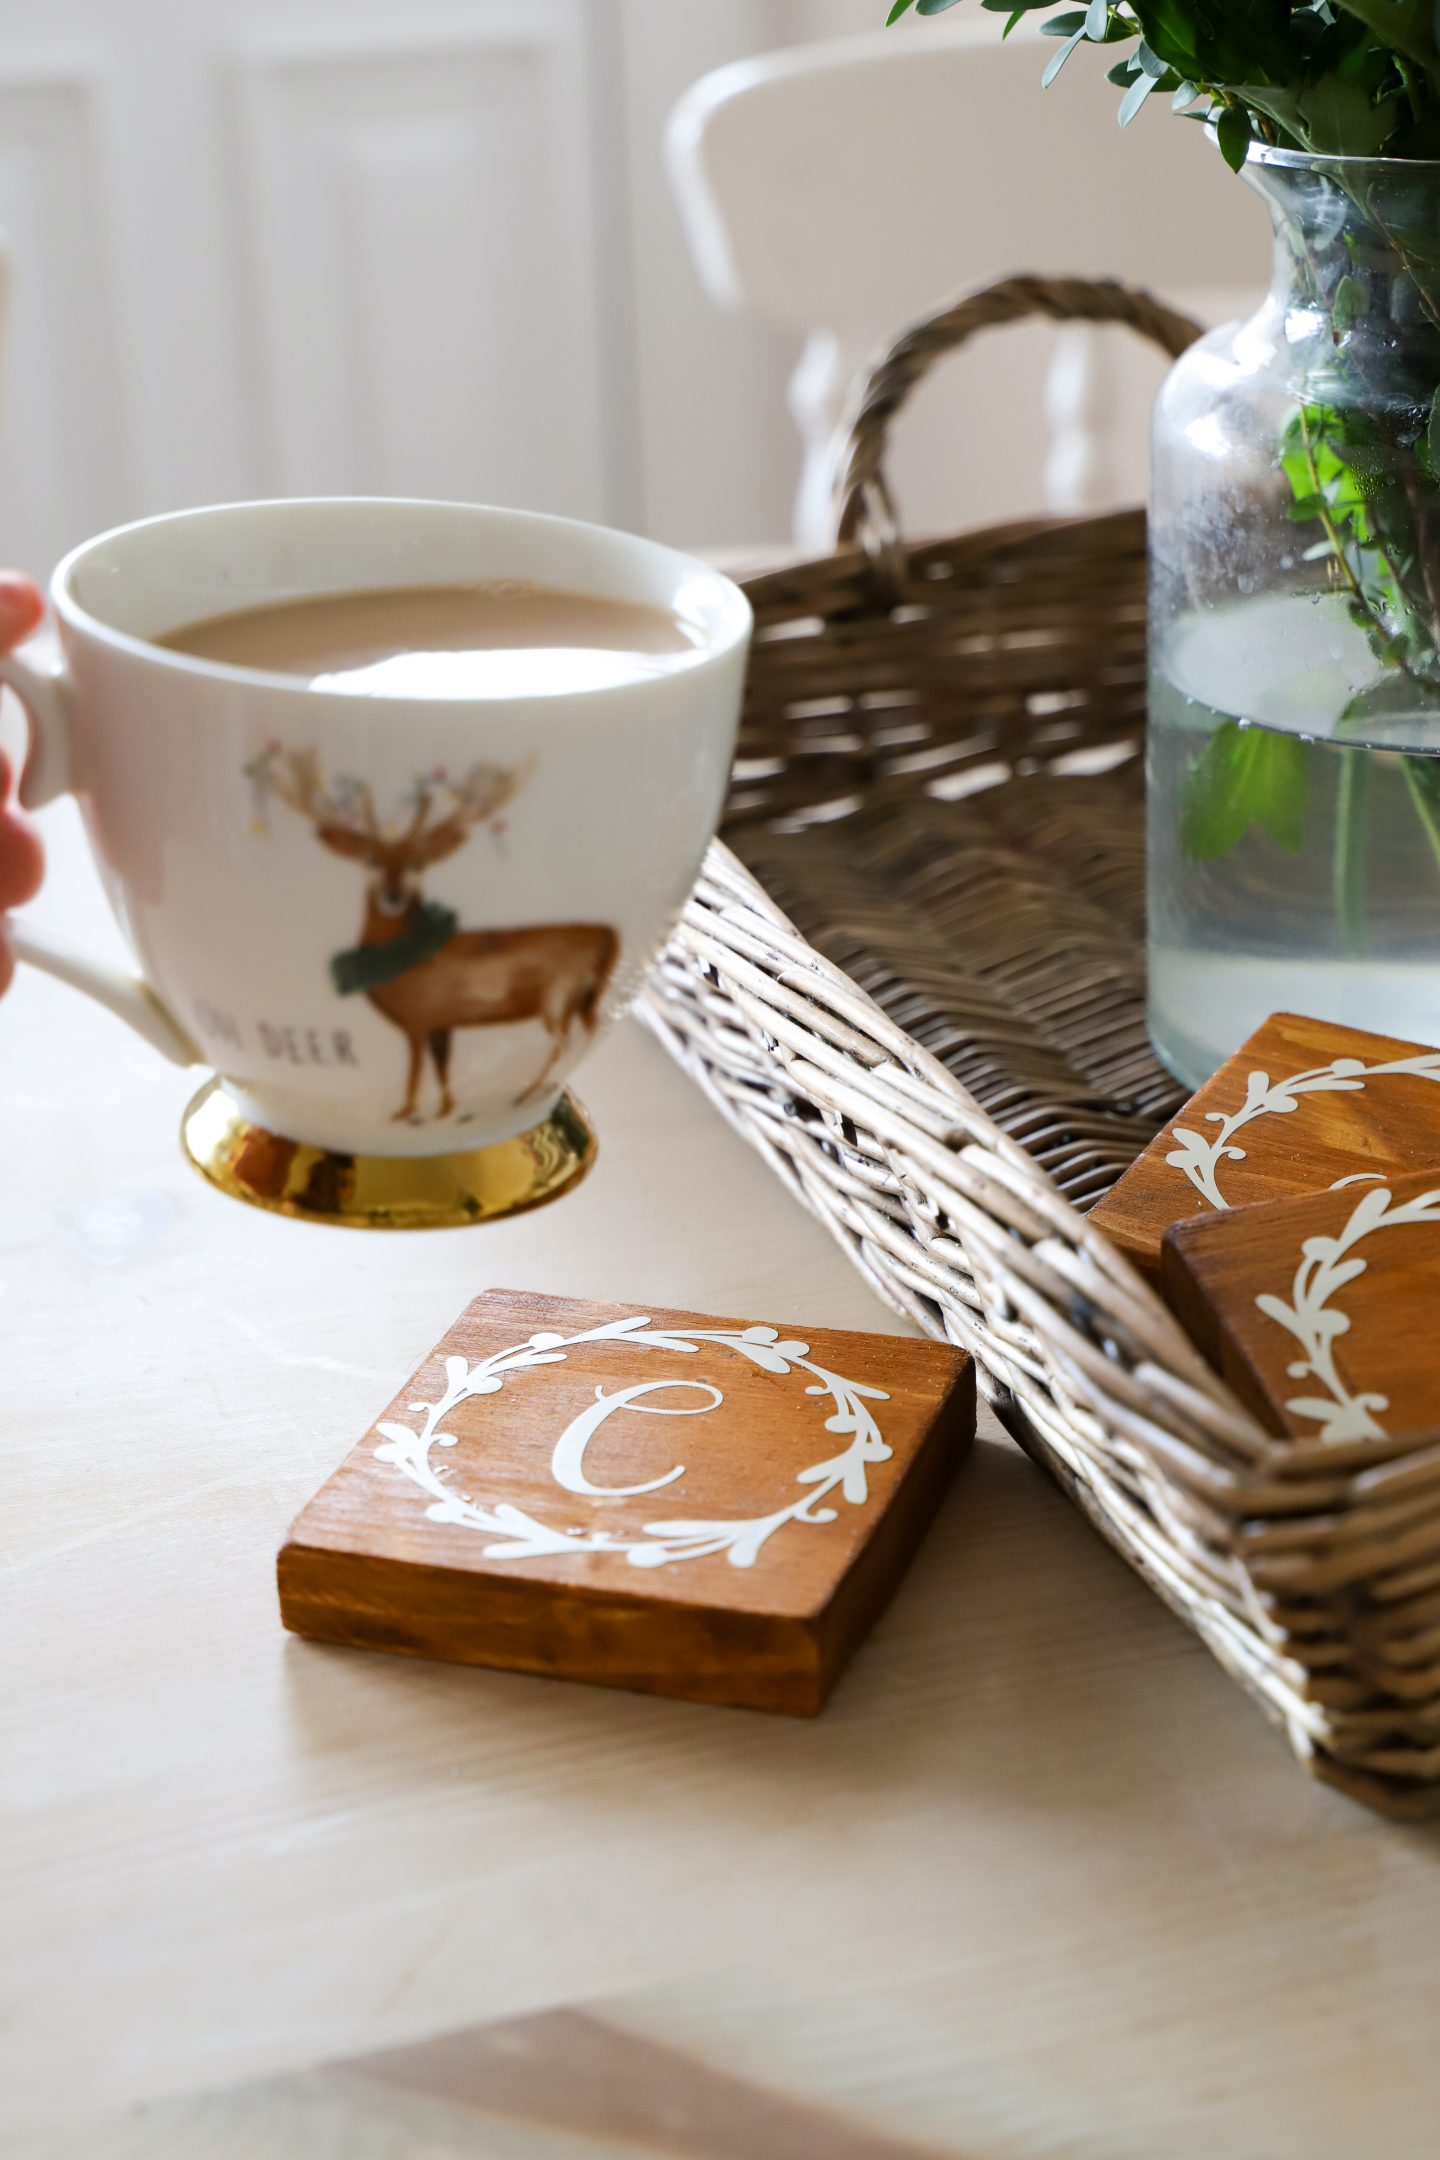
DIY personalised wooden coasters using Cricut Joy
If there is one thing I always use my Cricut for, it’s to cut vinyl. Earlier this year, I tested out the Cricut Joy, and it is a pocket rocket! It is an entry-level Cricut Machine and perfect for cutting paper and vinyl. You can read more about it here.
To make these simple wooden coasters, I got a piece of scrap wood from my stash. I had a 1/2 inch thick piece of pine left over, which is a perfect depth for a coaster.
I used an old coaster as a template and used a pencil to trace the square shape onto my piece of wood. I cut out four squares to make four coasters.
In my stash, I had some antique pine wood stain. Using a sponge, I applied two coats of wood stain and sealed it with some clear sealer.
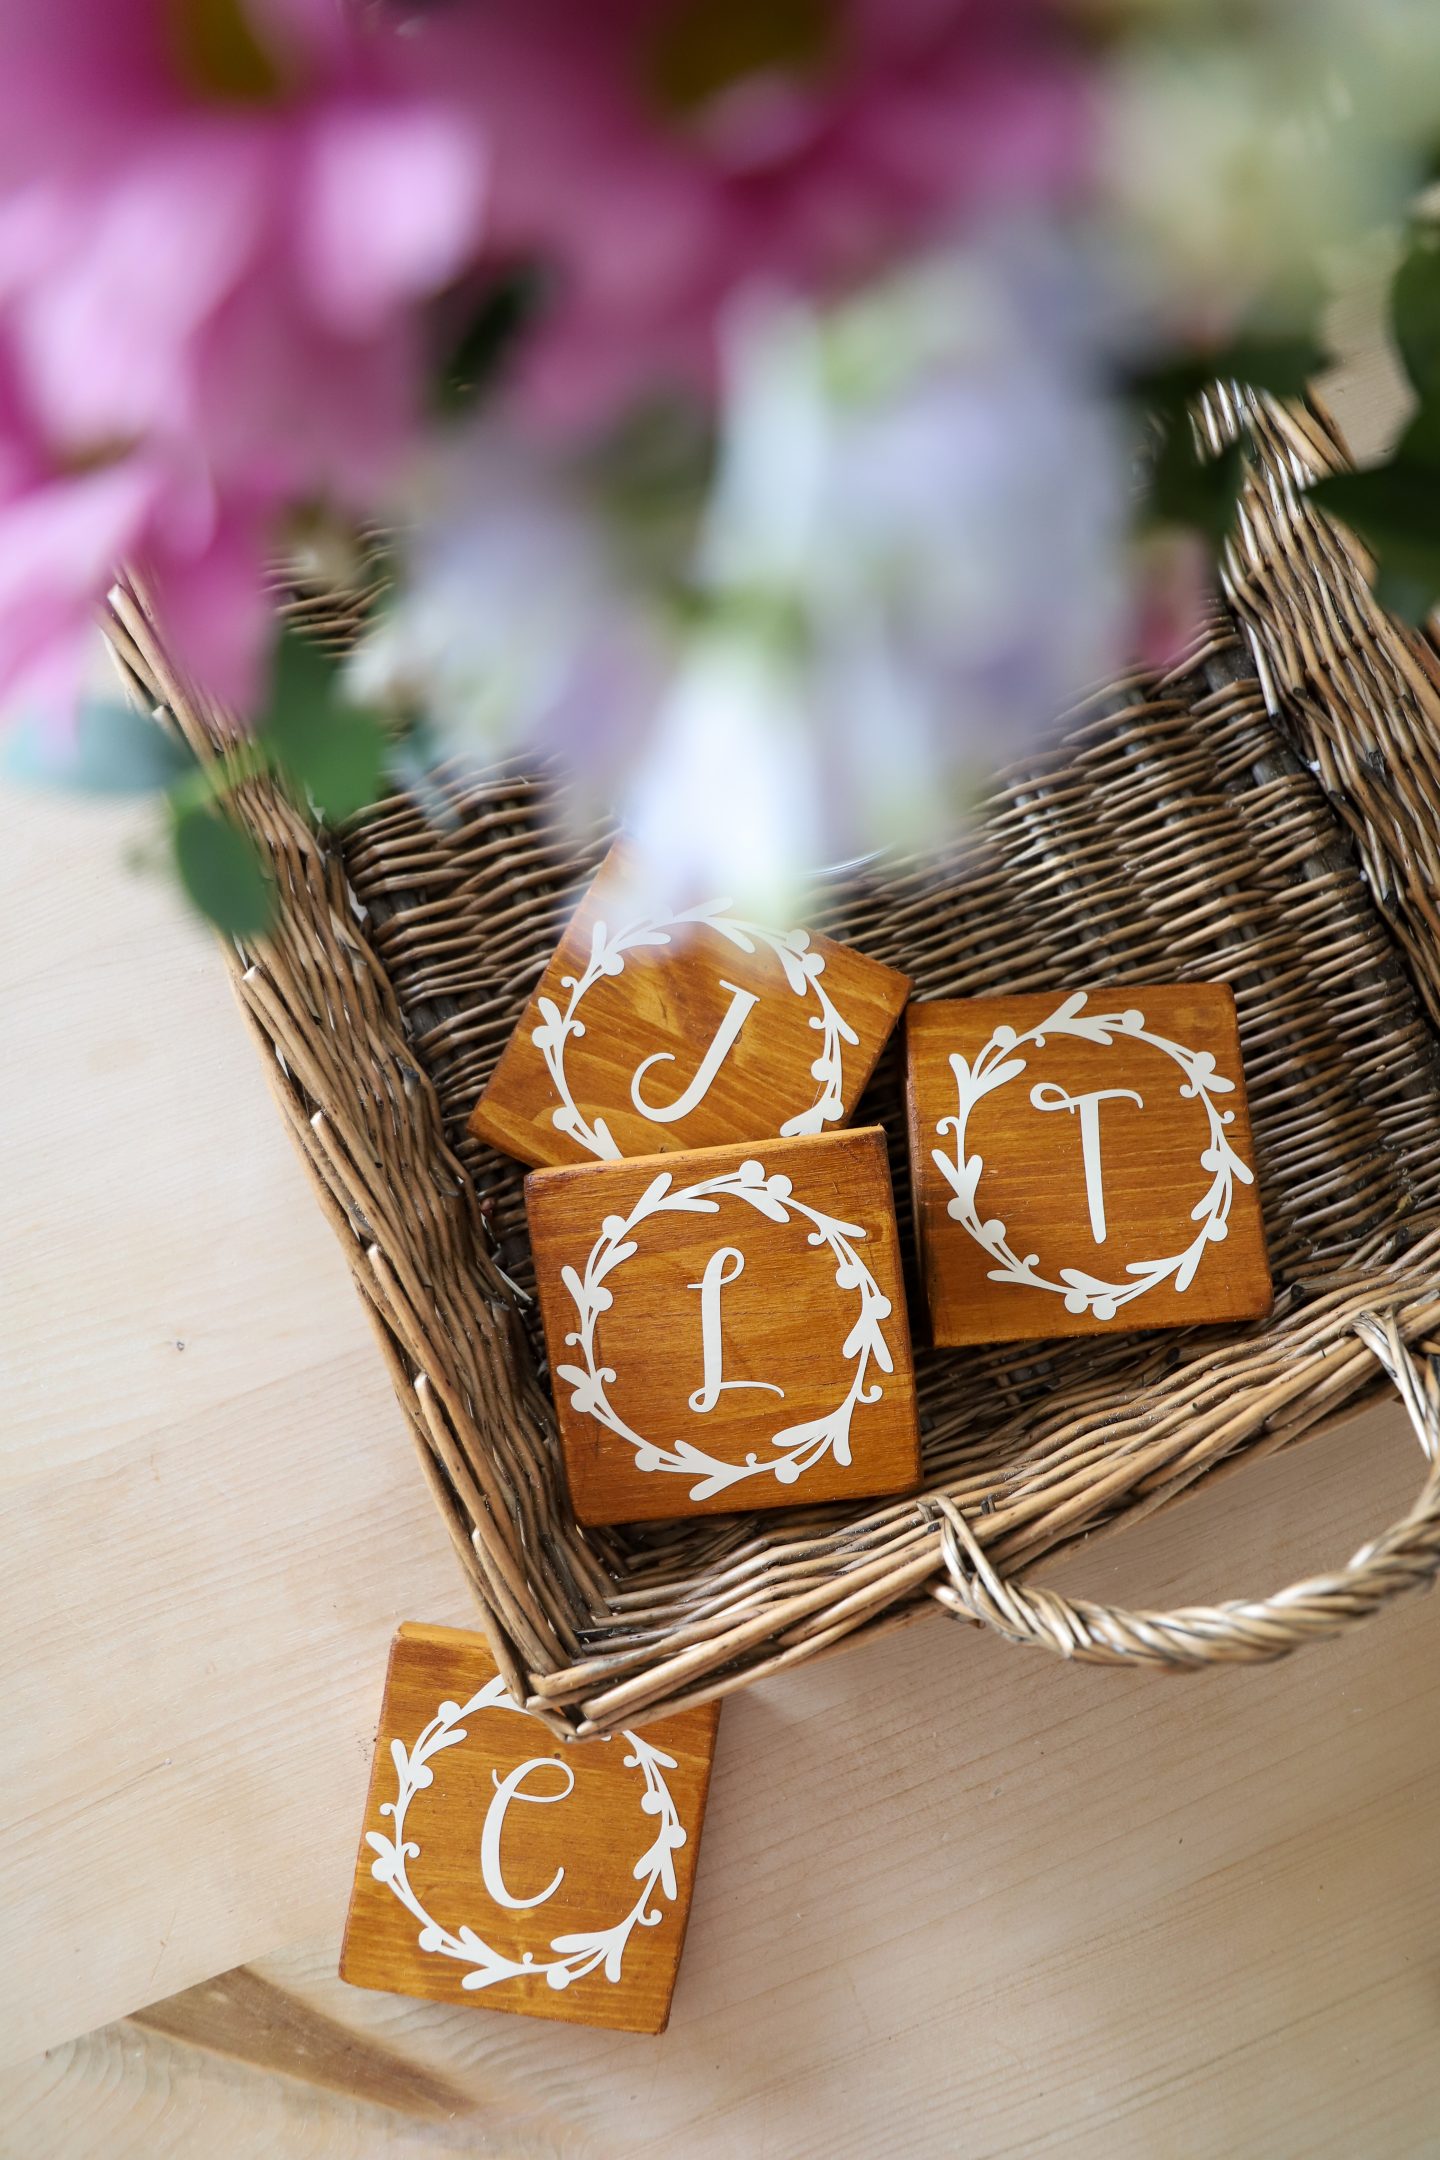
Now for the fun part, personalising the coasters! I searched in design space for some inspiration, and I picked a wreath design with an initial in the middle.
I cut the design on cream permanent vinyl and placed it on top of the wood.
These coasters are simple to make and would also be a cute personalised Christmas gift or used in a table setting over Christmas.


DIY Christmas bunting made from recycled fabric
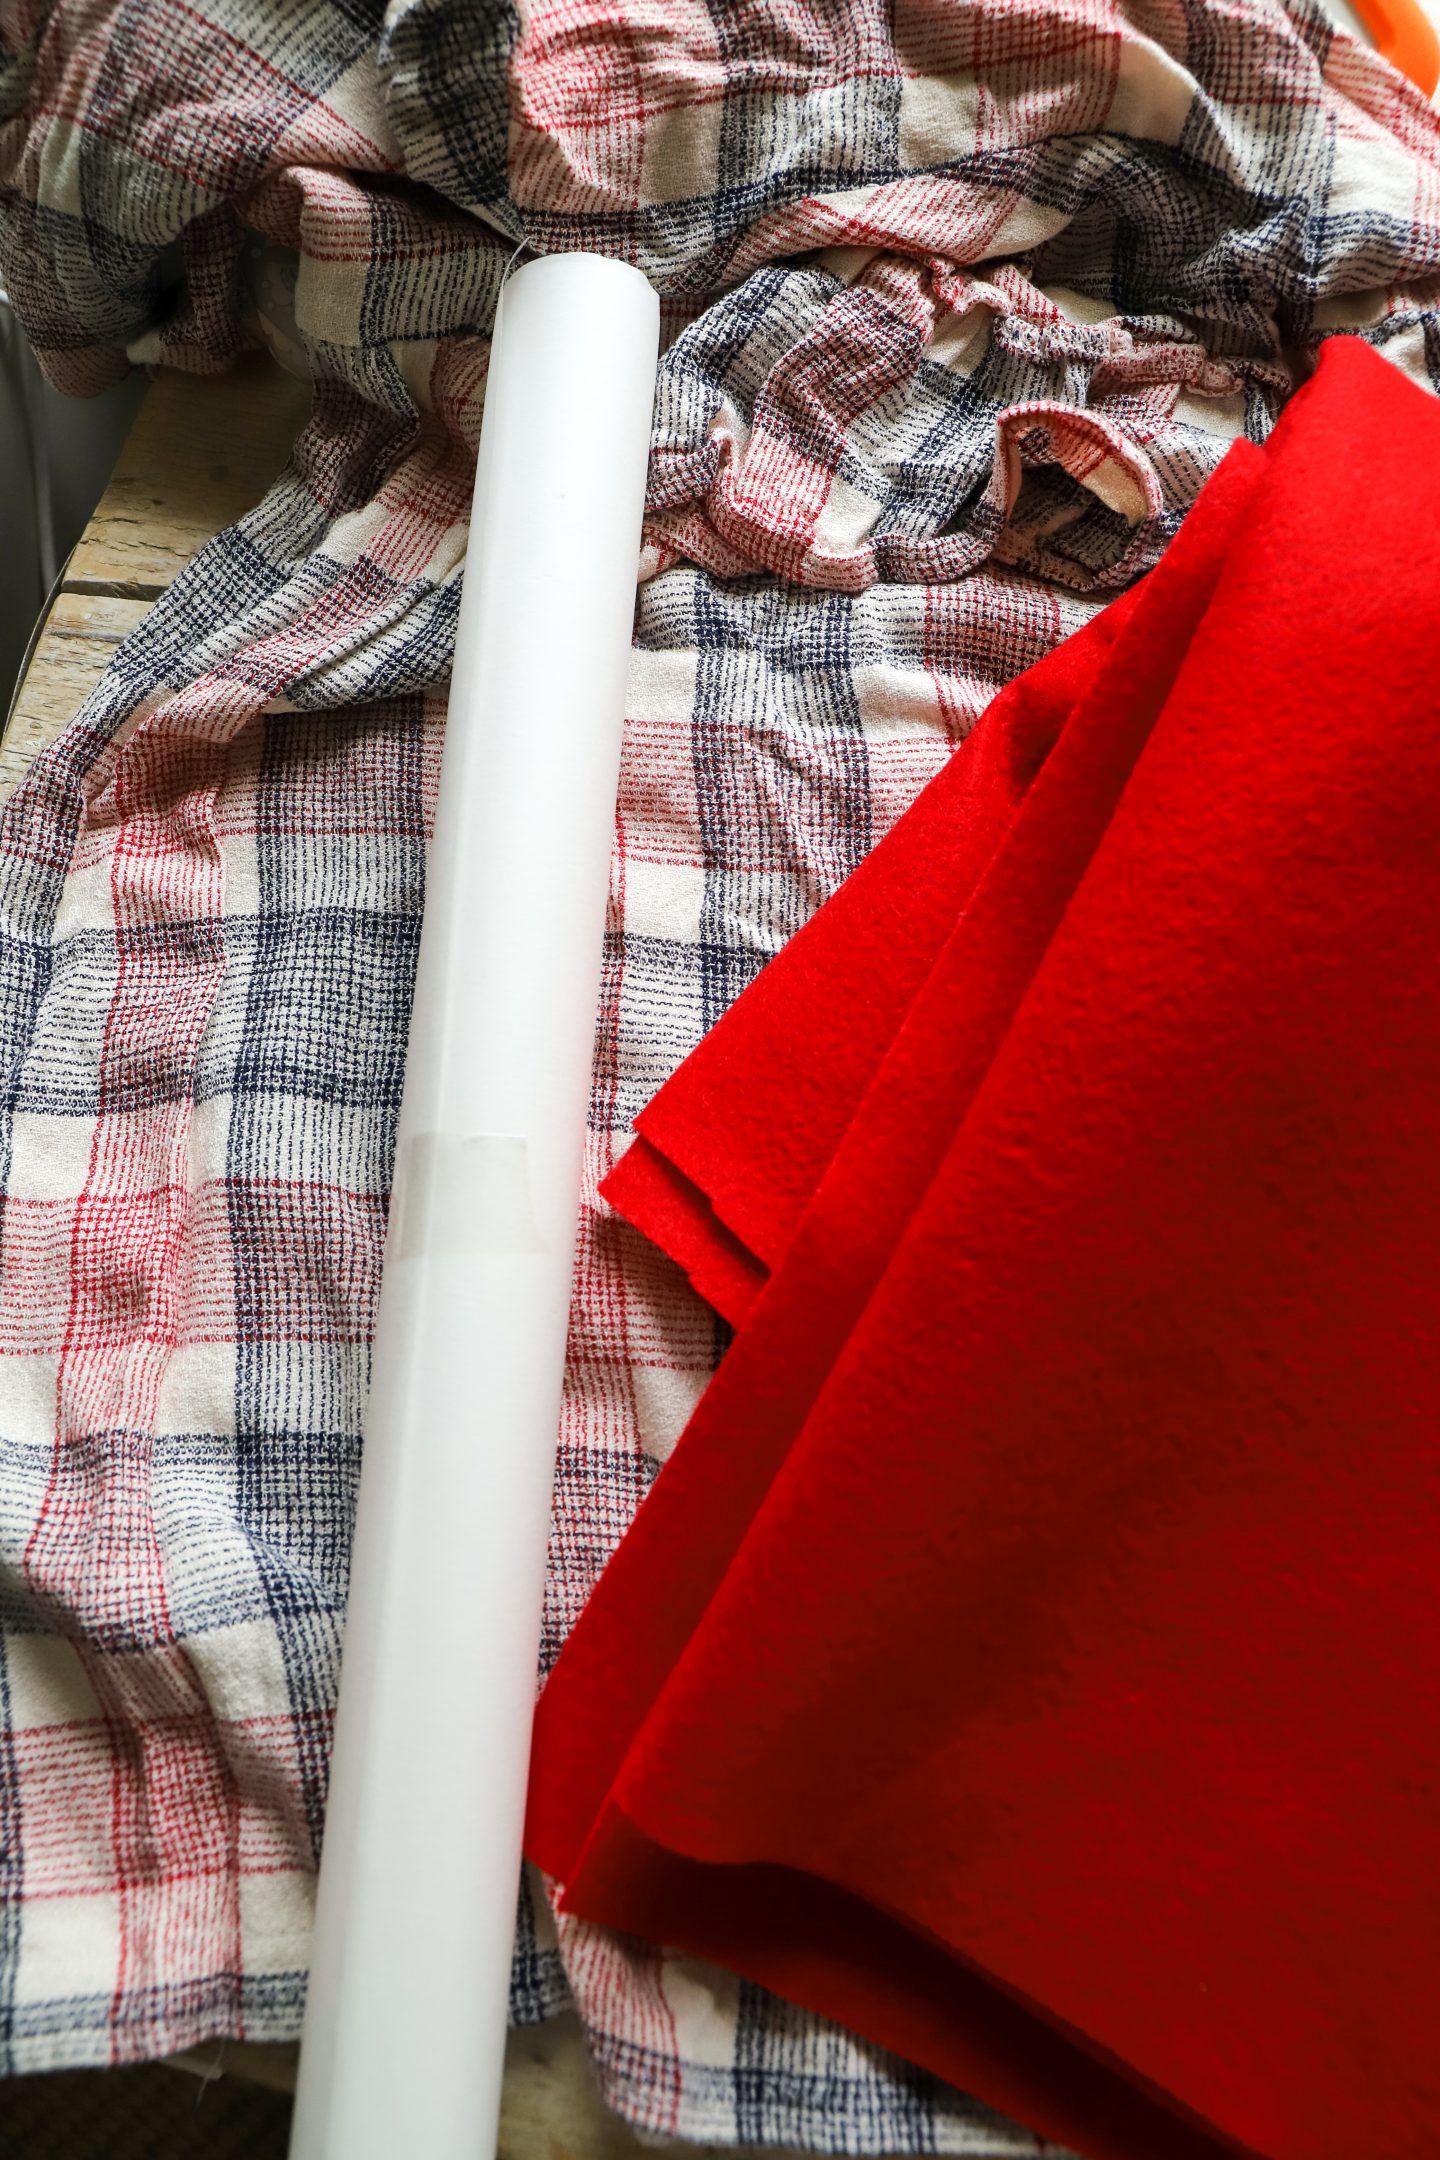
I wanted to make some gingham Christmas bunting, but with supply issues in most craft shops, I couldn’t find the fabric I wanted. So, I decided to cut up an old gingham dress to use instead.
For this project, I used red felt and gingham fabric. I made a paper template and cut out two flag shapes. One flag is slightly larger than the other.
I cut out eight flags of felt and eight flags of gingham fabric. To make the thin dress fabric sturdy, I used some iron-on interfacing on the back before sewing the gingham flag to the felt fabric.
Now for a professional finish. In Design Space, I cut snowflakes and reindeer shapes on red glitter heat transfer vinyl. You could also cut out letters to make personalised Christmas bunting.
I used the mini-press iron to iron on my shapes to the fabric. Once I had all my shapes ironed on, I then stitched the eight flags to some ribbon.

There are loads you can make and do on your Cricut machines. When I am stuck for inspiration, I flick through some old craft books/mags for ideas and see how I can personalise them. Also, Pinterest and YouTube are full to the brim with ideas for when you are stuck.
Let me know what Christmas decorations you have made on your Cricut machine in the comments below.
Thanks for reading, Chat soon, Catherine.

Author
Thanks Lori!
Love the coasters and the bunting. Great ideas.