How I make fabric bunting
Today I am sharing how I make fabric bunting in a DIY video. I have an order of 12 metres of bunting for a customer so, I decided to share how I make my bunting. There are loads of ways in which you can make bunting but today I will share how I make mine.
Fabric bunting is great as it is really durable and can be taken out for parties or used for decoration in the home, you can also throw it in the washing machine if it gets dirty too.


Create a triangle template for your fabric bunting
Using a ruler measure how big you would like your triangle flags to be. Make sure to allow room for your seam allowance. Once happy with your size of flag you can trace it out on paper and cut it out. This gives you a template for your flags so they will all be the same size and consistency.
I use a rotary cutter and mat for cutting out all my triangle flags as this is the quickest for me. Don’t worry if you do not have a blade and mat as you can use your fabric scissors.


Stitching your fabric flags
Place your flags together with the right sides facing each other.
Pin them together so they do not move whilst you sew. Starting at the edge sew your triangle but leave a gap on the short edge so you can pull it through once sewn.
I am not very good at explaining this but if you watch my video above you will get what I mean.
Once you pull your flag right side out you can iron the flags so they are flat and seams are neat.


Bias binding
To put all my flags together I use bias binding. You can pick this up cheaply enough in the haberdashery. I picked mine up for 40c per metre.
You can also make your own bias binding, but if like me you are struggling for the time then you can buy it already made.
I position all my flags and pin the flags to the bias binding. I measure between each flag and make sure all the gaps are the same.
I then sew along the bias binding to sew in the flags. I start with a reverse stitch and sew all along until I get to the end and finish with a reverse stitch. I then snip off any loose threads and my bunting is ready.


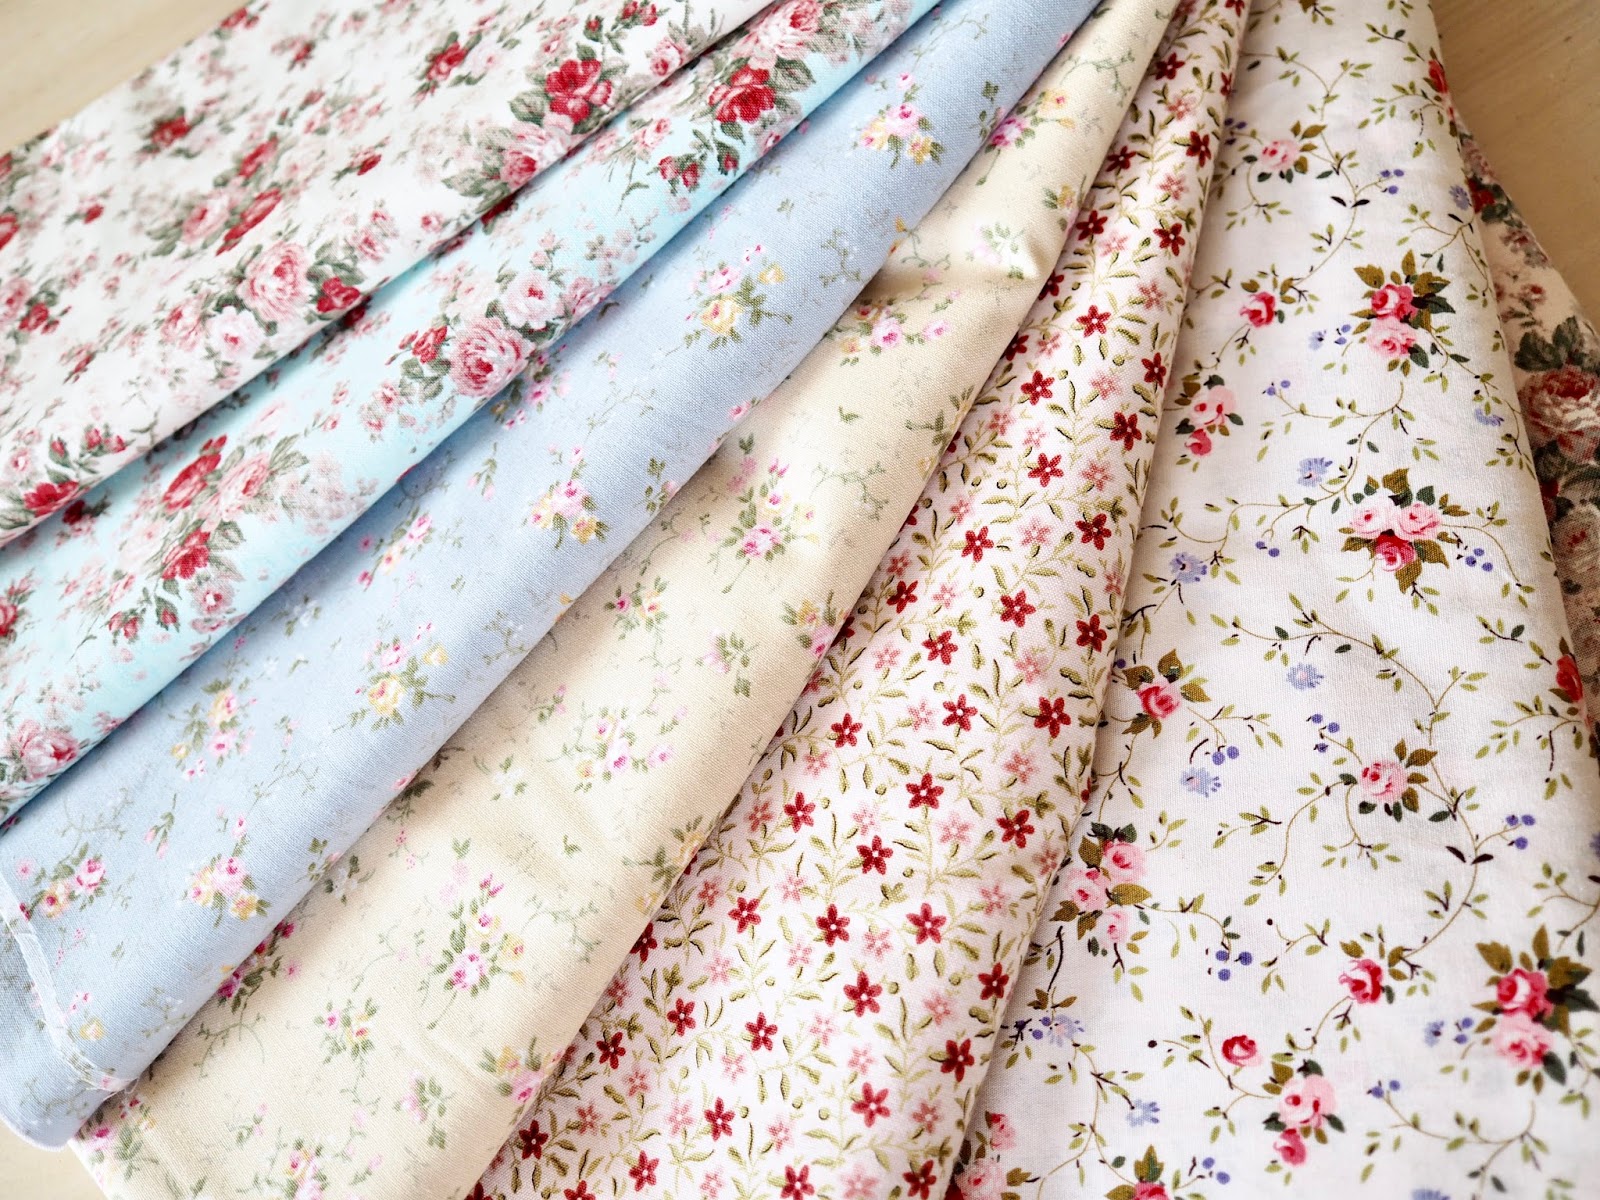
The guys over at guineys.ie kindly sent me over a box of fabric. They really spoiled me and sent me their fab range of floral fabrics. I used two of the fabrics in today’s project.
You would have plenty of fabric in a quarter of a metre to make your bunting. Experiment with using different prints of fabric to make something unique for your home.


I hope my video and tutorial was easy to follow and inspired you to make some for yourself. Please do tag me in pictures over on Instagram of your crafty makes.
I love seeing what you guys are making. Also please let me know if you want to see more DIY’s and if there is anything, in particular, you would like to see then comment below.
Thanks for stopping by, Catherine.

* This is not a sponsored post, however, the fabric I used was kindly sent to me by guineys.ie
This post may contain affiliate links. If you shop these links it will not cost you anything and I will receive a small commission which helps me run my blog and keep it AD free. For more info click mt ABout/Disclaimer tab.


I love the pattern of the fabric and you make this look deceptively easy. I'd quite like to hve a go at running some of this up to use as blog props, the only thing putting me off is last time I used the sewing machine I ran it over my fingers – the pain! Haven't looked at it since!!! X
Thanks so much for reading Victoria. I think sewing your fingers is a right of passage when we start to sew but don't give up x Bunting is fab for blog pics ❤️
Love the fabrics you’ve used. Its given me some inspiration to try and make some.
Author
Have fun making your bunting Karen! Thanks for reading