
*Originally posted Dec 2017
DIY Bauble Wreath
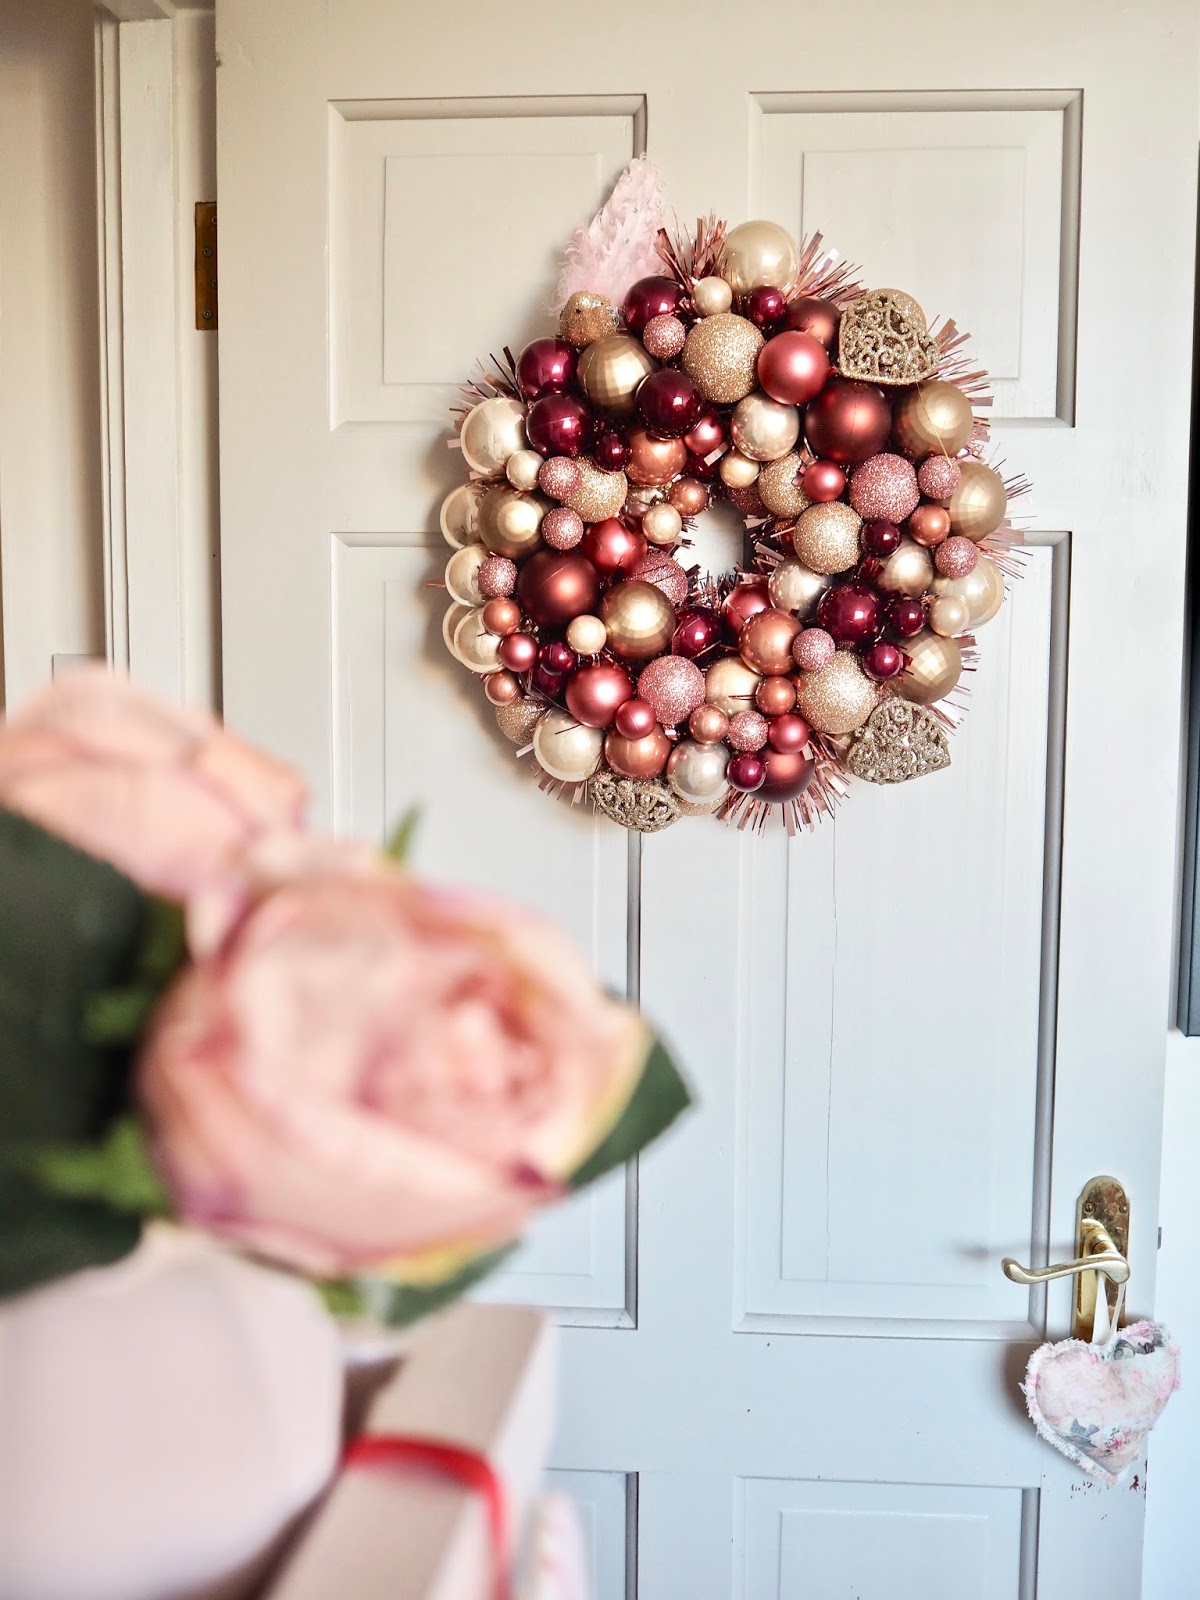
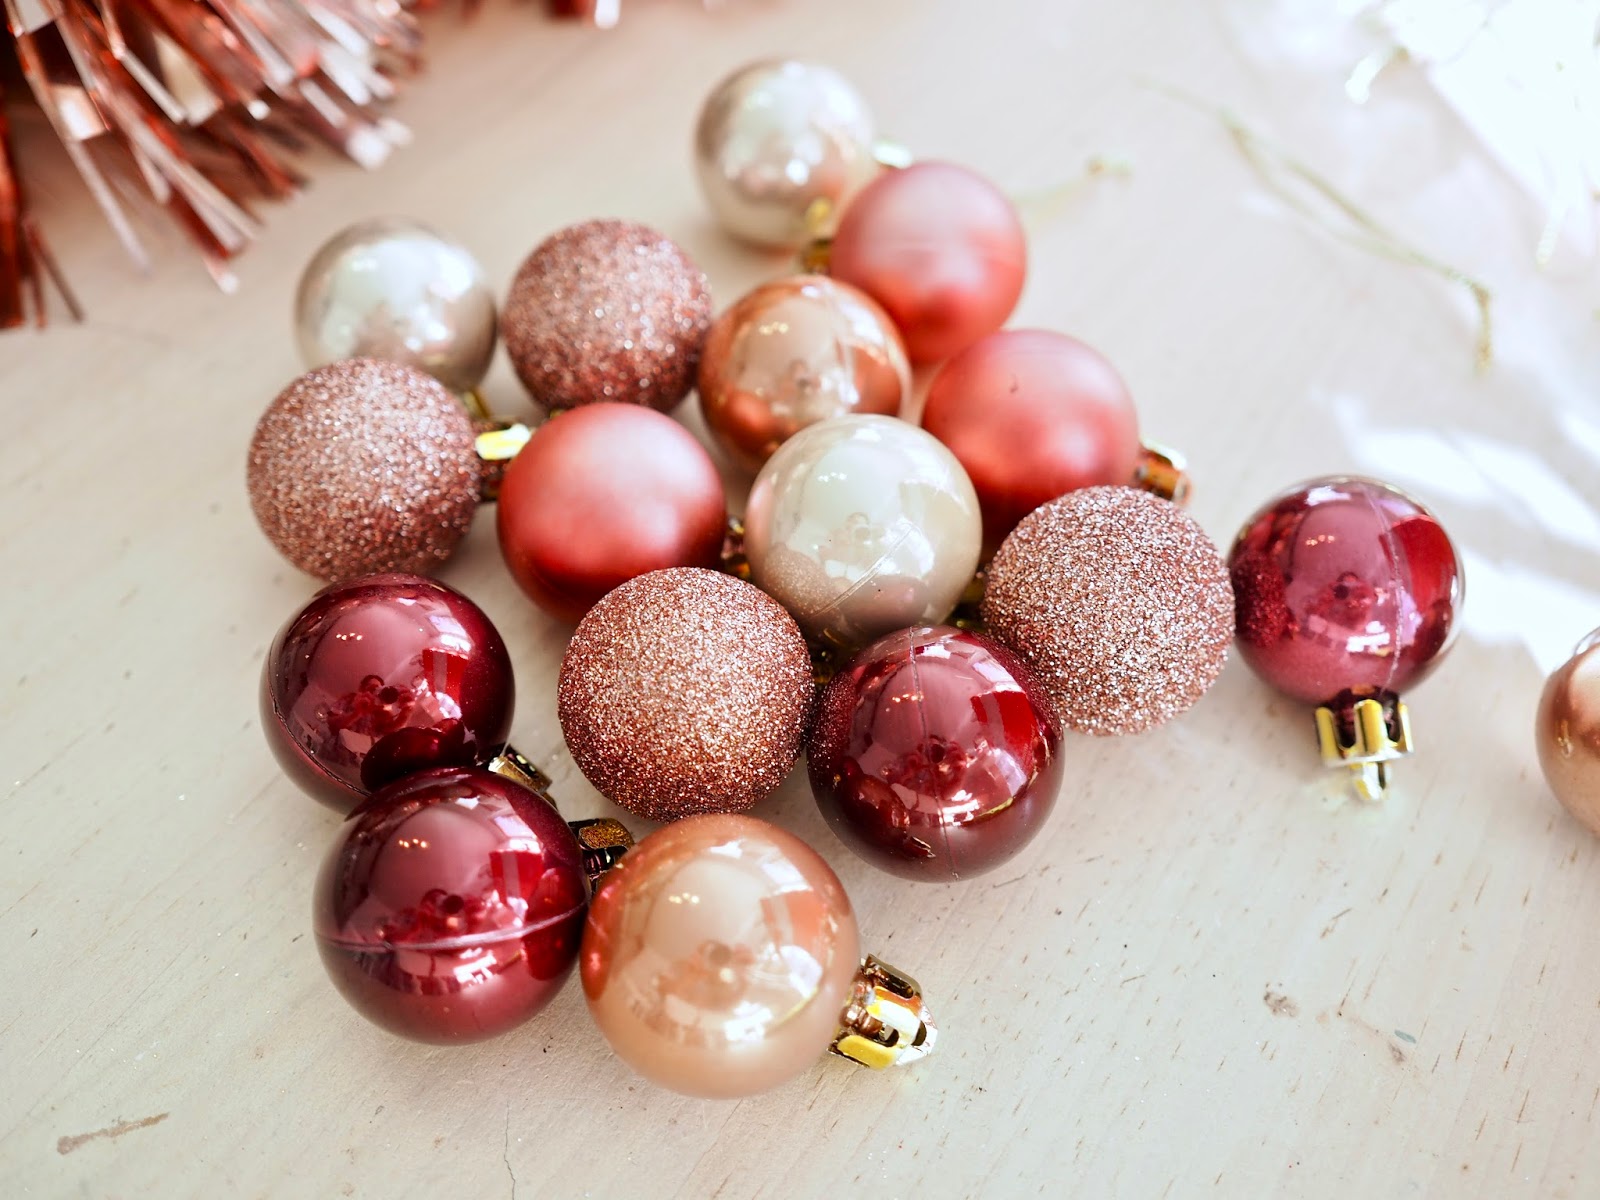
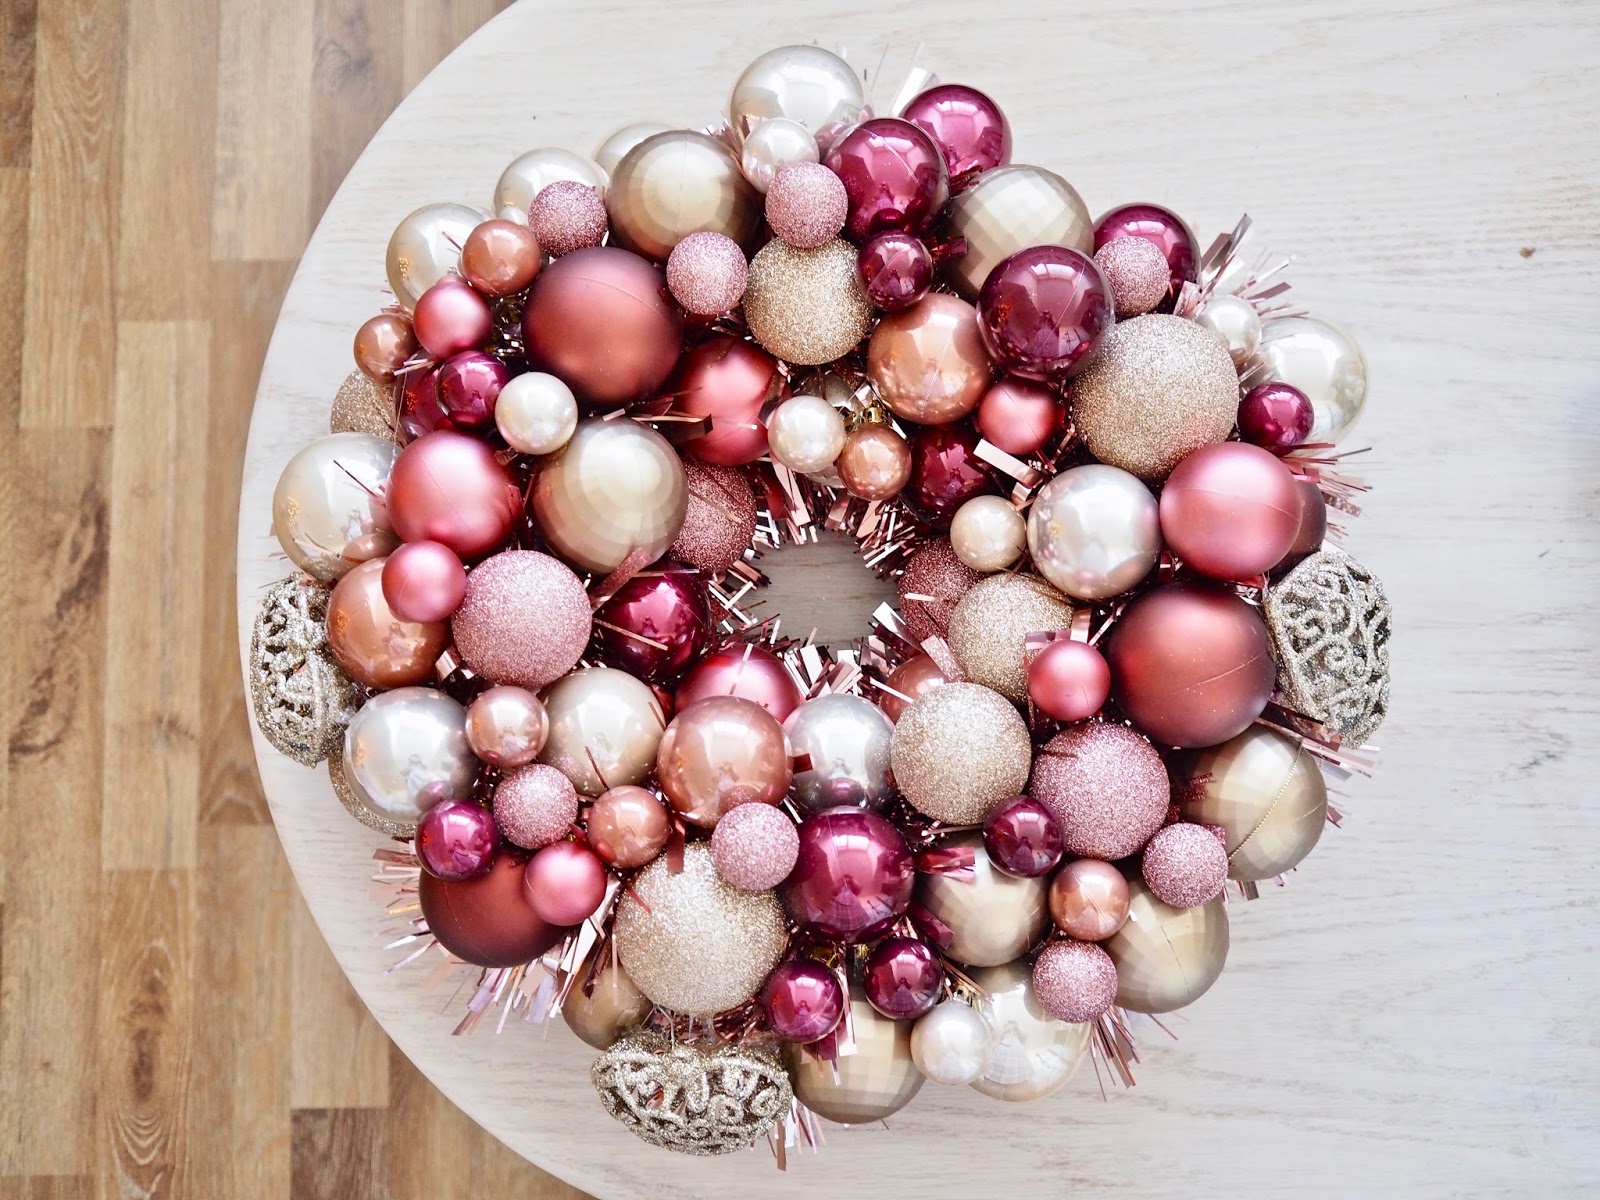
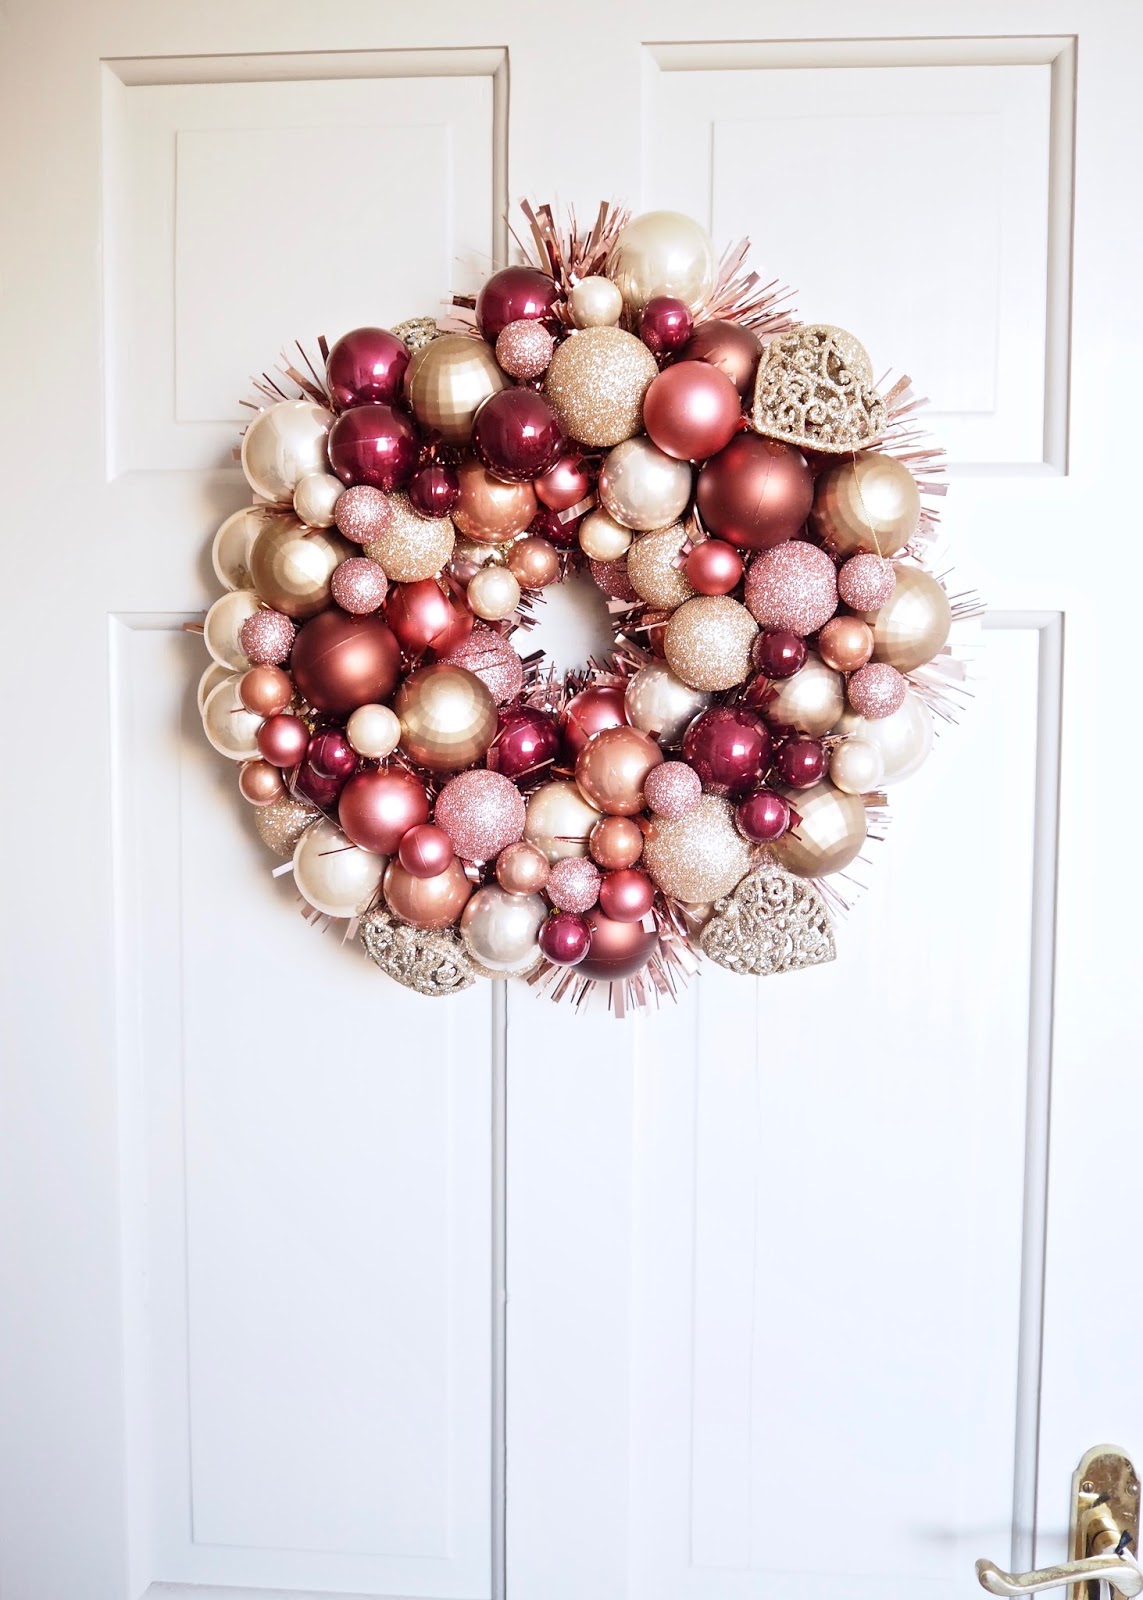
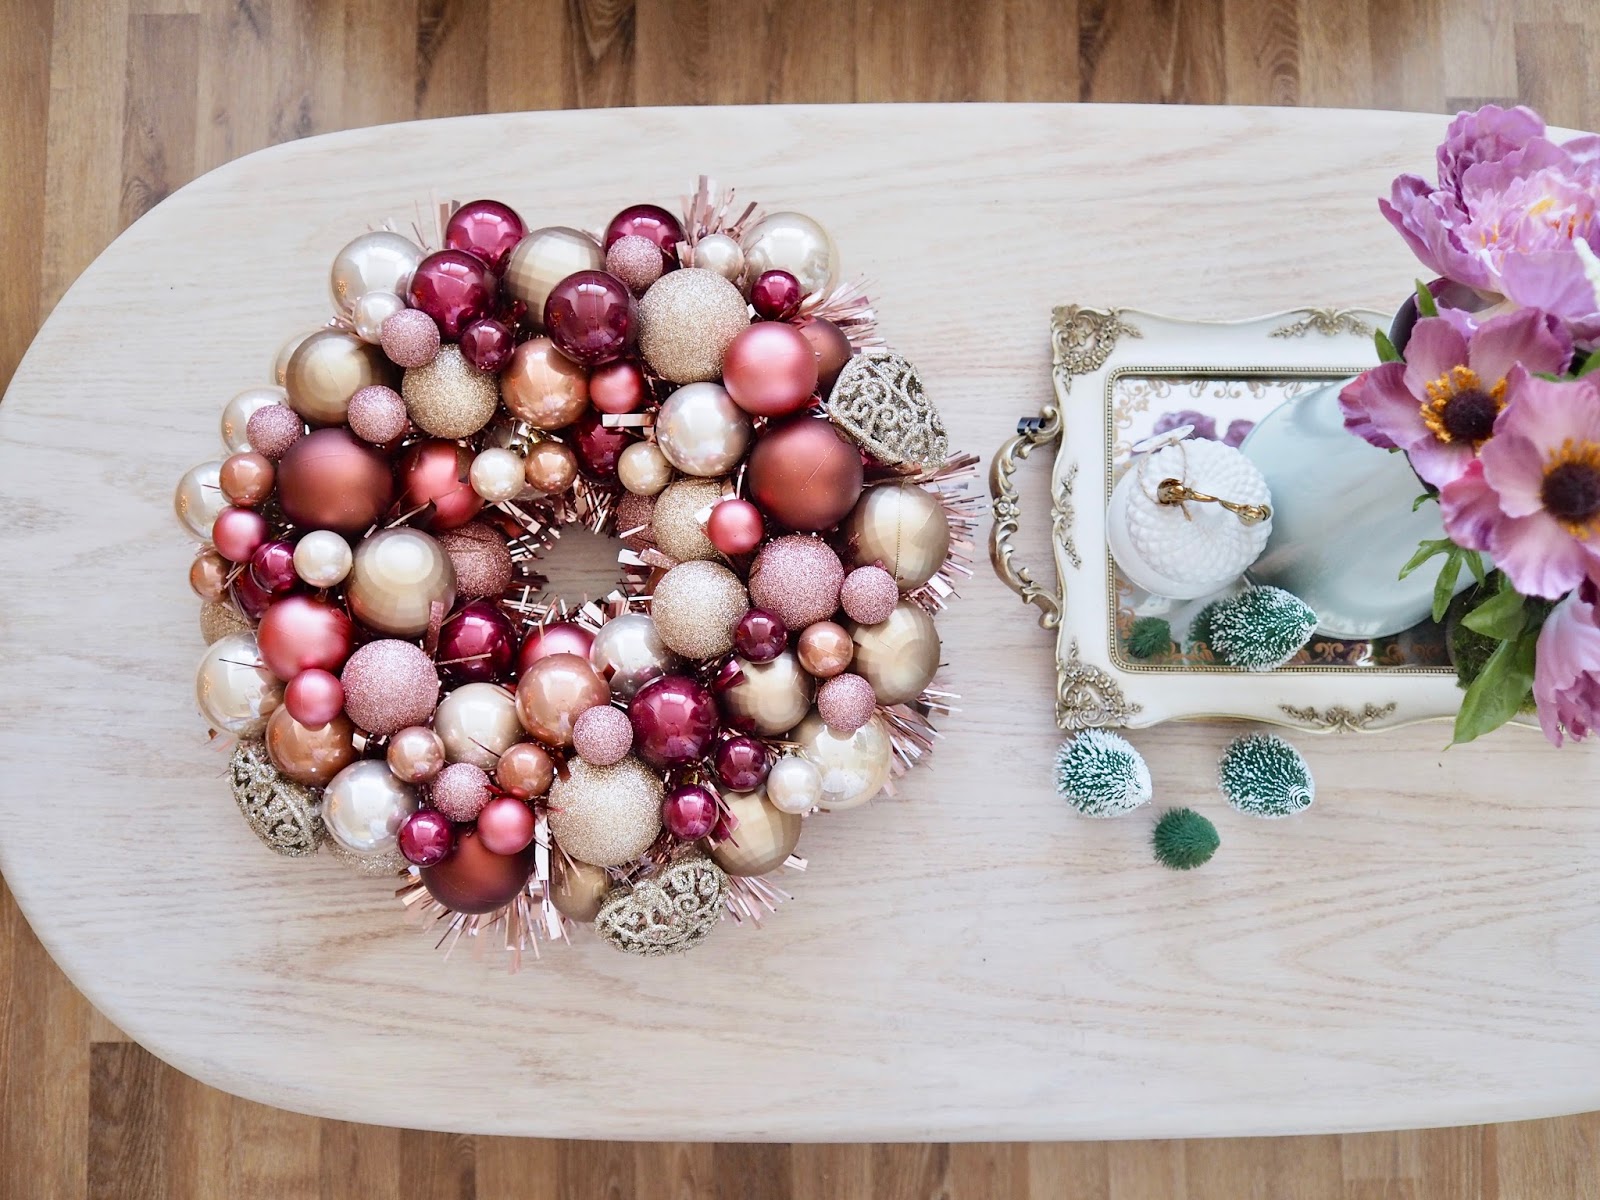
Today I have a really fun Christmas DIY. It is so simple that anyone can try it. It was actually my first time to attempt to make a DIY bauble wreath and I am really pleased with how it turned out. It is a great way of reusing old baubles that you have from previous years. This year I got some new baubles, I didn’t want to throw them out, so, I had a look on Pinterest for some ideas. I came across loads of people trying DIY bauble wreaths so I decided to give it a go. I reused some old baubles but I also bought some cheap ones from Primark to add to the wreath. I wanted a rose gold themed wreath so I bought some baubles in a copper/rose gold colour to add more colour to my wreath.
What you need
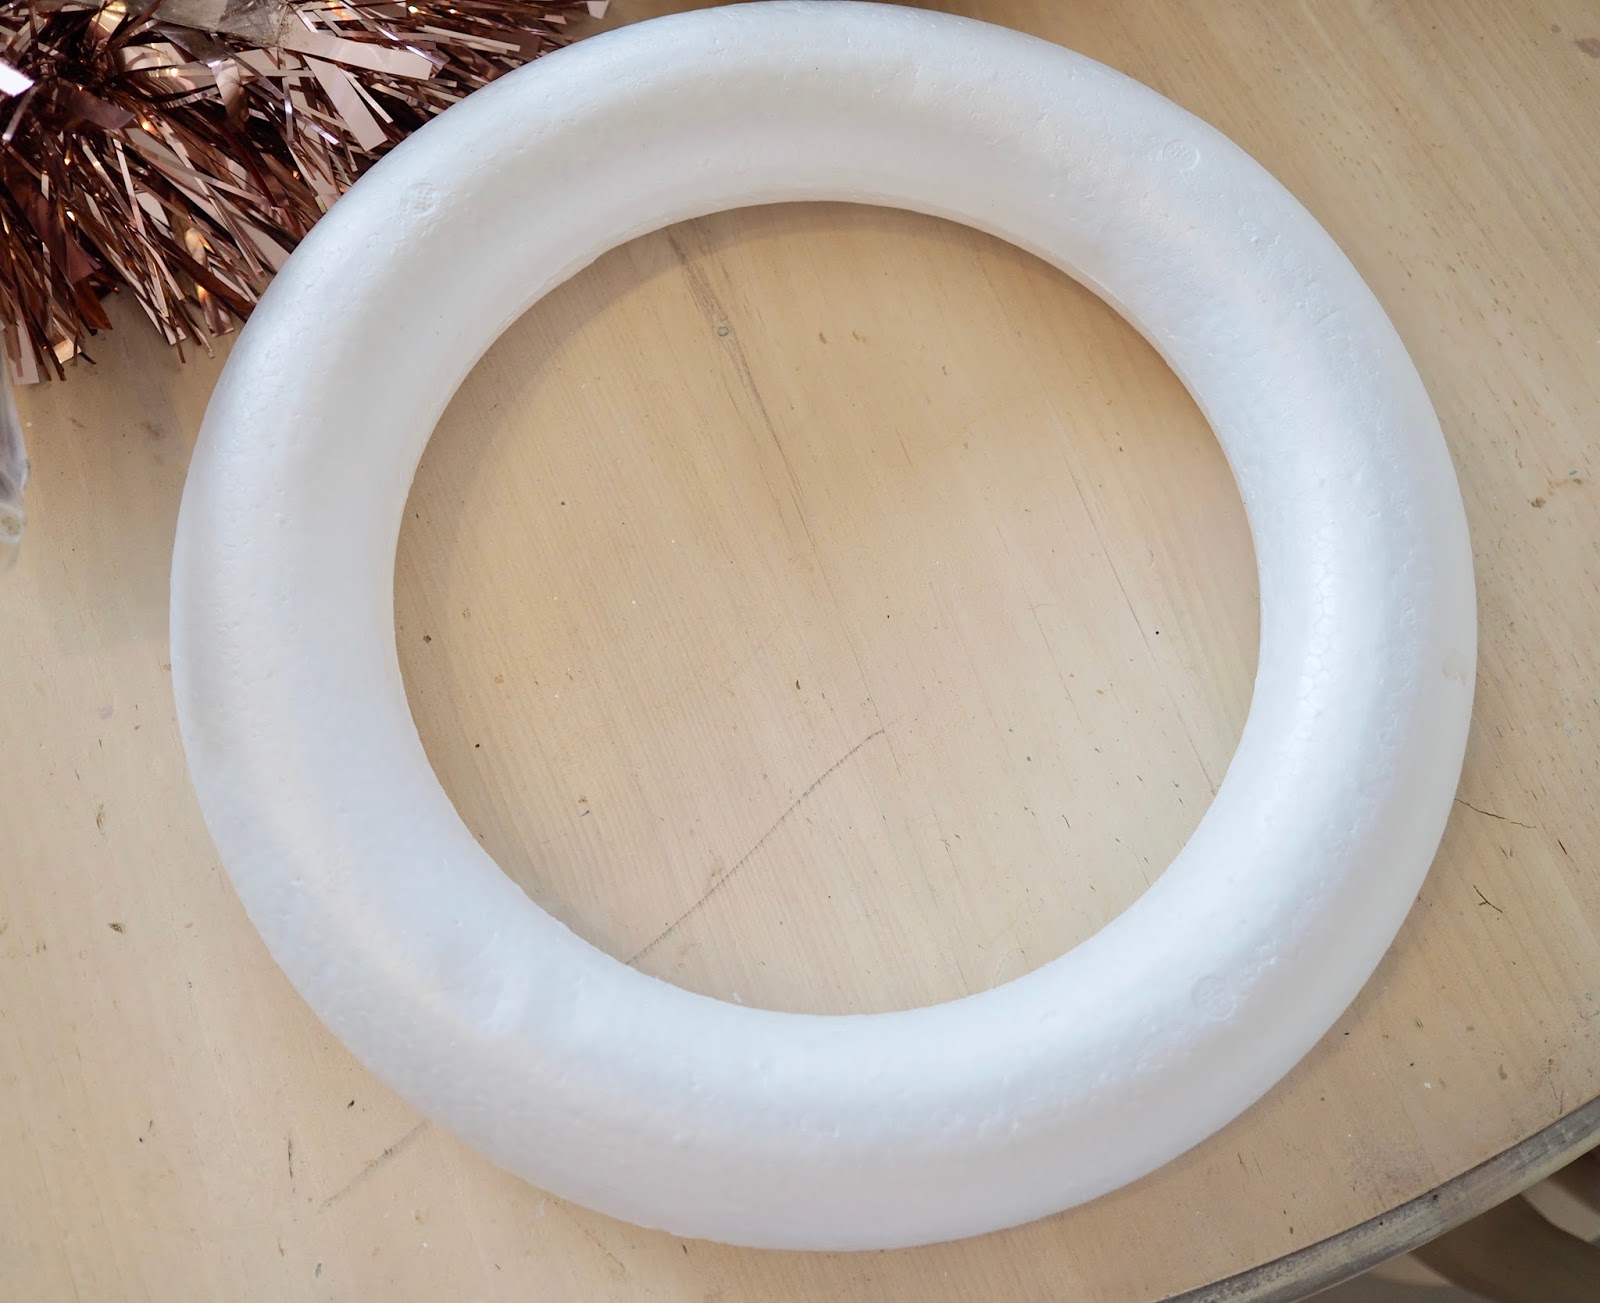
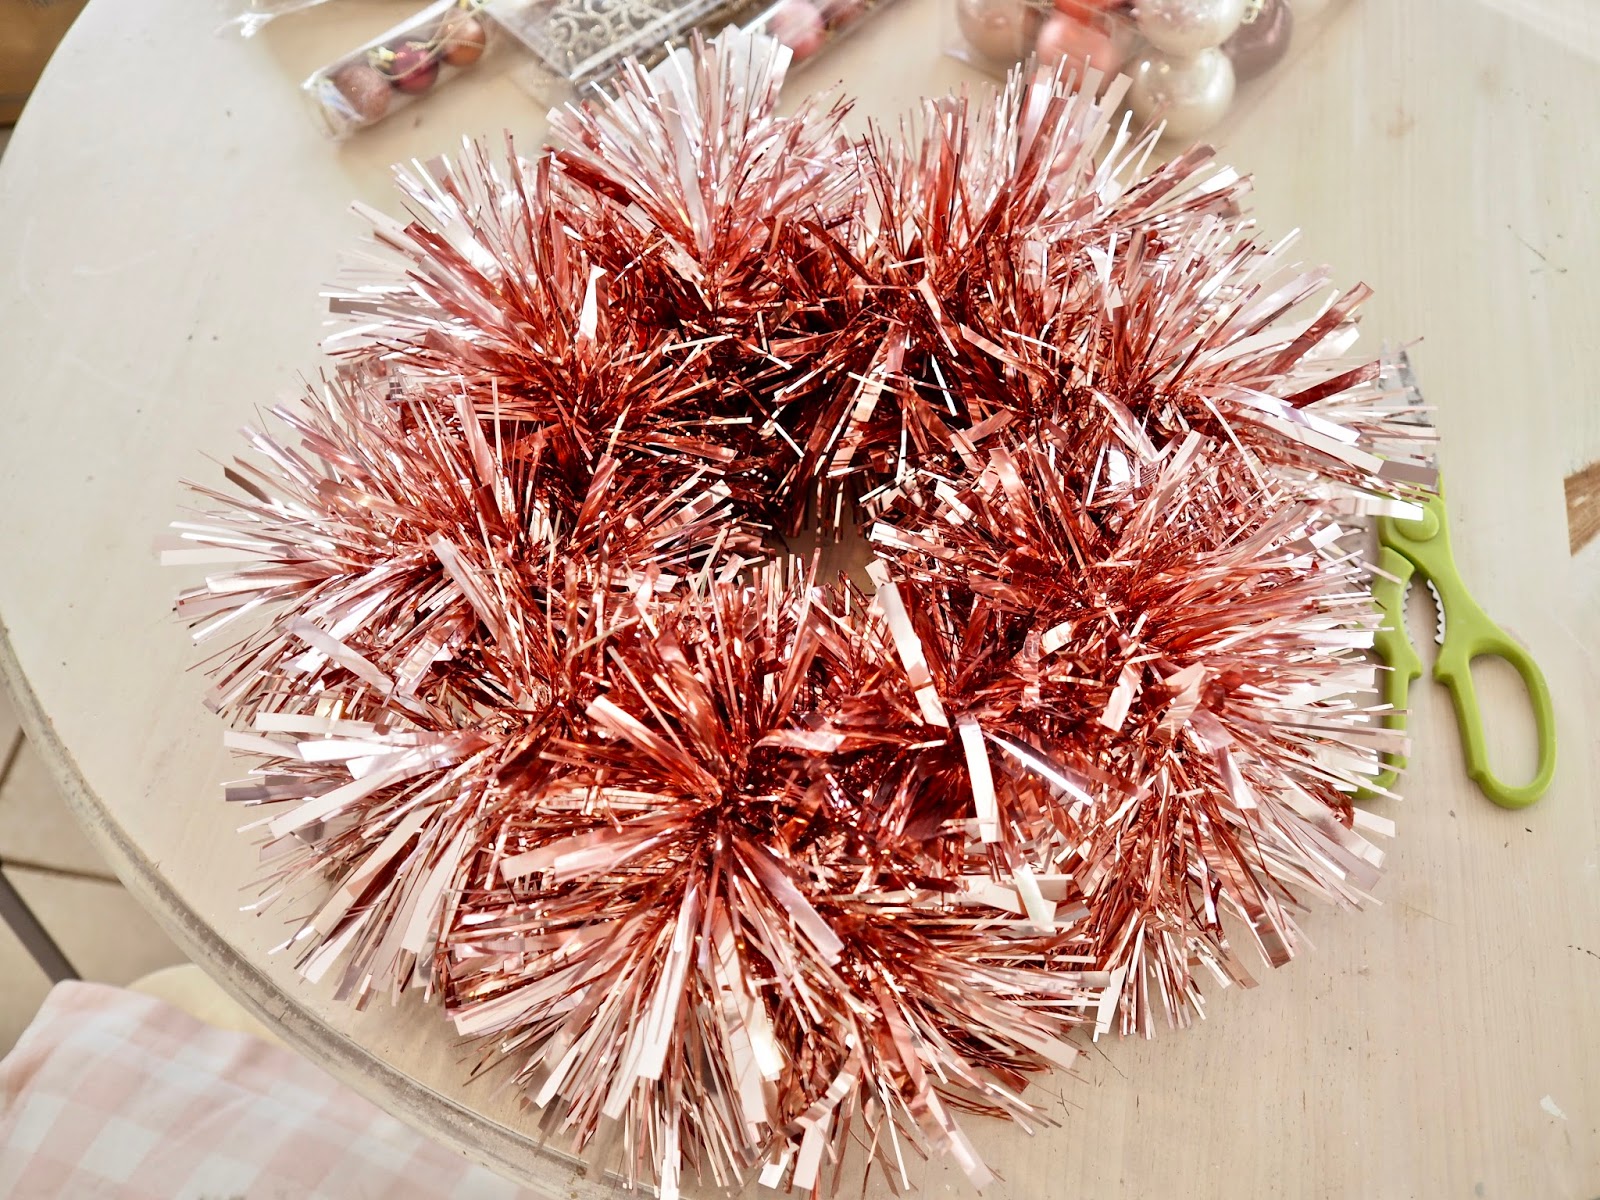
All you need for this DIY is a polystyrene ring, glue, tinsel and baubles! Oh and some patience! lol, This Diy only took me an hour to make so it is a fun afternoon DIY. I put together a Youtube video of this DIY to give you a better idea as to how I made it. It is really simple. I picked up a polystyrene ring from Mr Price for €2.99, you can also get these in the craft shops.
How I made it
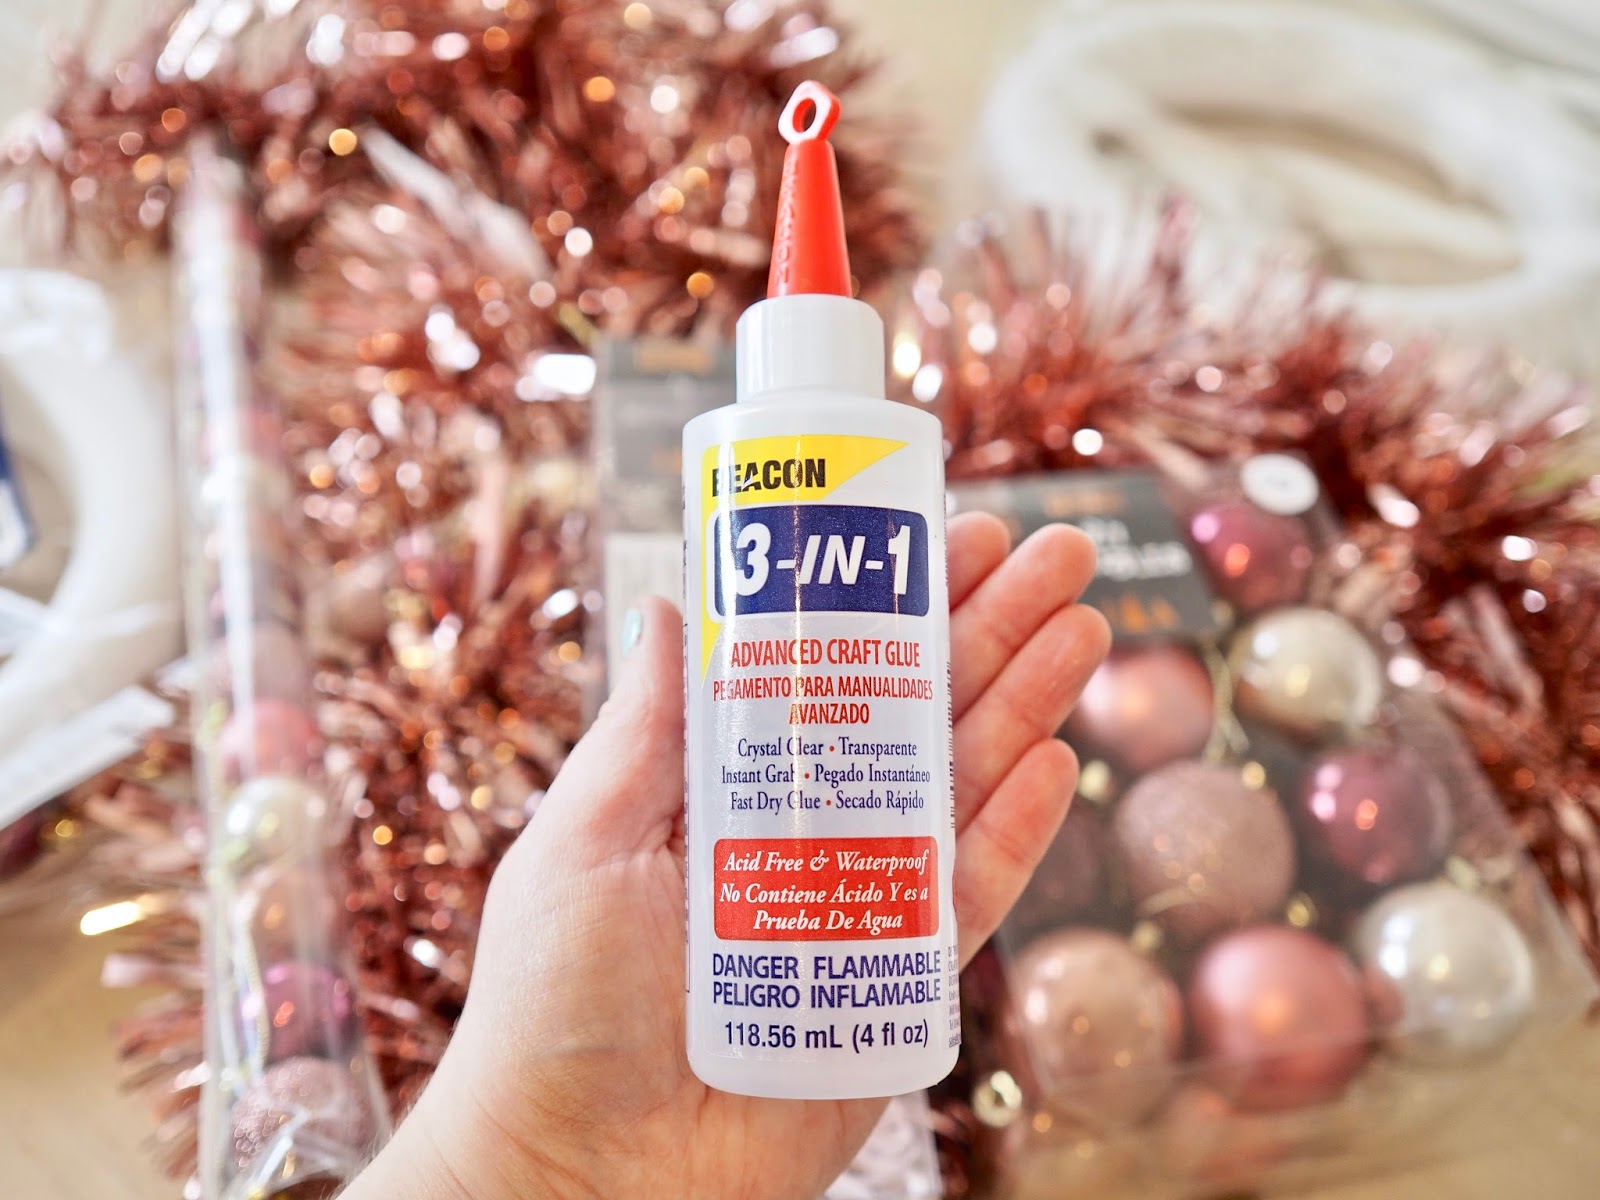
I started off by wrapping some tinsel around the polystyrene ring, I wanted to cover the white parts of the ring. The tinsel is optional as you can use ribbon or even spray paint to cover the ring. I recommend using a hot glue gun if you have one. The day I wanted to make this DIY I went to my local craft shop and they had sold out of glue sticks for my gun, so, I had to use the glue below instead. I added a small amount of glue to the ring and then I wrapped my tinsel around it securing it into place.
I then started to glue my baubles onto the wreath starting on the inside of the polystyrene ring. I applied glue to the base of the bauble where the string is and I gently pushed it into place. Also, Don’t forget to cut your strings off your baubles. I started off by using medium-sized baubles on the inside and then I built them up. I kept adding baubles until I had most of the tinsel covered on top. I had some smaller sized baubles and I used these to fill in any gaps.
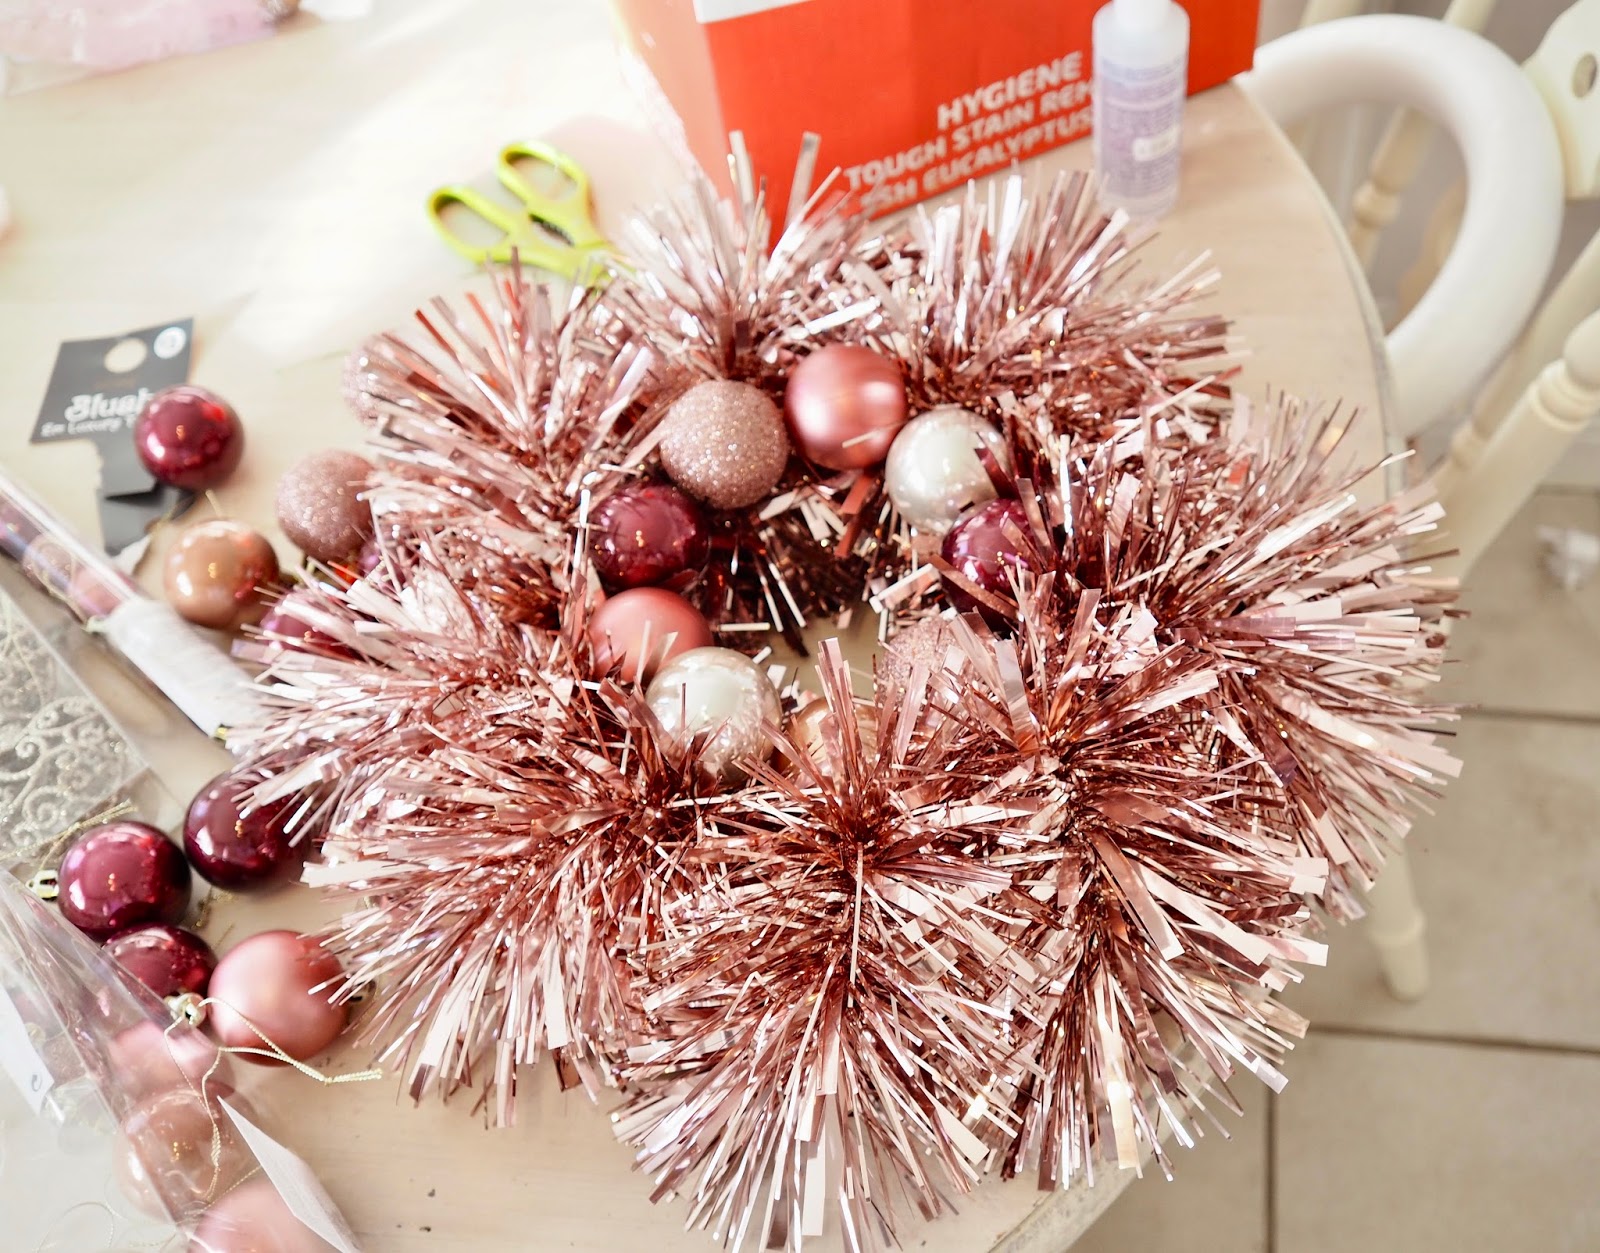
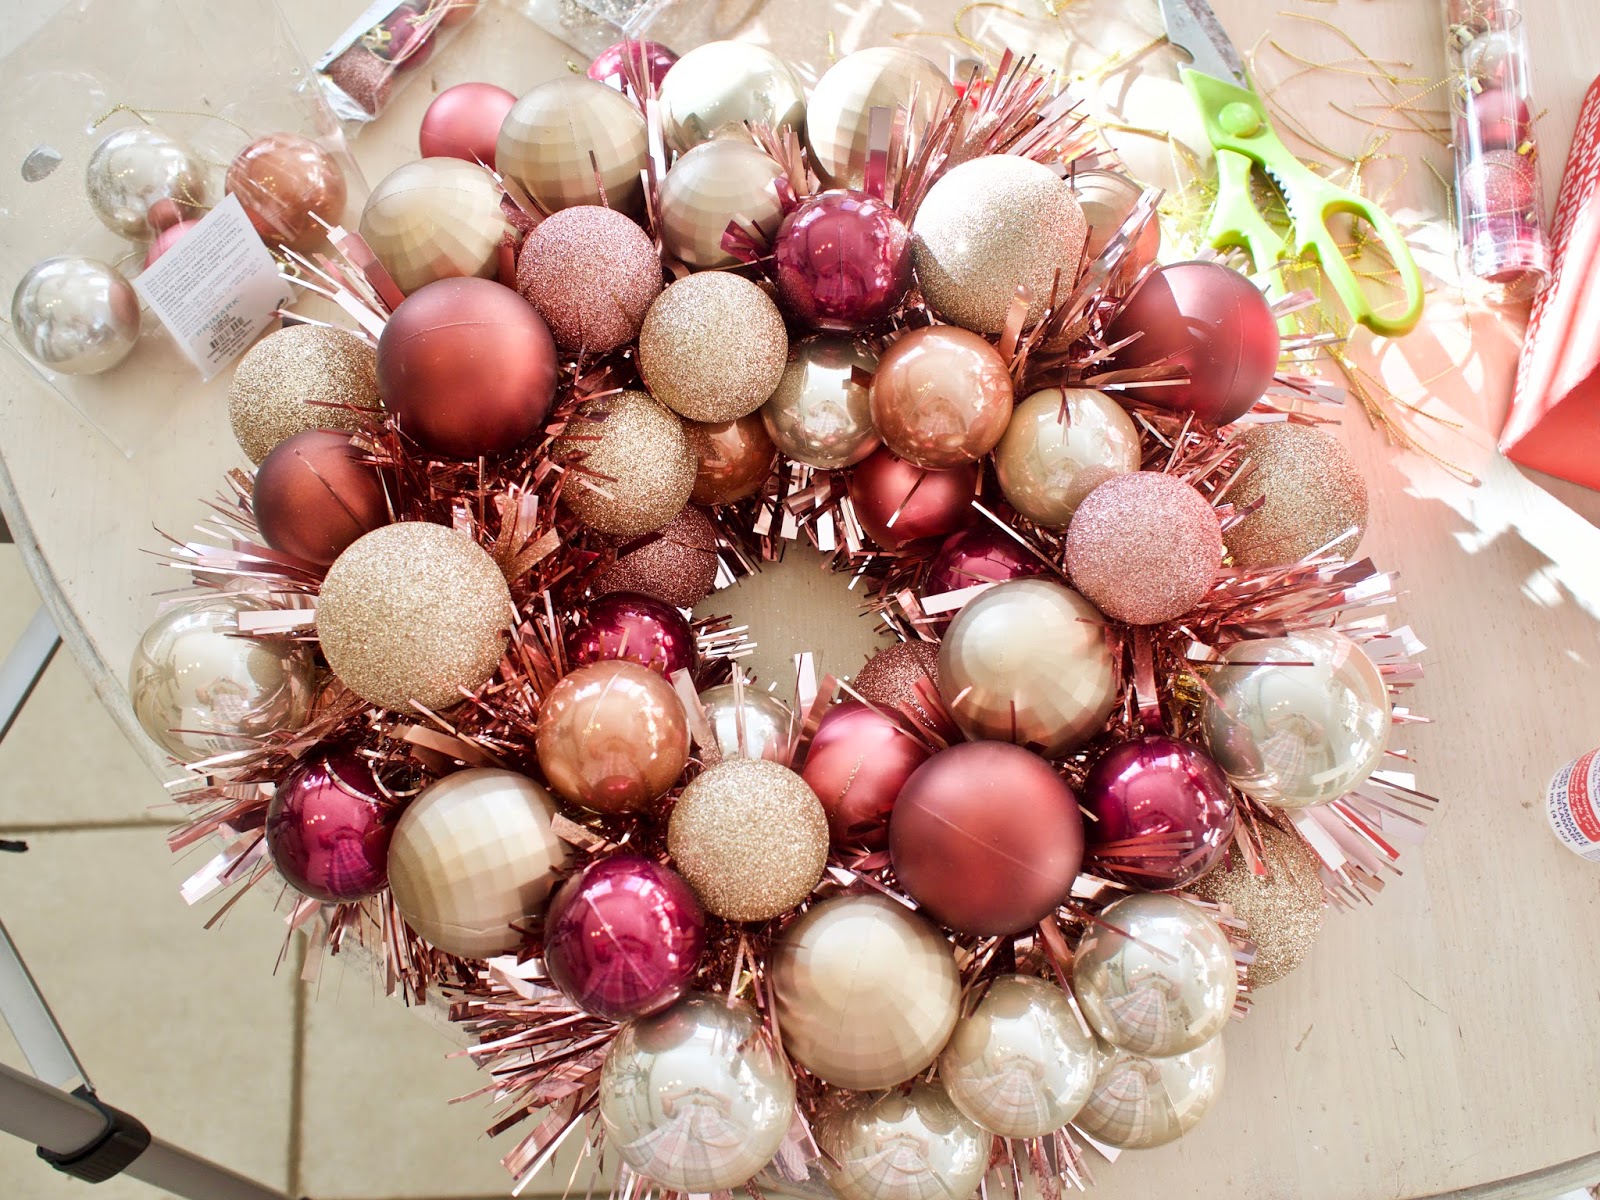
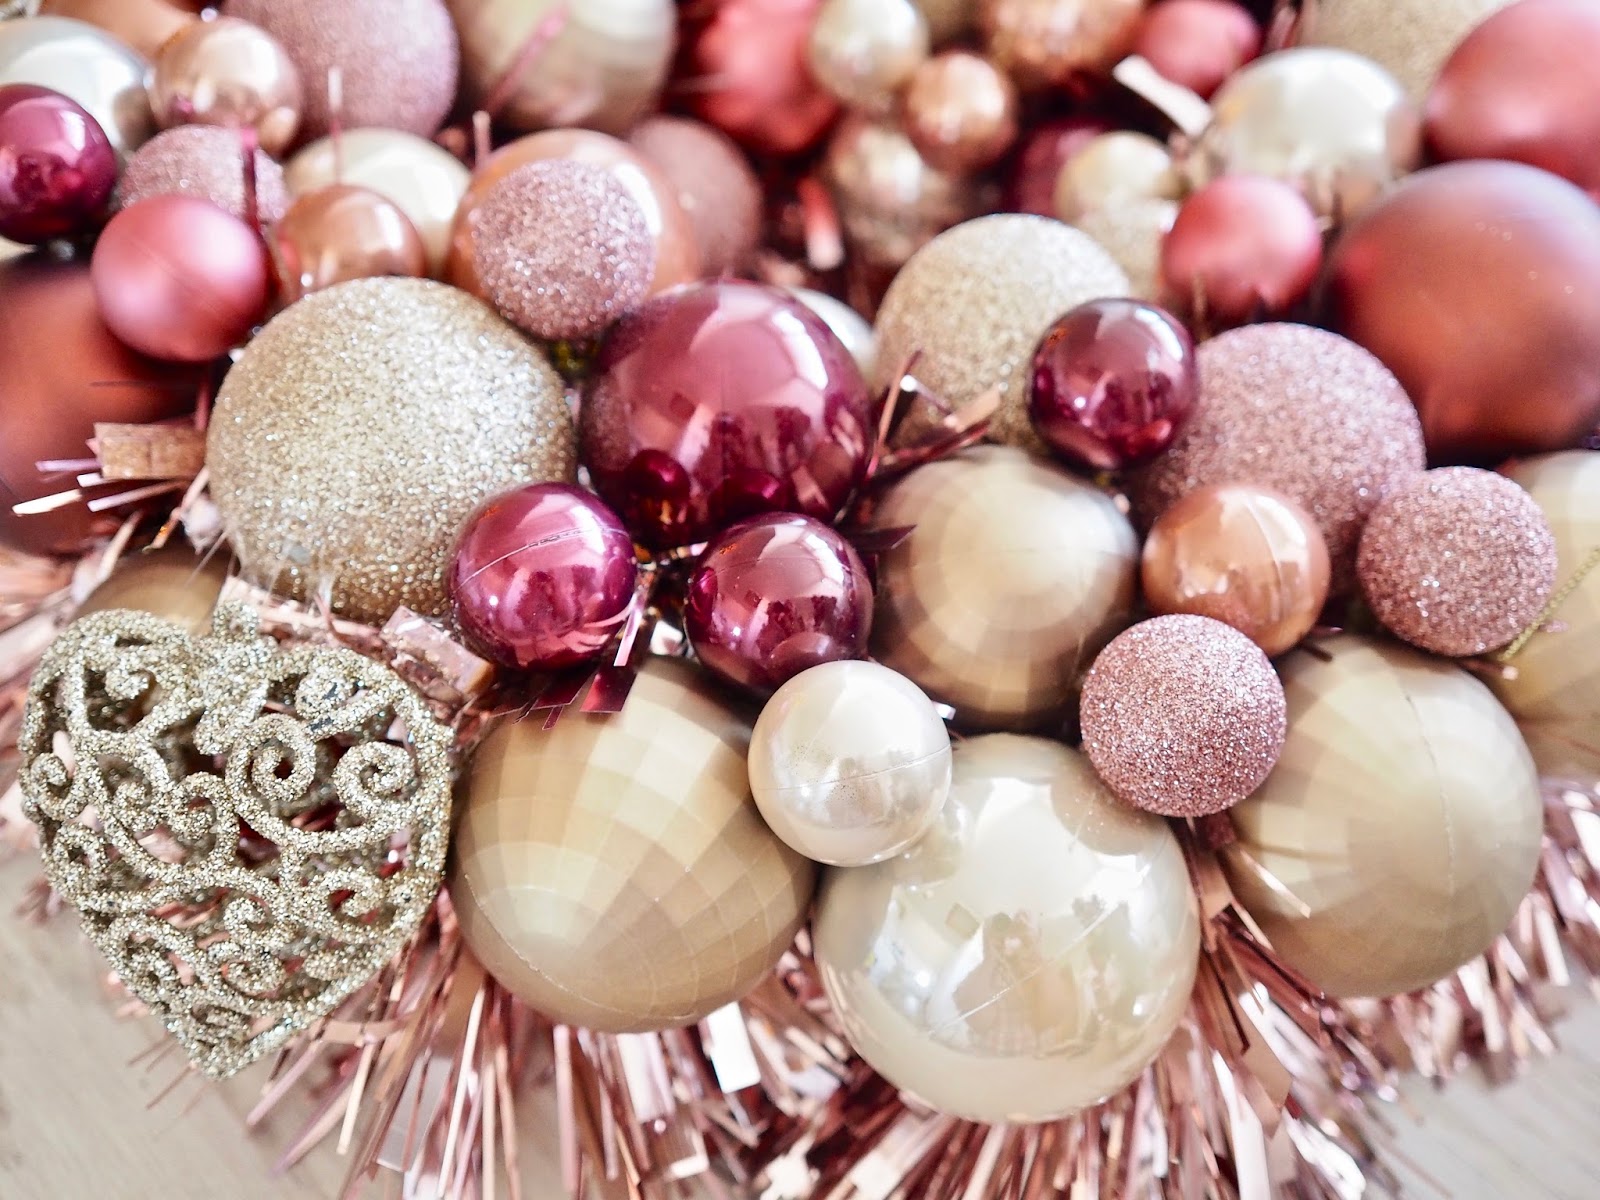
You can get as creative as you want with this DIY and you can add on different trinkets and baubles. I had some heart-shaped gold baubles that I added on to give it more of a shabby chic look. You can also experiment with different colour combos too. If your old baubles are not the colours you want then why not spray them.

These wreaths make really fun presents, so, if you are wanting to save a few pennies and have some old baubles lying around then this is a great way to get crafty and make some presents. You can experiment and get smaller or larger sized polystyrene rings and make different sized ones. Why not make really small ones and give them to your workmates/friends.
I hope you enjoyed today’s DIY post. Don’t forget to check out my Youtube video below. Please let me know if you give this a try and make sure to tag me in an Instagram pic or share a link below. I love to see what you guys are making. Want more ideas? Click here.
Chat soon,
Catherine.


Author
Thanks Allison! X
Obsessed with the colors you used, Catherine! Always enjoy your Christmas posts. ❤️
I love this! I watched the video at the weekend and had all the intentions of making it – maybe next year x
Really creative and cute idea! I'm going to give it a go, thank you! Cheers from Indio, CA.