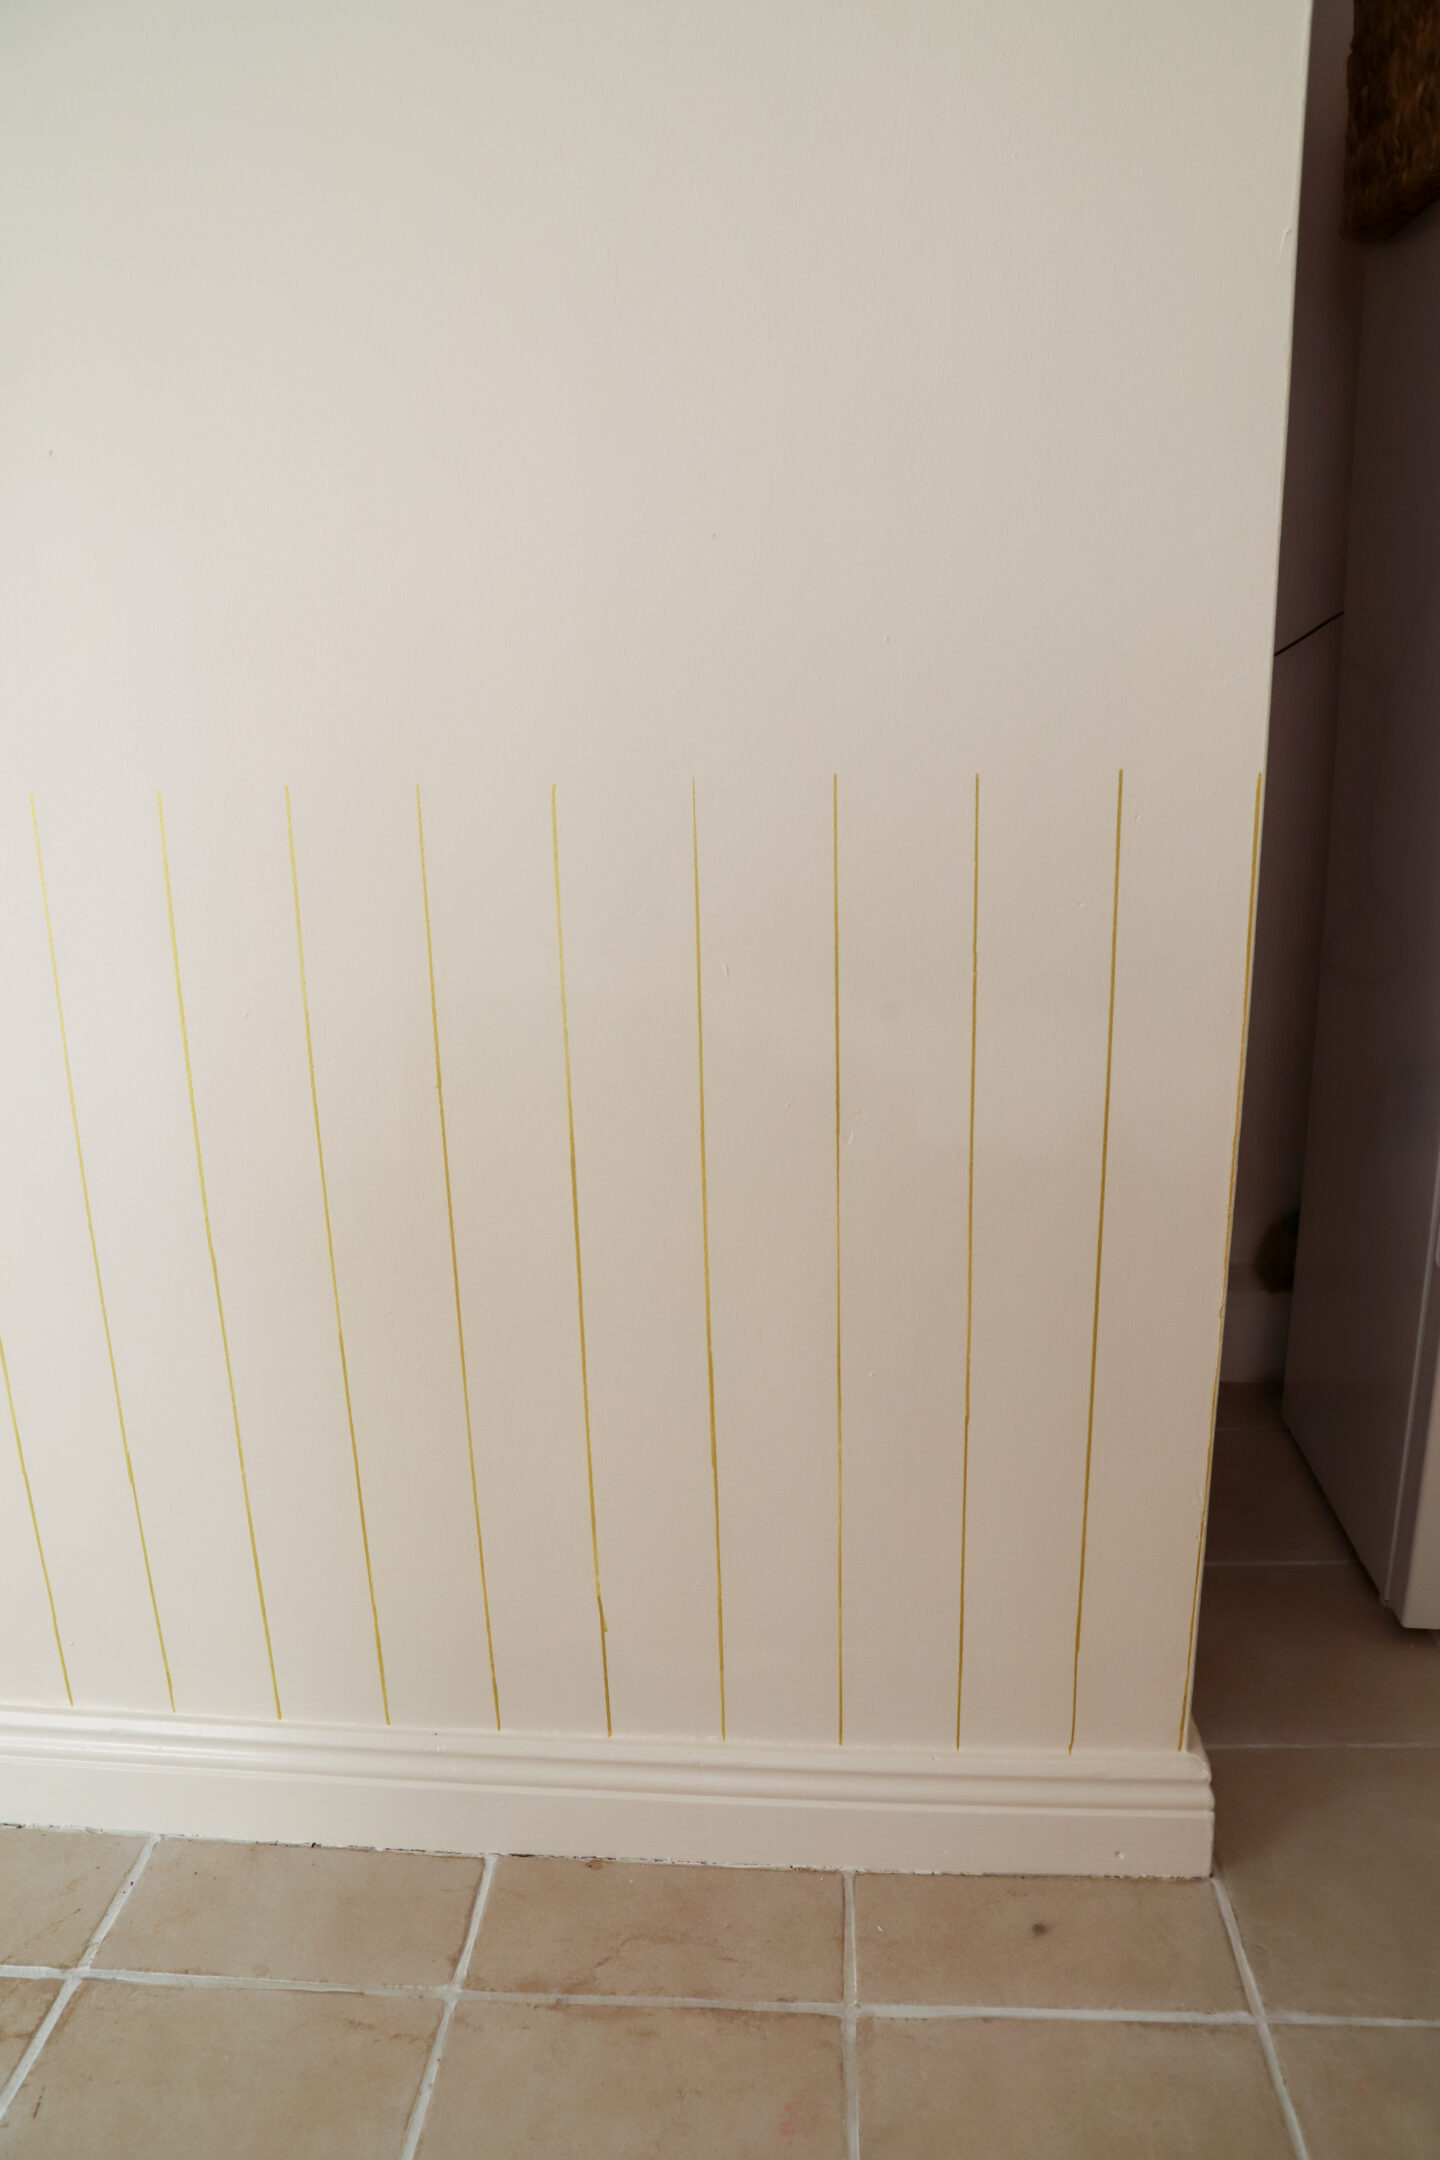
Do you love the look of beadboard panelling but don’t want to take the plunge and panel your wall? Well, let me share how I did faux beadboard wall panelling with a marker! Yep, a paint pen, a plank of wood and some trim!
In this week’s YouTube video, I gave my kitchen a refresh. The walls had cobwebs, and the paint was looking dull. This Spring, I am tackling some jobs in the kitchen, and the walls were my first job.
*This post contains affiliate links
The wall paint
As you can see from my YouTube video, I had plenty of cobwebs in the kitchen, and the dust on my skirting boards was criminal. So, to prep the walls, I took my time cleaning them of dust and grime.
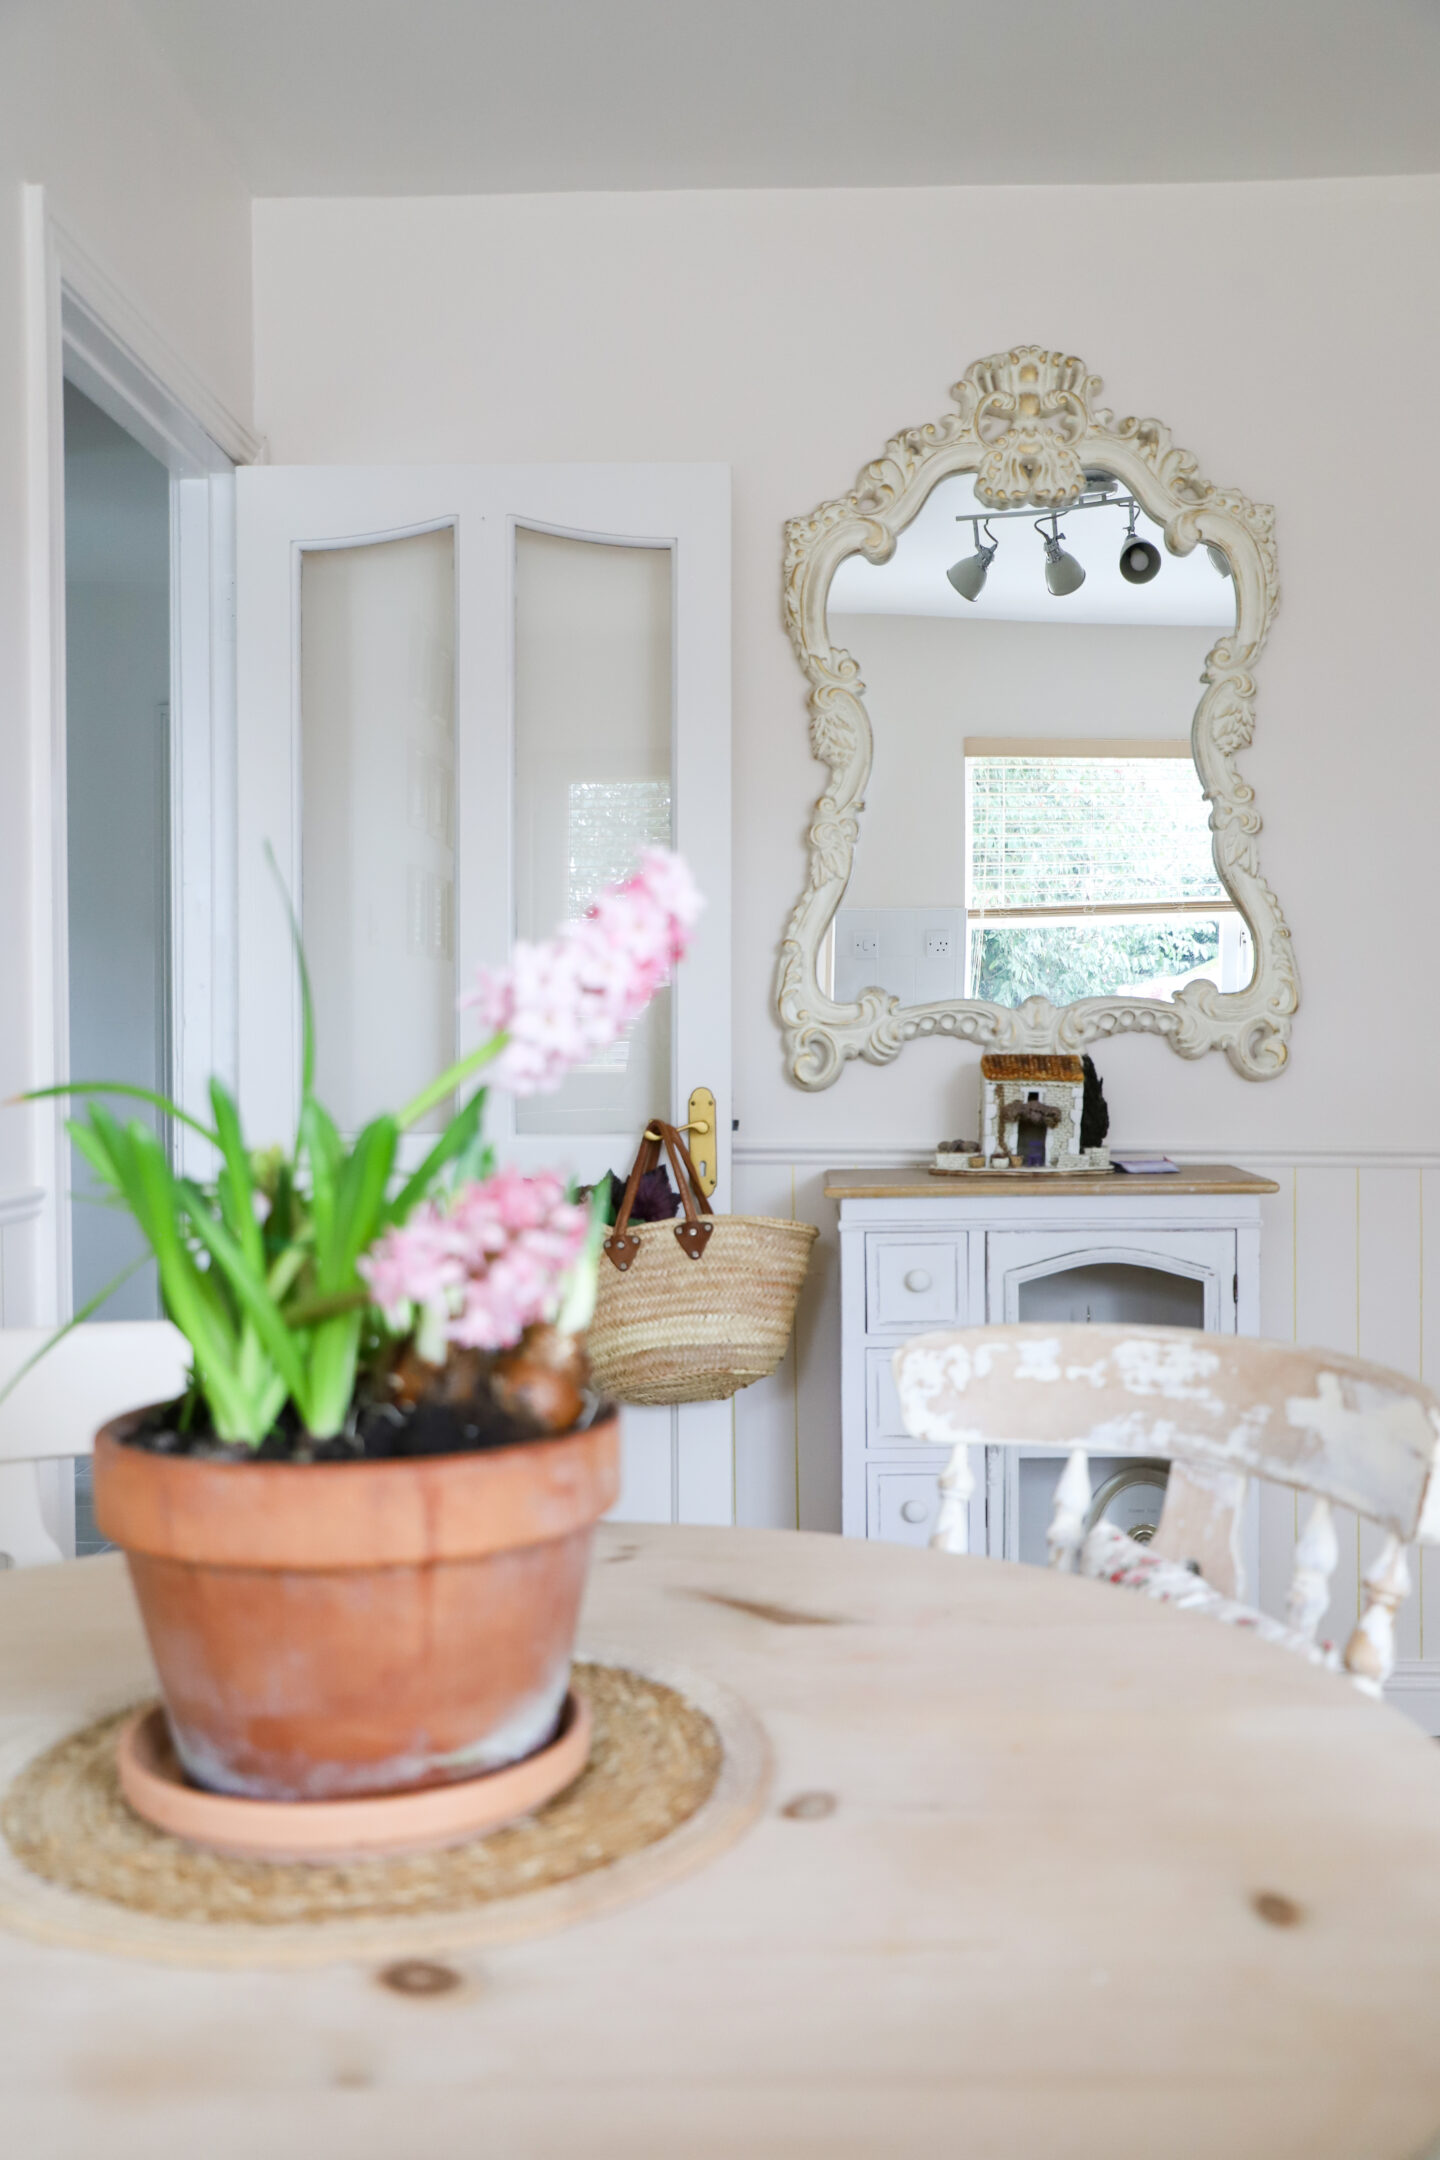
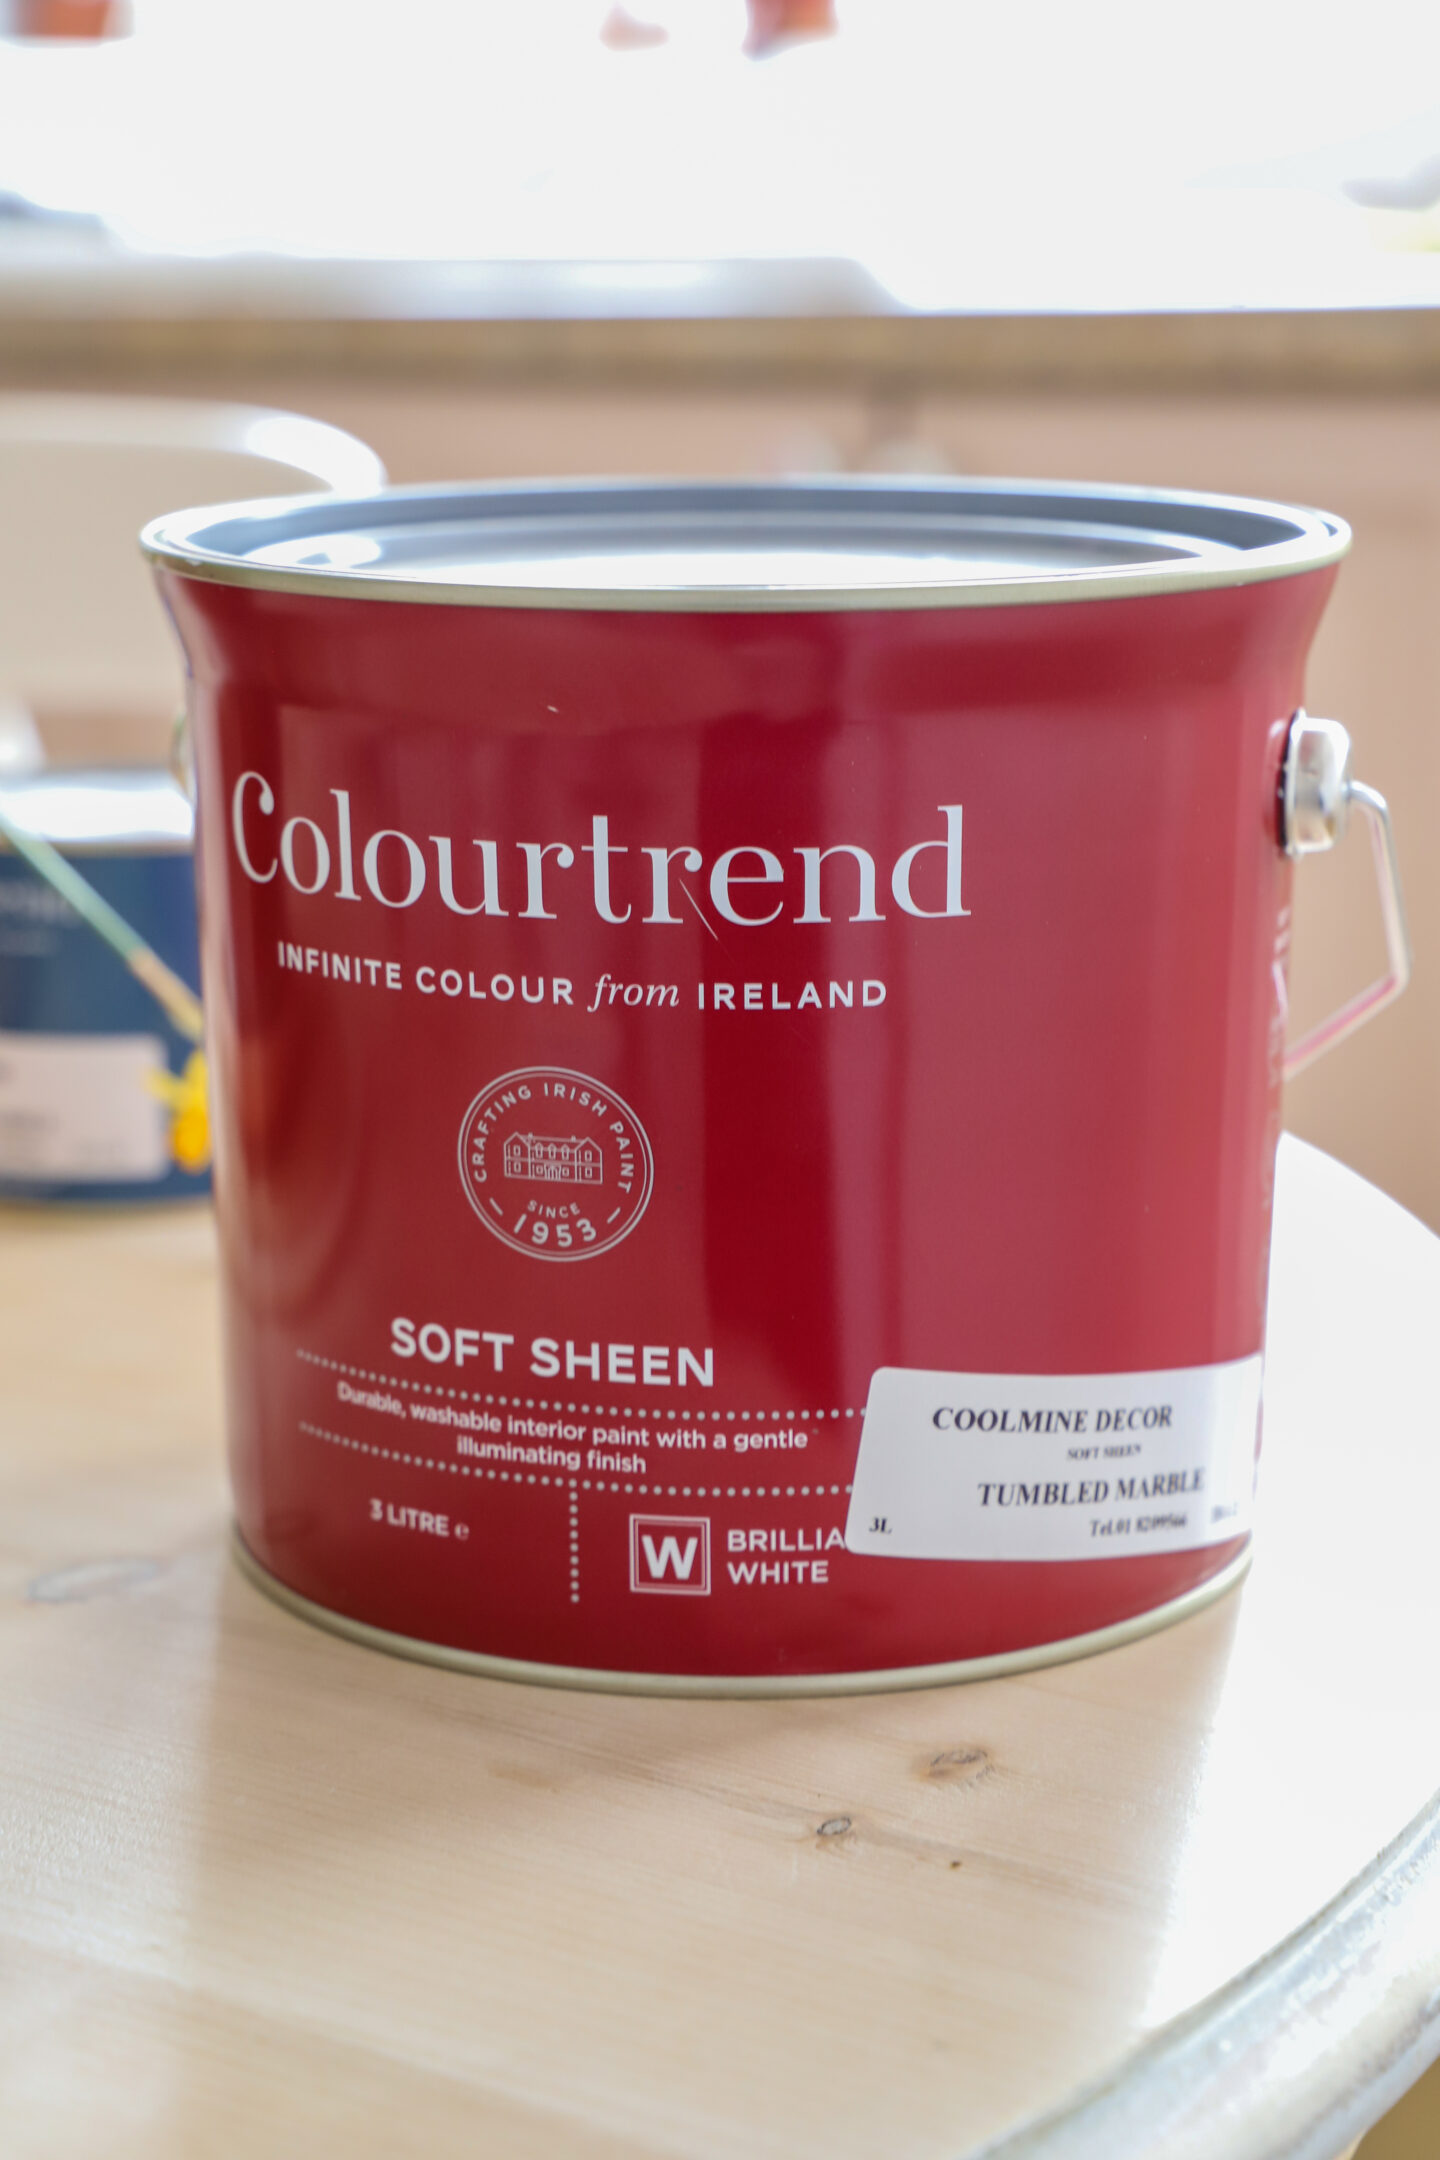
For the walls, I applied two coats of Colourtrend paint in the shade Tumbled Marble. I went for a soft sheen finish as it would reflect the light. I previously used this shade on my kitchen chairs, and I love the warmth of this colour.
Depending on the lighting, this colour has a slight pink hue. I also applied two coats of paint to the wood skirting and door. I got the same colour but in a satin finish for wood.
How I created the faux beadboard wall panelling with a marker
What I used:
- Gold paint marker
- Scrap wood panel (leftover from this project)
- Wood trim
- Nail gun
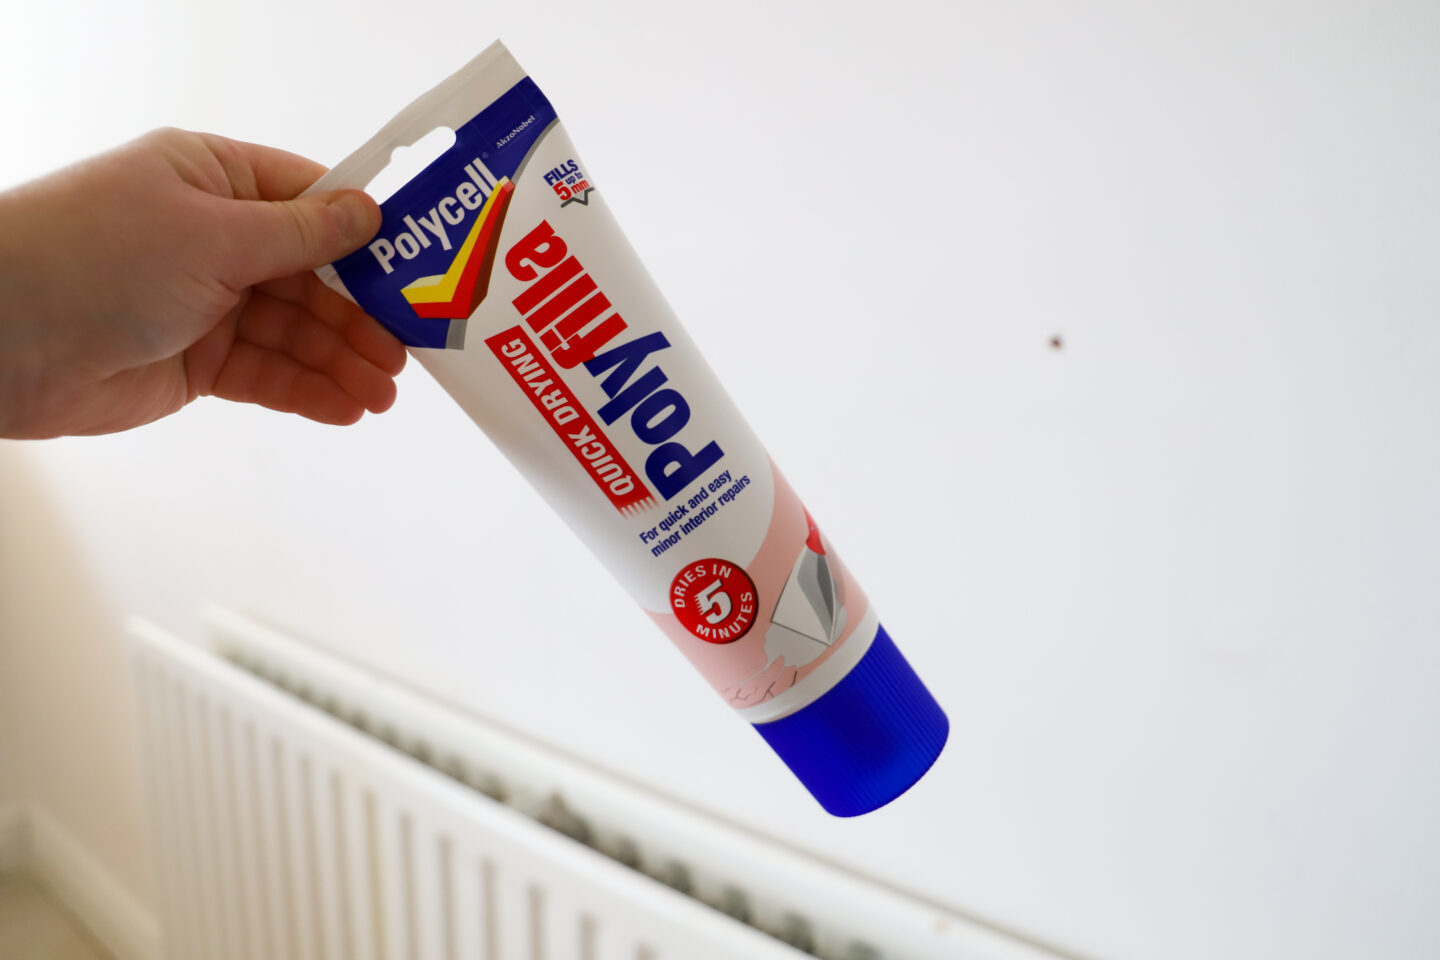
- Wood filler
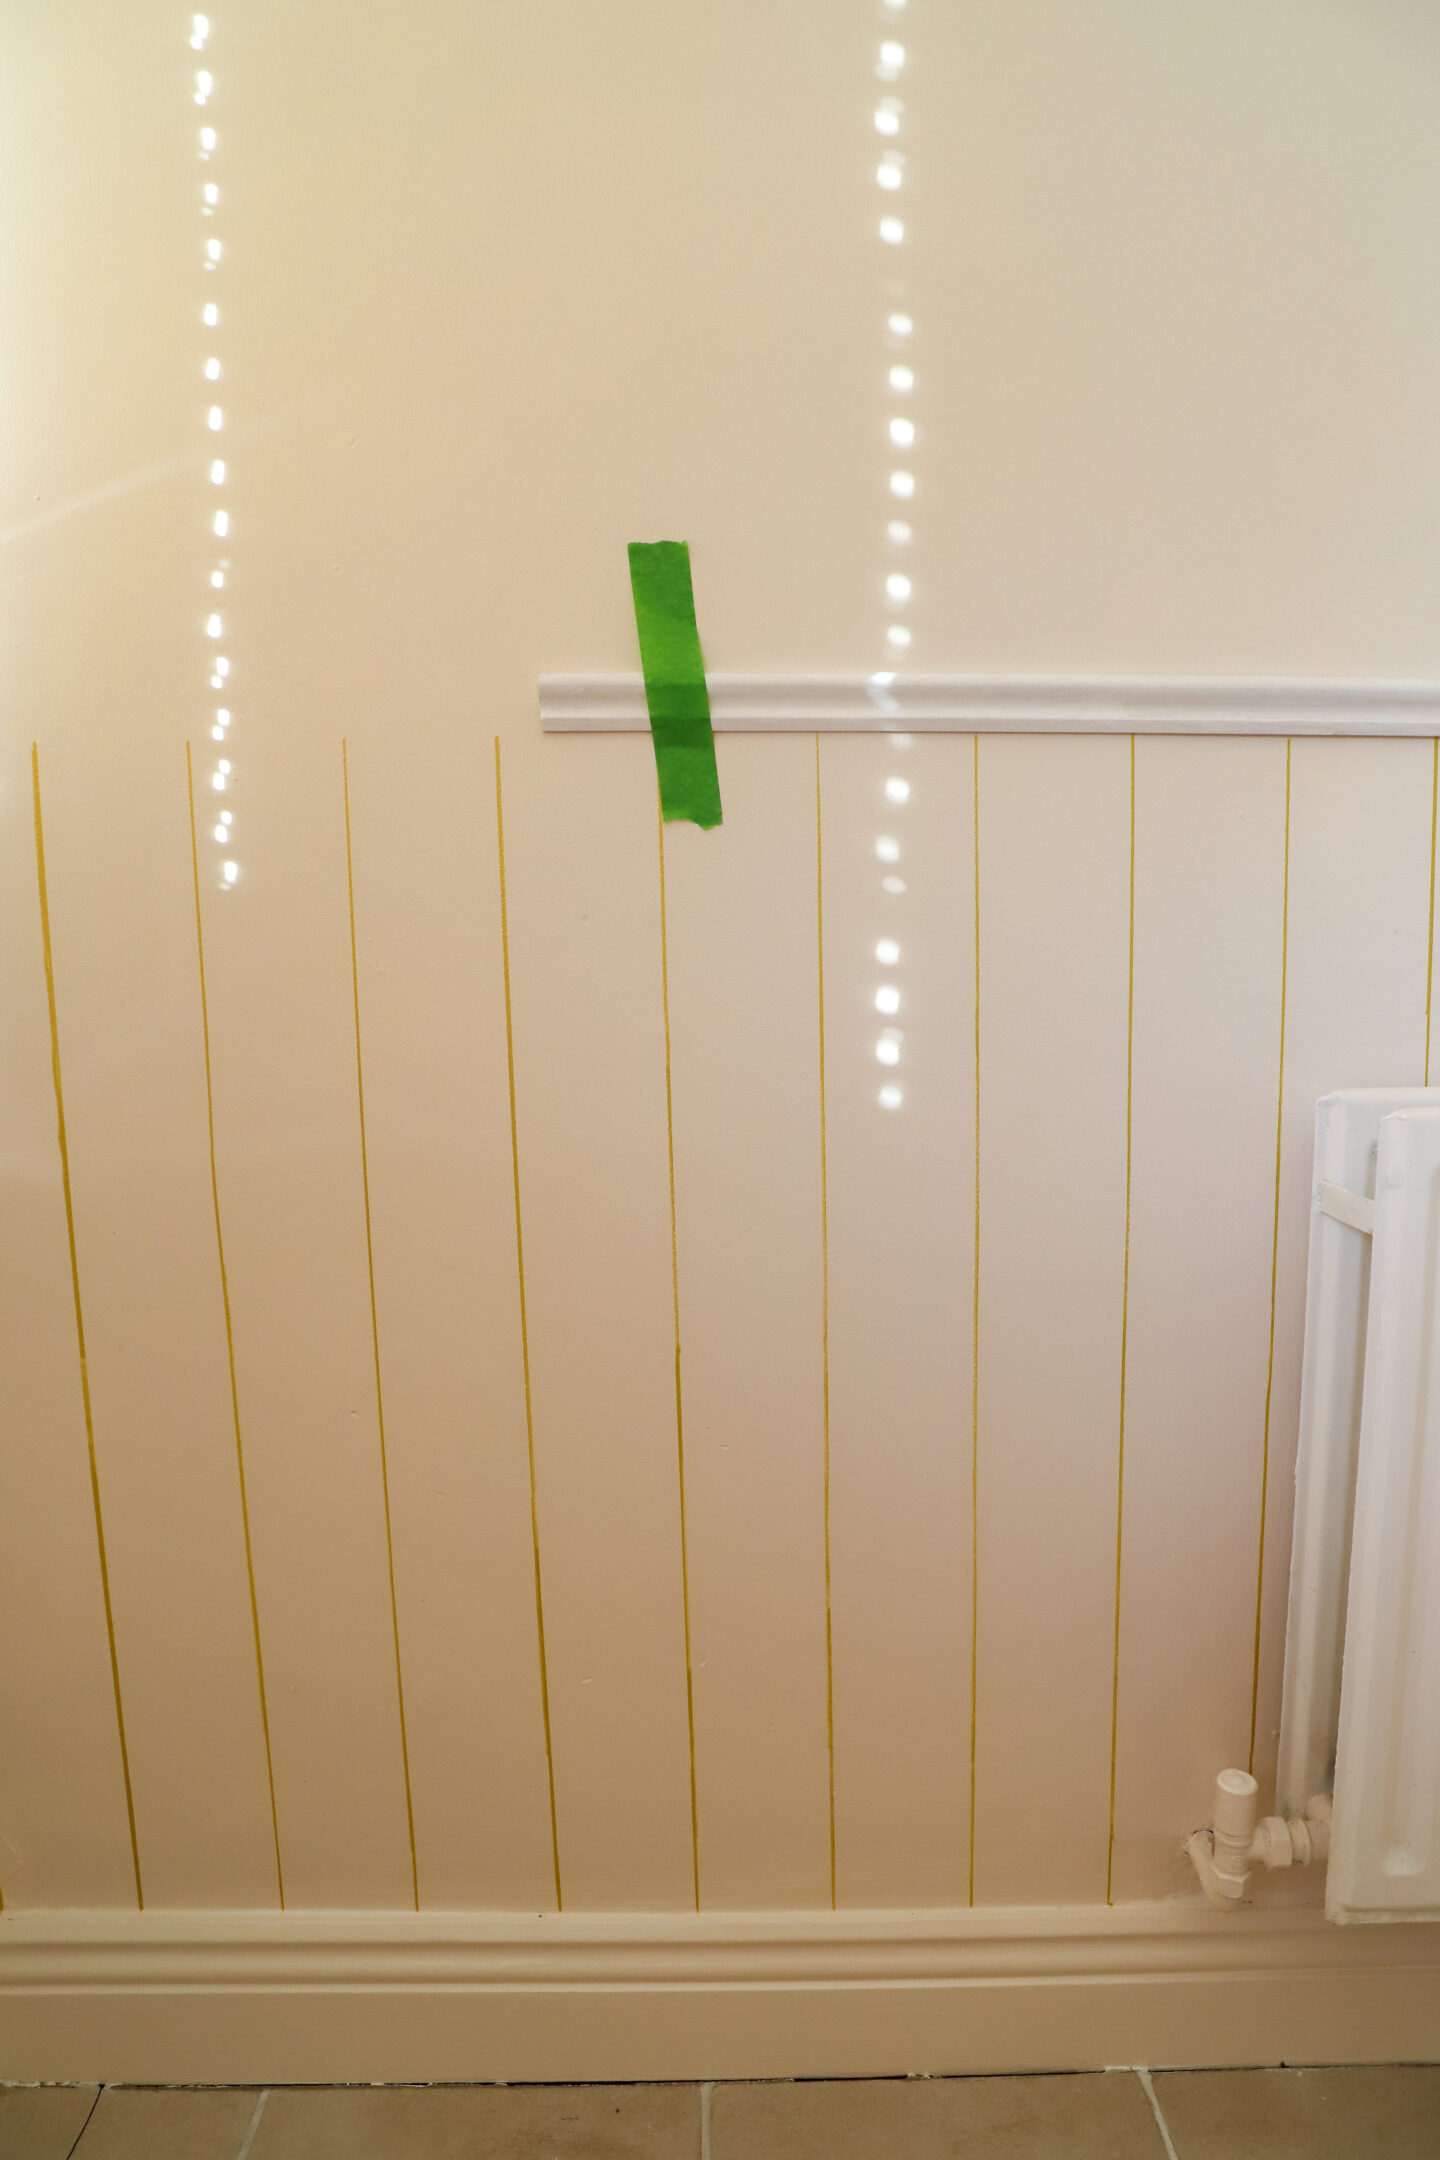
I used my scrap piece of wood as my ruler for panelling the wall. My scrap piece of wood was leftover wood panelling from my guest bedroom project, and it was the perfect height.
The gold paint marker was perfect for drawing lines onto the wall. I decided to use a gold marker after seeing Ispydiy’s blog post. I felt a black paint pen might have been too harsh.
Using a spirit level, I made sure the wood panel was straight before drawing the lines on the wall.
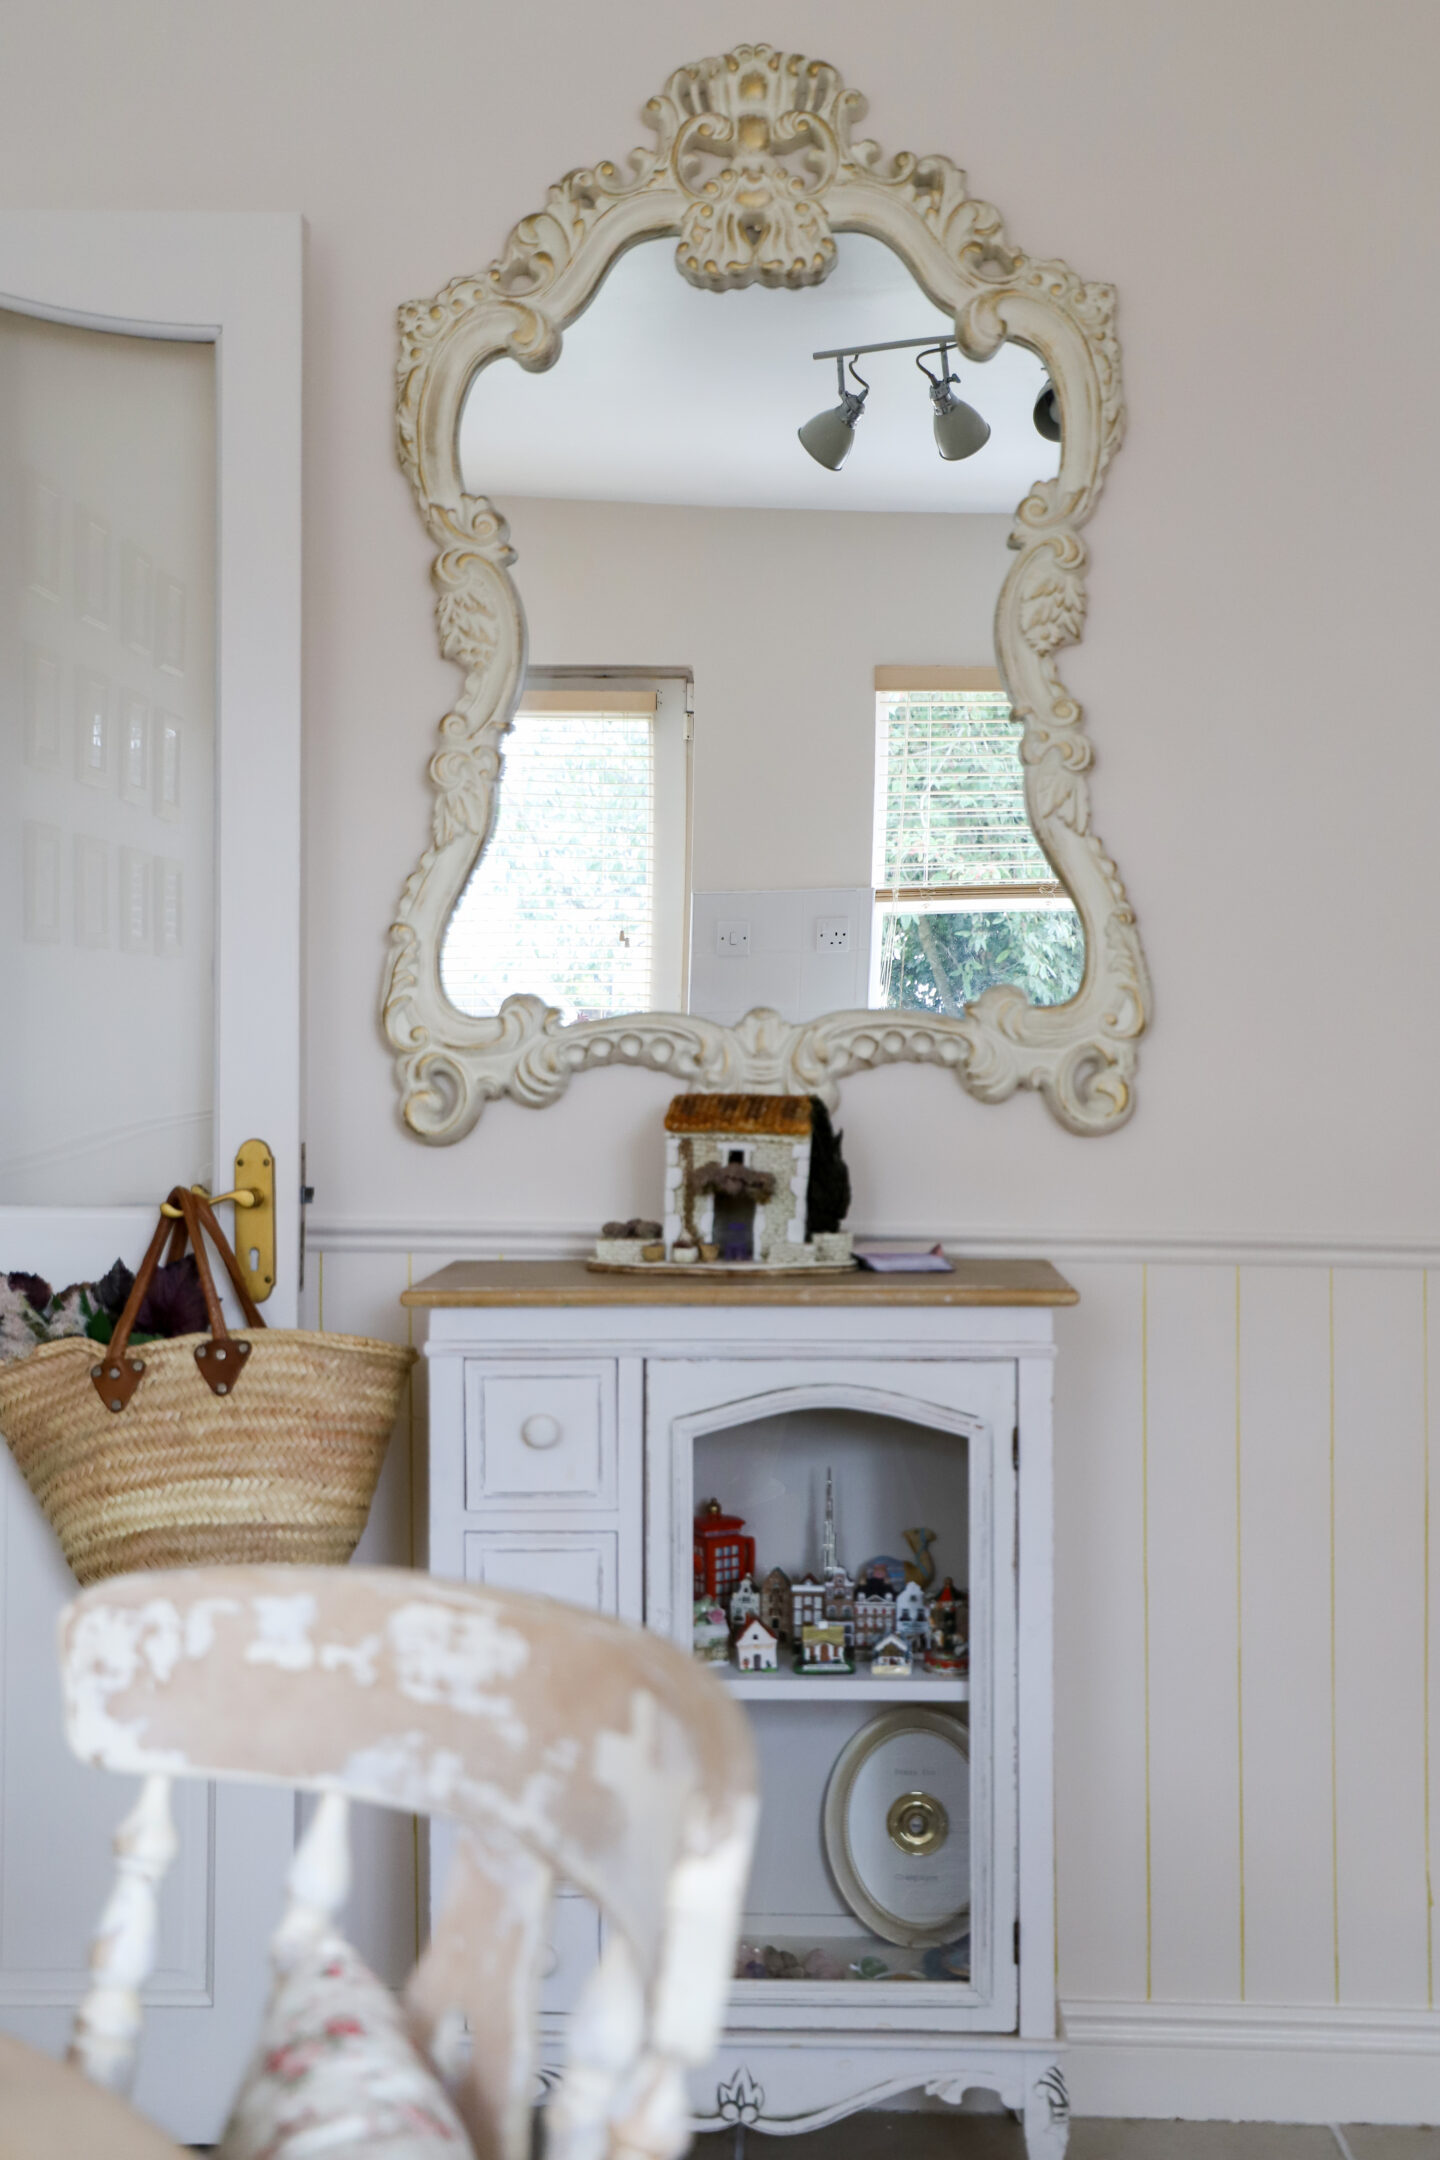
Once I had all my lines drawn, I added a wood moulding to the top. You can use adhesive or a nail gun to attach it to your wall. Once it was attached, I filled in any gaps from the nails and lightly sanded the trim before painting it the same colour as the wall.
Creating a faux beadboard panelled wall is a great way to see if you like it before taking the plunge and doing a wood version.
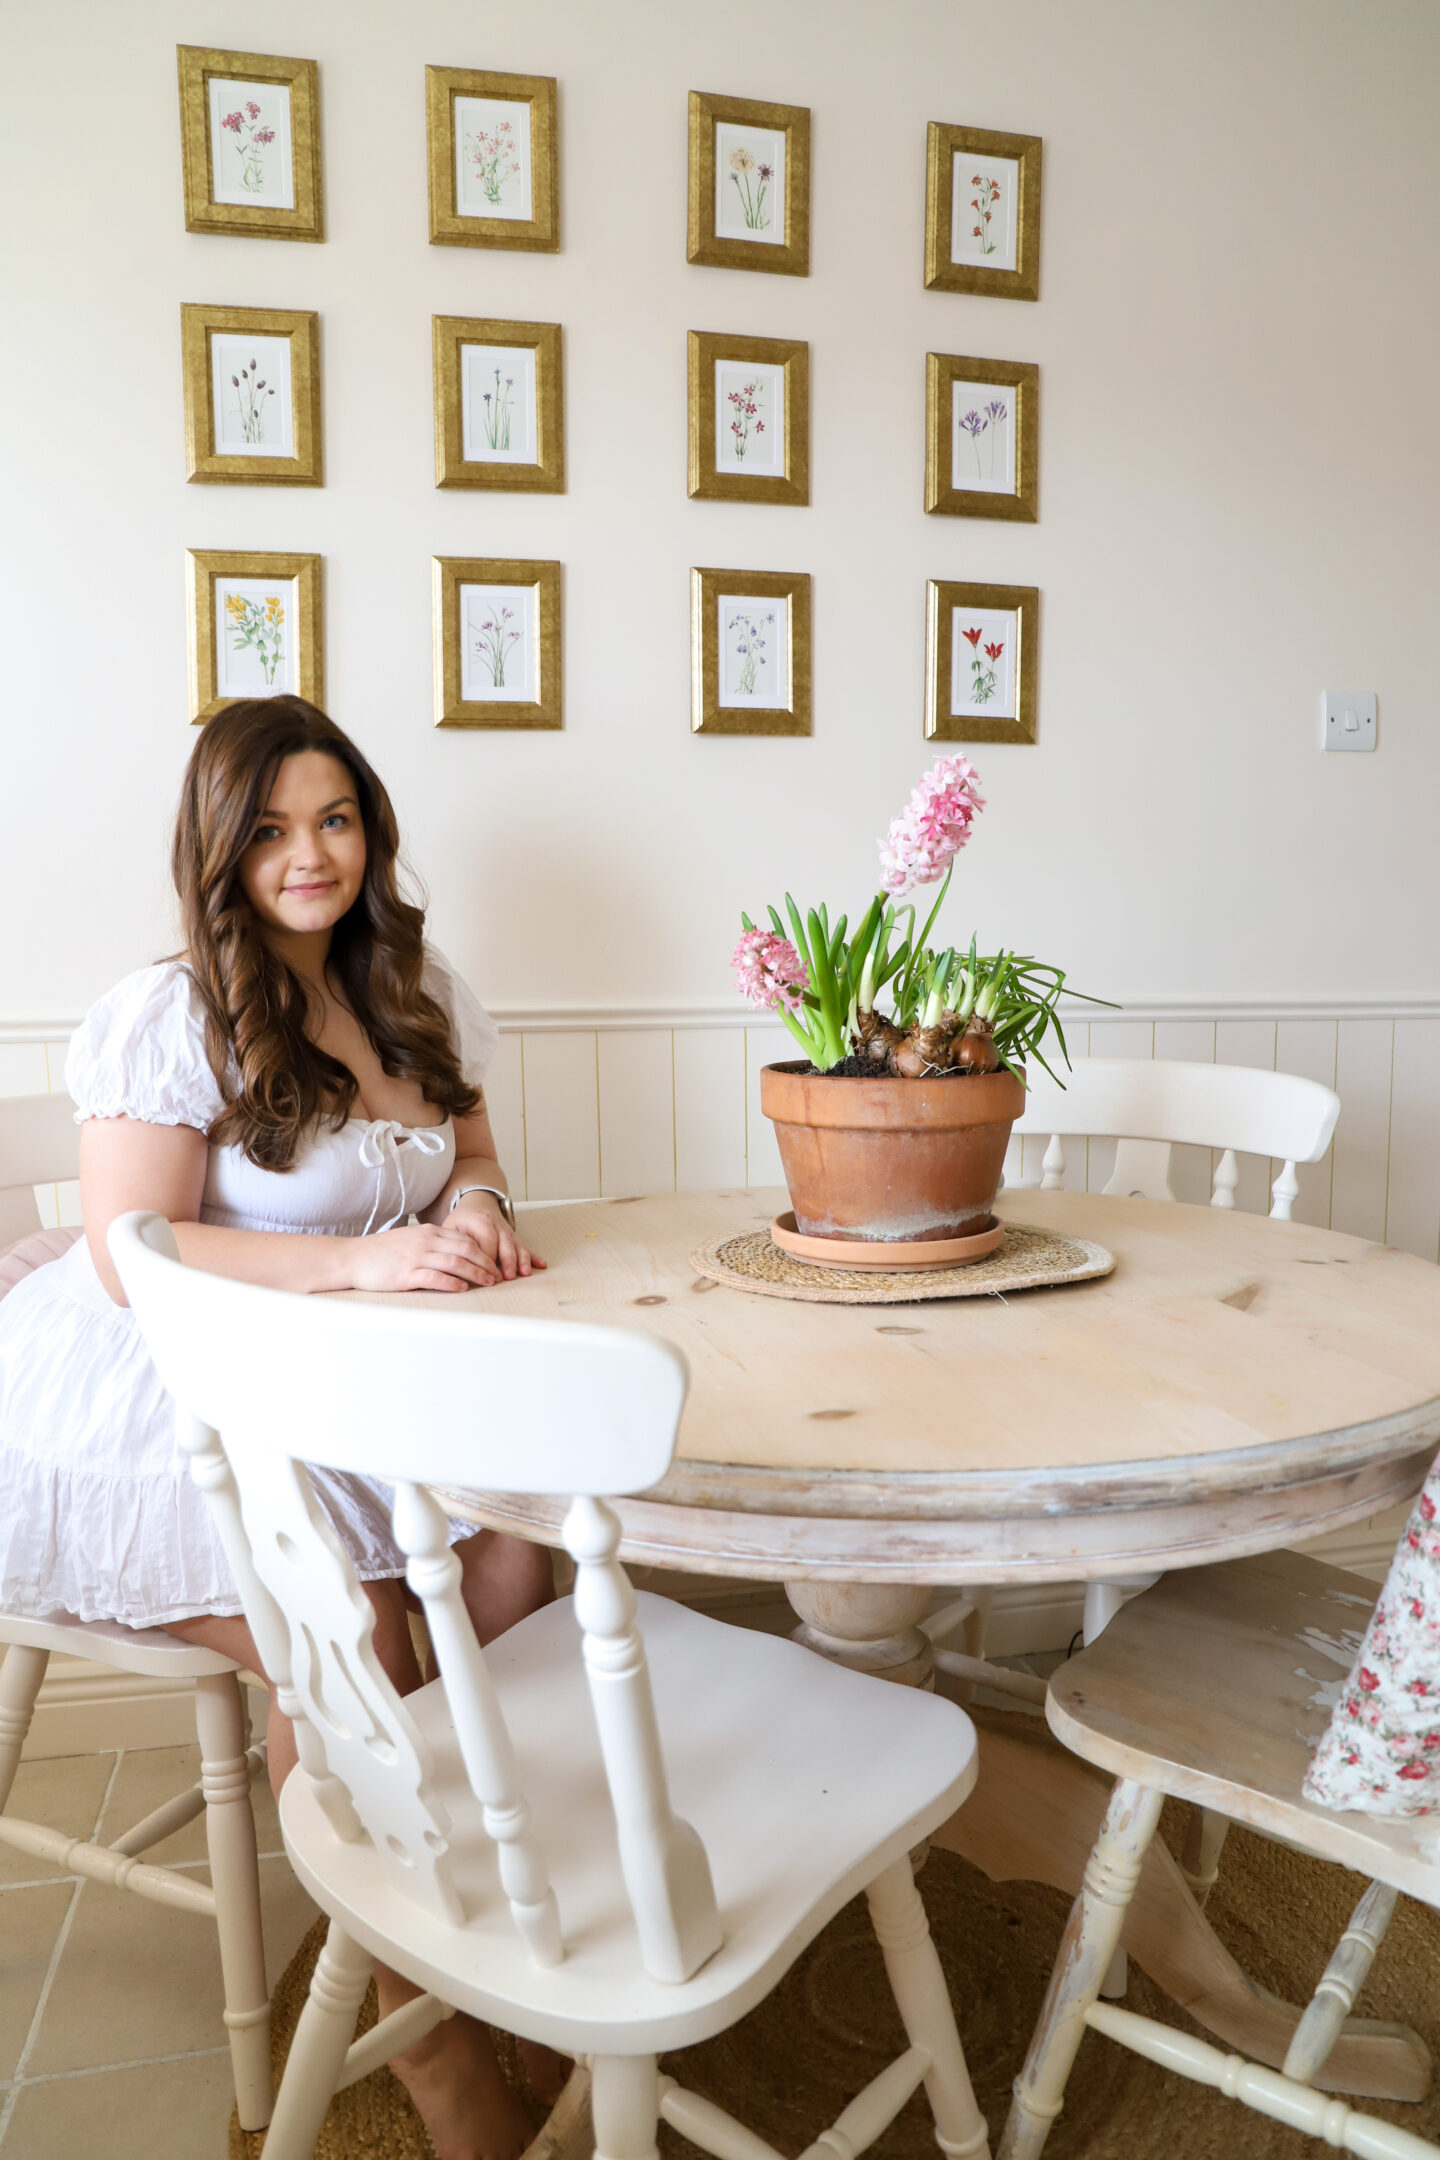
Creating a floral gallery wall with Ikea frames
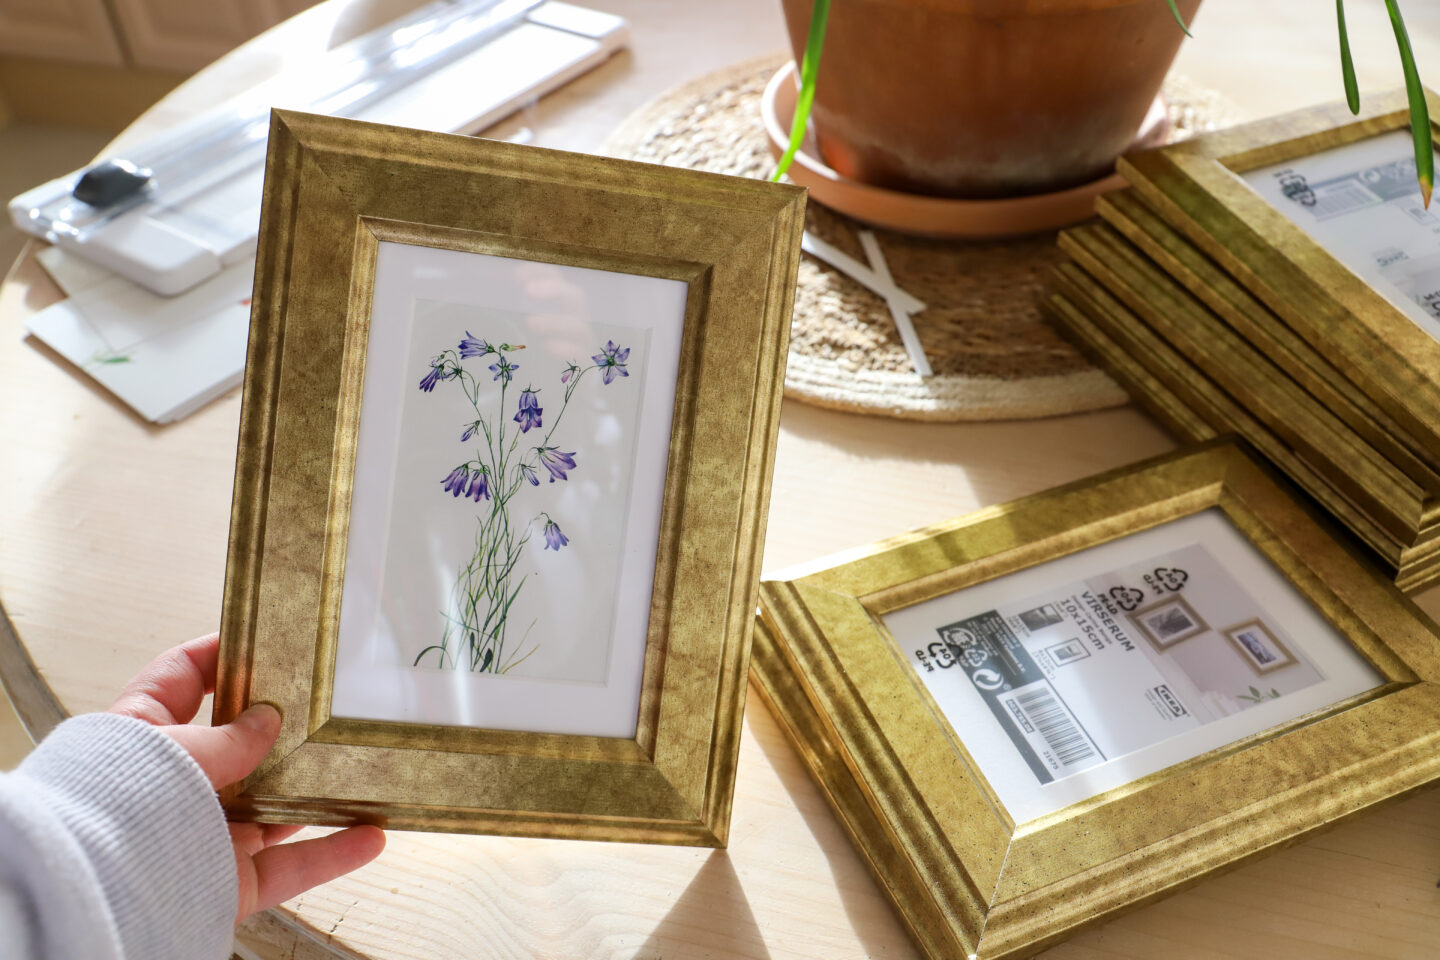
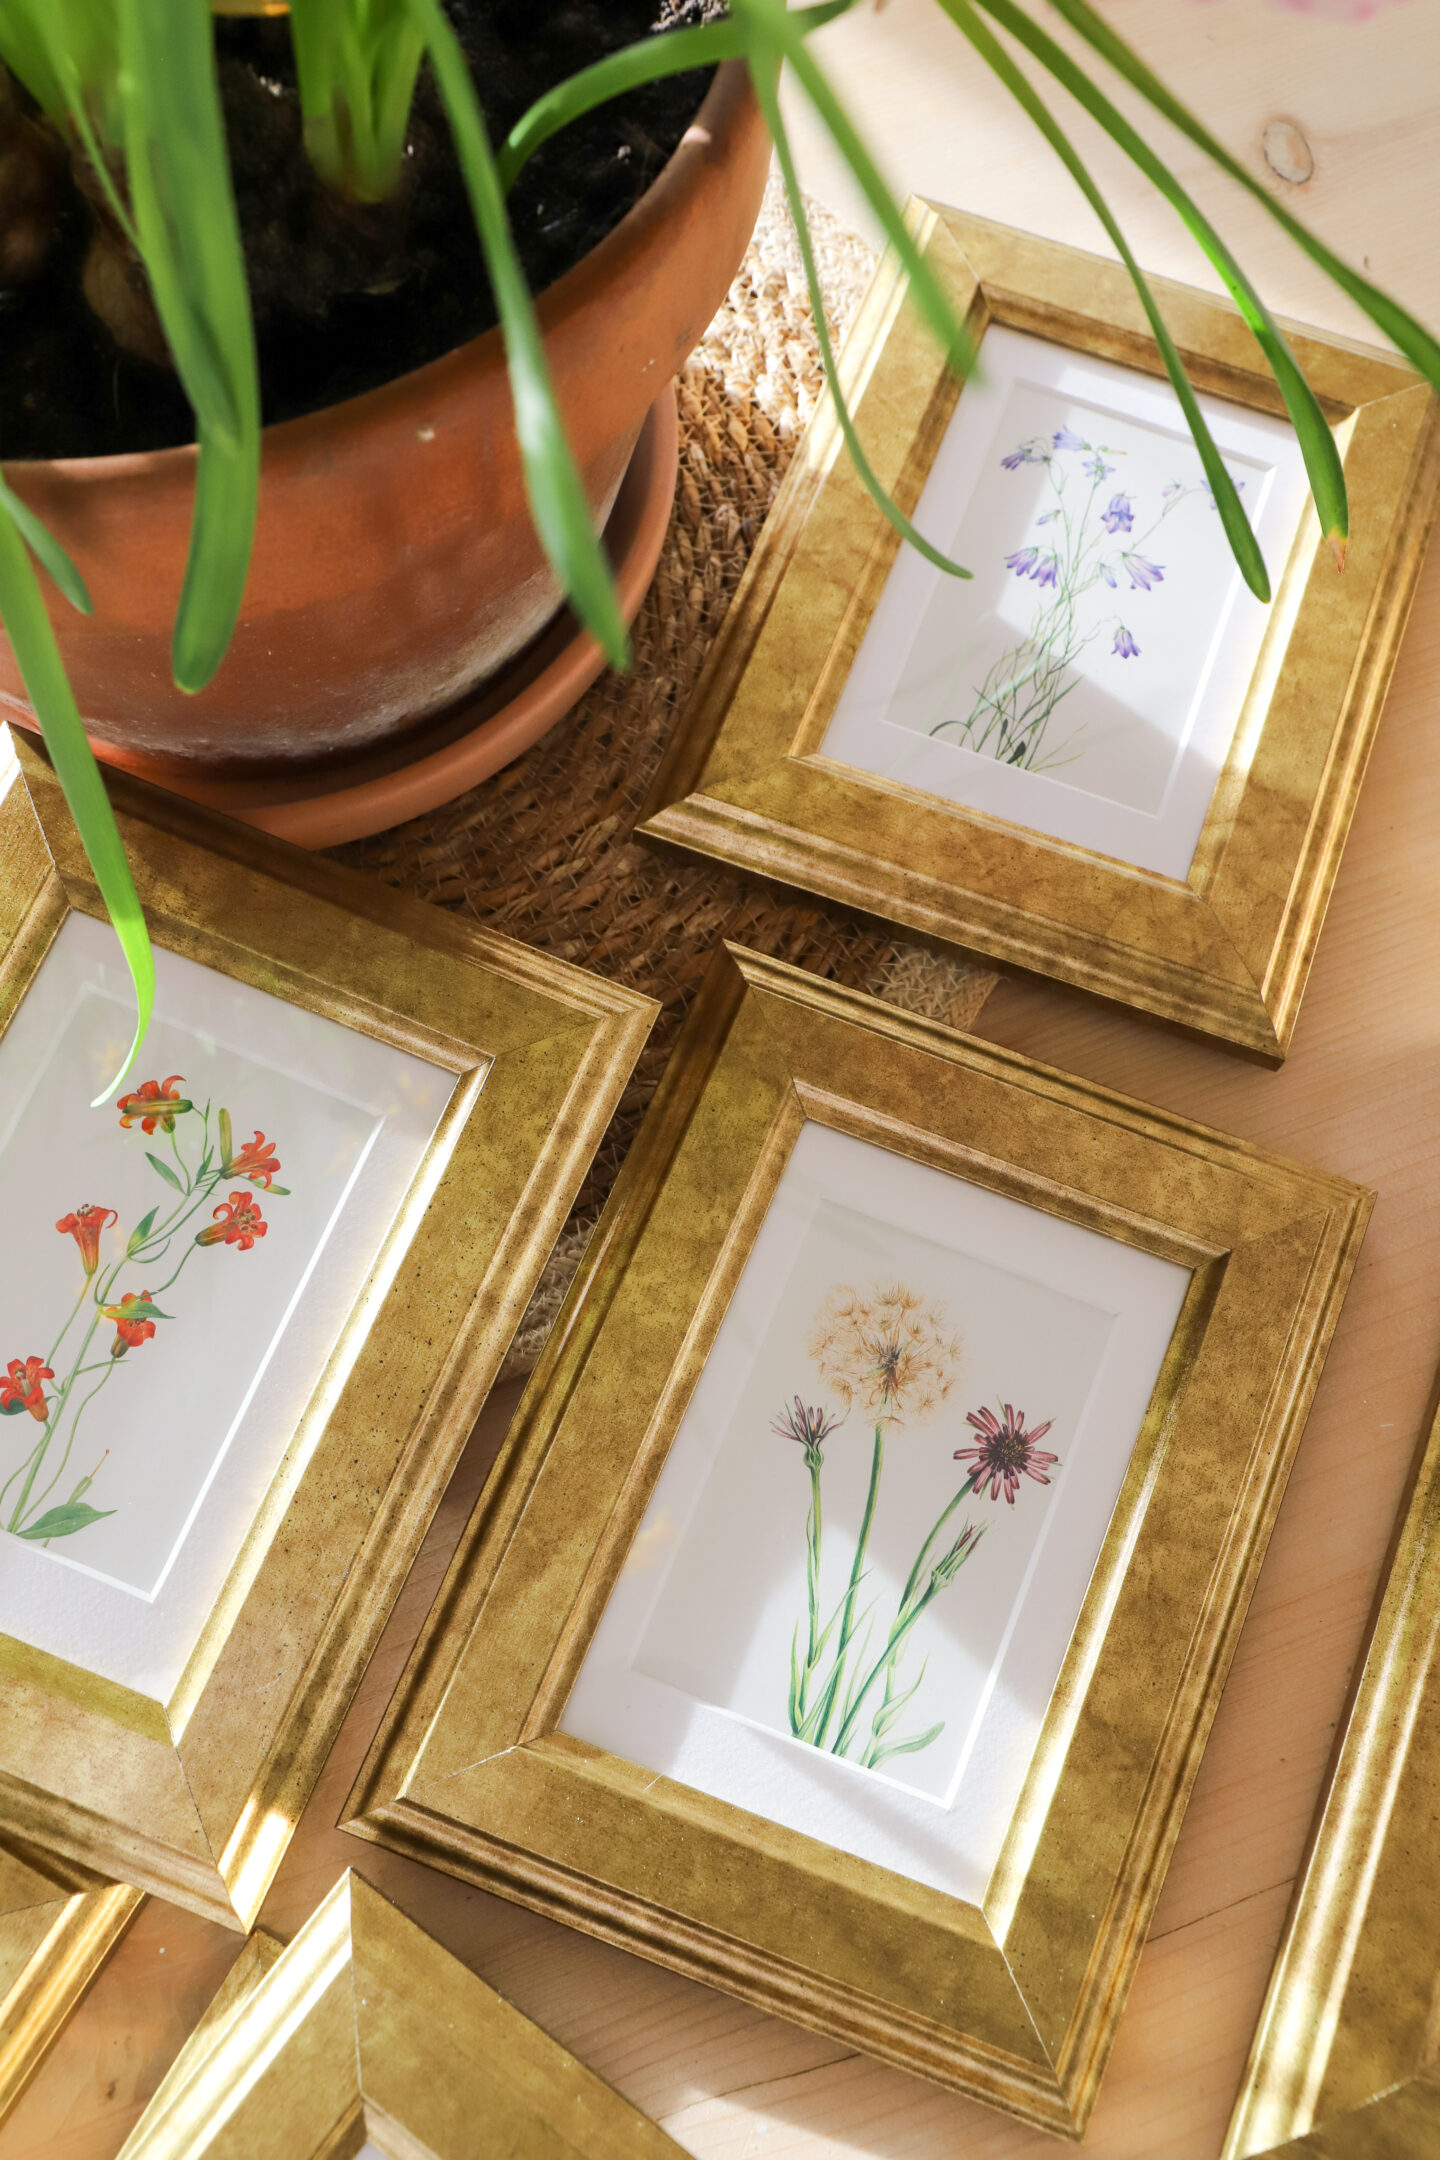
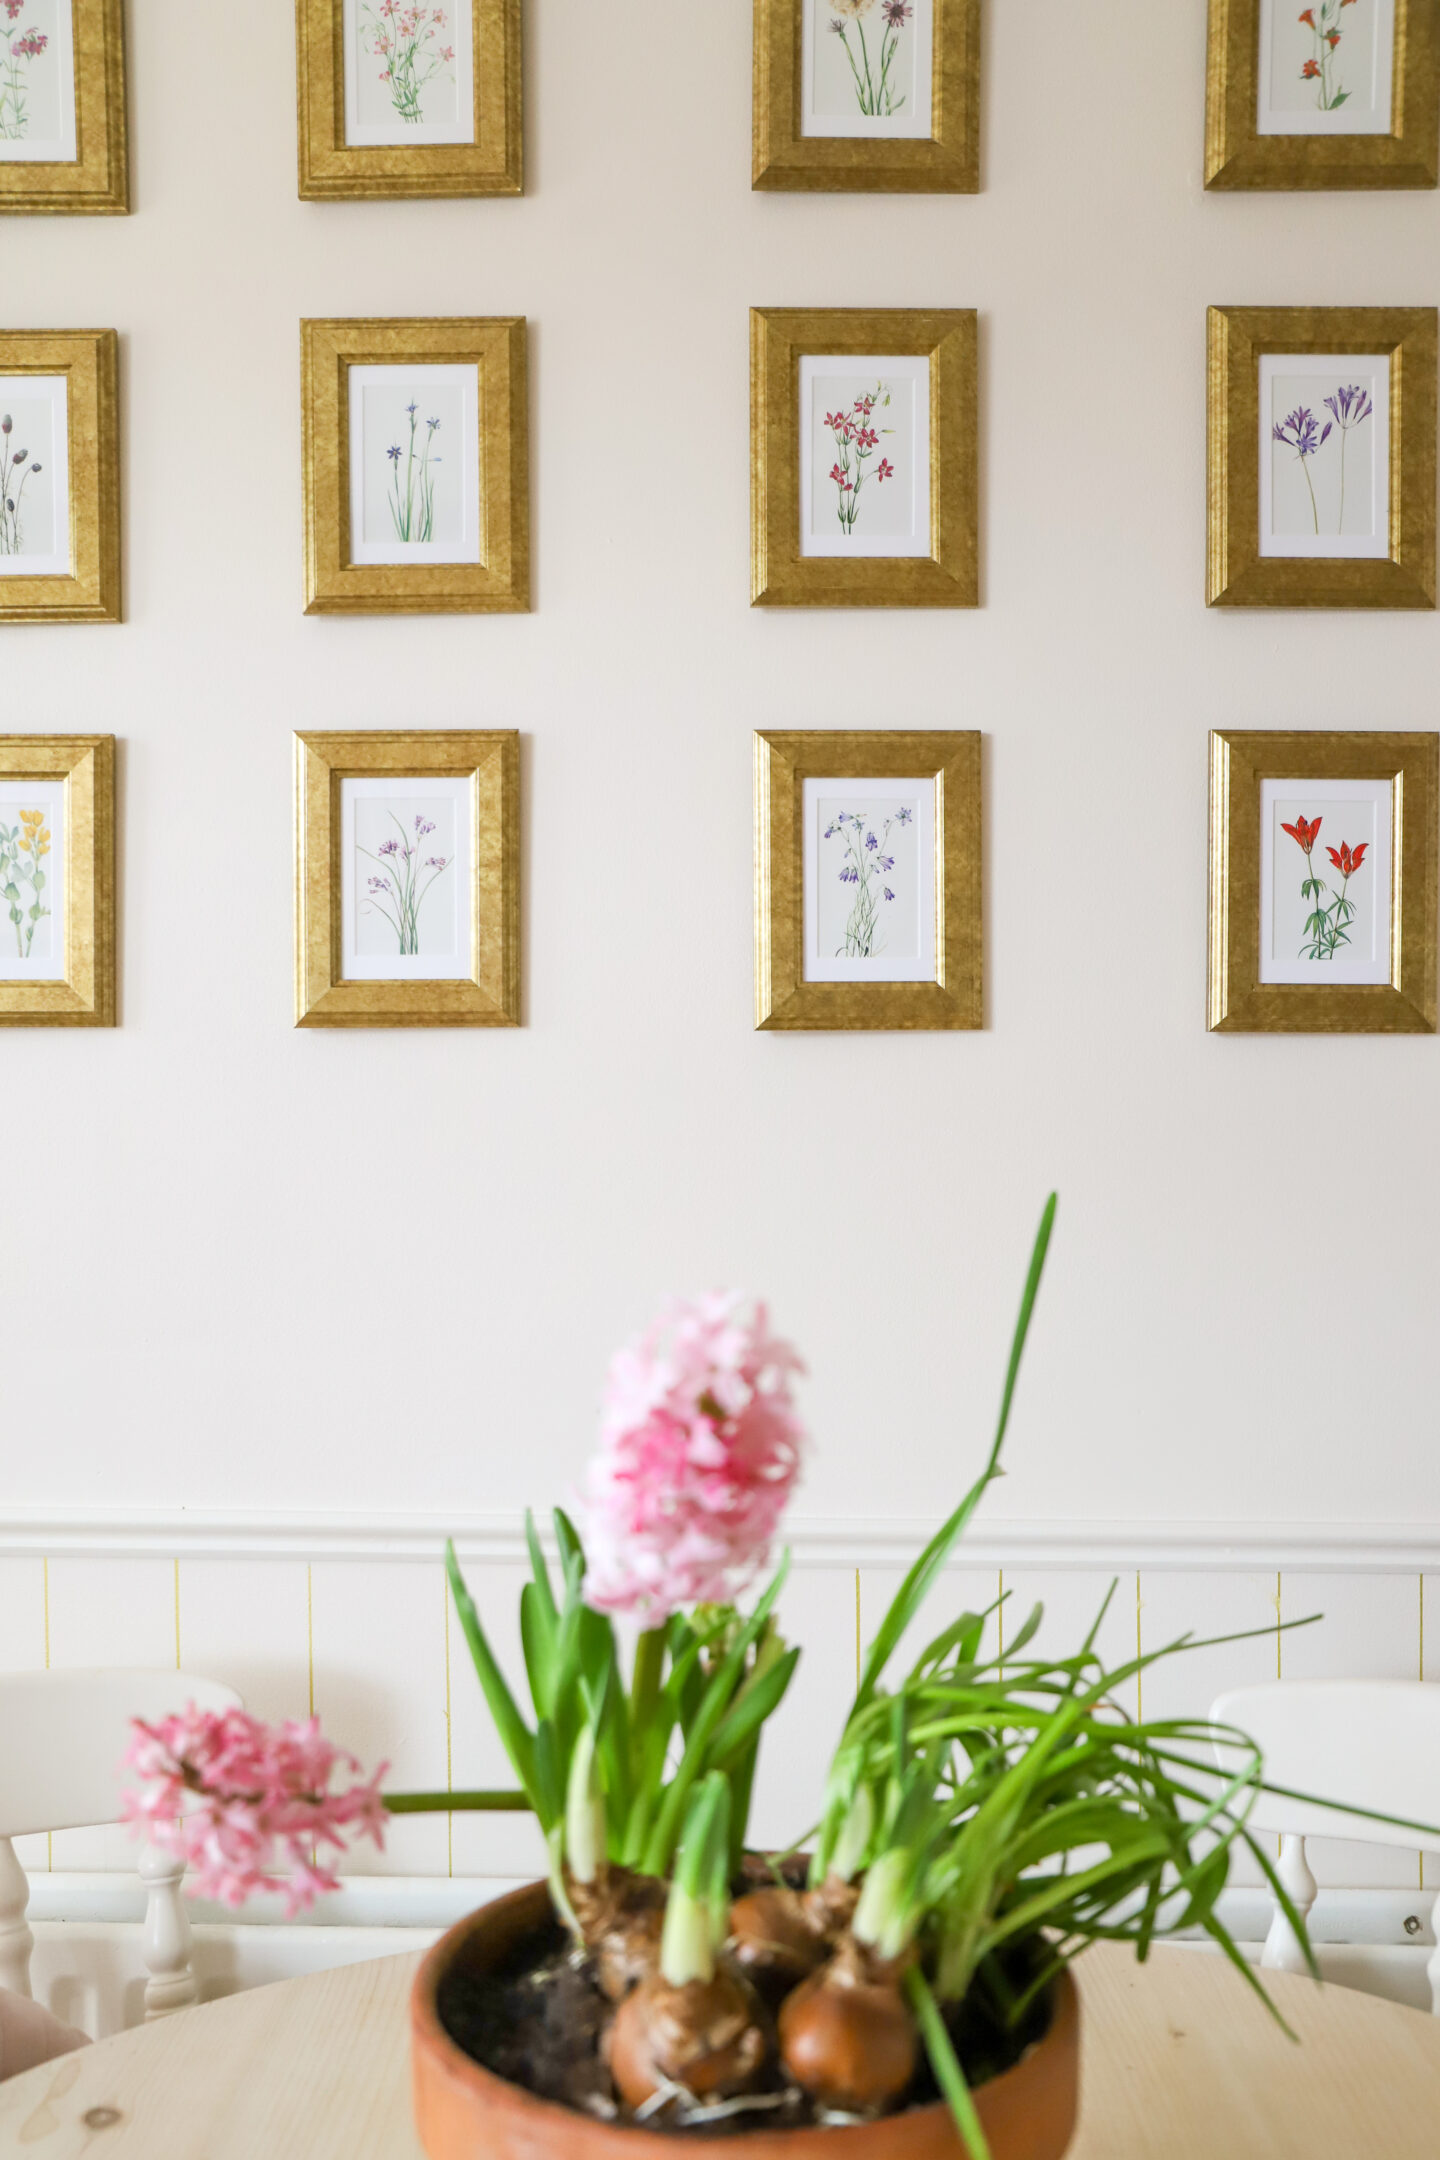
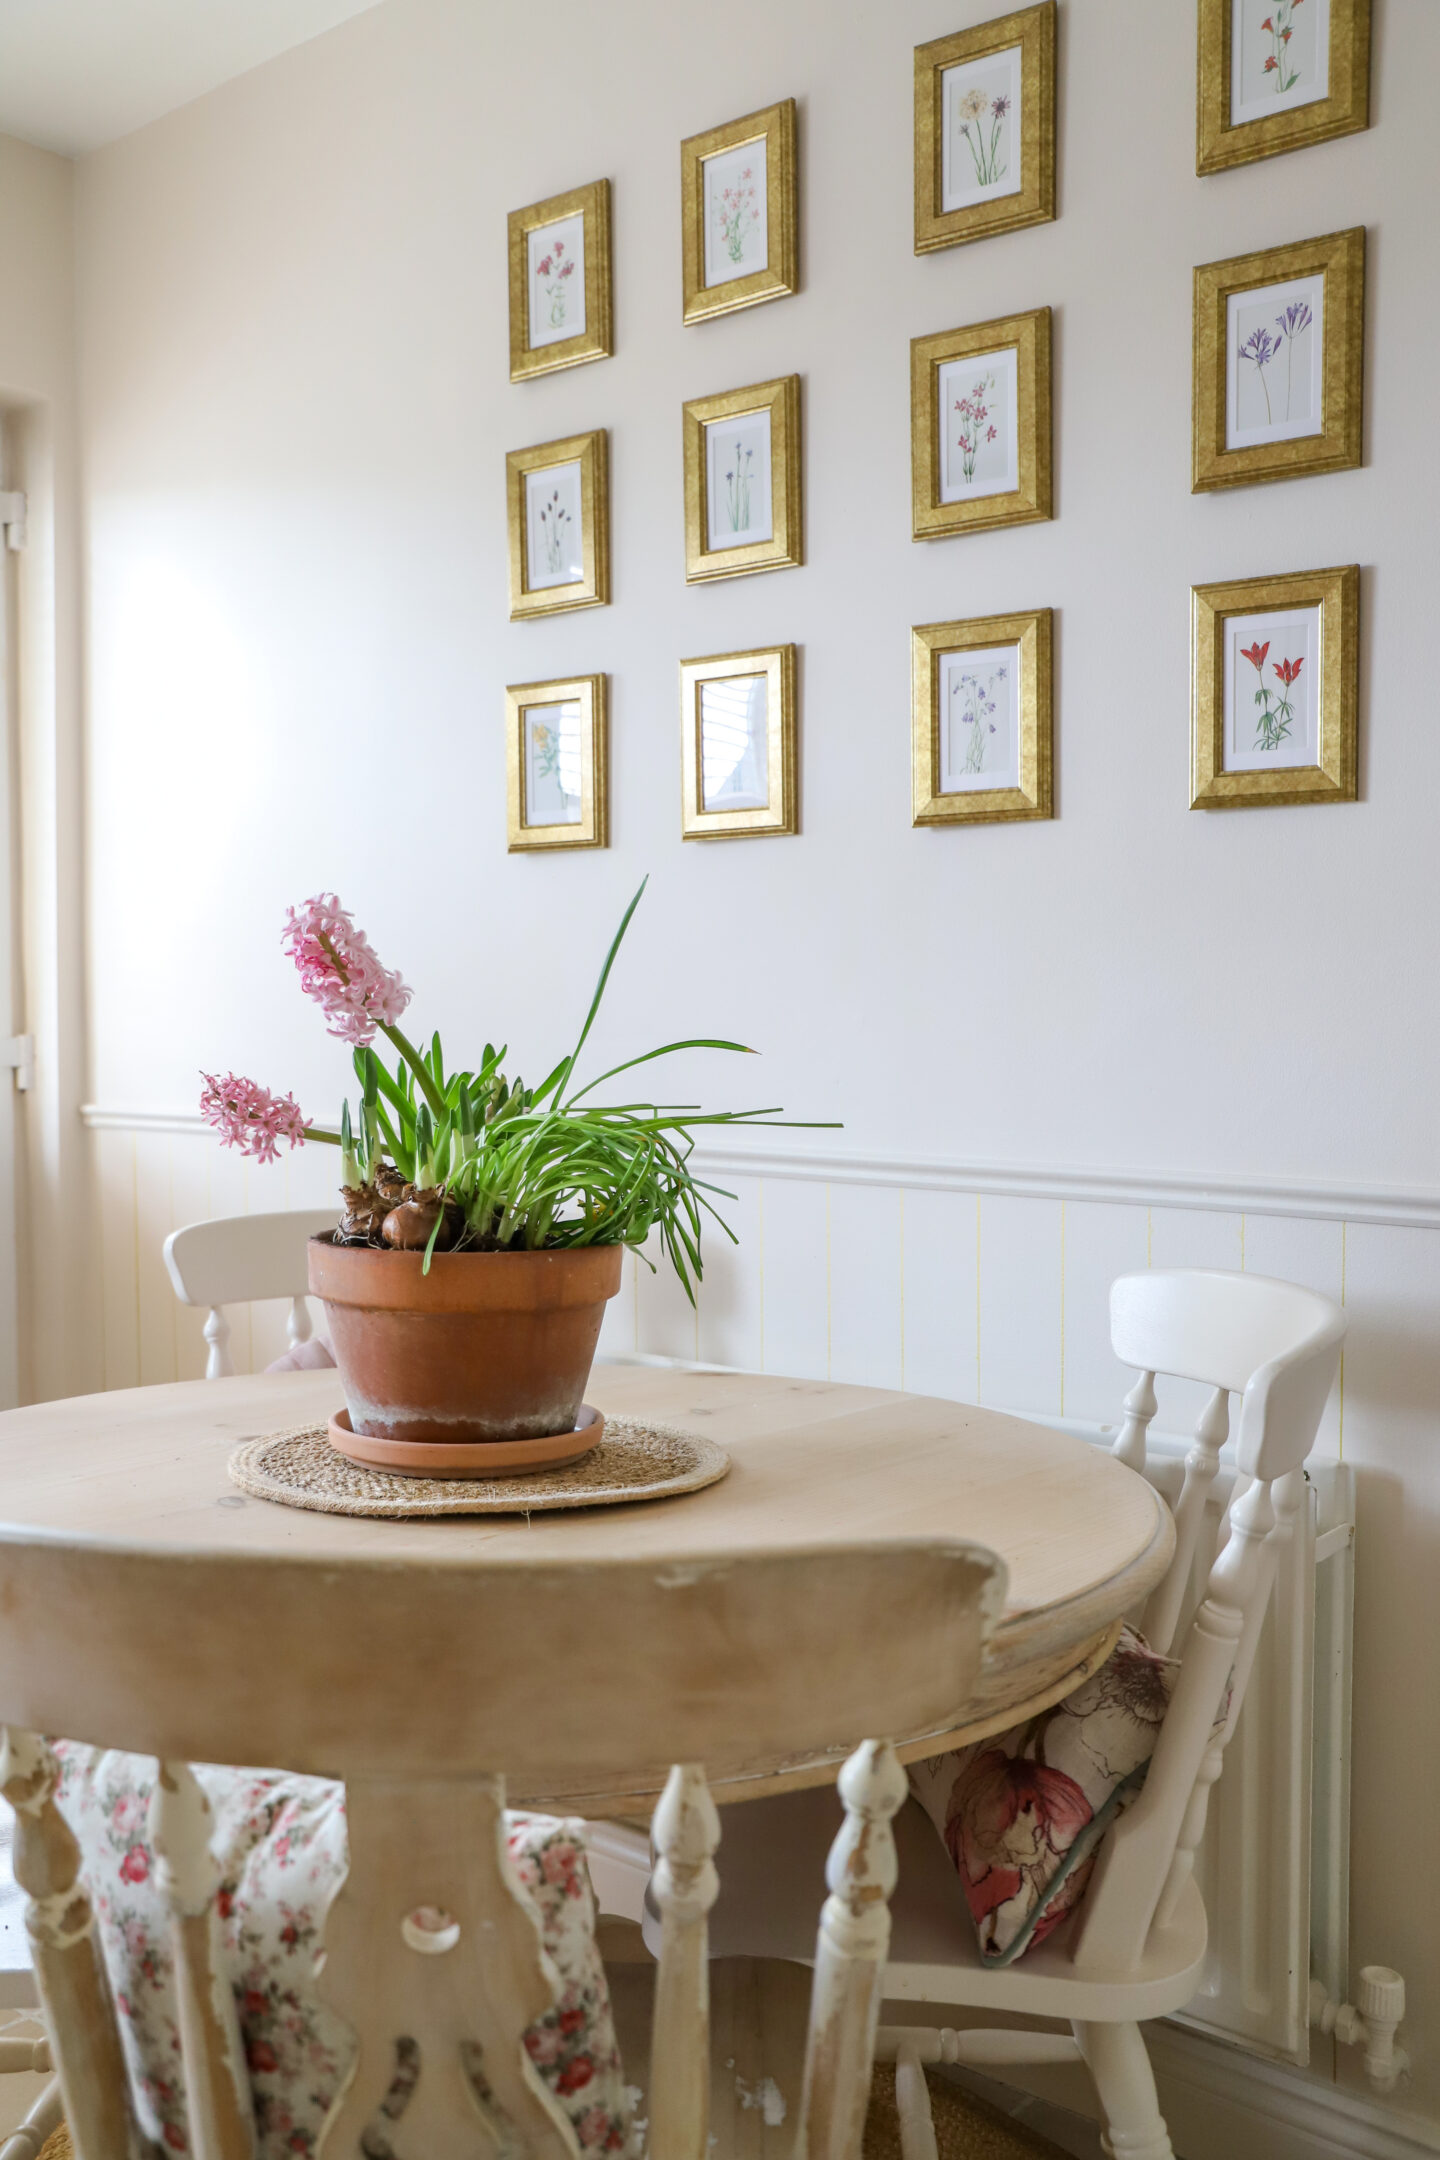
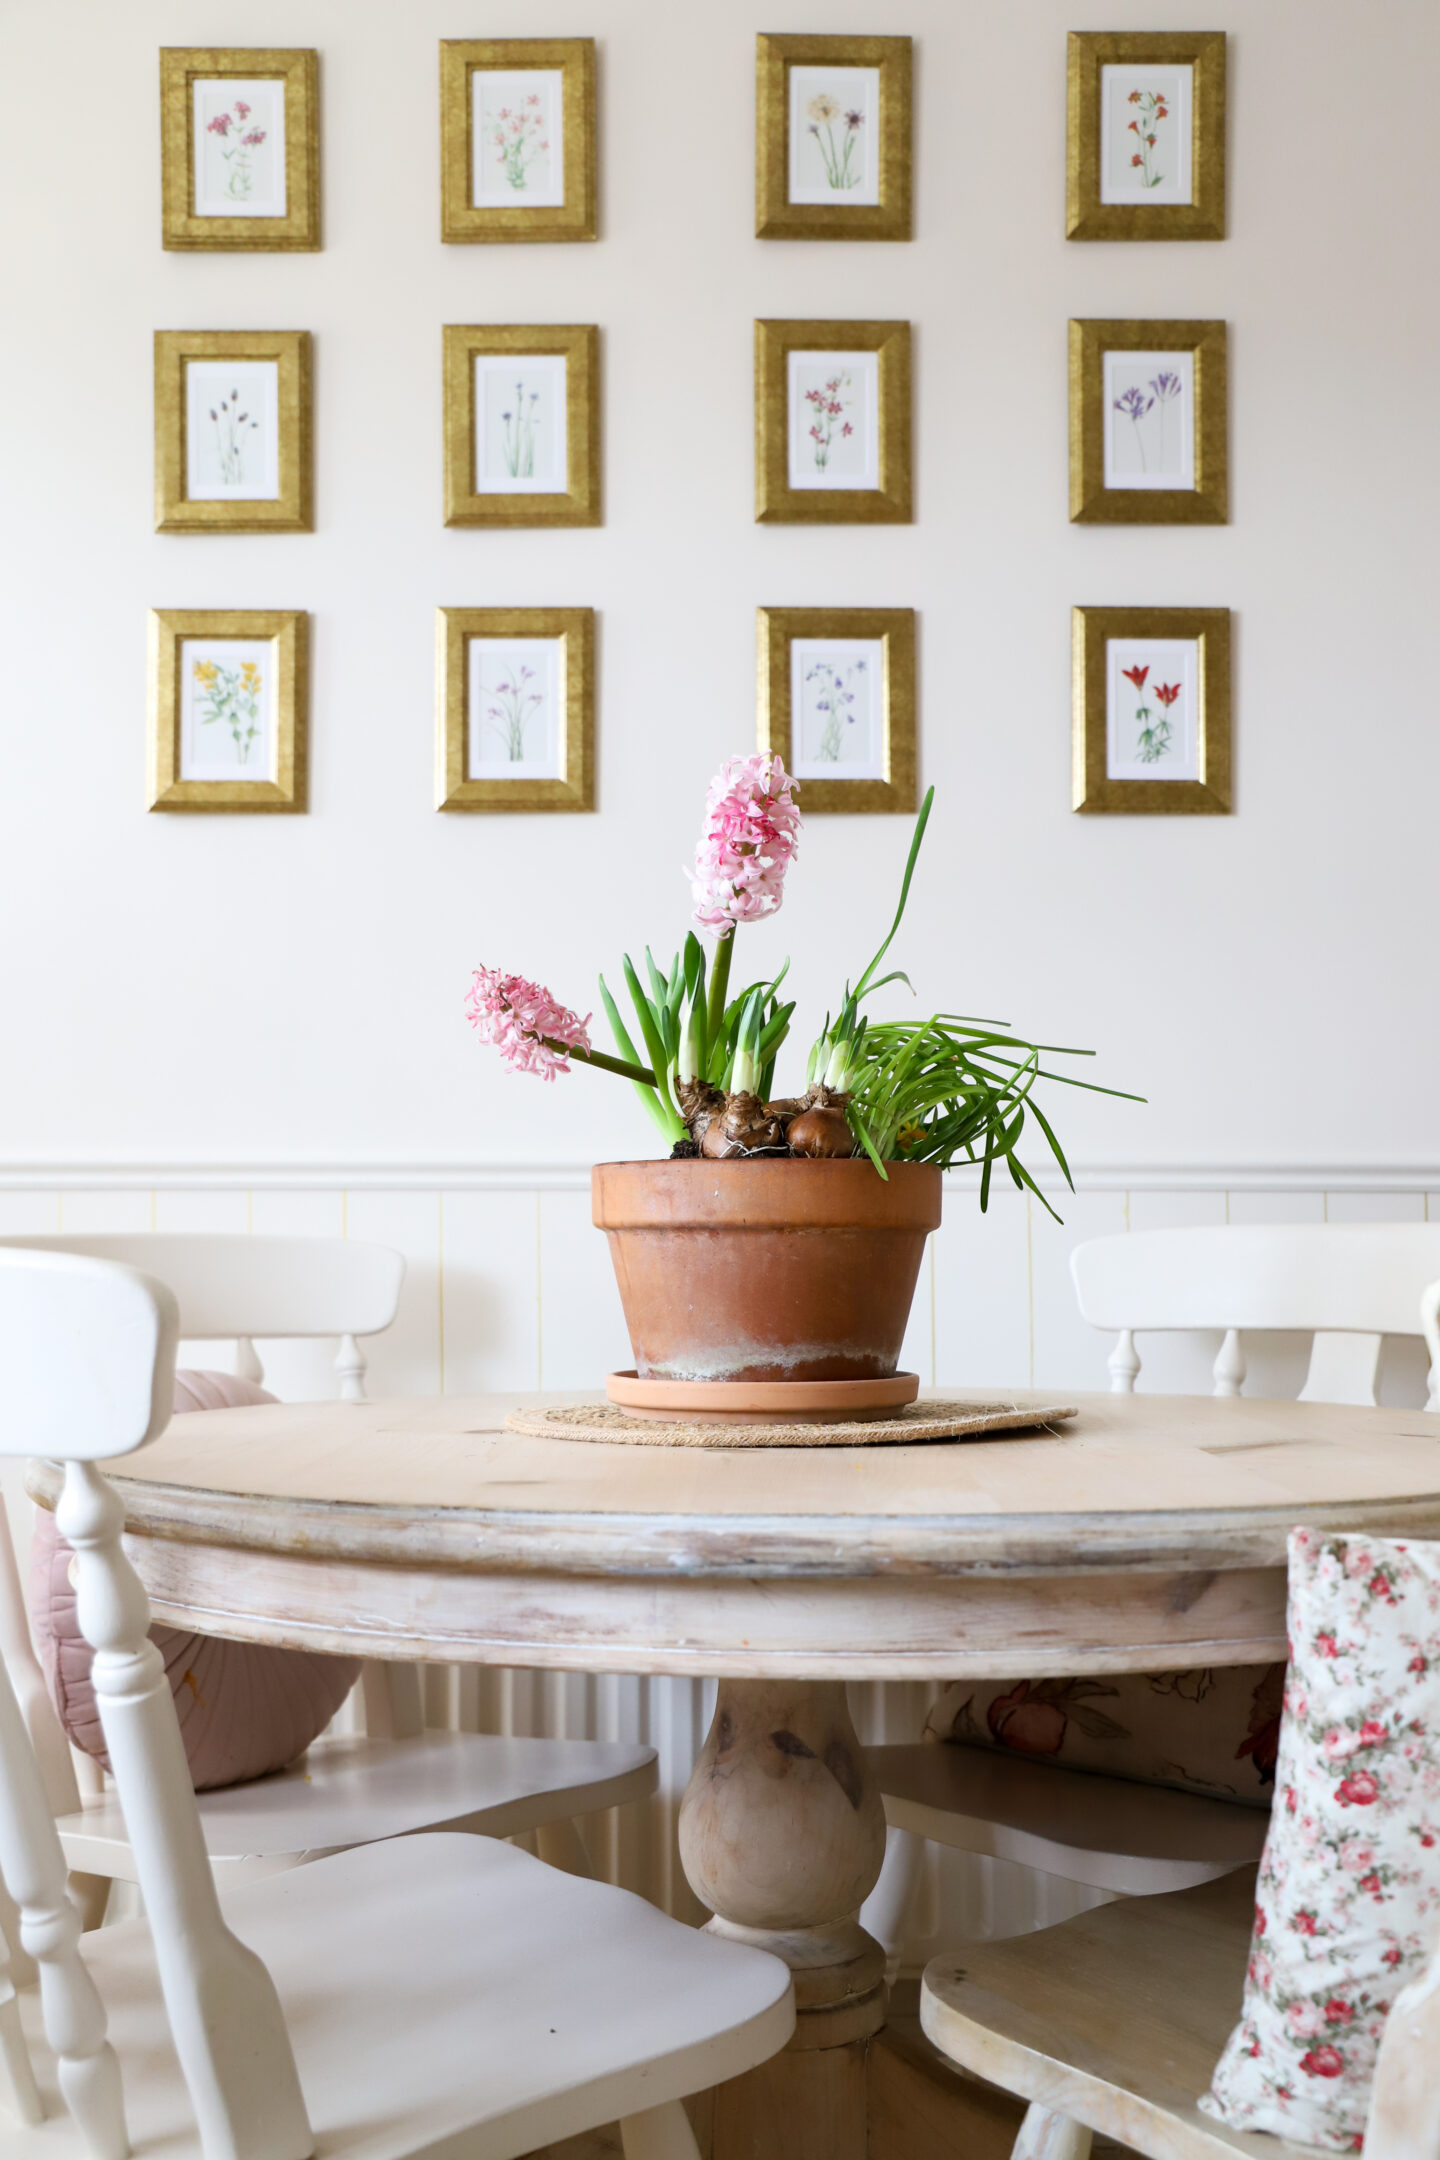
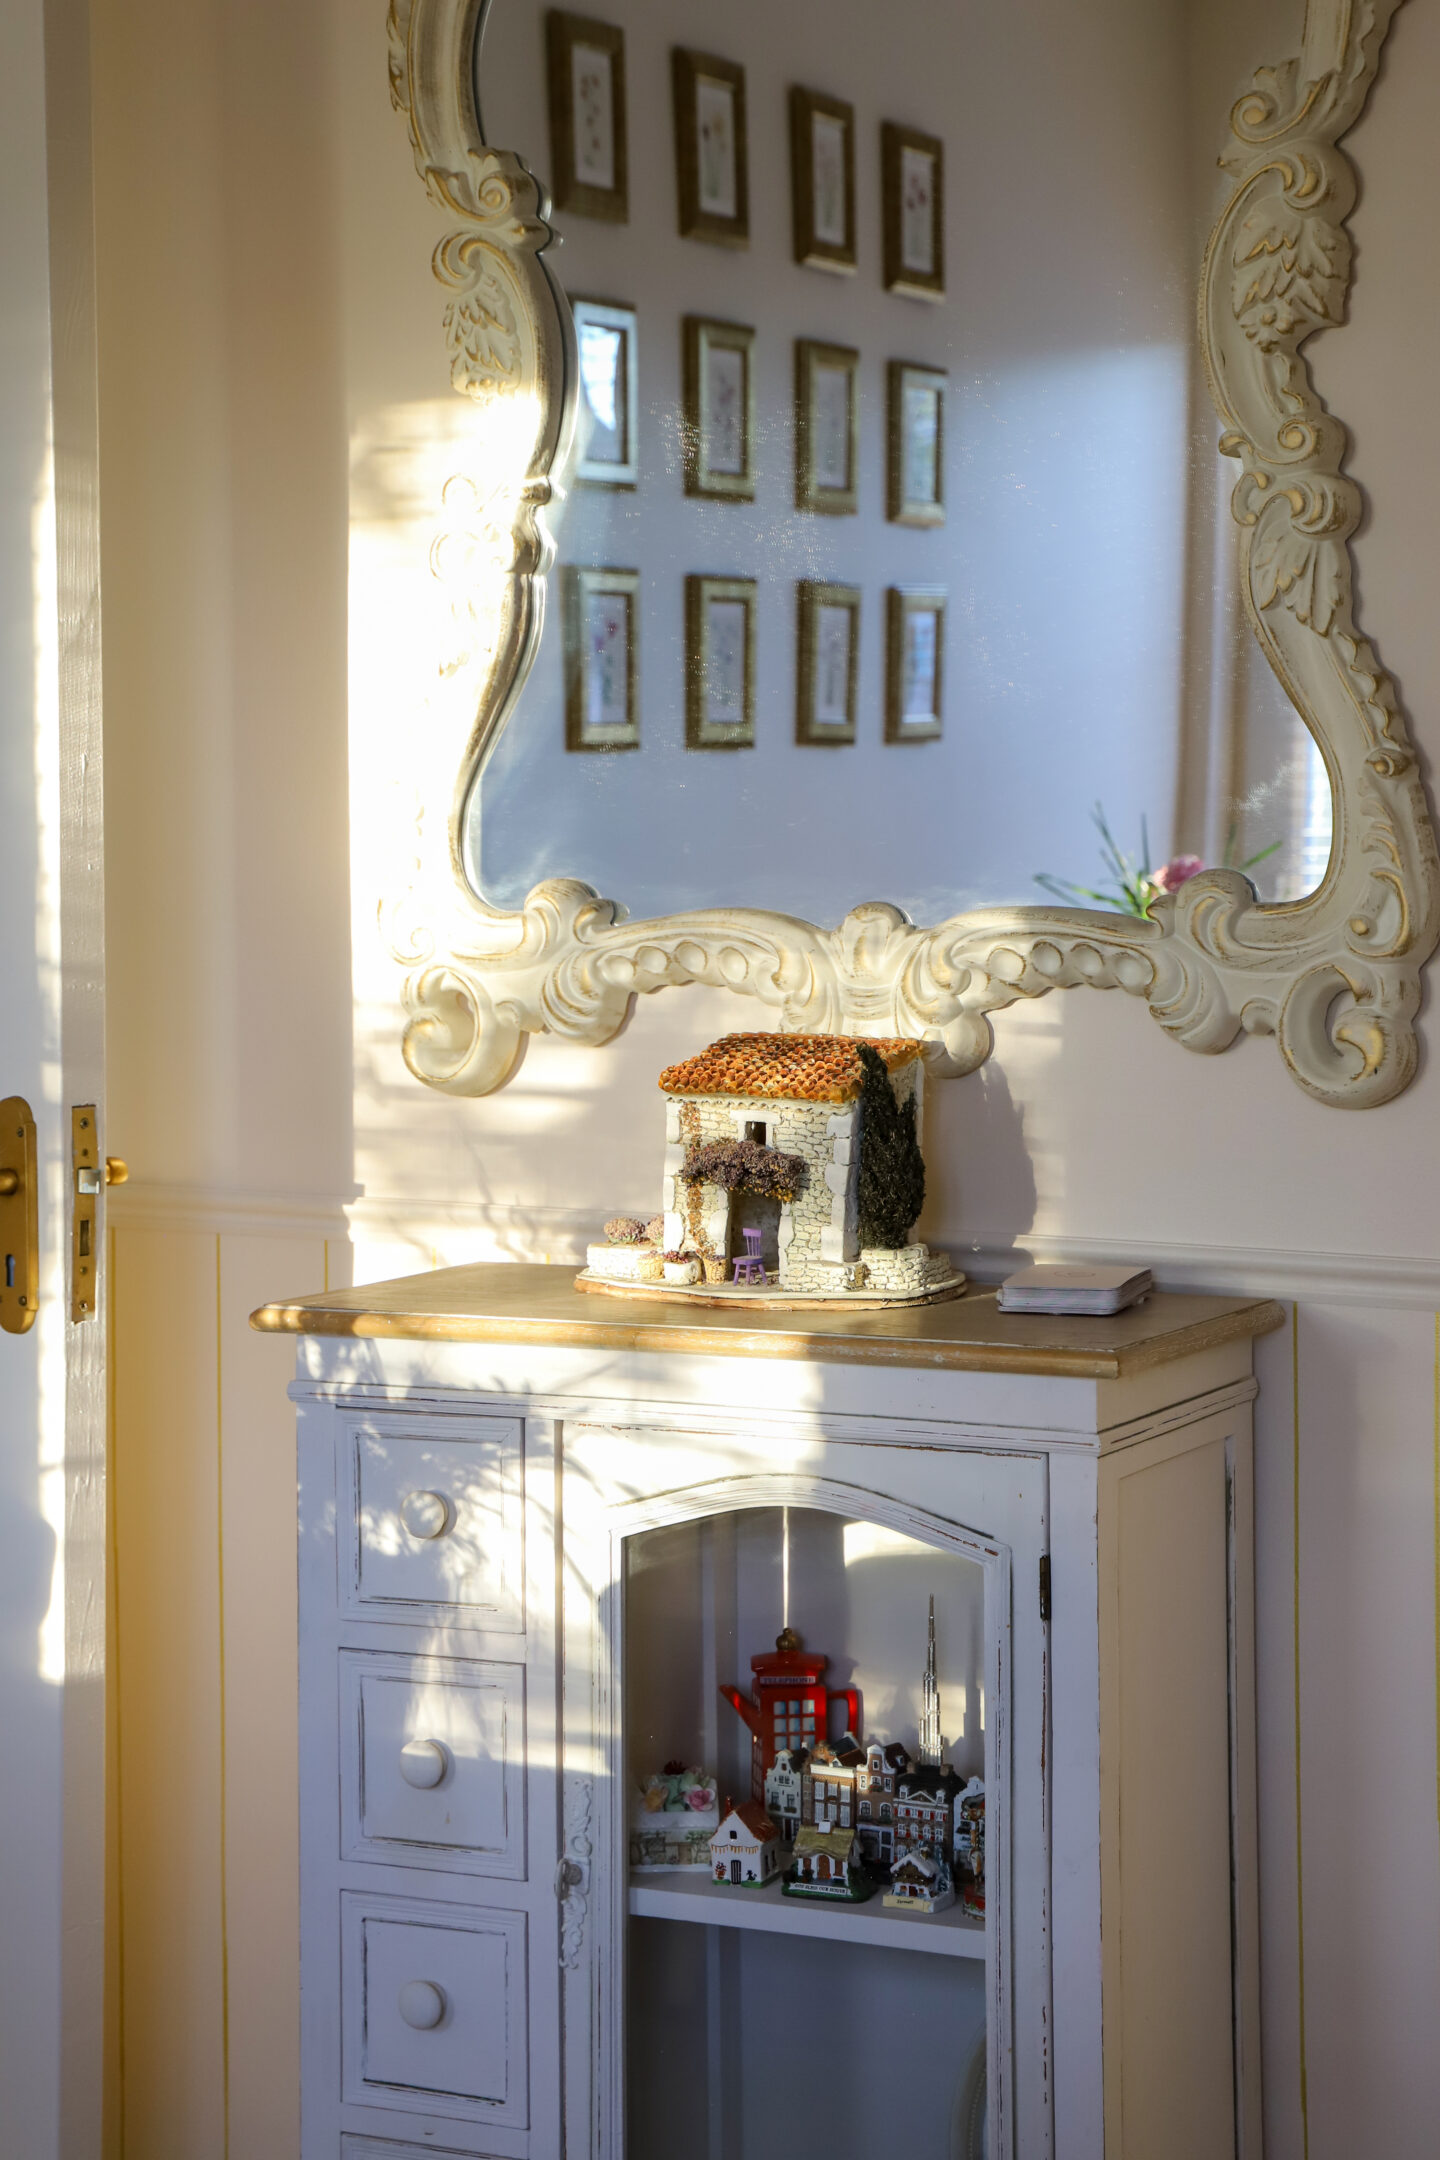
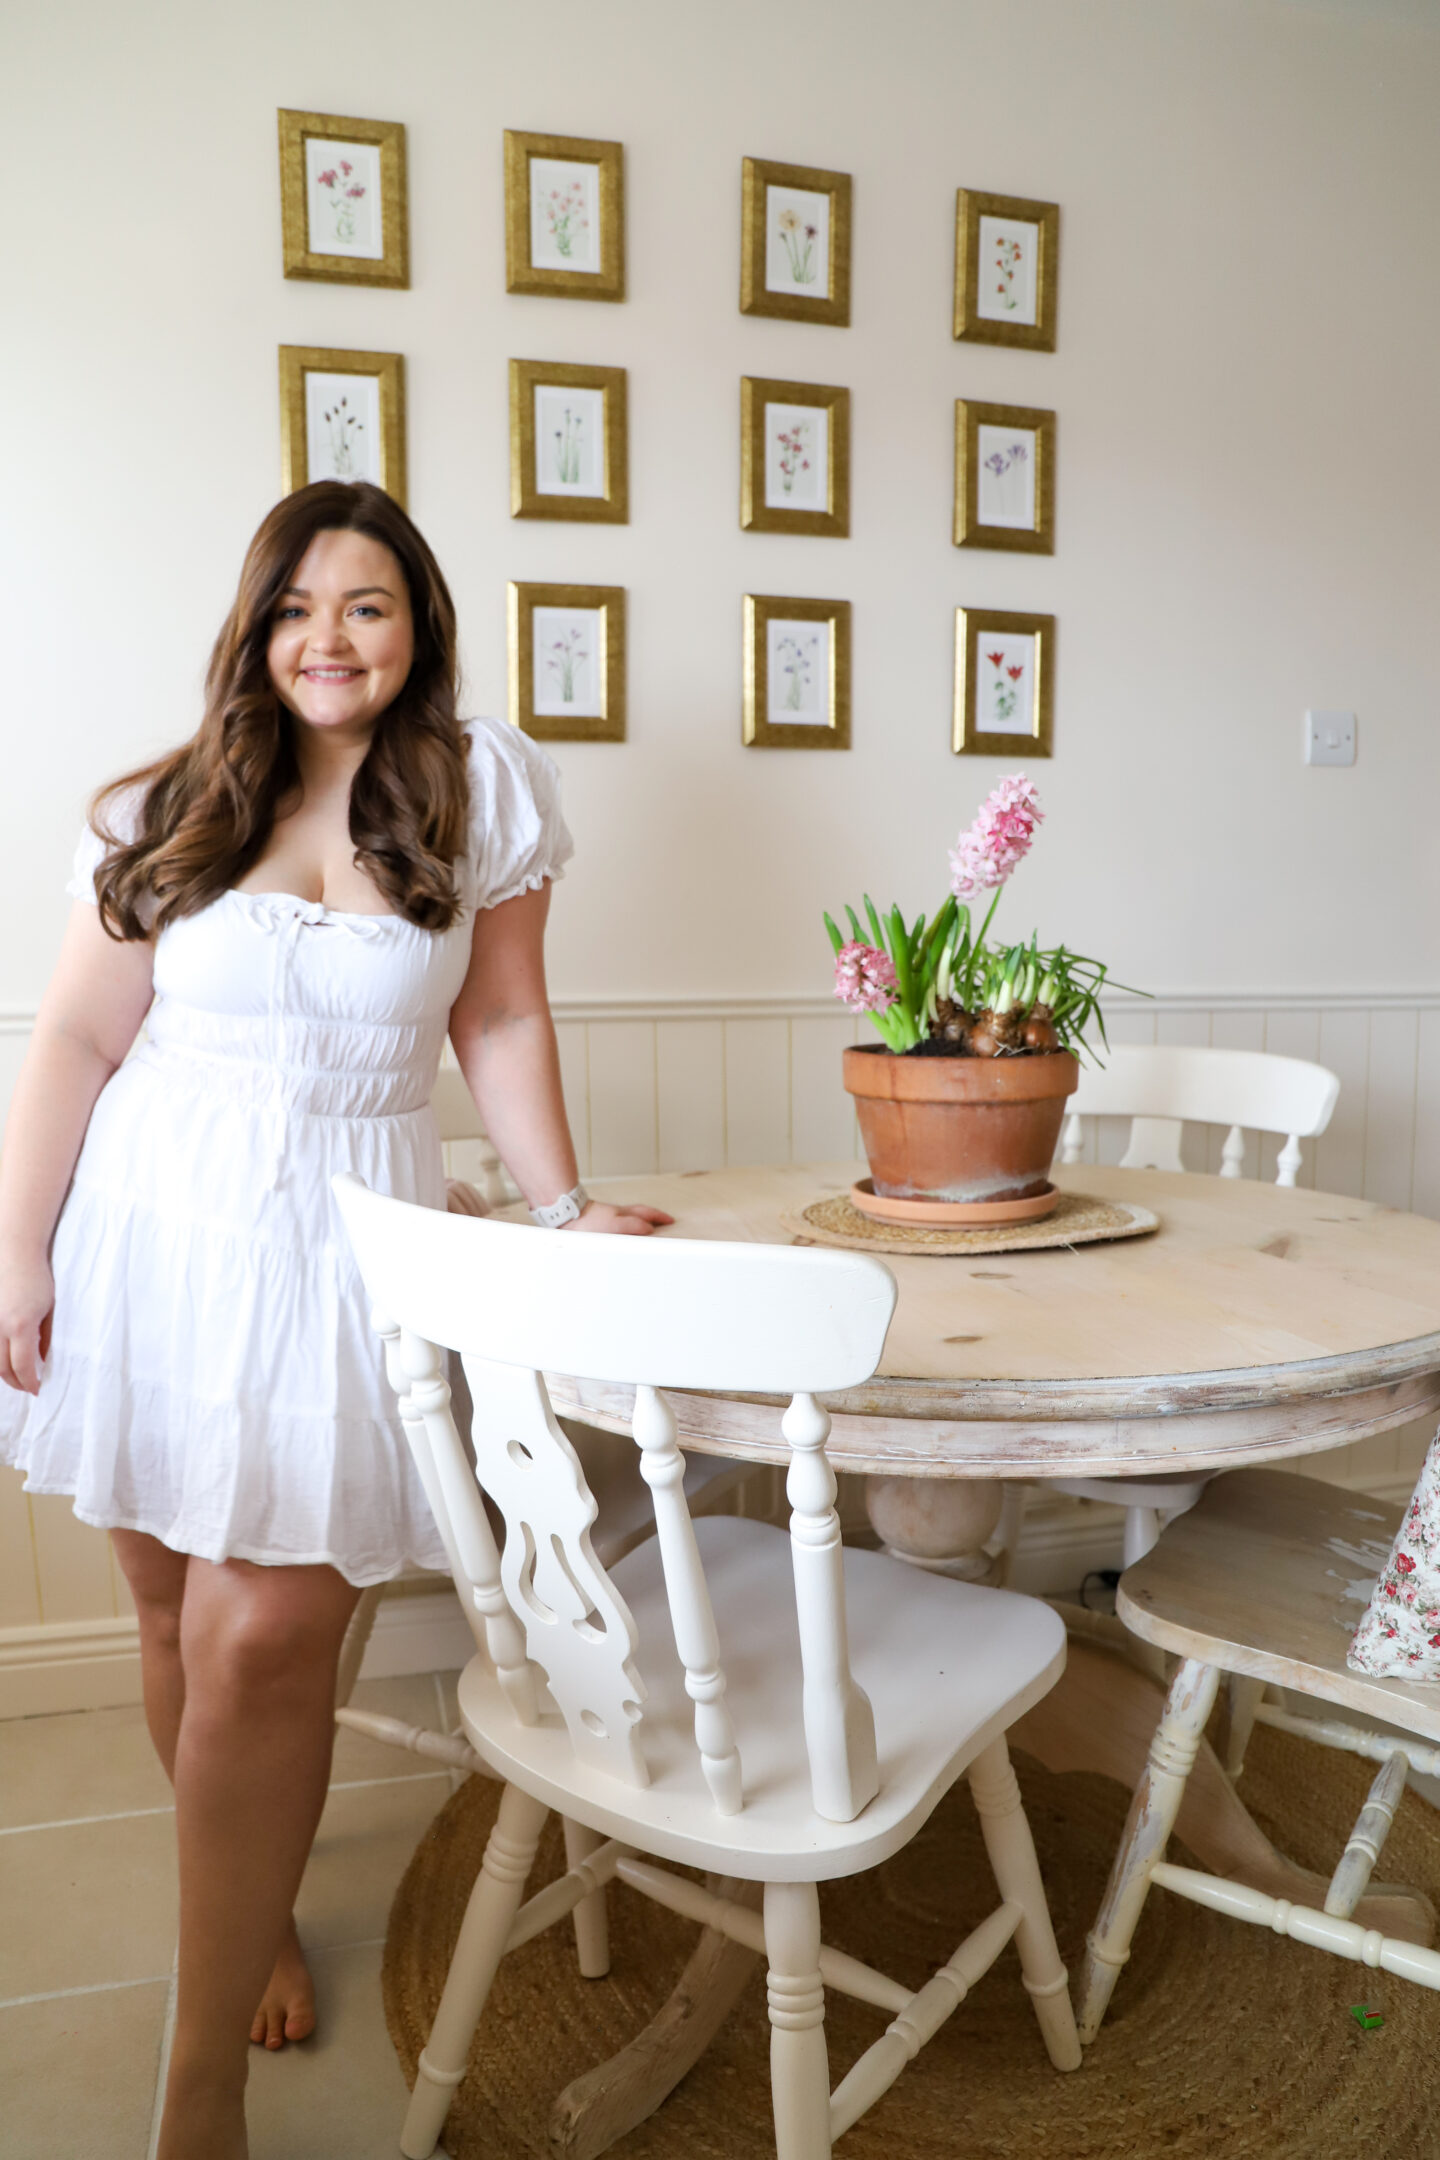
I picked up these floral prints from Etsy. To create my gallery wall, I bought 12 VIRSERUM Ikea picture frames. I cut my flower prints to size and popped them inside the gold frames.
Now, I am not a fan of hanging picture frames as I always seem to hang them wonky, even when I measure!
So, I used a strip to tape as a guide to hang them evenly. I used the Ikea picture hanging strips, similar to command strips.
I love how the floral prints have a vintage feel in the gold frames. Also, they pick up on the gold panelling detail.
Have you tried faux wall panelling?
I hope you got some inspo from this post, and I would love to know if you have tried this or feel tempted to try some faux panelling. Let me know in the comments below.
Overall, I love how fresh and clean my kitchen feels. It is amazing what a lick of paint and a clean up can do. Don’t forget to check out the full-length video to get a better look at the faux beadboard panelling in my kitchen.
Thanks for reading, Chat soon, Catherine.


Wow!!! That wall is amazing! That’s right up there with the faux bricks in your greenhouse. Your creativity is off the charts, Catherine! You should be very proud of yourself. 😀
Author
Aww thanks Jo! I was nervous to see how it was going to turn out x
Fabulous job Catherine! I’m tempted to try this in my utility room! May I ask where you got the gold marker please!
Author
Hi Claire, I got mine in my local art and hobby shop, I am sure you could find one on Amazon x