As it is now September, I thought I would do an Autumn DIY to get in the mood for the cozy Autumn season. In this weeks post, I have a fun DIY Autumn decor and I am sharing how to make cement pumpkins. Each Autumn I like to have fun with my decor and change it up to make it super cozy. You might remember last year I made some leaf trinkets dishes from clay, well I decided to experiment with cement this year and here is what I made.
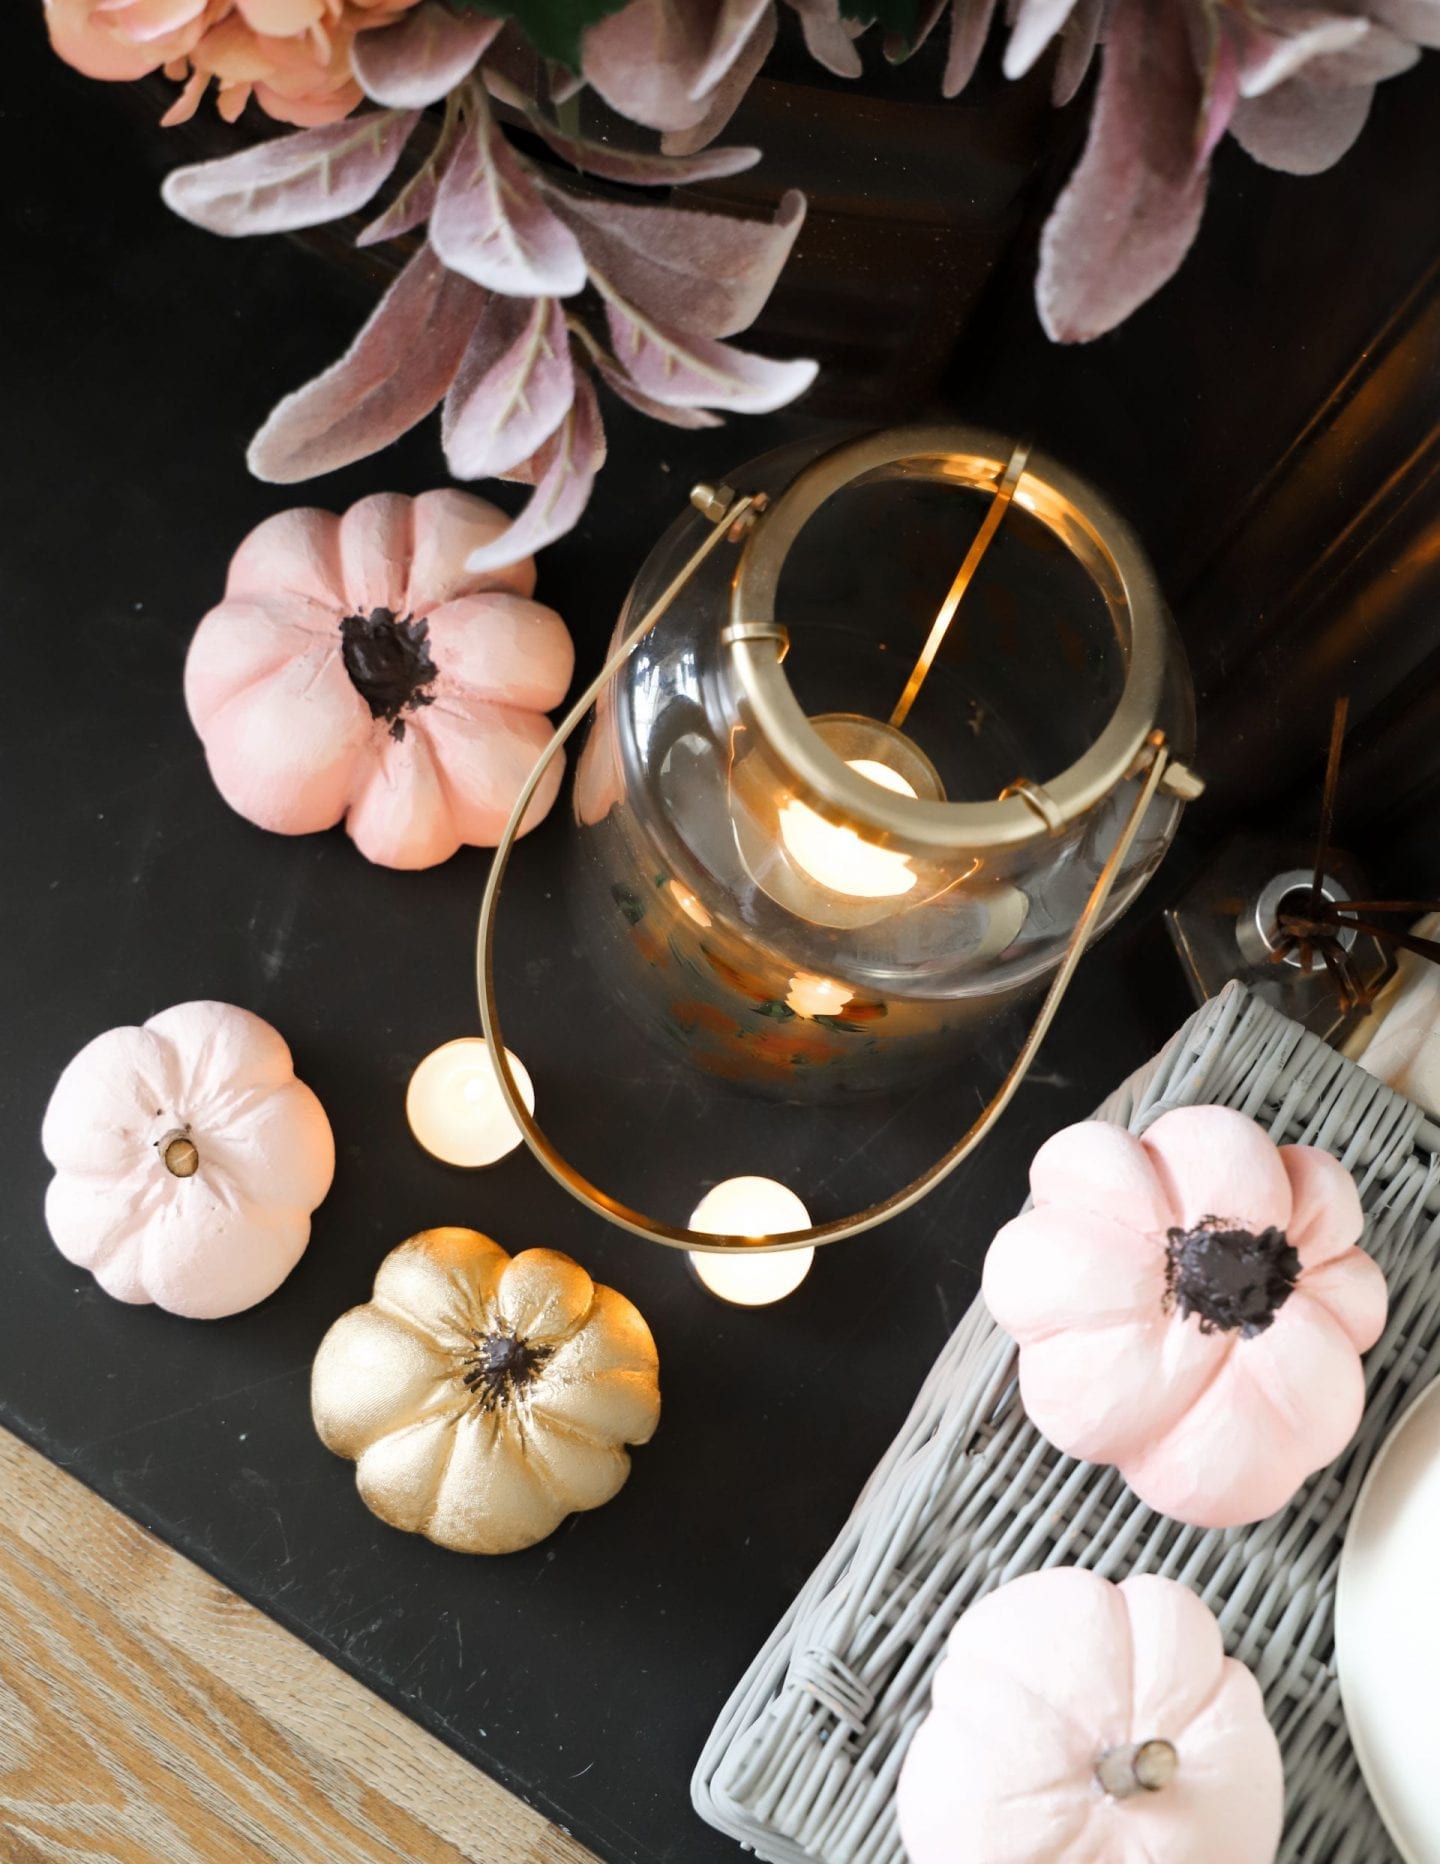
How to make cement pumpkins
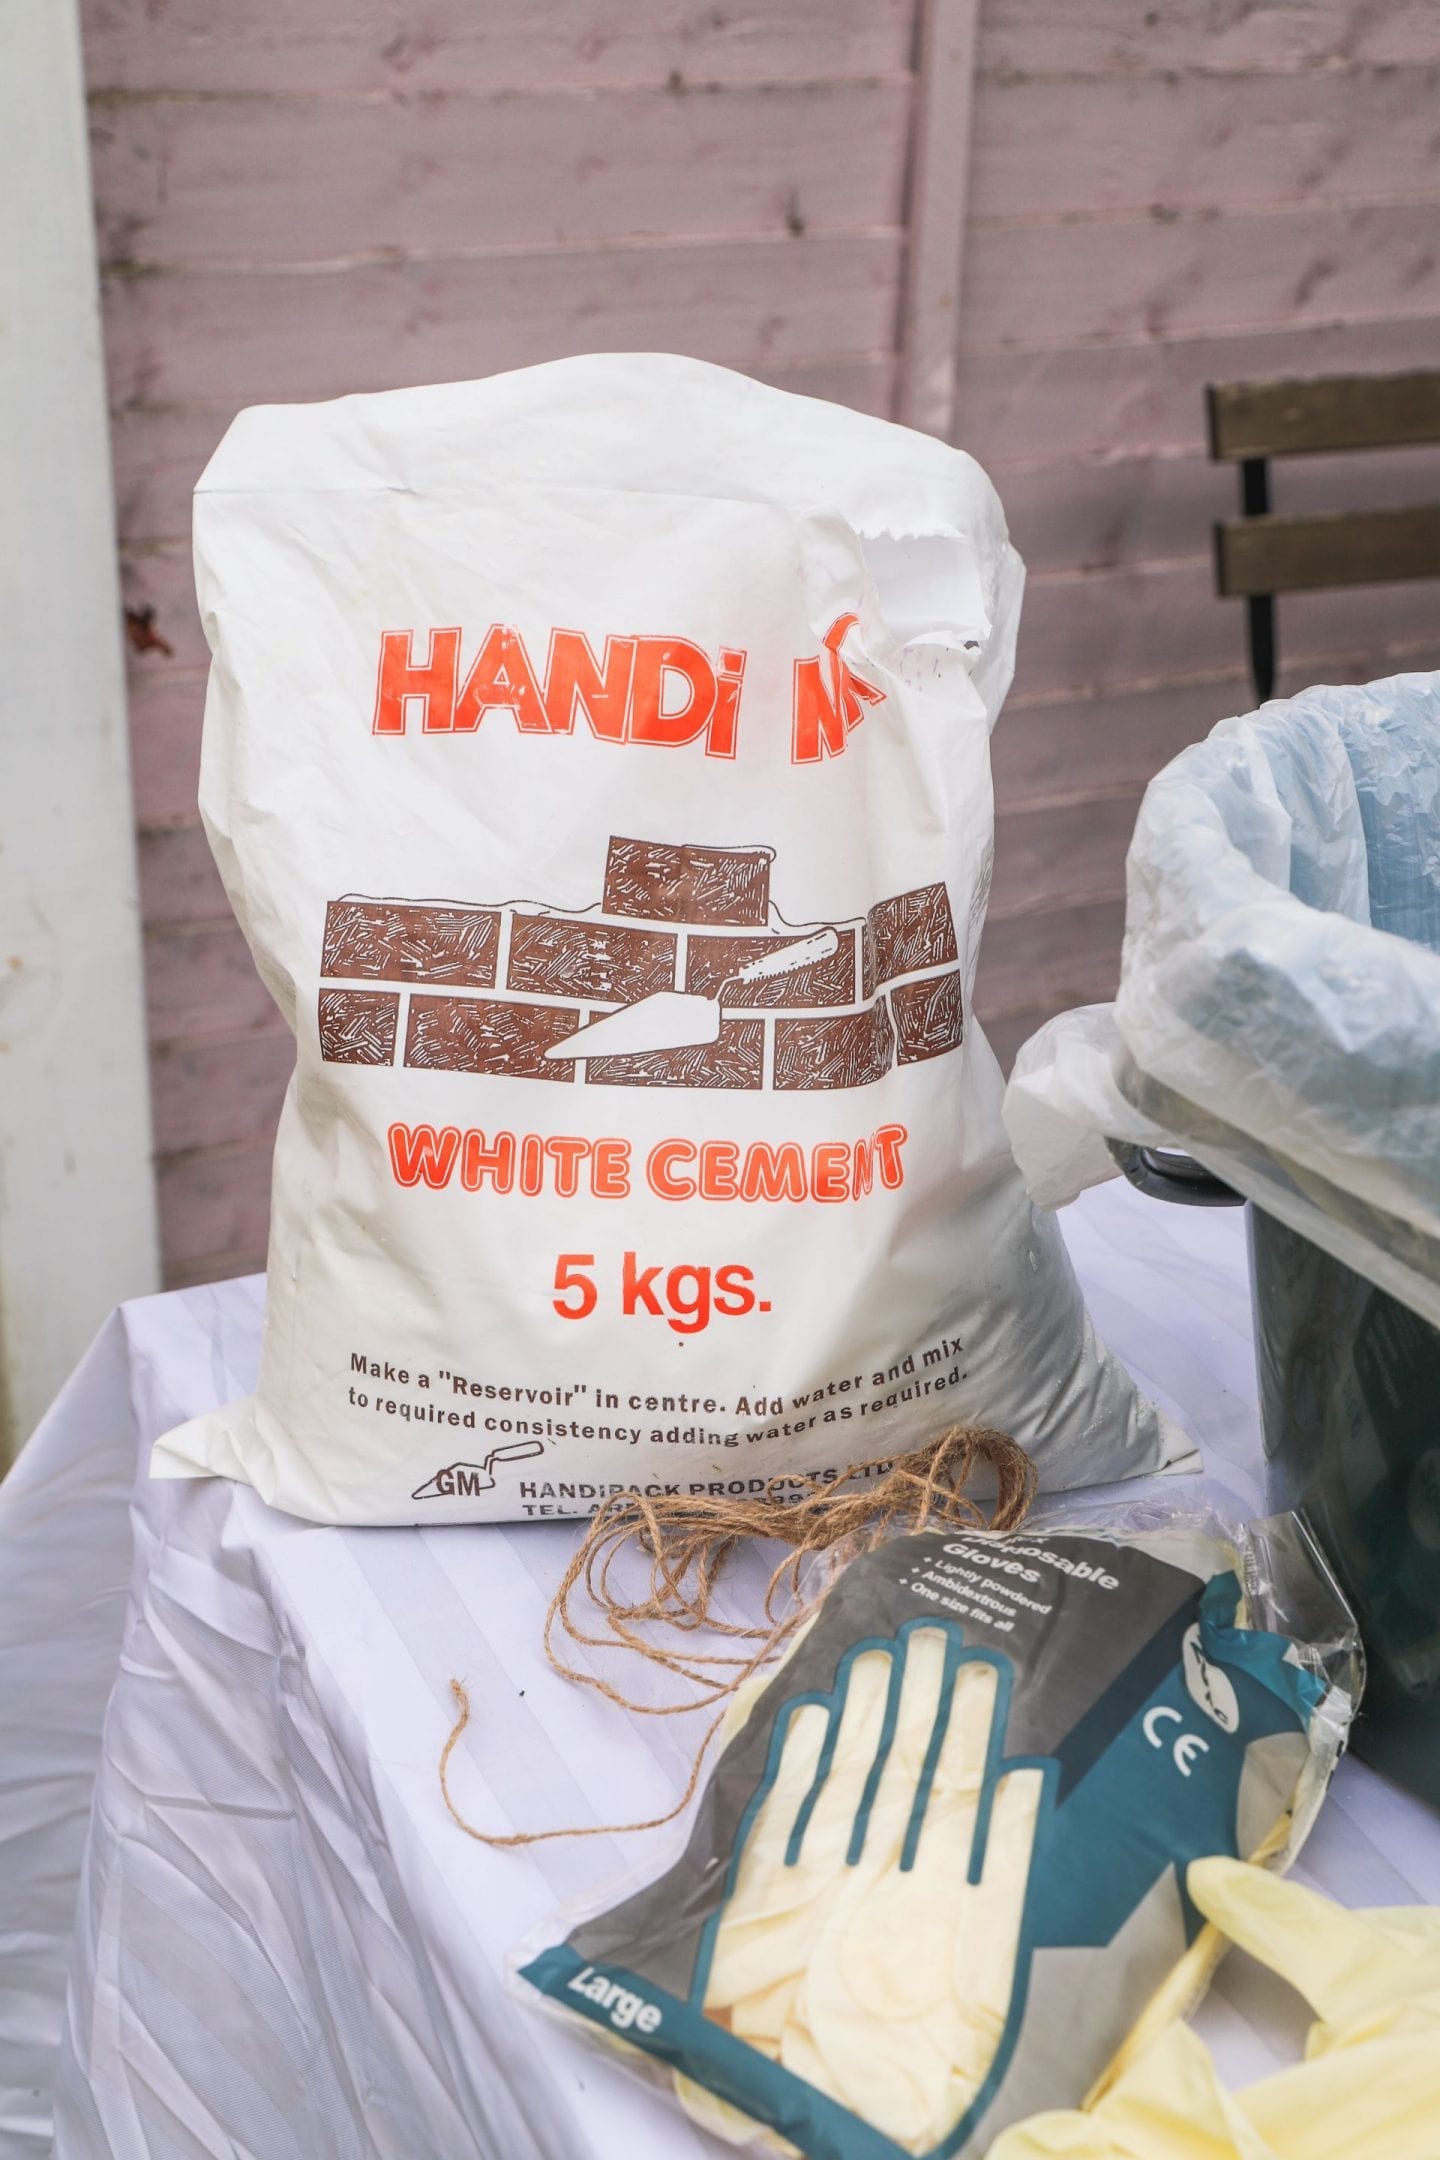
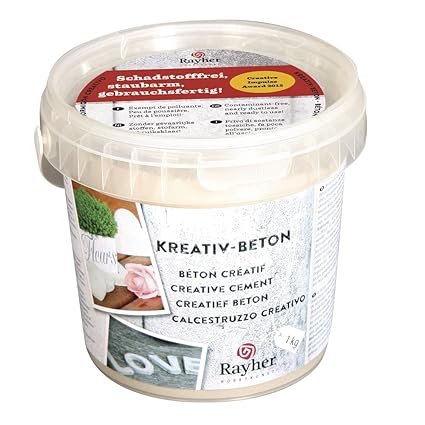
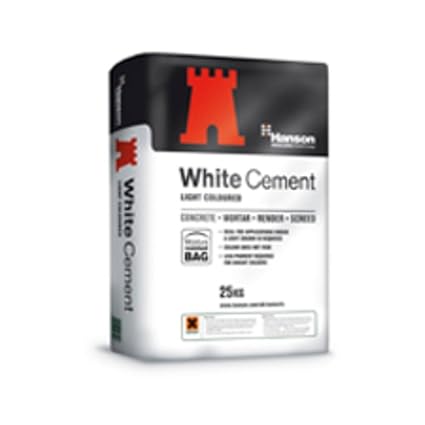
I picked up a small bag of white cement from my local Woodies. I had never bought cement so I honestly didn’t know what I was looking for. I decided on the bag below because all it needed was water and it was white. Cement is quite similar to clay, I found it was a bit messy to work with but overall easy to use. Here are some things you may need to make your pumpkins.
- Cement, rubber gloves
- An old pair of tights
- Some string or elastic bands
- Sanding paper
- Paint ( optional )
I used an old garden bucket to mix my cement. I added my cement and made a dip in the middle. I then added some water and started to mix it until there were no lumps left. I didn’t want it to be too watery but don’t worry as you can add more cement to thicken it. Once I was happy with the consistency, I poured the cement into an old pair of tights. I cut up an old pair of tights into small pouches and added the cement. This is quite messy so make sure to wear your rubber gloves. Once filled I used my twine to wrap around the top of the mold. I then wrapped the twine around the mold to form the shape of the pumpkin. You can see how I did this in the video below.
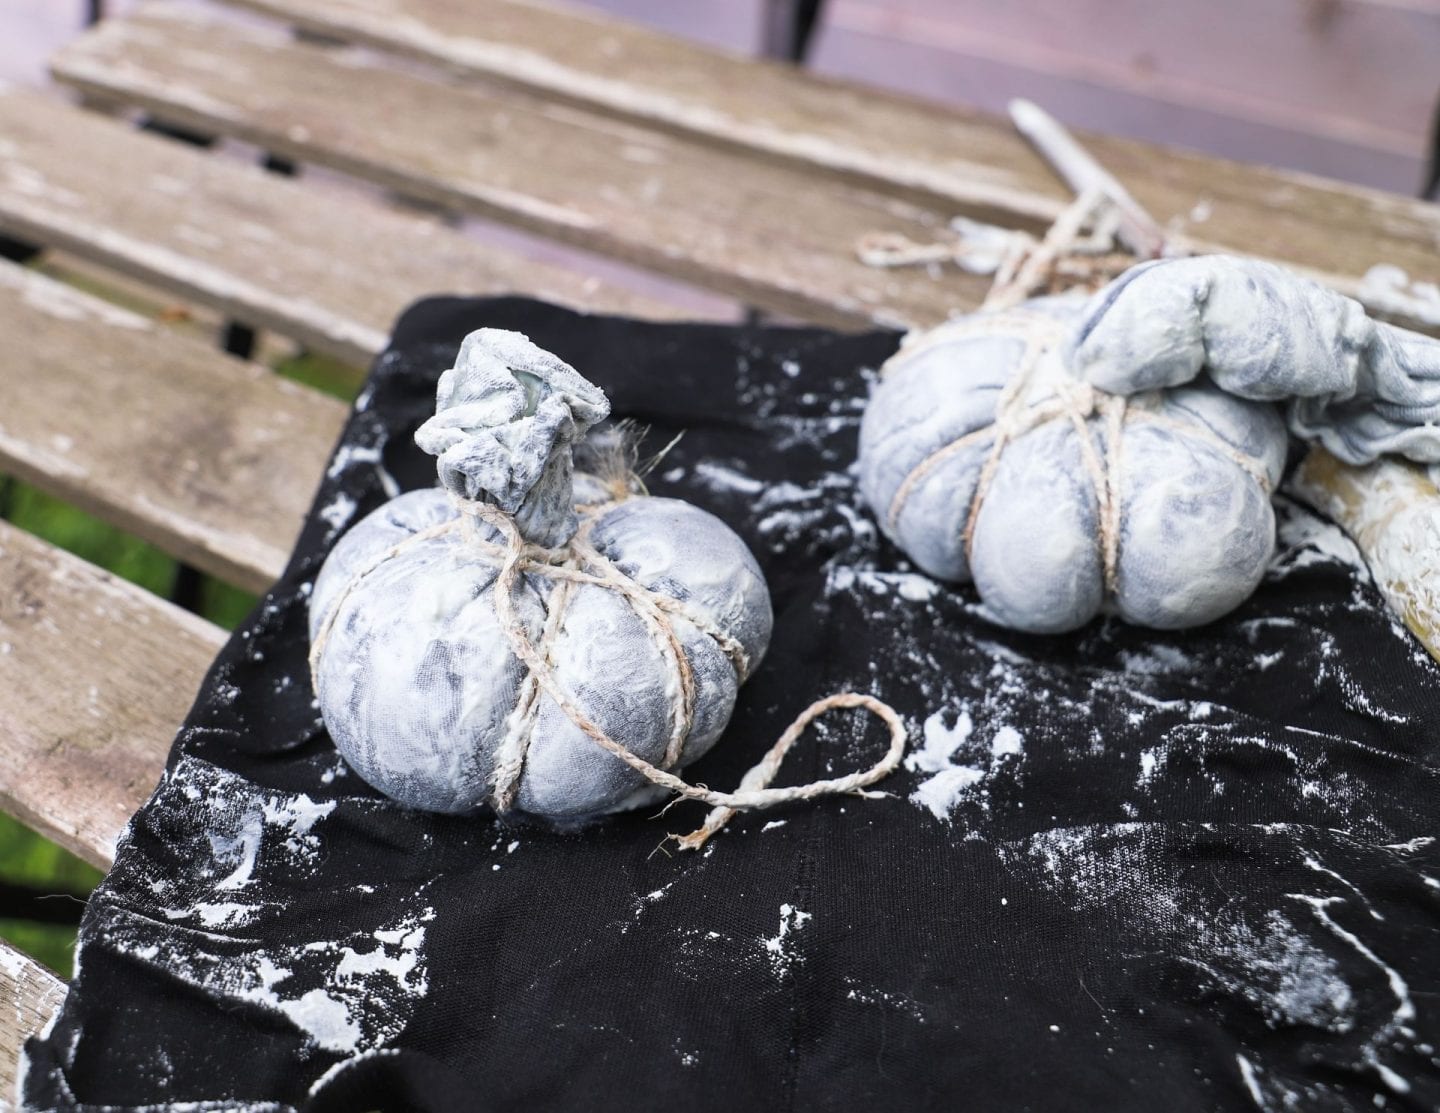
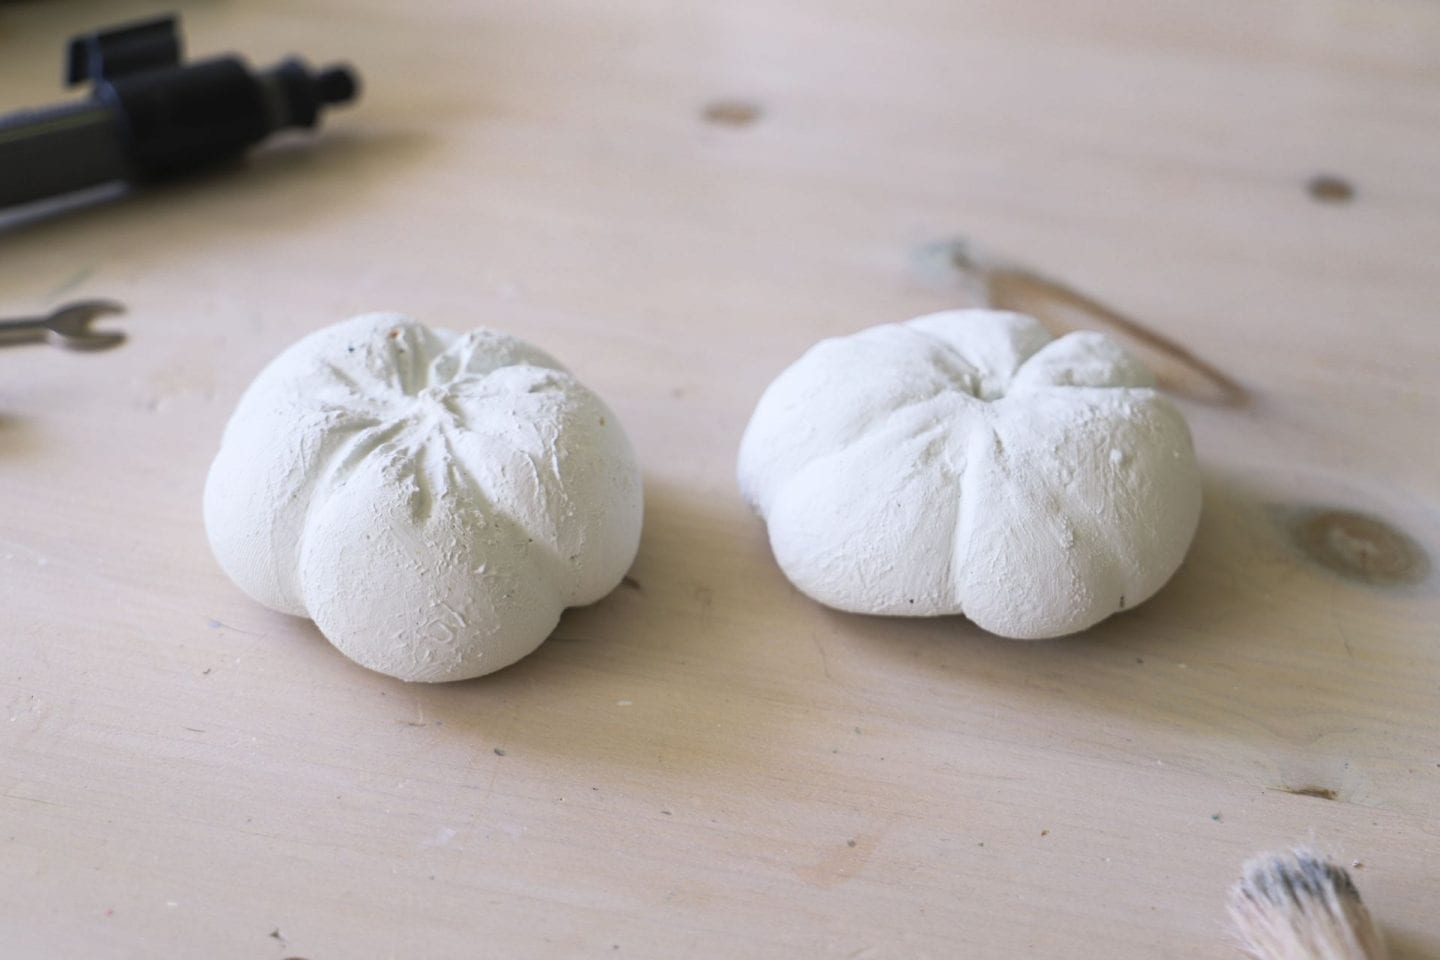
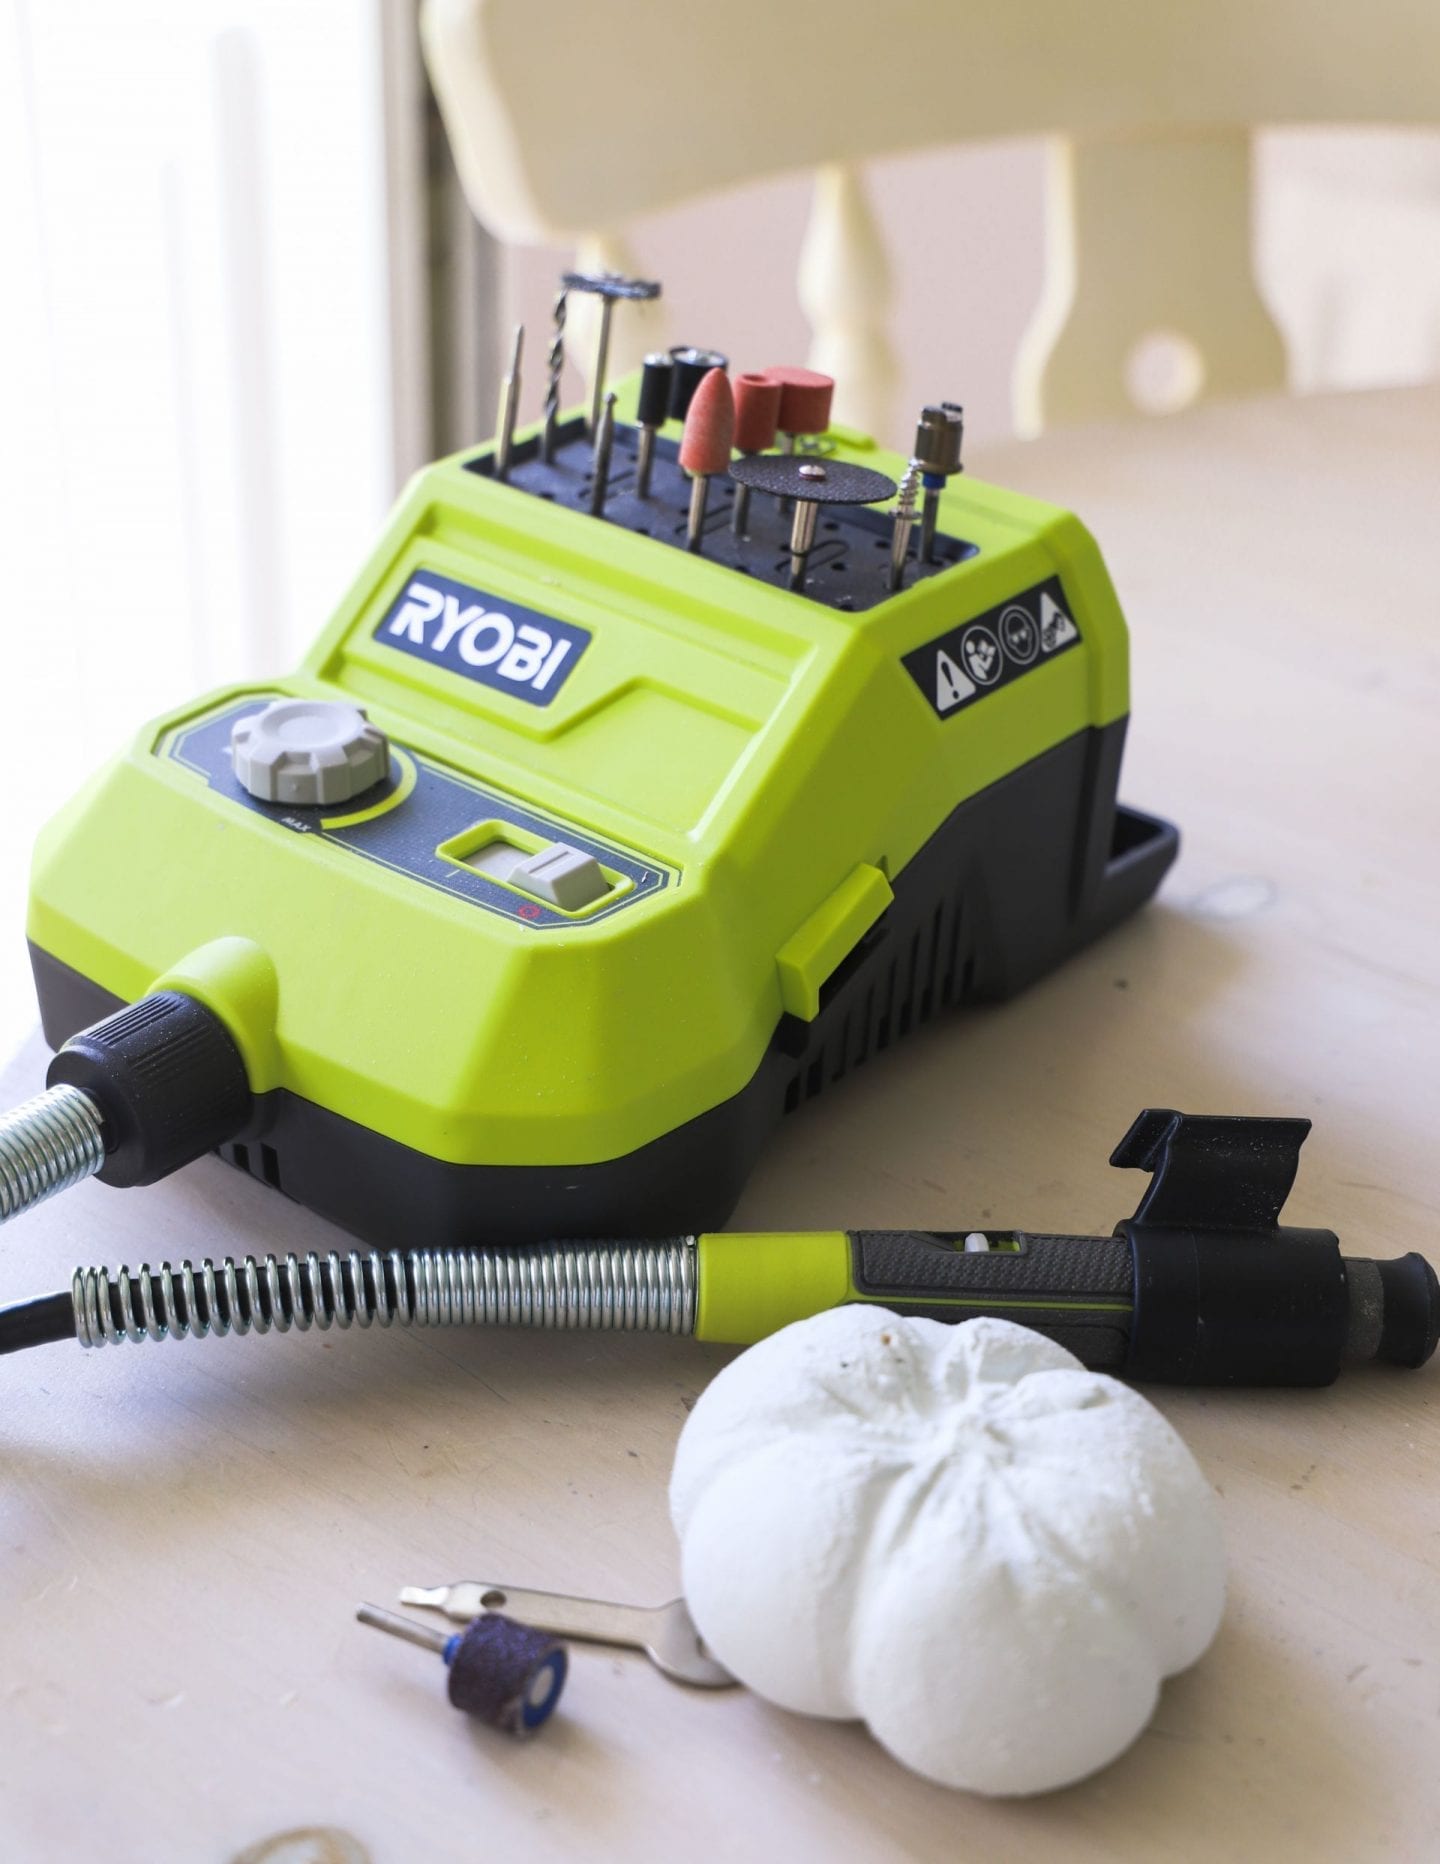
When I made my first batch of pumpkins, I made the mistake of leaving my pumpkins to set overnight. This made it almost impossible to remove the tights and twine. So, the next batch I made, I allowed the cement to harden on the outside for roughly 30-40 minutes. I then gently removed the tights and twine and allowed to sit overnight. Once they were set I gently sanded them to remove any rough edges and to make them smooth for painting.
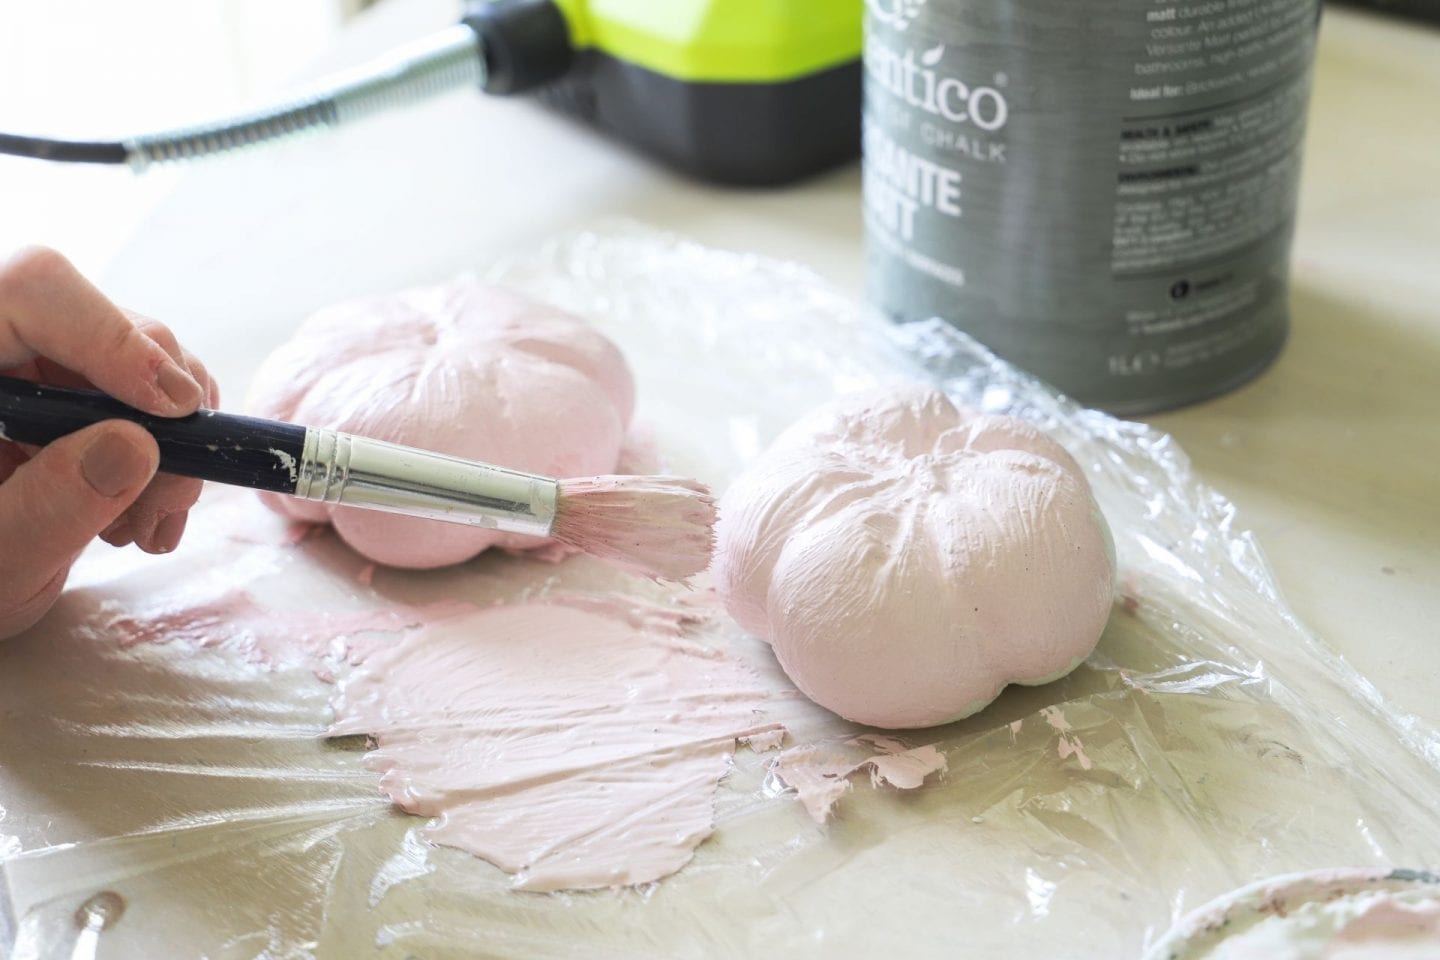


I decided to paint my pumpkins to match my home. I used some paints that I already had in my kit. I used the Autentico Versante matt in the shade “blushed” and I mixed it with some of the “Milk” shade to make a lighter shade of pink. I have an affiliate discount code with Autentico and if you use the code DAINTY10 at checkout you can get 10% off your order. Once I was happy with the paint, I used my glue gun to glue on some twigs I had found in the garden to give them little stumps.

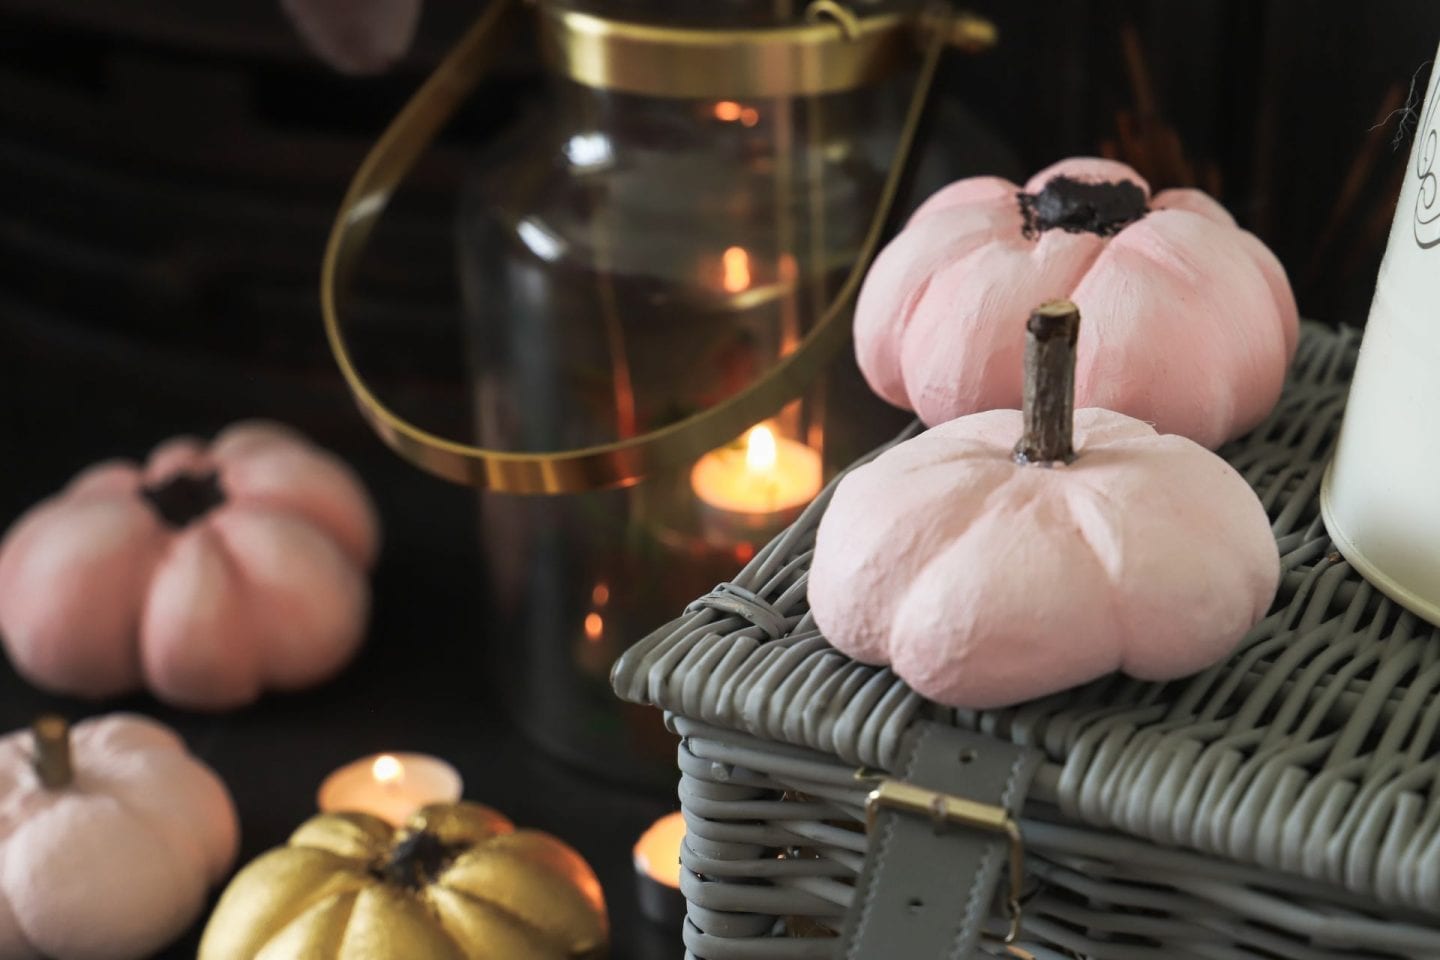

I hope you got some value from this weeks blog post. You can see how I made these in more detail by checking out my video below. Please share this post with your friends and family so they can get some Autumn inspiration. You may also enjoy last years leaf trinket dish DIY which I made from clay. You can read that here.
Thanks so much for reading,
Chat soon,
Catherine.
Please pin to your Pinterest boards





They look fabulous and I liked the way you made them very clever.
Oh wow, it looks so pretty
Candice
Author
Thanks so much Claire x
Author
Thanks so much Candice x
Have a lovely weekend x
I am 70 years old and you have truly inspired me! I just purchased a sewing machine and fabric. Who knew to rolls could be so useful! Are you going to do any Christmas decorations? Never to old to learn and thank you for being you! I look forward to your videos and you have helped me get over those dreaded hours since my husband passed away unexpectedly.. Lynn