
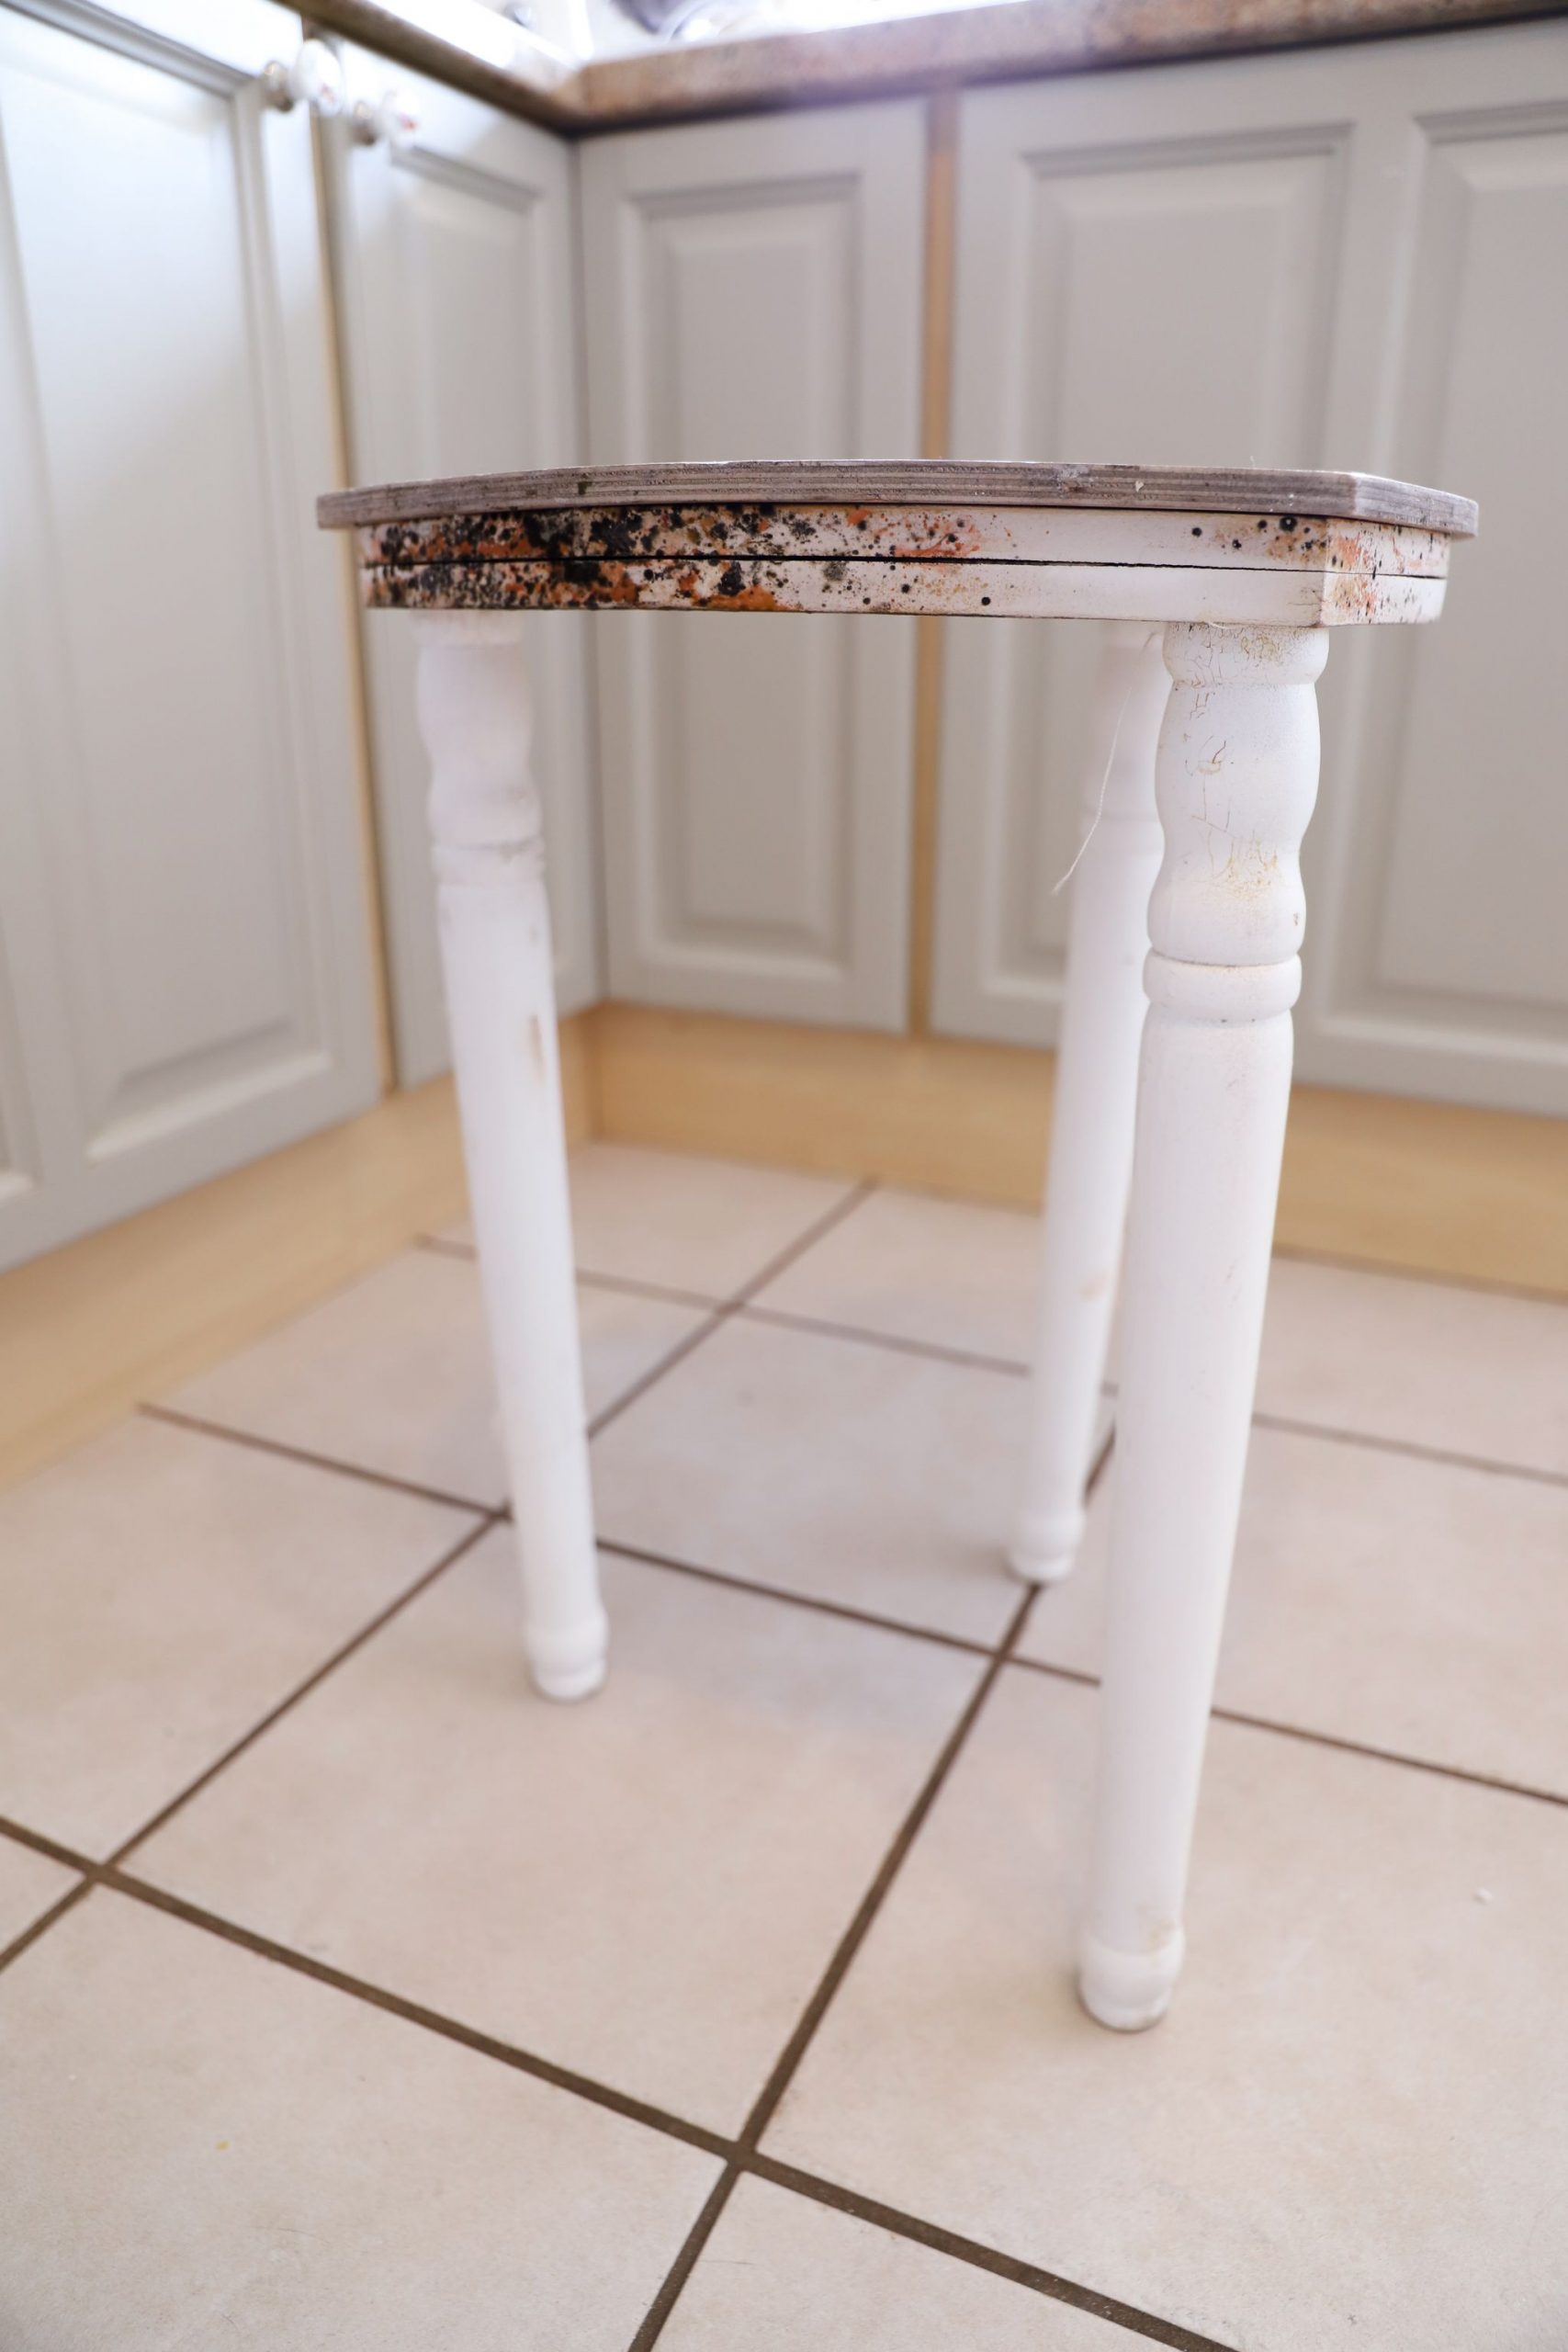
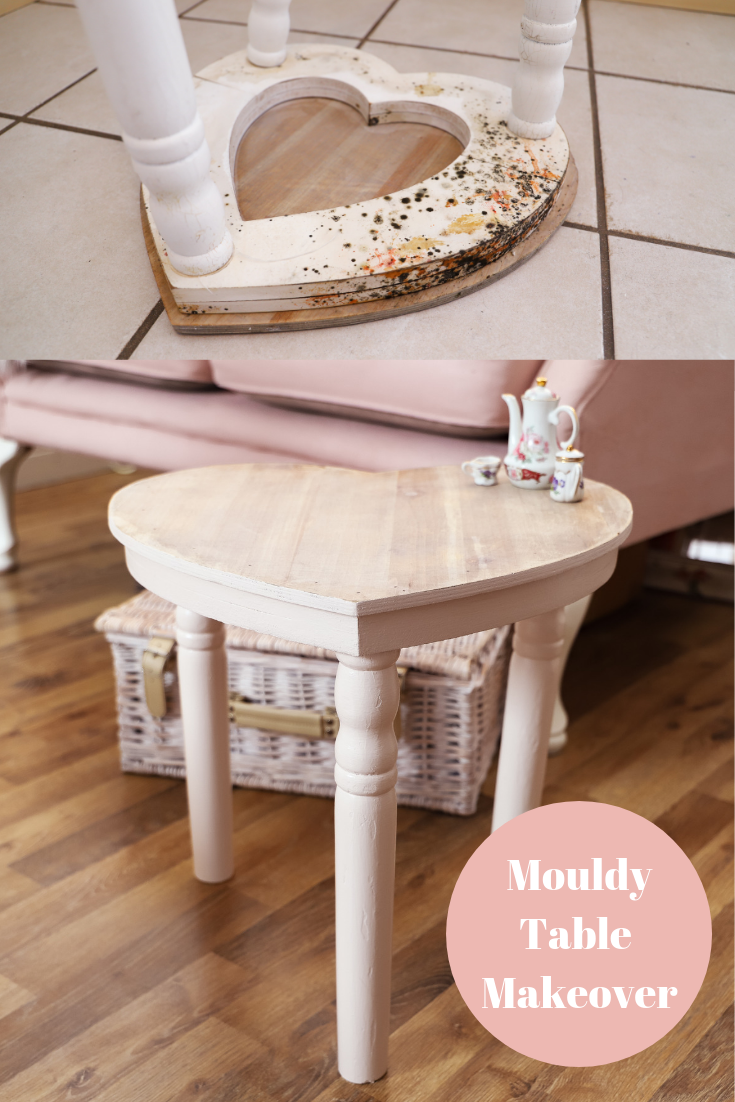
This week I tackled a mouldy table and gave it a makeover. I got this table for free as it was going to be thrown out. I could see some potential in the table and I decided to rescue it and give it a new lease of life and save it from the trash. This table had really bad mould damage to the underneath and sides, however, the top of the table and legs were in good condition so I decided to treat the mould and turn the table into a stool. Have a look below to see how I gave it a transformation and turned it from trash to treasure. As always I have a Youtube video showing you how I achieved the finished result which you can check out below.
Treating The Mould
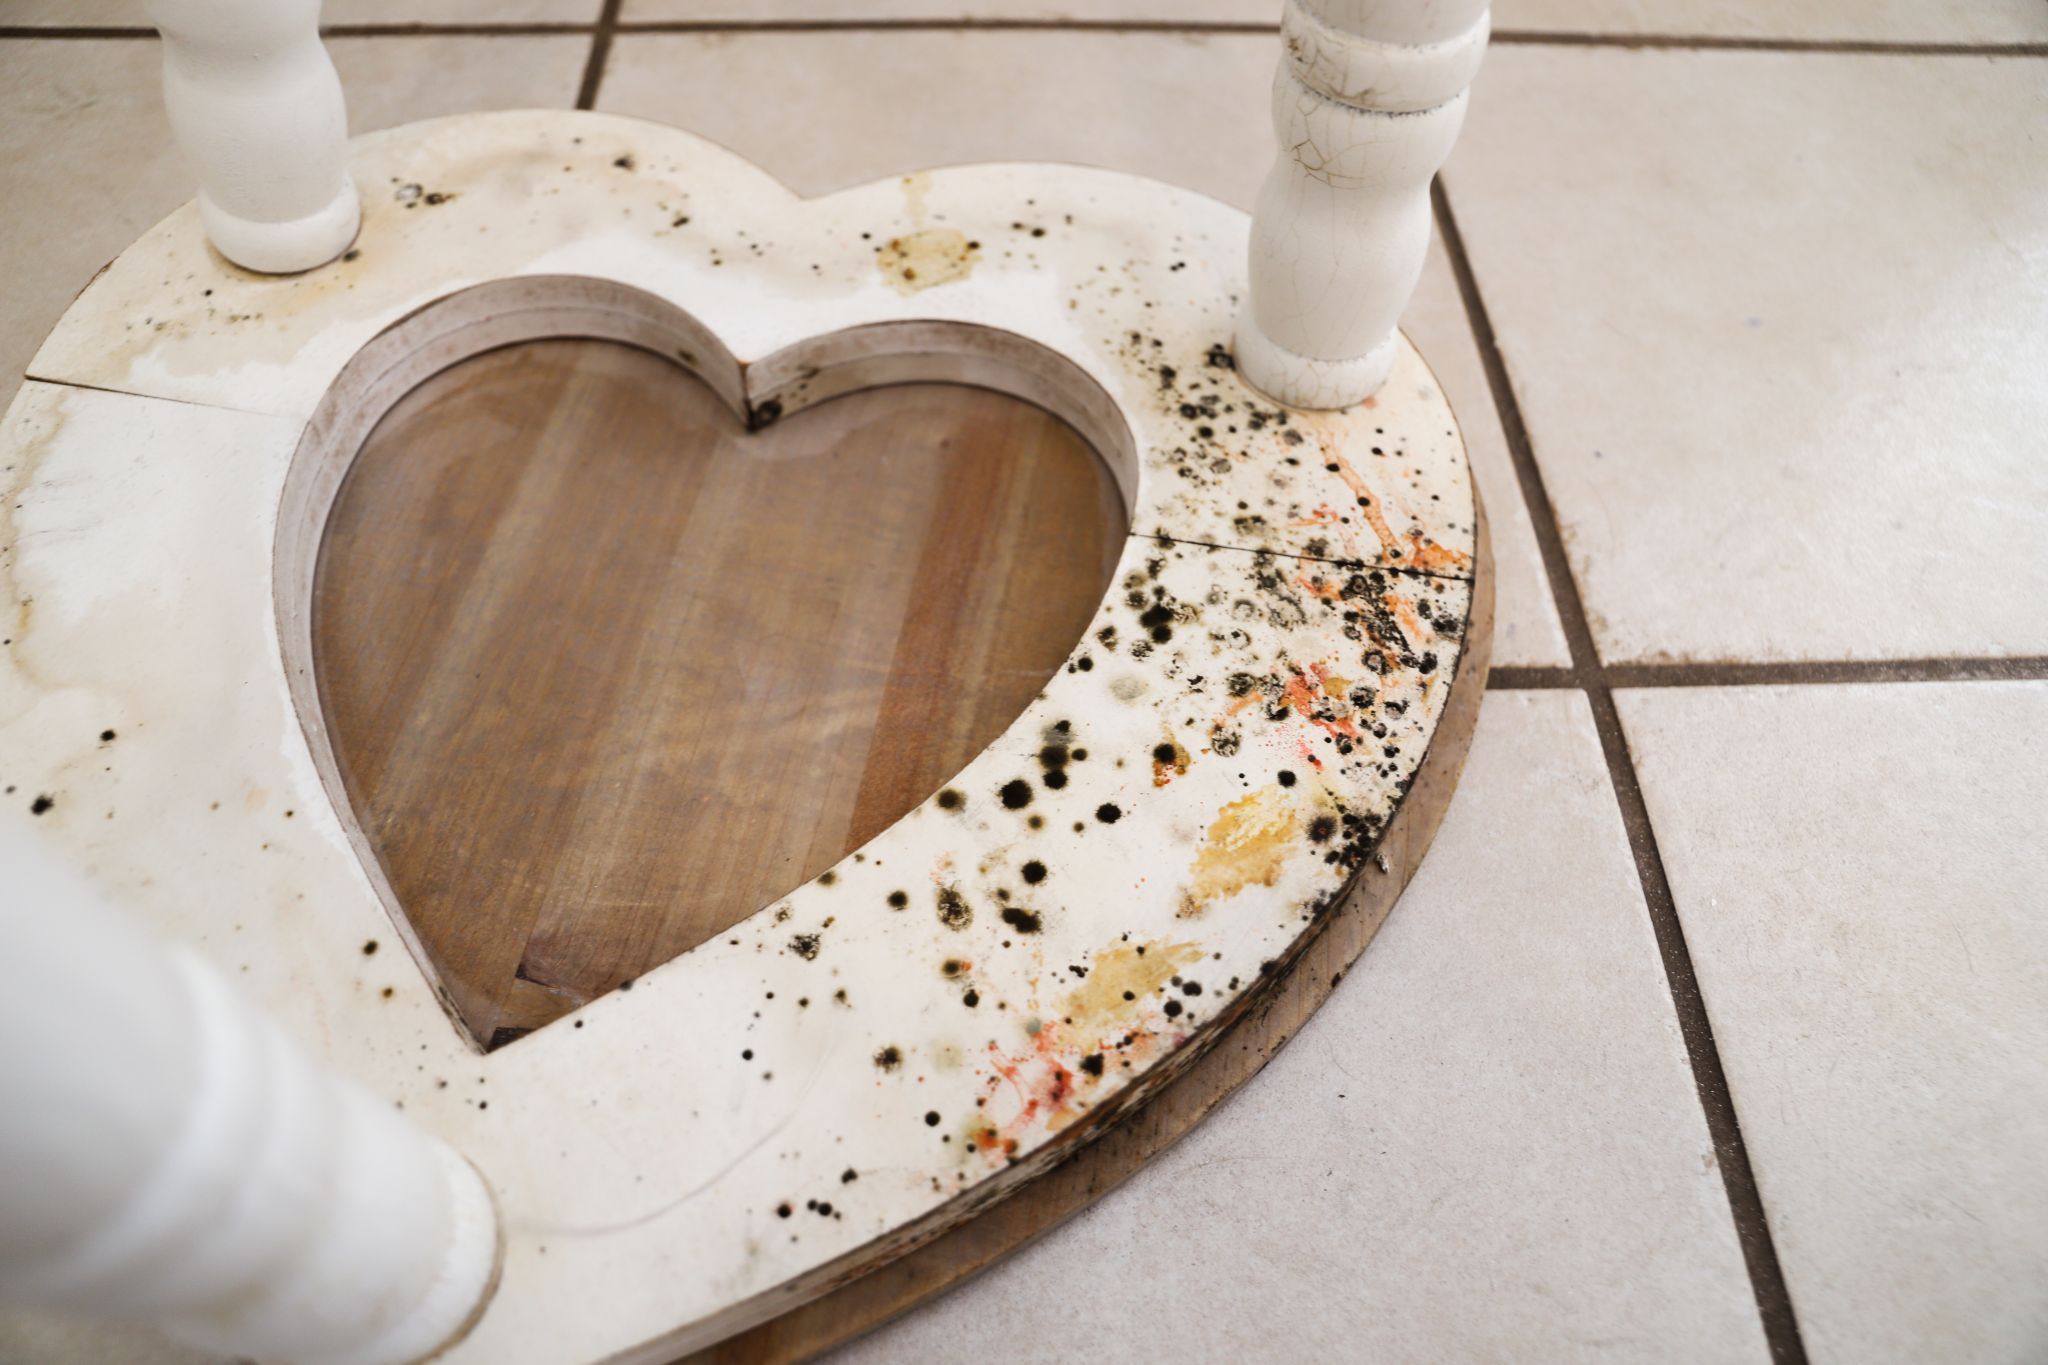
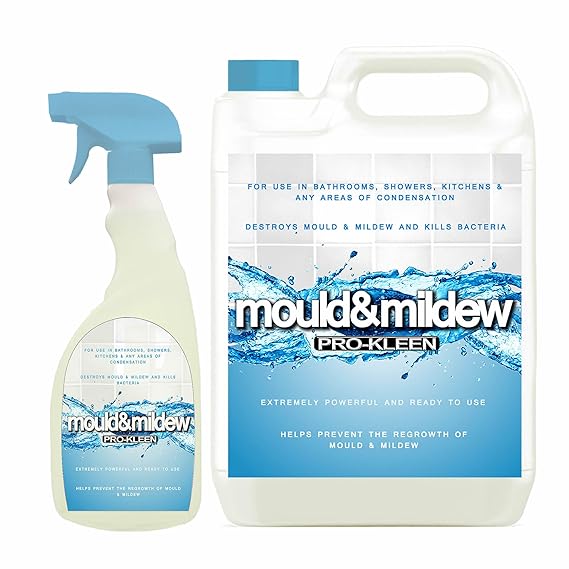
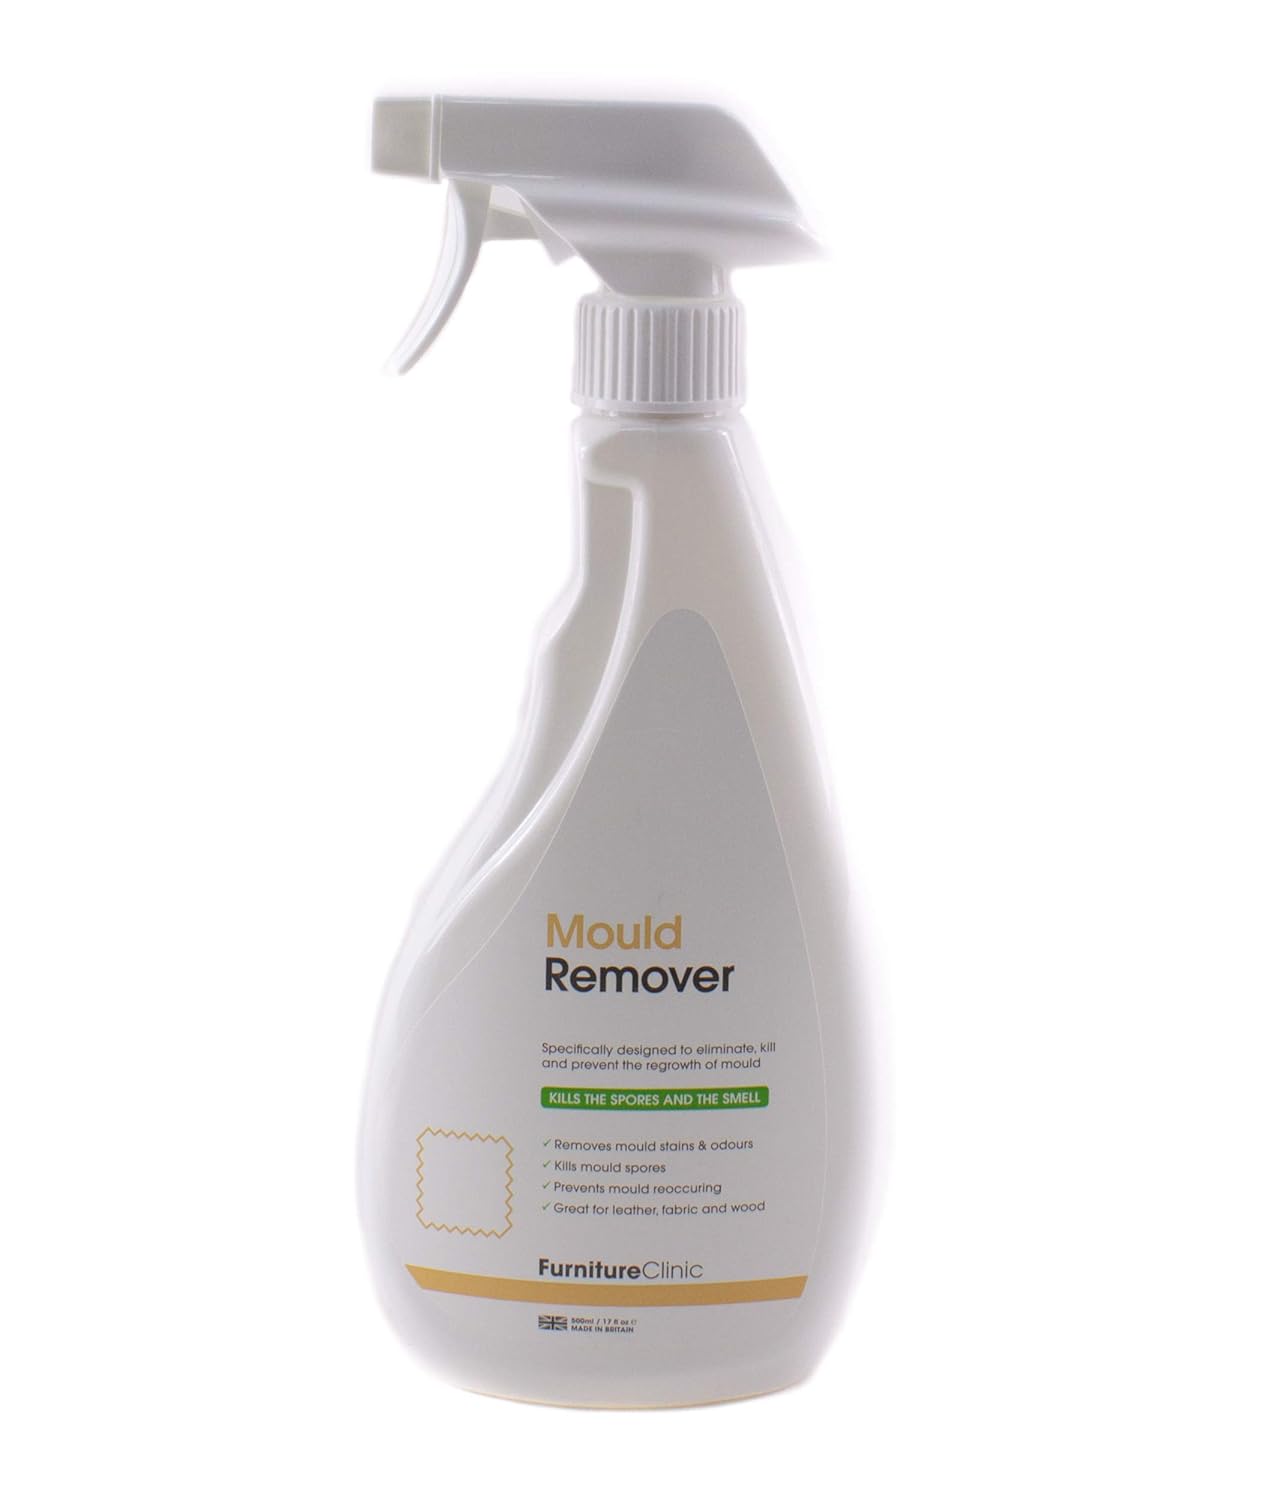
This first thing I did with this table was to treat the mould. Most of the mould damage was underneath the table and had spread to the sides. The main cause of mould is moisture and damp. The chair could have been in a damp area like a shed or the material of the chair could have gotten wet and caused mould to grow. I used some mould removing spray that I picked up in Woodies to kill the mould. You can also make some homemade mould remover but I was tight for time with this project so I used the mould killing spray. Make sure to use this spray outdoors or in a well-ventilated area and also keep away from pets. I popped my table outside and left the spray to work for a few hours. I also rinsed down the path after I had used it so there was no residue left from the spray that the cats could have gotten on their paws. When working with mould make sure to protect your lungs and wear a mask when cleaning and sanding as mould is really dangerous to breathe in. Once I had scrubbed down the piece I then sanded it to give me a good base to paint. Sanding also removed any remaining mould spores that I may have missed when cleaning. Once I had sanded down the piece I gave it a clean with some Krud Kutter to remove any remaining grime.


Cutting The Legs
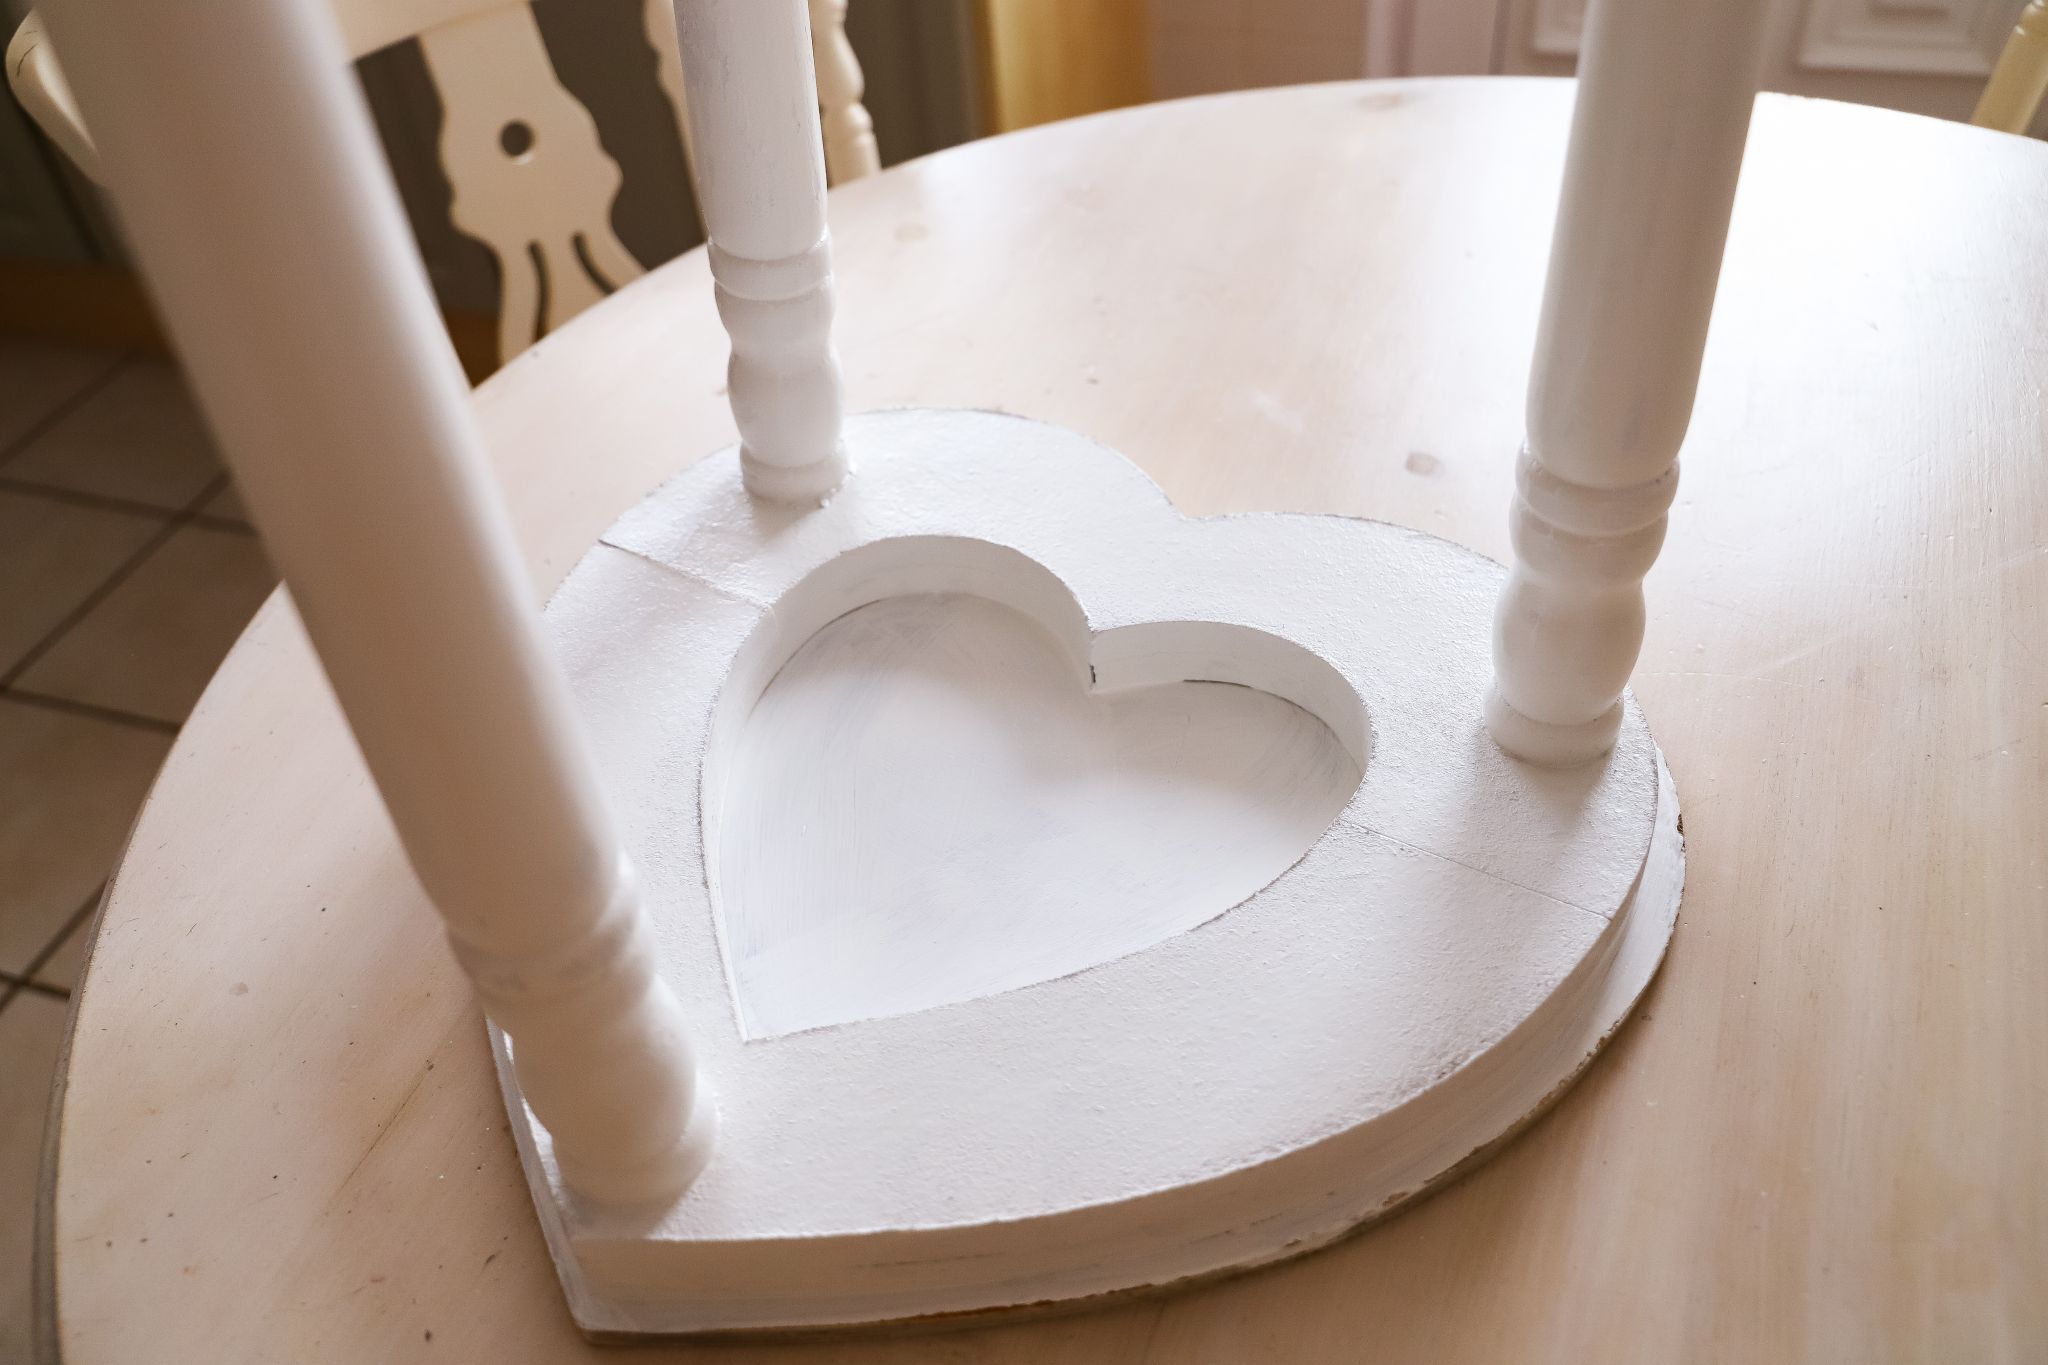
I decided to cut the legs and shorten them so I could turn the table into a little stool for my niece. I just love the heart shape of the wood and thought it would be gorgeous for my niece. I made sure to measure a million times before I cut the wood with my jigsaw. “Measure twice and cut once” is my biggest lesson I have learnt from the woodwork. I was able to get the legs straight on my first attempt which I was delighted with. There is a laser tool on my jigsaw that I use as a guide to cut straight. I then screwed the legs back into the base of the stool and I reinforced the screws with some wood glue. Some of the joins were a little wobbly but once the glue had dried they were secure.


Prime And Paint
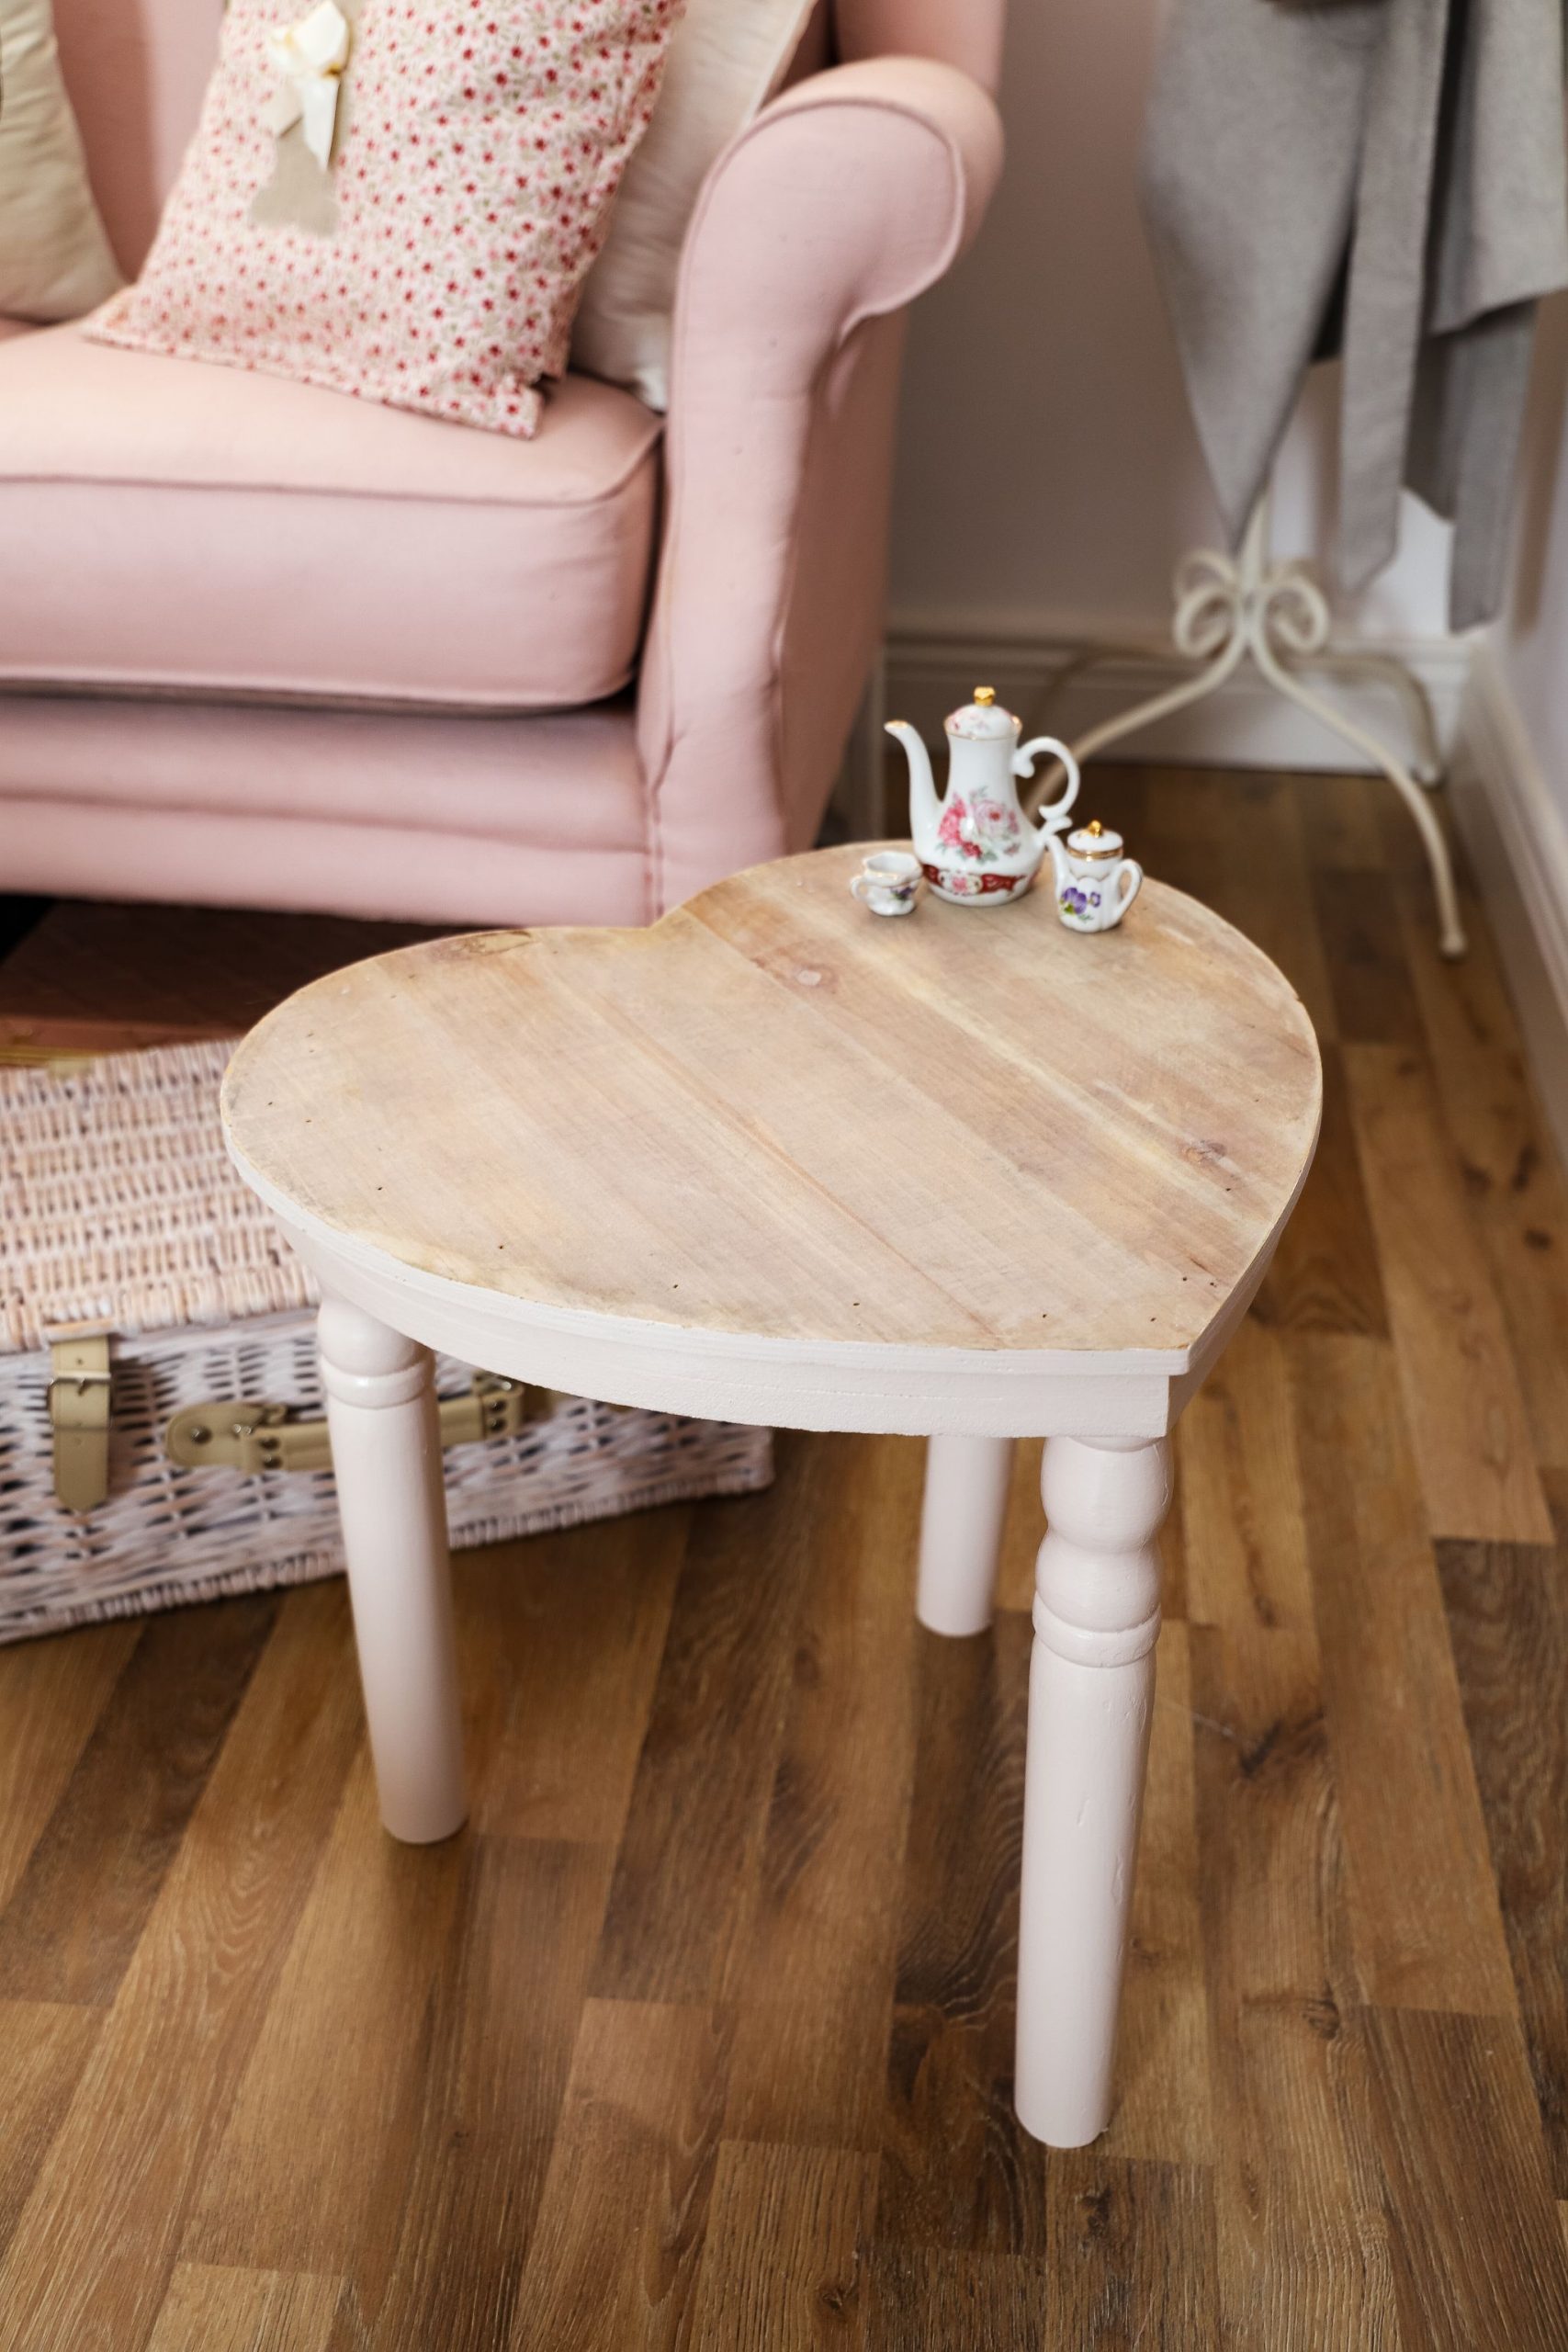
I applied two coats of Zinser Bin shellac-based primer to the base and legs of the stool. This primer is really good at sealing in stains and blocking anything from coming through. If there was any mould left on the chair then this would stop it from coming back through. I then applied two coats of the Colourtrend satin finish paint in the shade “Cuckoo’s Call” which I had leftover from my cabinet makeover. This is a lovely light pink/peach shade, it is super girly and I think my niece will love it for some time.


I hope I have inspired you to think differently when you see a really damaged piece of furniture and almost everything can be salvaged with a little care and patience. Obviously some pieces there are no saving but do think twice and see if you can have a go and save a piece. You can check out my Youtube video below and if you want more furniture makeover inspiration then click this link here. Please share this post on your social media if you enjoyed it!
Thanks for reading,
Chat Soon,
Catherine.
Please Pin The Image Below To Your Pinterest Boards


Author
Thanks so much Candice x
Oh wow it turned out looking so pretty!
Candice x