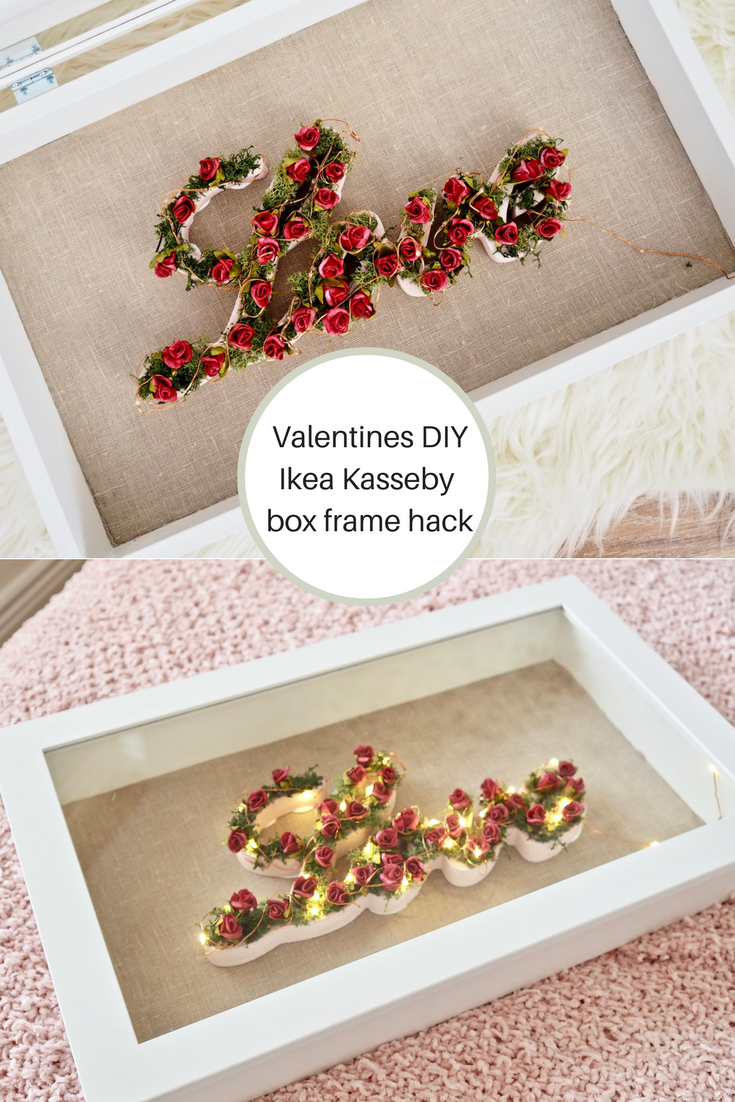
Floral box frame DIY
As we are getting closer to Valentine’s day I decided to make a fun and quick valentines DIY, I decided to make this floral framed love sign as a gift for one of the girls. You could make it for a friend too, it would also make a fun wedding DIY too. Recently I was in Ikea getting some items for projects. You might have seen last weeks DIY where I hacked the €3.50 Marius stool. When I was rambling around Ikea I noticed that they had some new items. I stumbled across the Kasseby display box frame. This was €15, some of you might remember my Ribba frame DIY from last year. I loved the way the Kasseby frame was wider and bigger so I popped it into my basket and brought it home for a DIY.
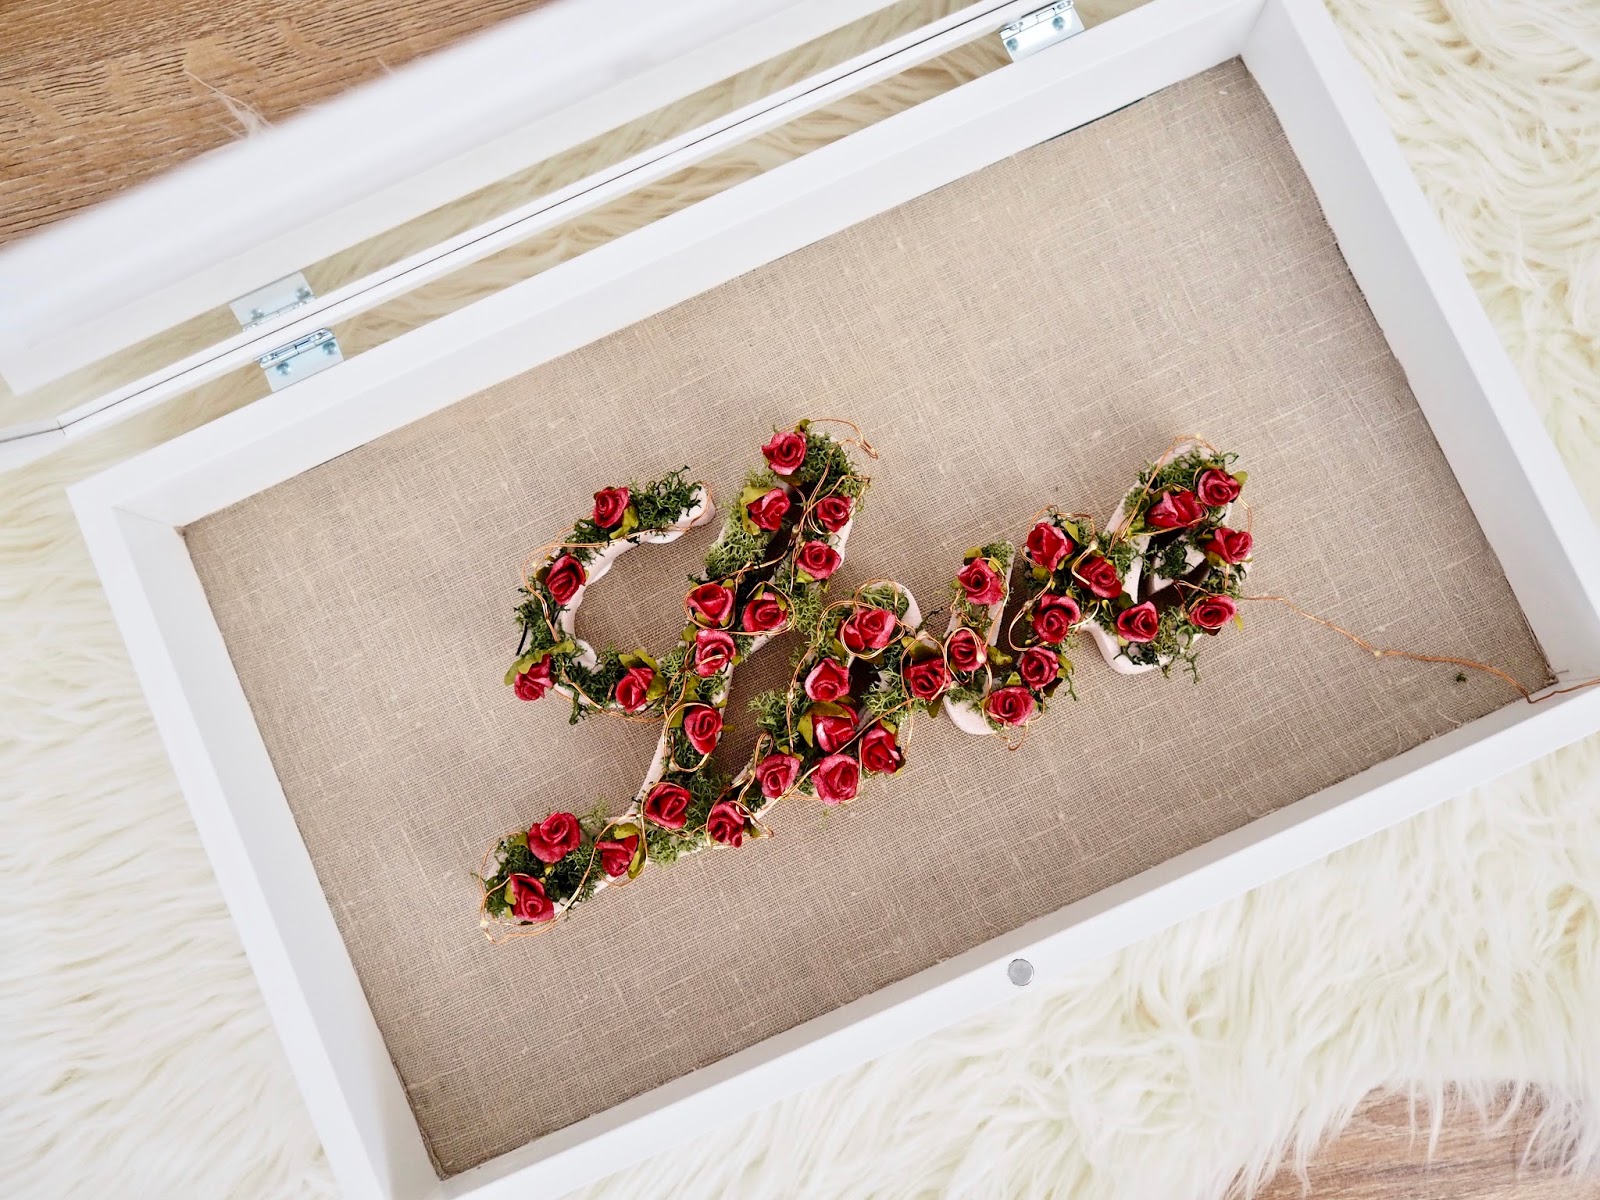
Framed love sign
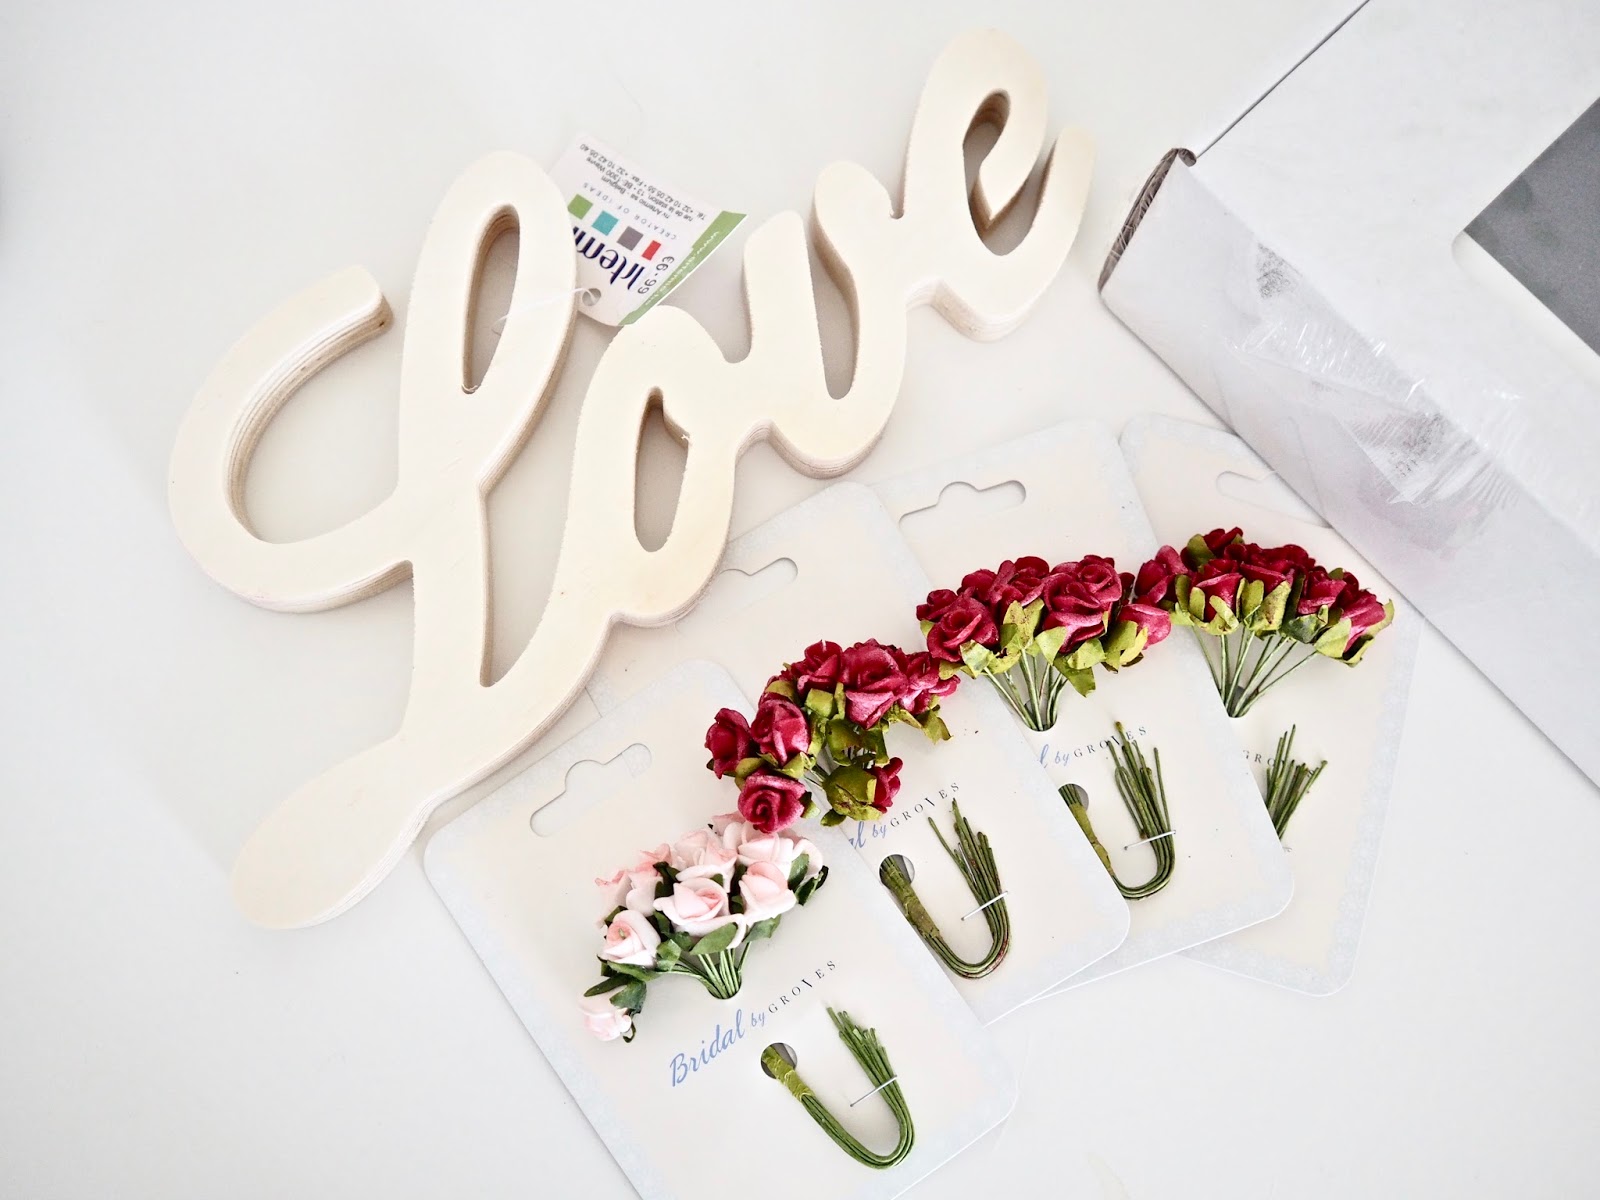
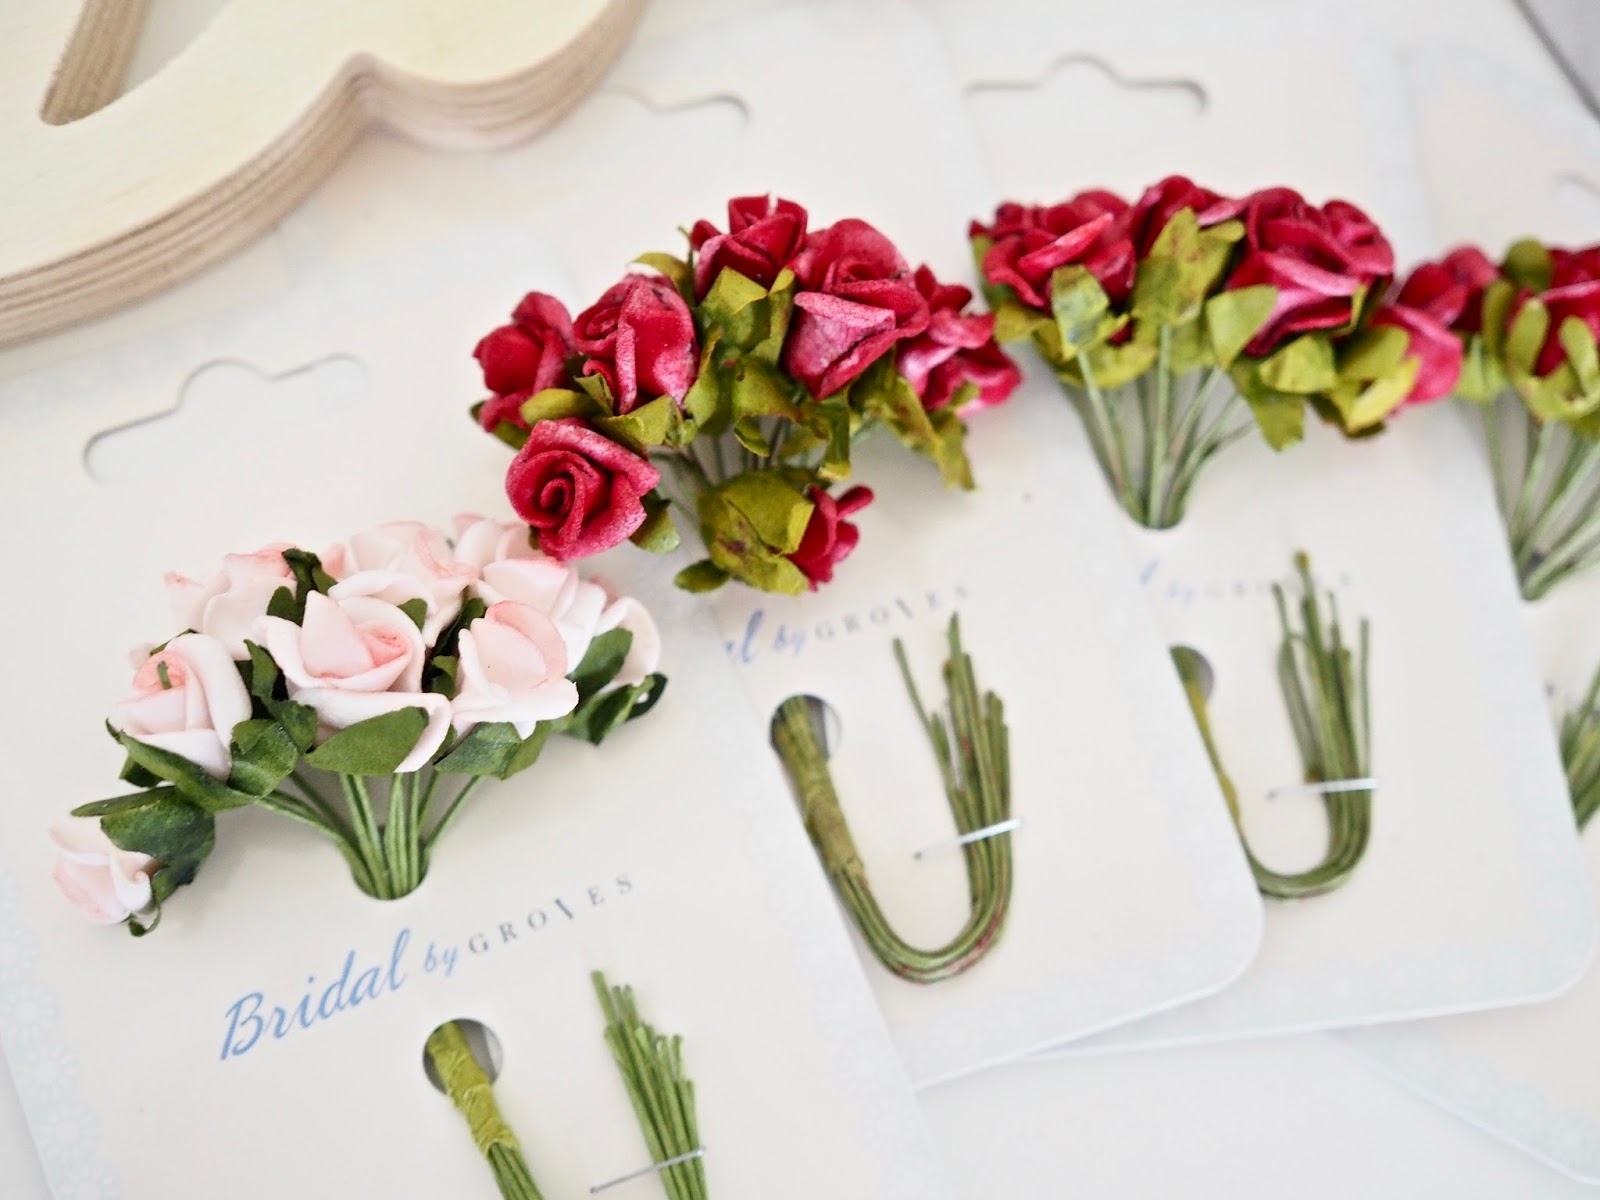
I popped into my local craft shop, Inspiring ideas in Blanchardstown. I found a wooden MDF love sign and I decided to give it a floral makeover similar to this letter DIY from last year. I had some leftover moss from previous DIYs. I used the leftover moss and I bought some small roses to transform the MDF love sign.
I first gave the letter a coat of paint, I had a tester size pot of Autentico chalk paint in the shade rose. I gave the love sign one coat of the rose paint. I let this fully dry before glueing on the moss. Once I was happy with how much moss I had put on the sign I then added on the mini roses. I used three packets of mini craft roses on this sign.


Backing fabric
I used some leftover hessian fabric to change the backing of the frame. I wanted the floral love sign to stand out so I went for a hessian fabric background. You could pick up a wallpaper sample from your local DIY shop to use for the back of your frame if you do not want to use fabric. I found adding the fabric to the back quite fiddly, so, my top tip is to measure the inside ( it is 42cm X 25cm ) then cut your fabric to size and place inside. Once you are happy with how it fits then add some glue and apply your fabric. I used the same glue I used to stick on my moss and flowers to the MDF sign. You can then add your love sign to the backing fabric.


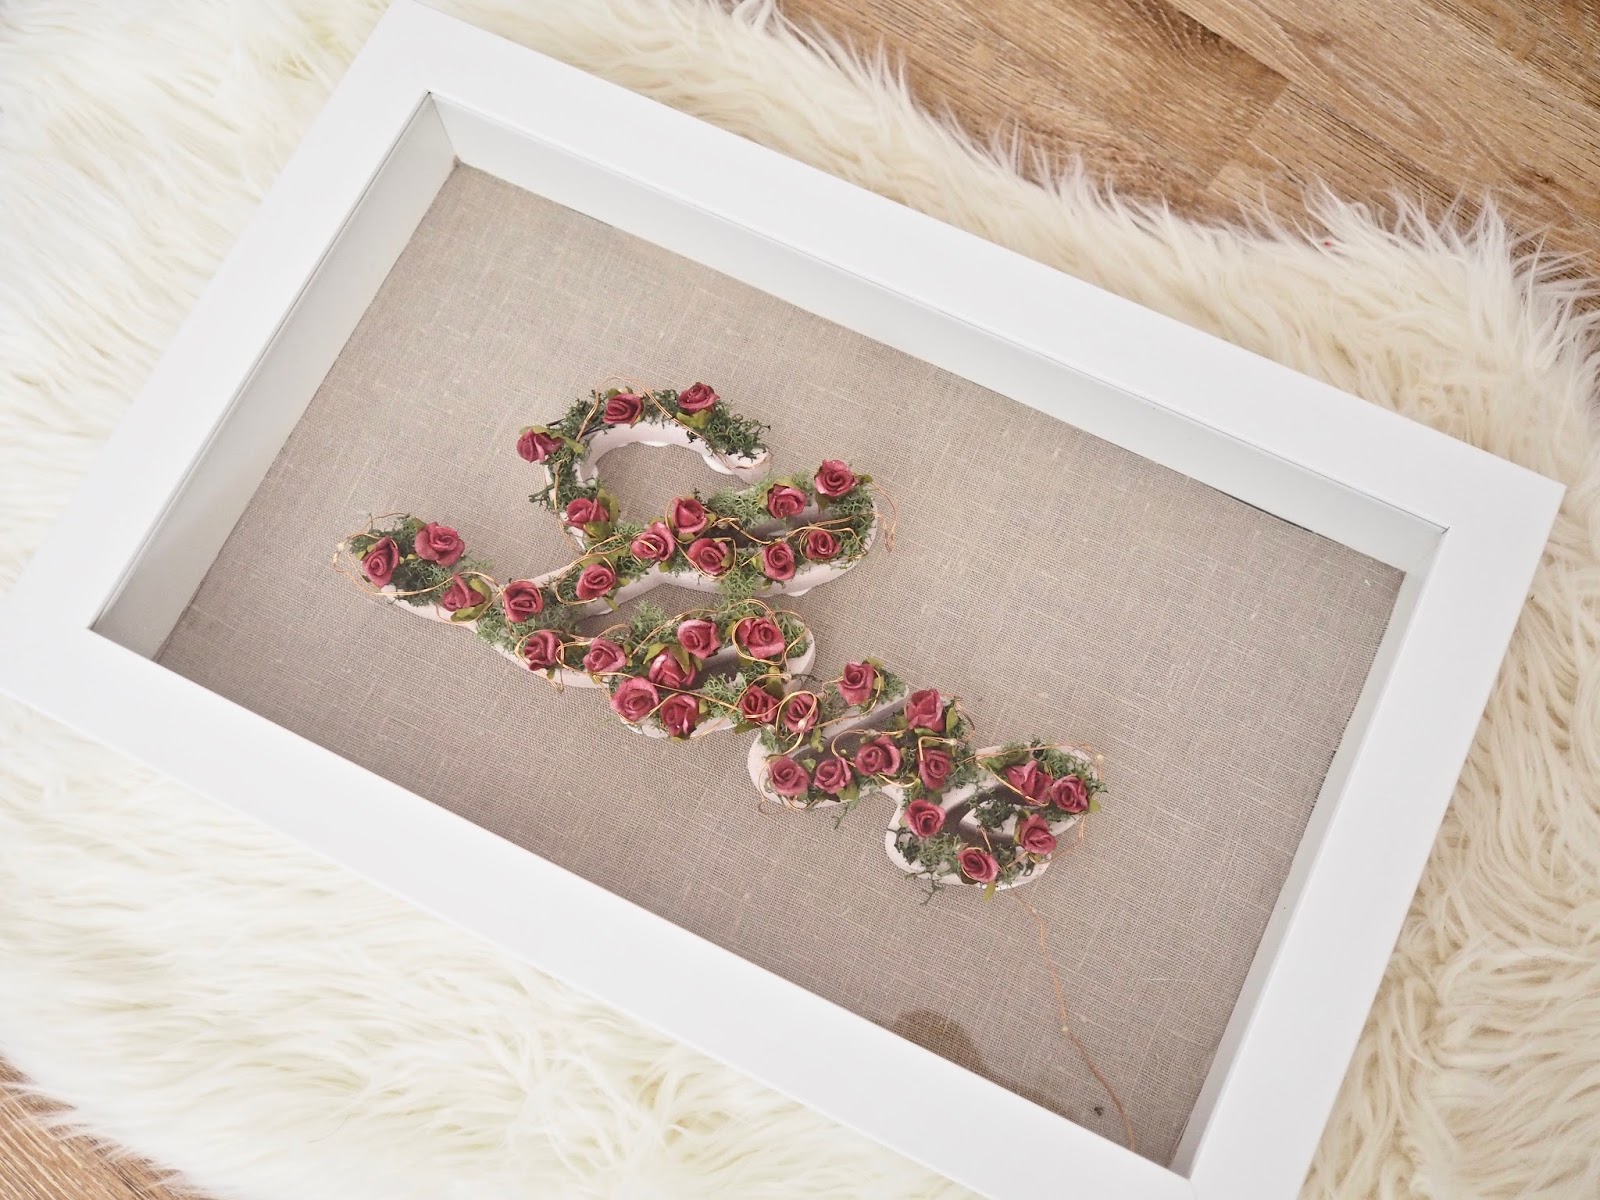
String lights
When I stepped back and looked at my frame I thought it was lacking something. A few days ago I picked up a set of wire string lights from Pennies (Primark) I decided to take them out and I experimented and applied them to the love sign. These lights were a steal t €6. They are made of wire and are easy to bend and move around the flowers on the sign. The wire is so thin that I was able to put it out of the door of the box frame and the battery pack sits on the back of the box. No need to drill. If you watch my video below you can get a better idea of this.


I hope you liked today’s Valentines DIY. Have you got any plans for Valentine’s day this year? Please do tag me in your crafty makes on Instagram, click the video below to get a better idea of how I put together the frame and don’t forget to subscribe!
Thanks for reading,
Chat soon,
Catherine.
Please pin the image below to your Pinterest boards