
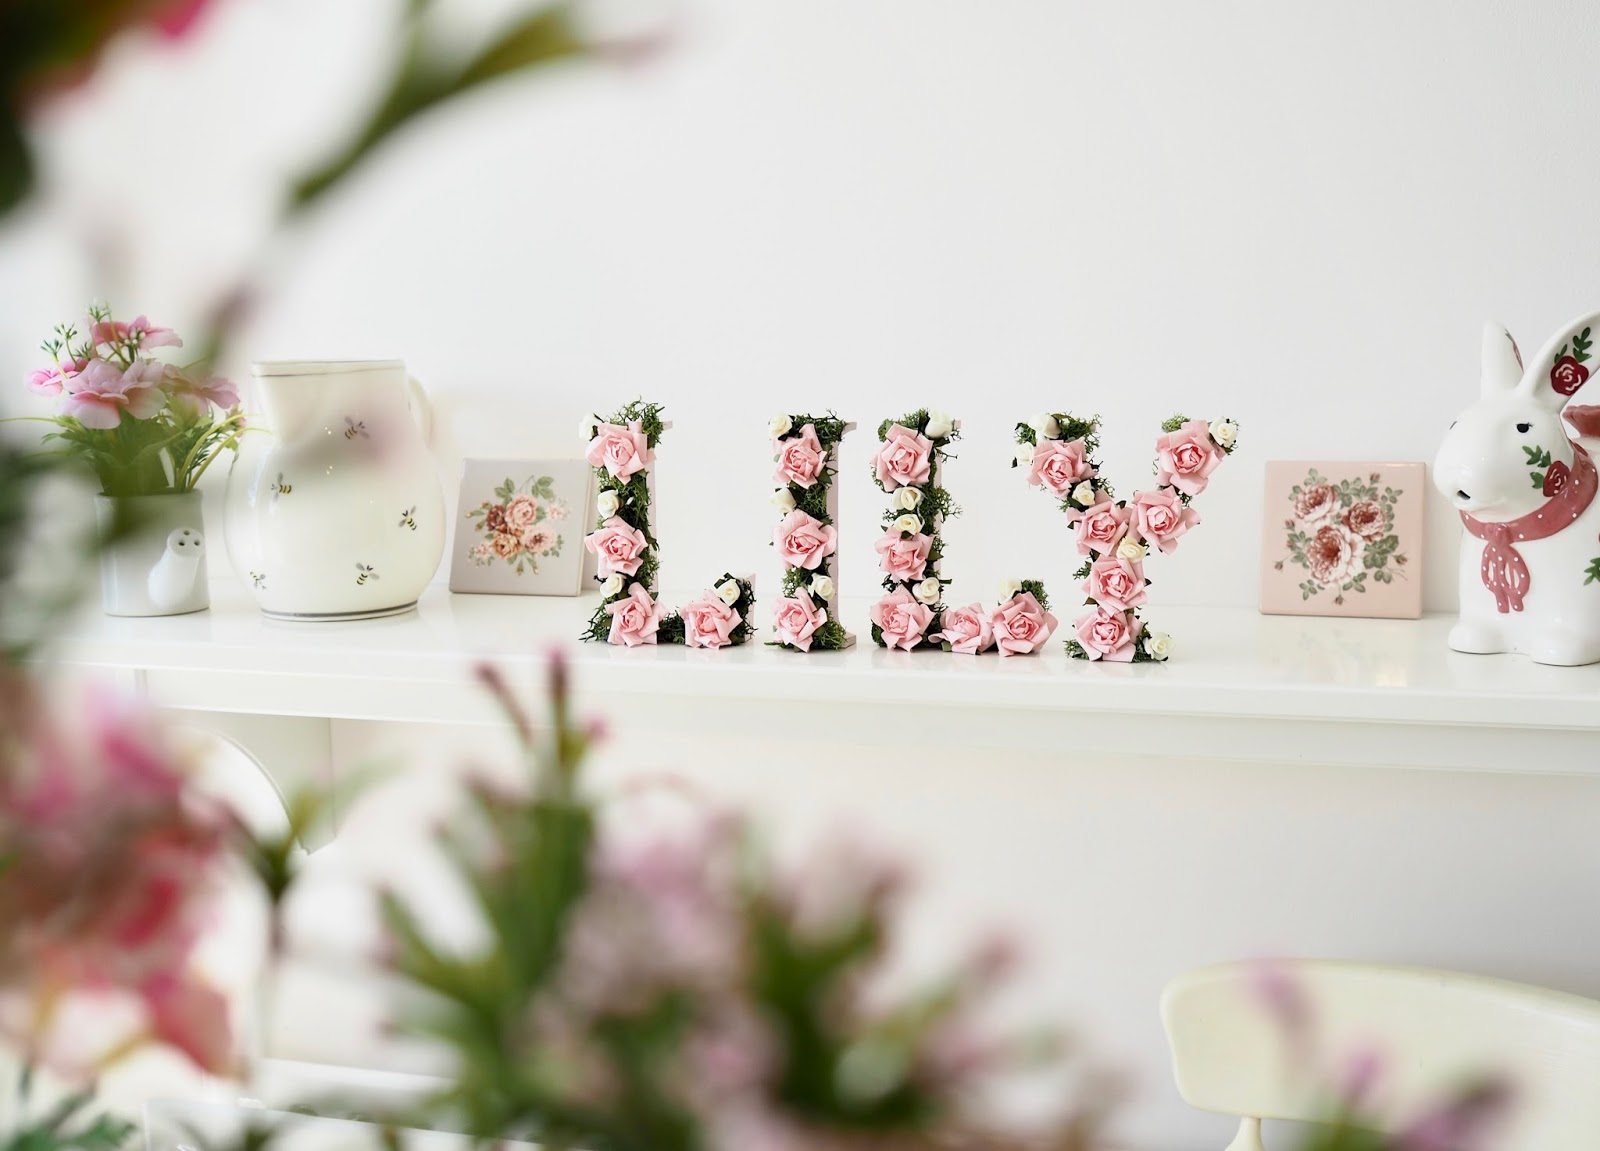
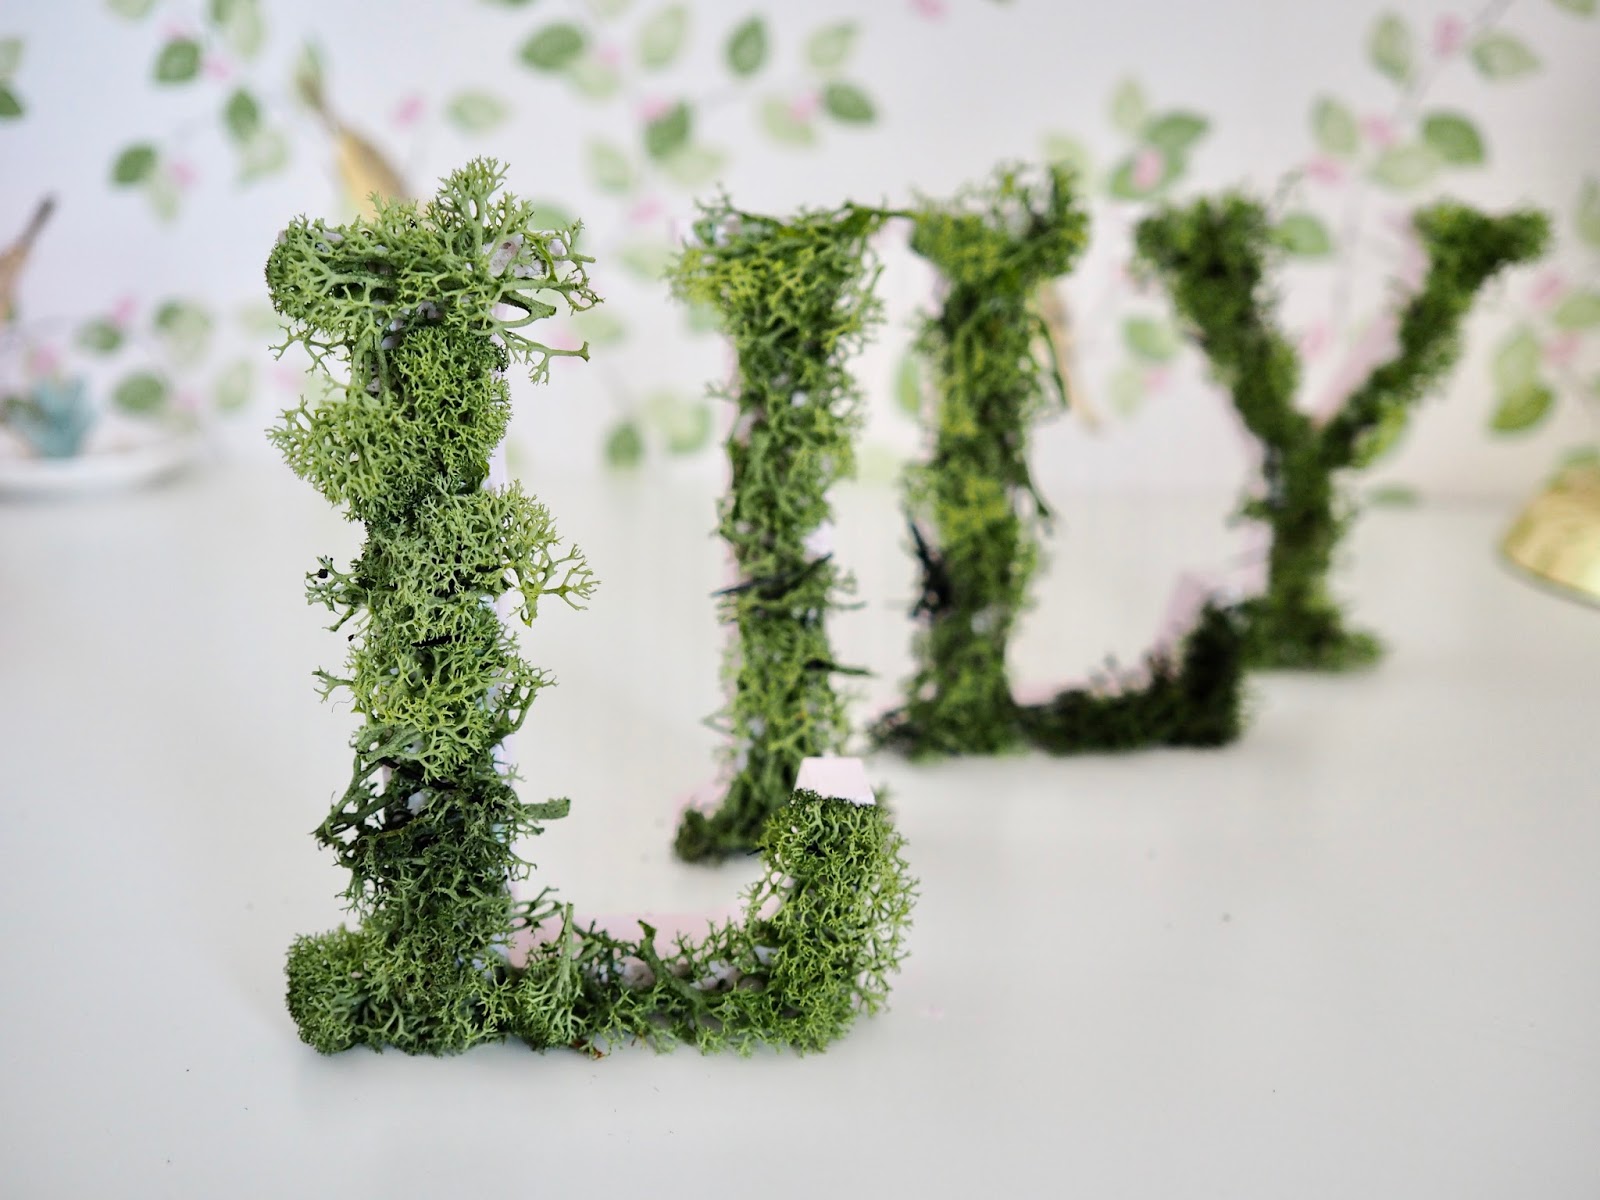
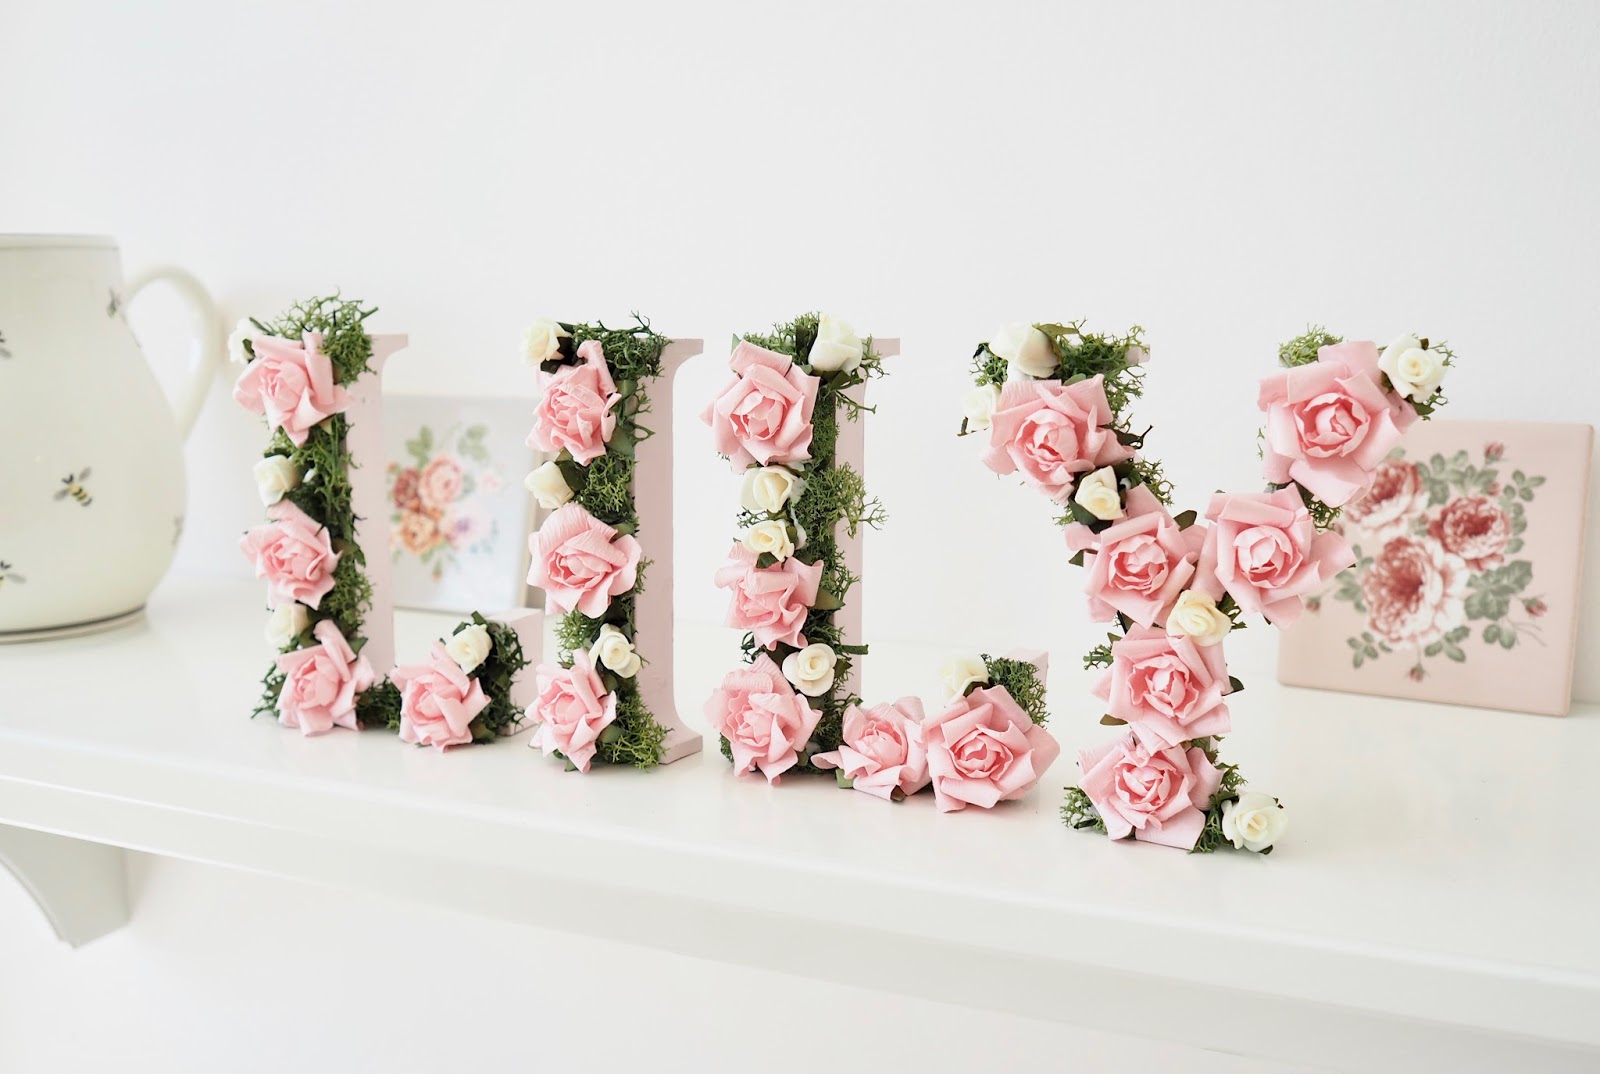
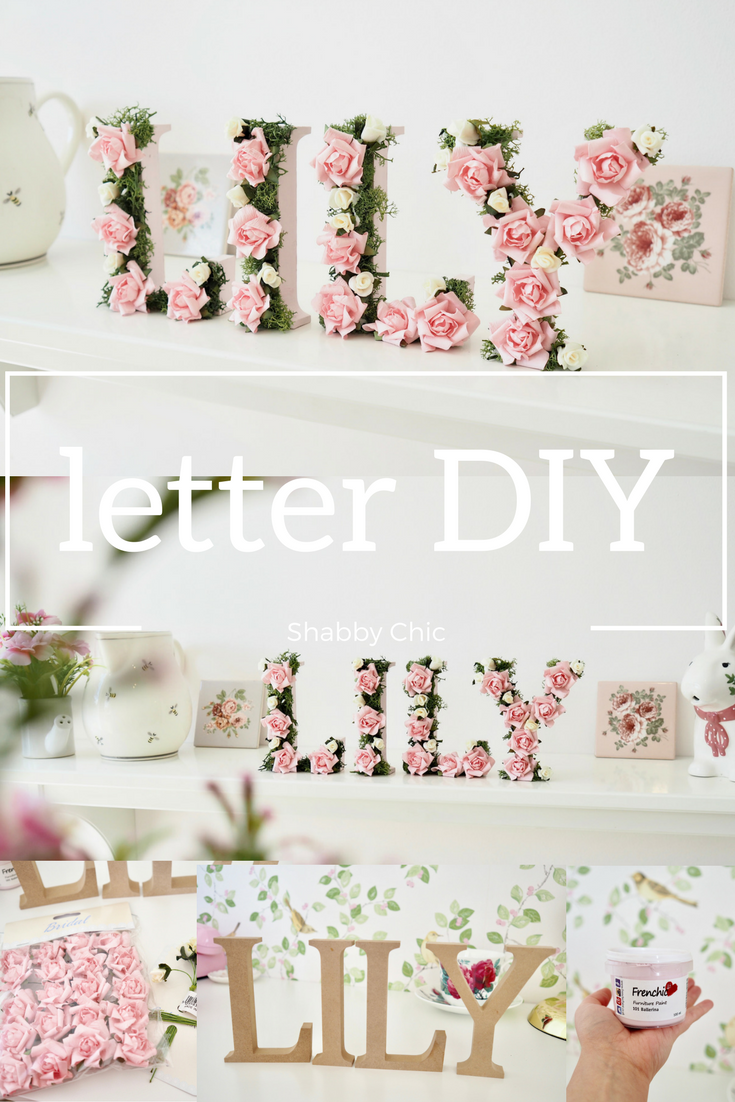
I created these DIY standing floral letters for my niece. When Lily was born a few years ago, I wanted to make a personalised gift for her. I had seen flower letters online, and they were quite expensive to buy. So, I had a try at creating my own.
These standing flower letters look fab on a shelf, but I think this would make a fab wedding DIY too. It would be a cute idea to do the bride and grooms initials as a gift. There is nothing like giving a personalised gift to someone, especially one that you made yourself.
I will leave a YouTube video at the end of this post, showing you how to make the DIY standing floral letters. These DIY floral letters are a perfect afternoon DIY and only take an hour or two to make.
What You Will Need To Make Your DIY Flower Letters
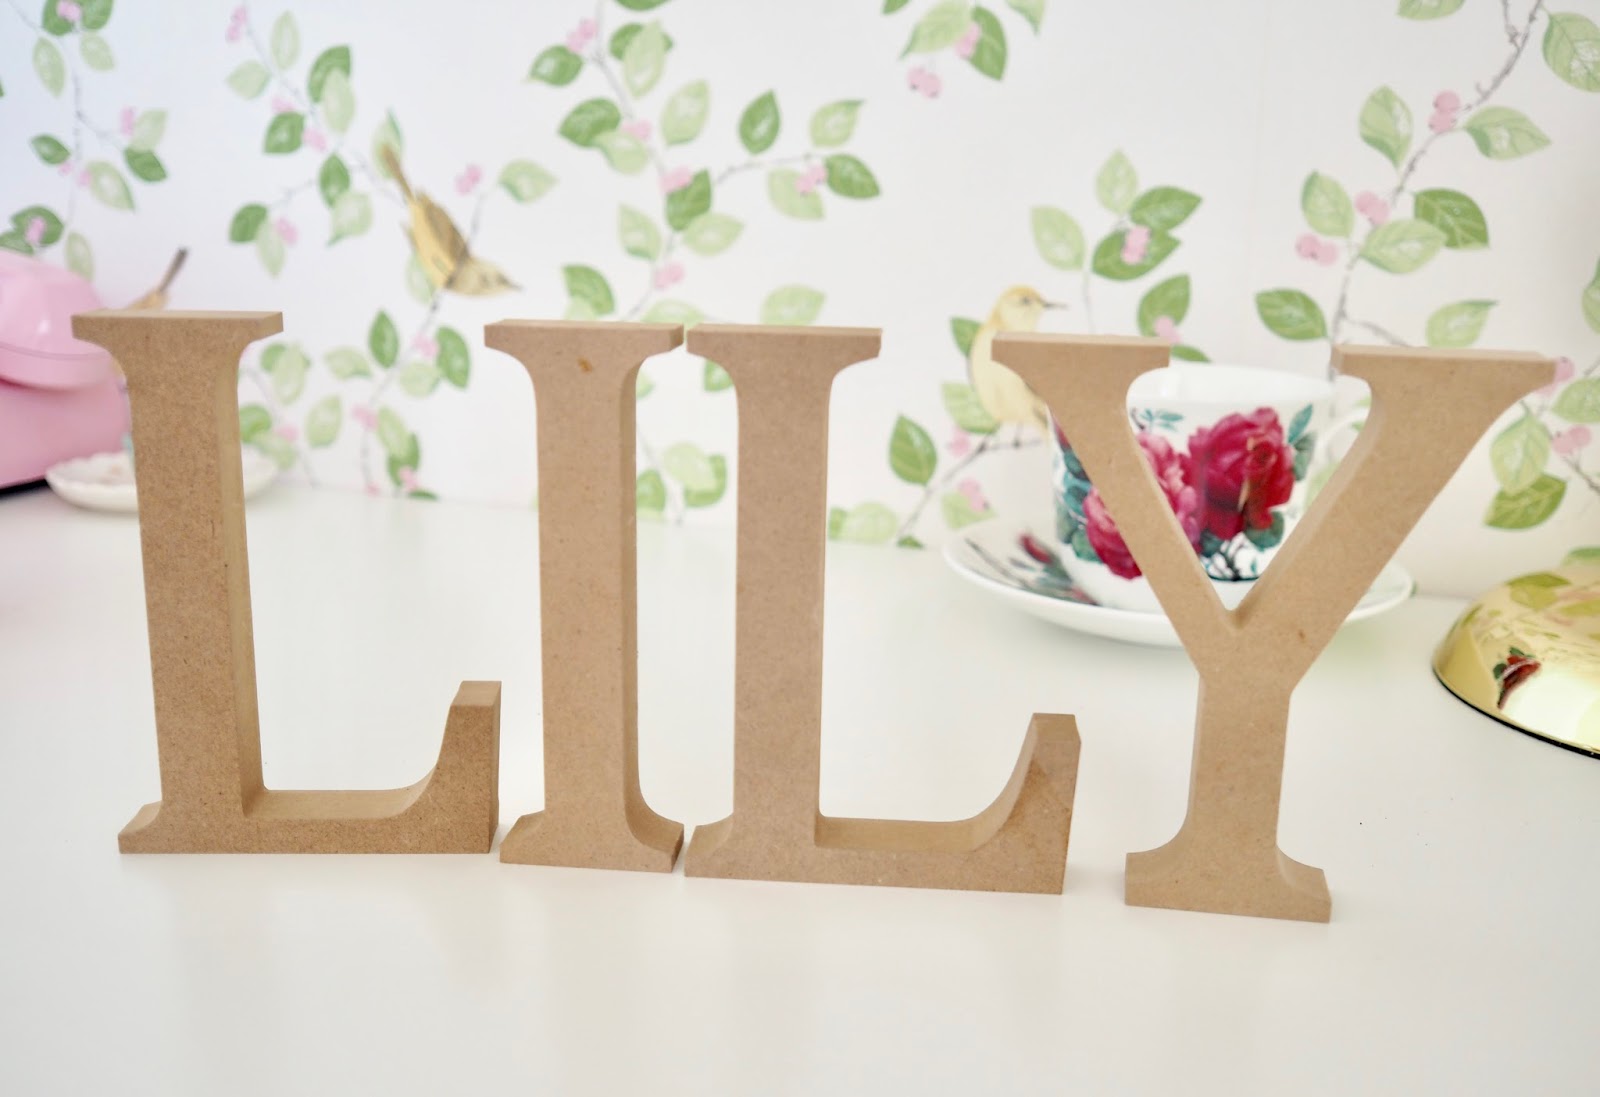
MDF Letters – You can get these from Amazon. If you are in Ireland, you can get MDF Letters online from Evans art supplies.
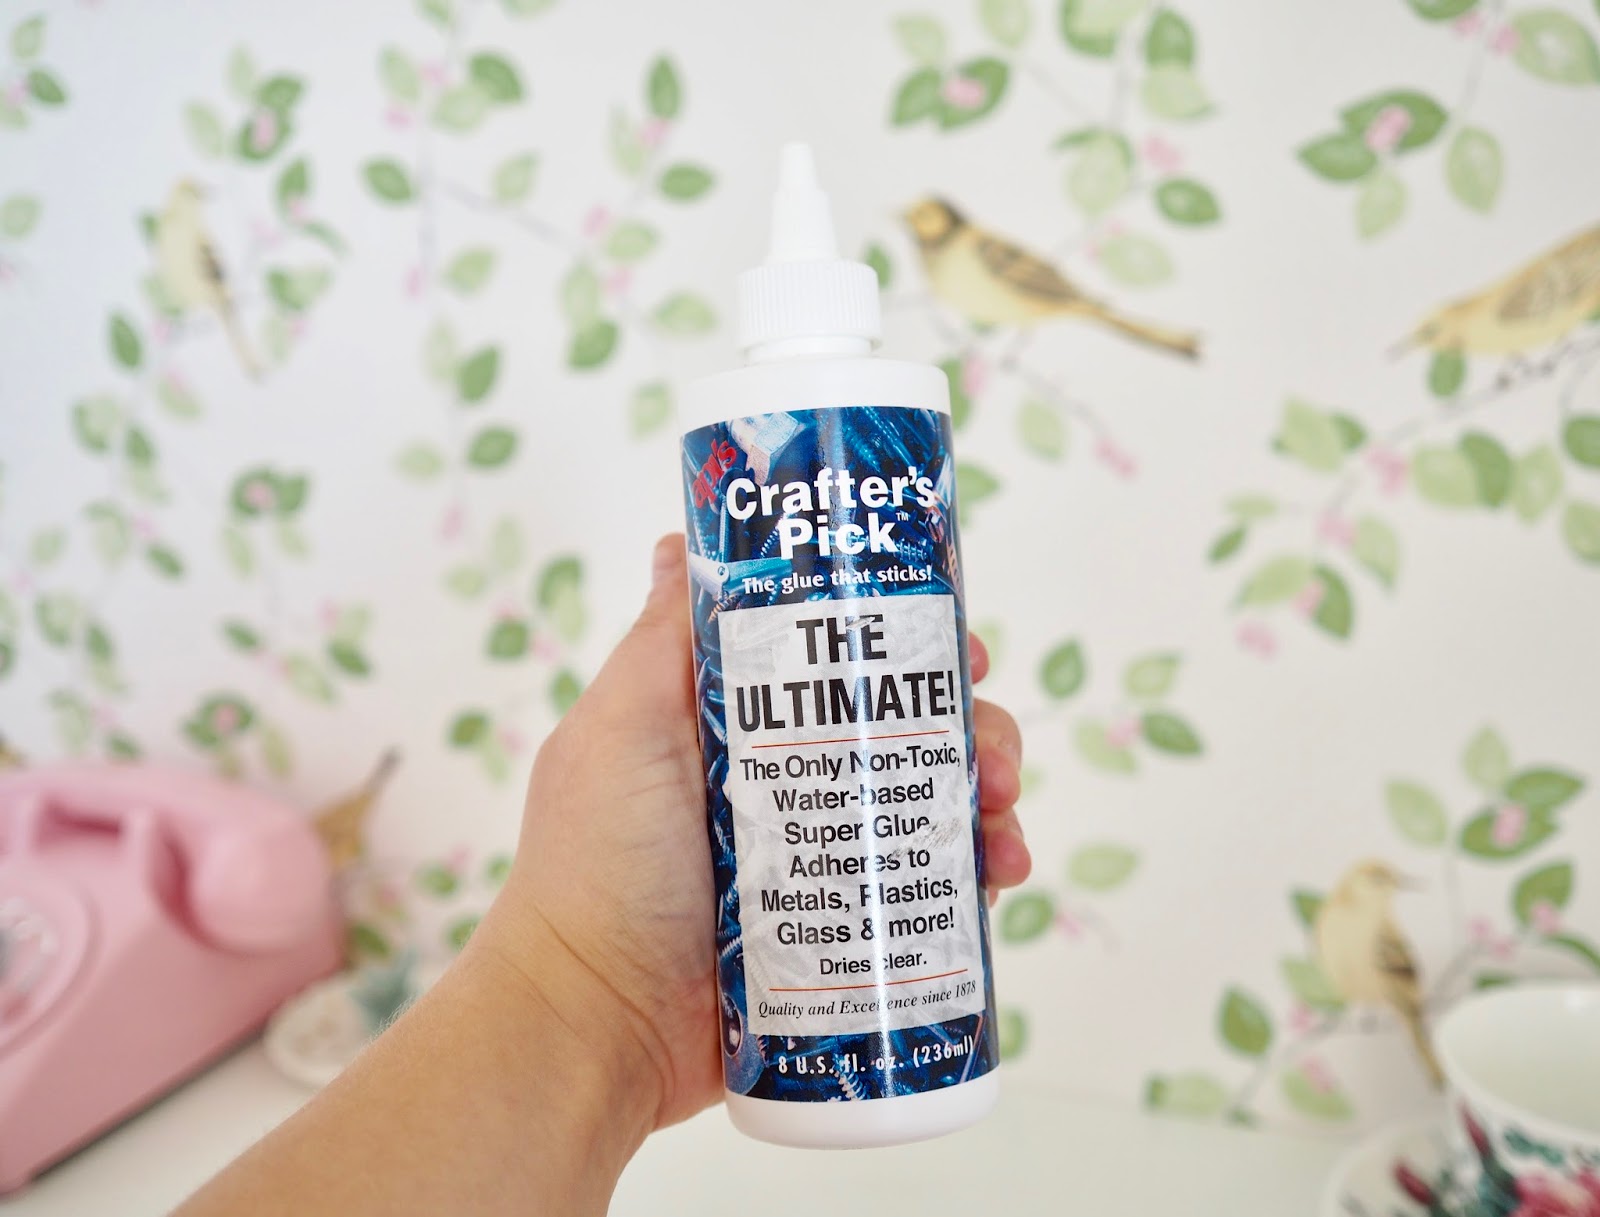
Glue – Here is a link to the glue I used. However, it has been hard to find this glue. My local craft shop used to sell it, but they have sadly closed.
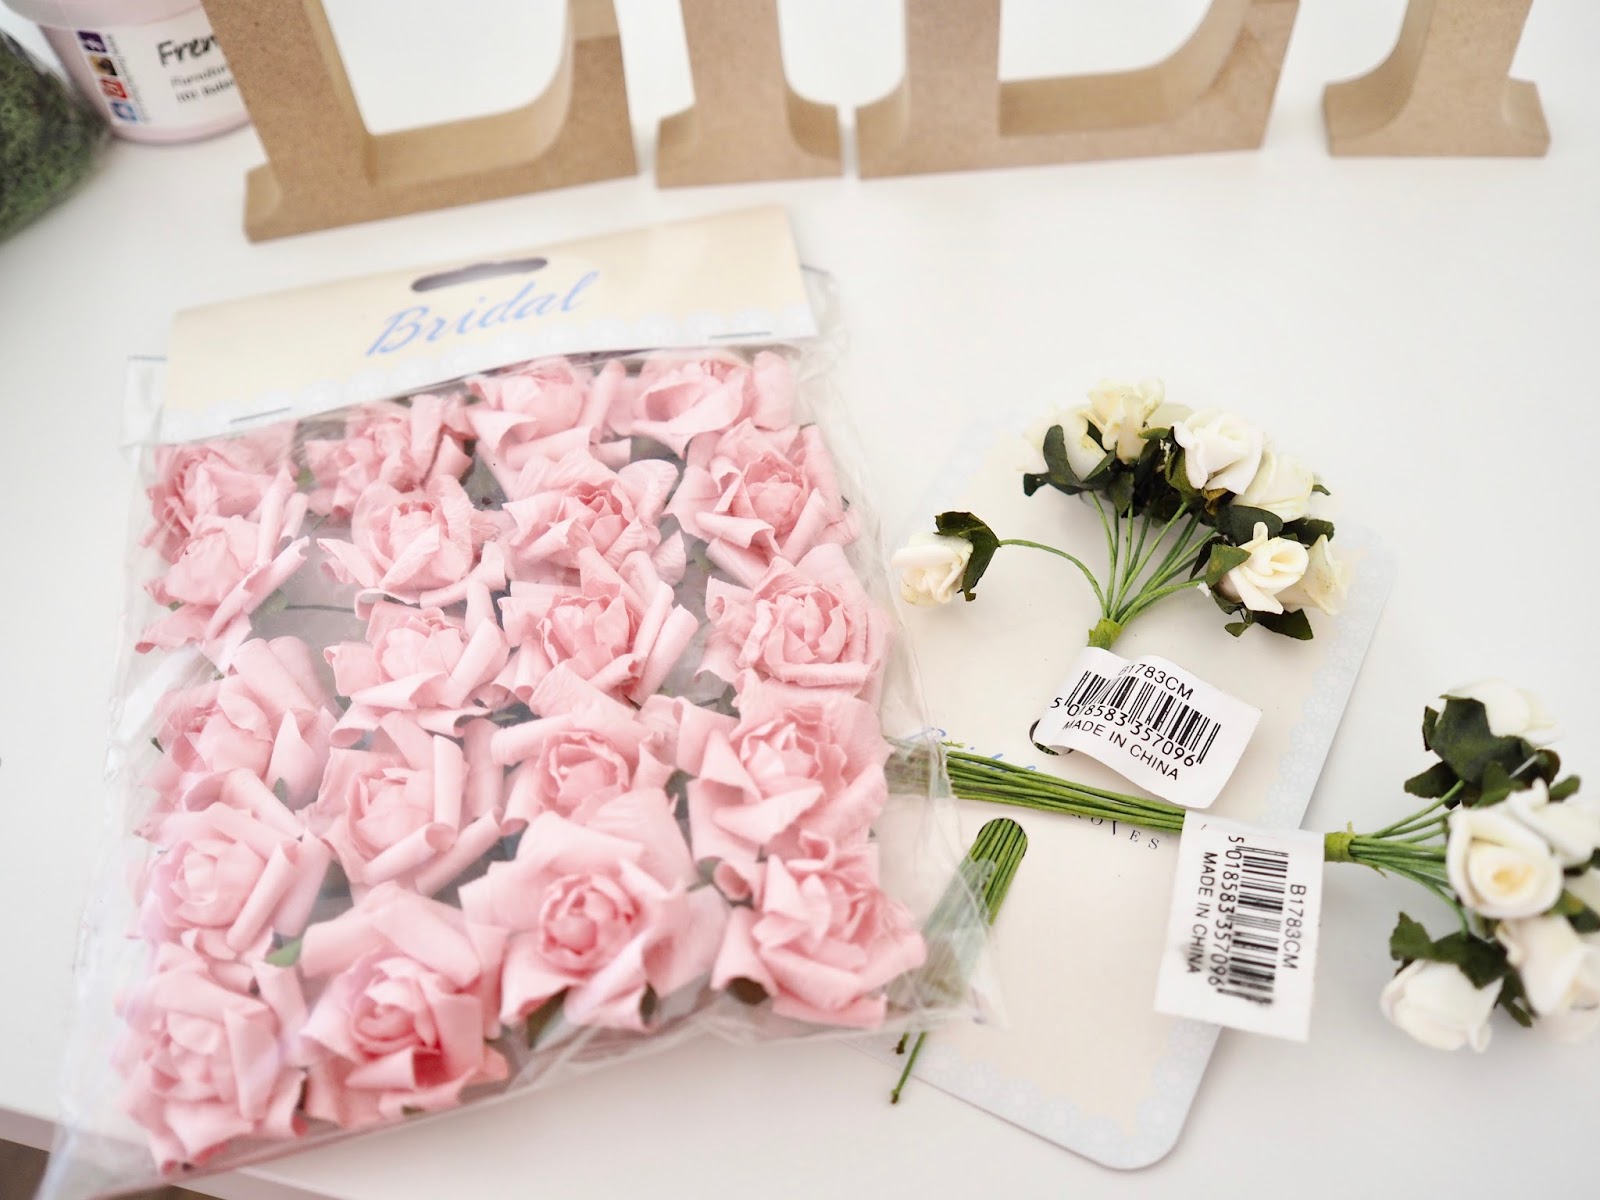
Faux grass/moss and faux flowers – I got a huge bag of fake moss from my local craft shop when I did my floating teacup DIY, and I am using what’s leftover. Also, I got my faux flowers in different sizes from the local craft shop, and I got them in the bridal section. Here is a link to a bag of faux moss I found online.
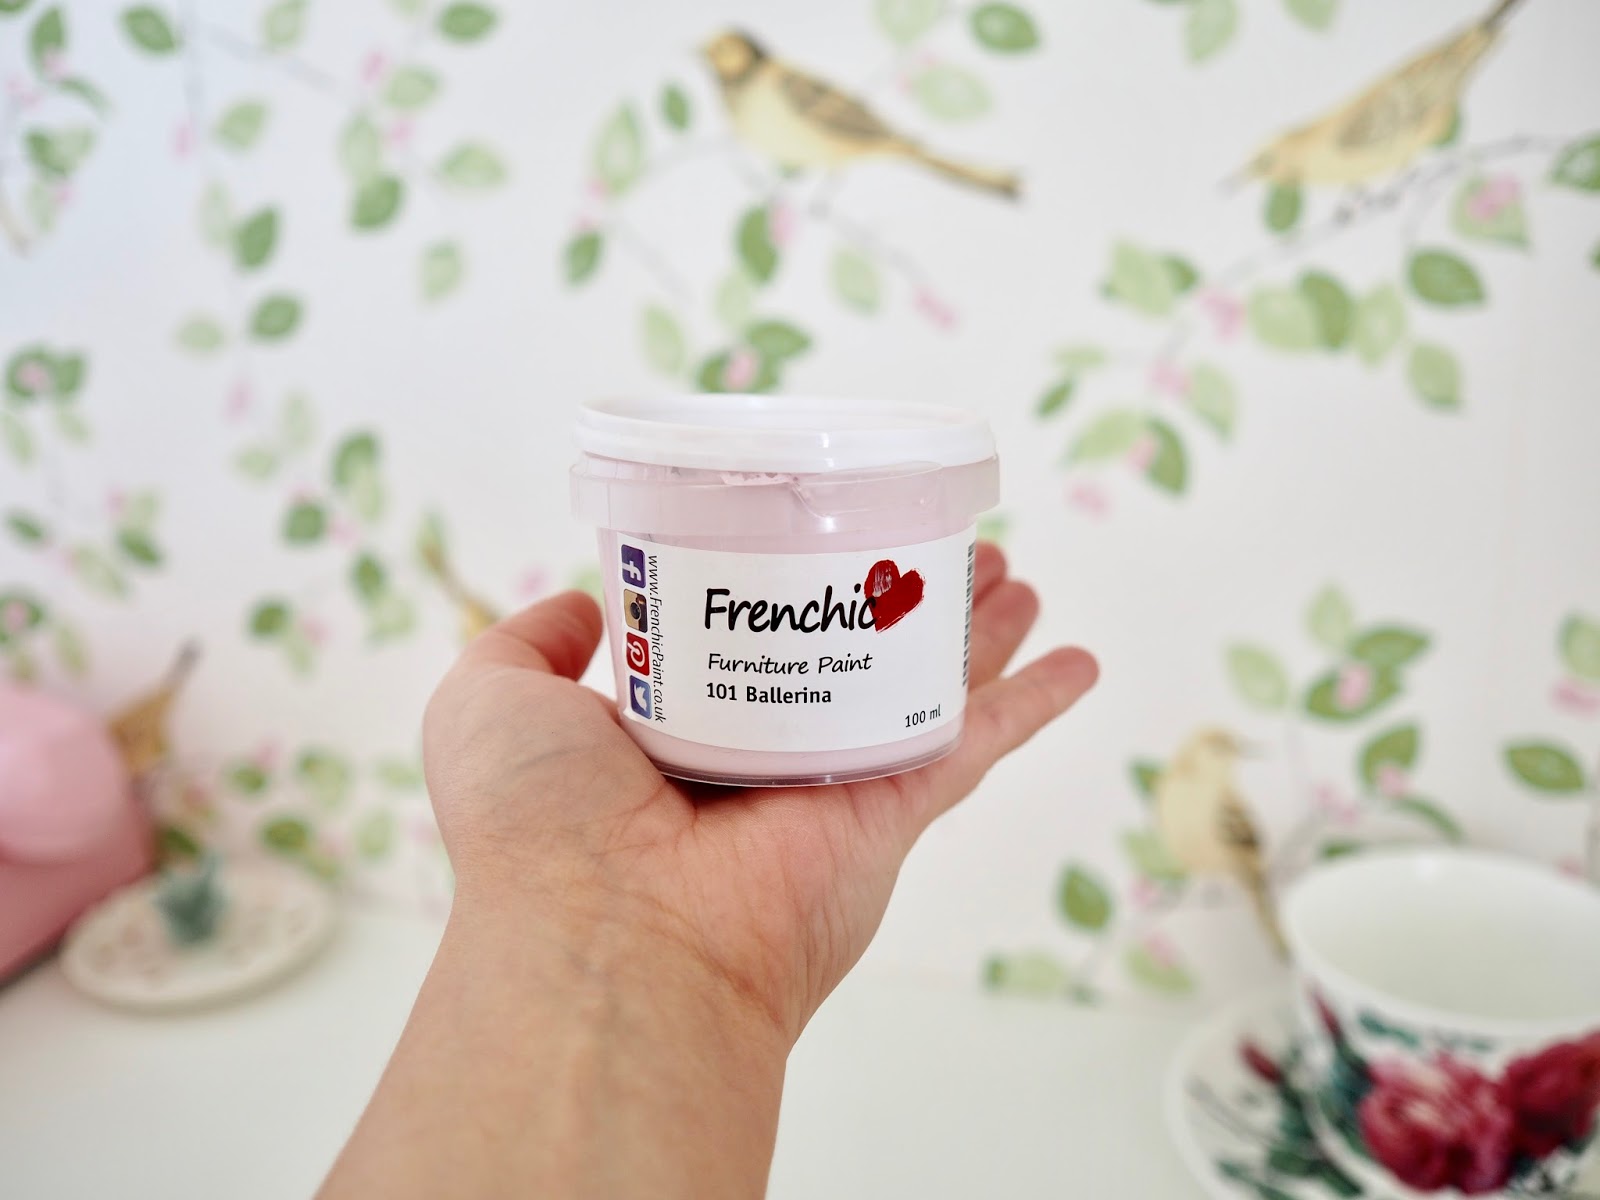
A tester pot of paint ( optional ) – I used some pink paint from an old tester pot I had. You could leave yours with the wood to give it a rustic feel or paint the letter in a colour of your choice.

Let’s Get Making Your DIY Flower Letters
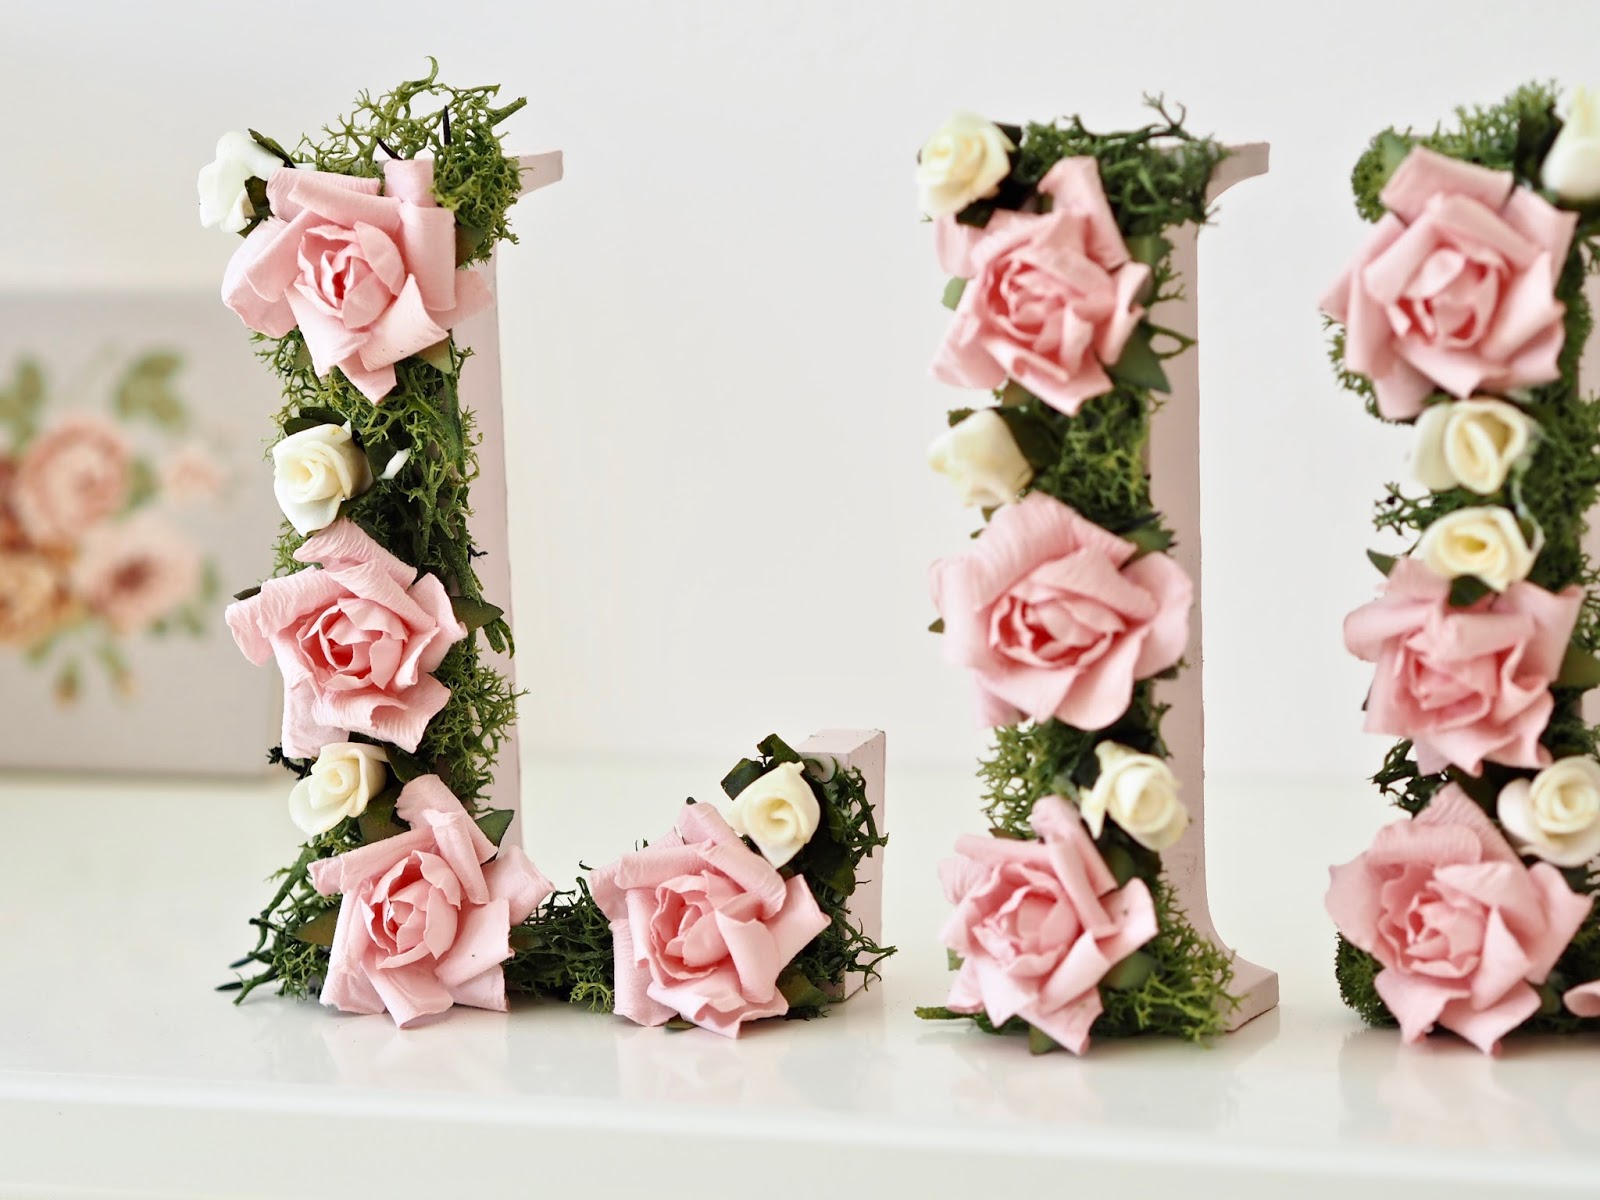
I started by painting my MDF letters. I painted them all over, including the front where I was putting the faux moss on. I painted the front just in case any wood would show under the moss.
I then glued on my faux moss in small sections. This moss is easy to tear up into smaller pieces.
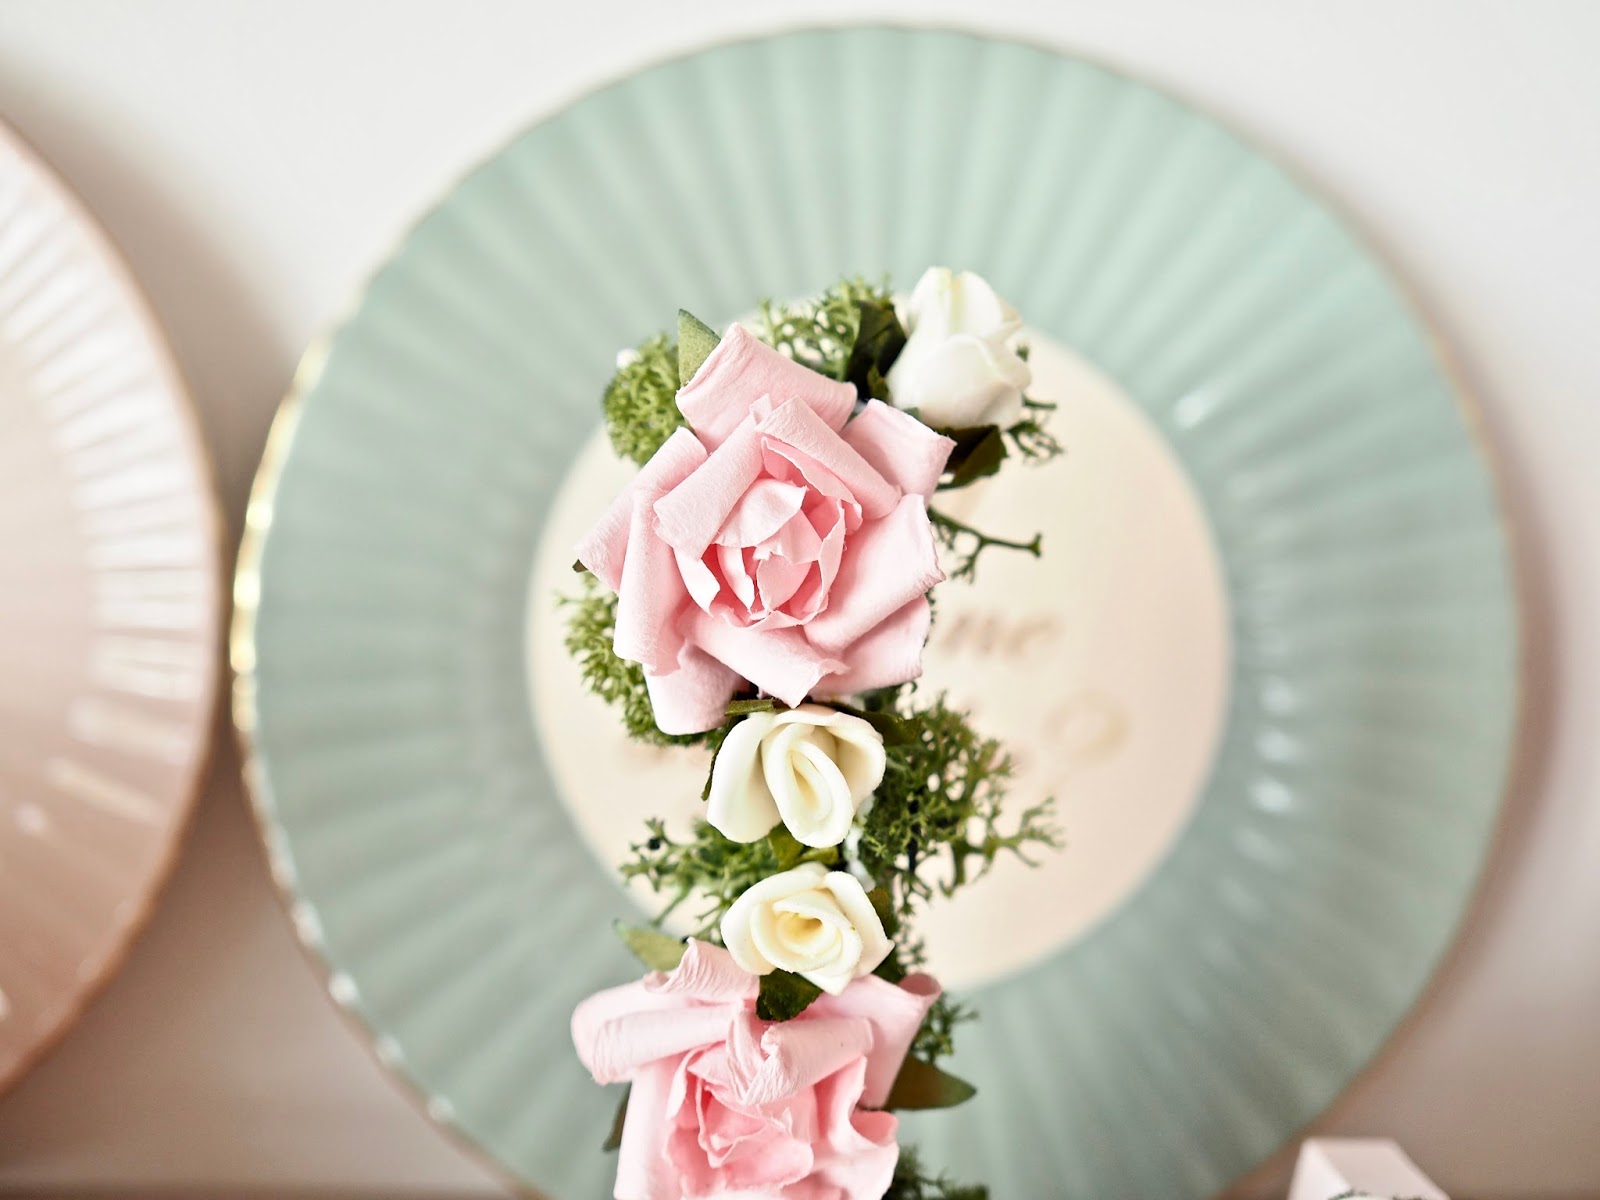
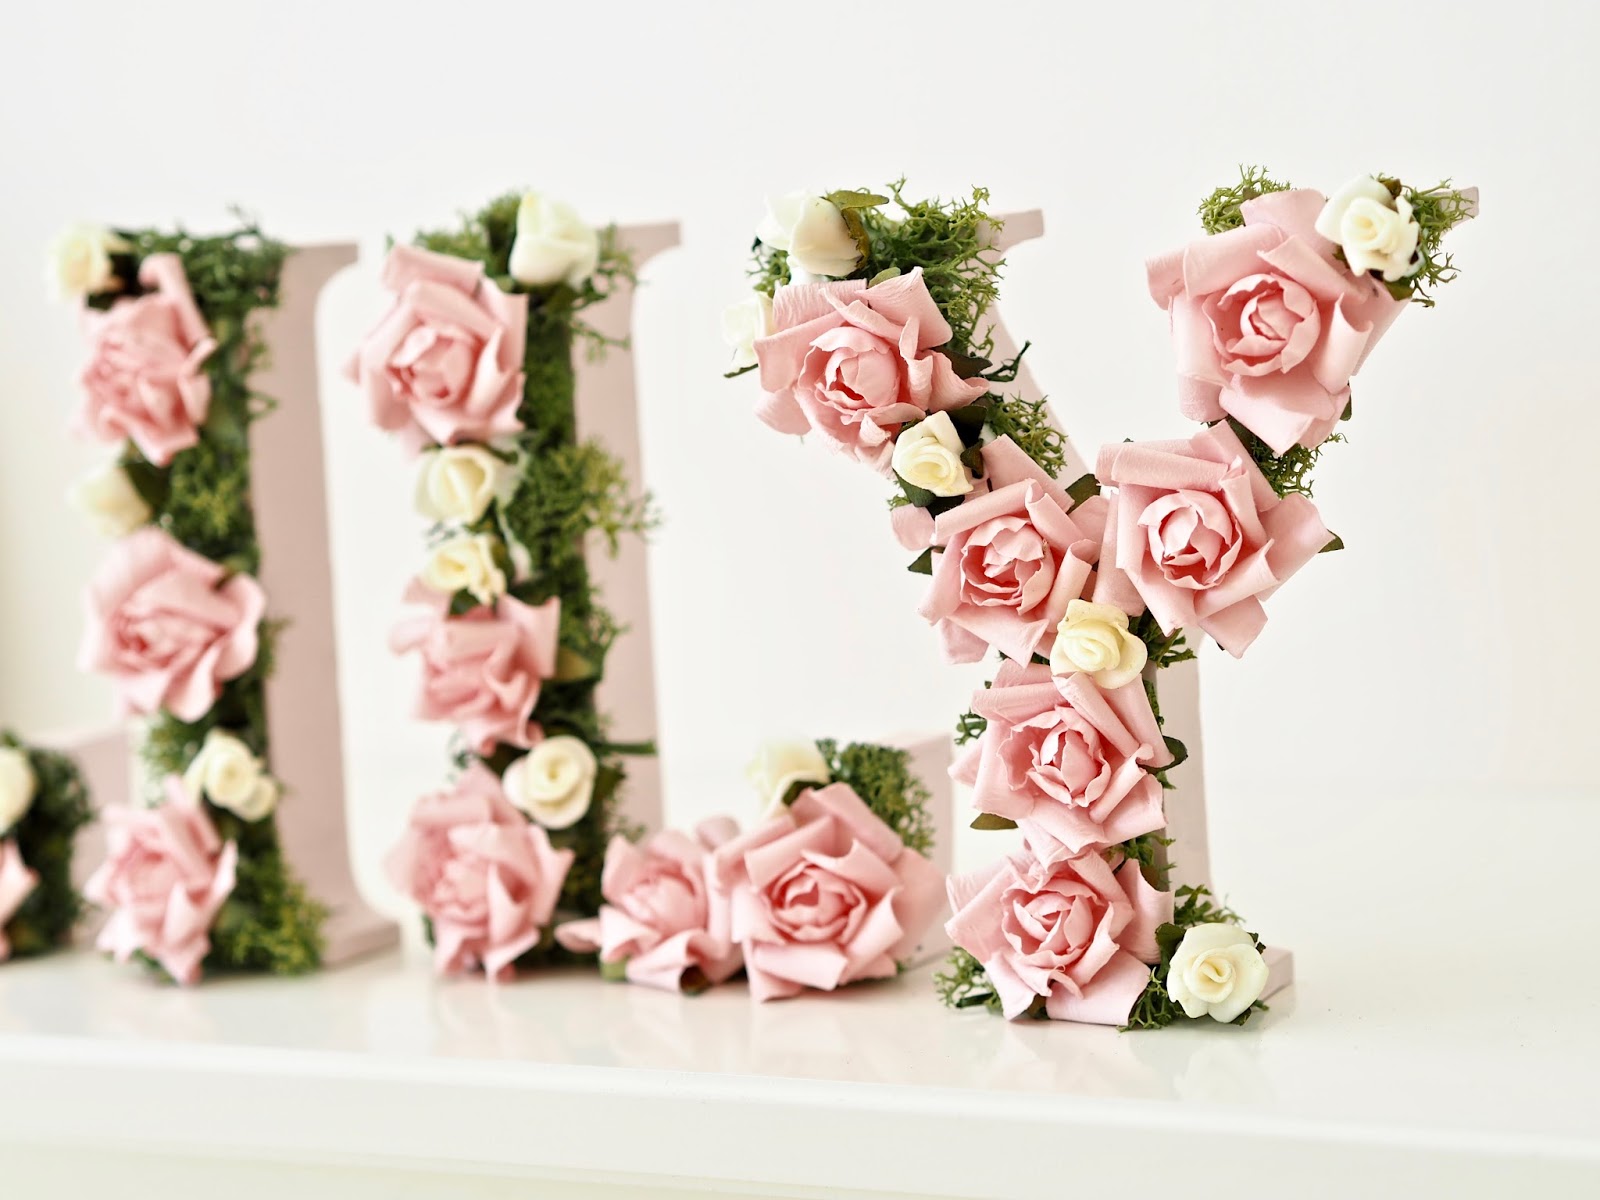
Once my glue was dry, I then went in and added my flowers. I added the larger flowers first and then went in with the smaller ones.
You can experiment with different colour flowers and even add in some jewels too. I let my letters fully dry, and then they were ready.
A Perfect Afternoon Project
The floral letters are quick to DIY, and it only took me over an hour to make these. They make pretty presents, who doesn’t love a gift with their name on it.
If you are going to put them into a nursery or child’s room, please be careful as these are not suitable as toys and will need to be kept up high and out of the reach of little hands.
I hope you enjoyed this blog post. Please check out my Youtube and tag me in your DIY pics over on Instagram. Do let me know if you make these and give them away as gifts. Also, please share this DIY with someone who would enjoy it. Chat soon, Catherine.
Please pin image this to your Pinterest boards
SaveSave

You are so sweet Maria, Thank you so much for commenting. best of luck with the new blog! x
I just came across your YouTube Account and your blog – omg it's only fab – in love. I have a blog too – if you want to check it out, I am a newbie though. http://www.miasways.com
Thanks for reading Karen x These will be gorgeous in your office, I know you like Sunflowers so you could even do them and instead of roses use mini sunflowers x
Ah your photos are feckin GORGEOUS! I cant wait to watch the video and want to make these myself for my office! Fab post as usual bridie 🙂