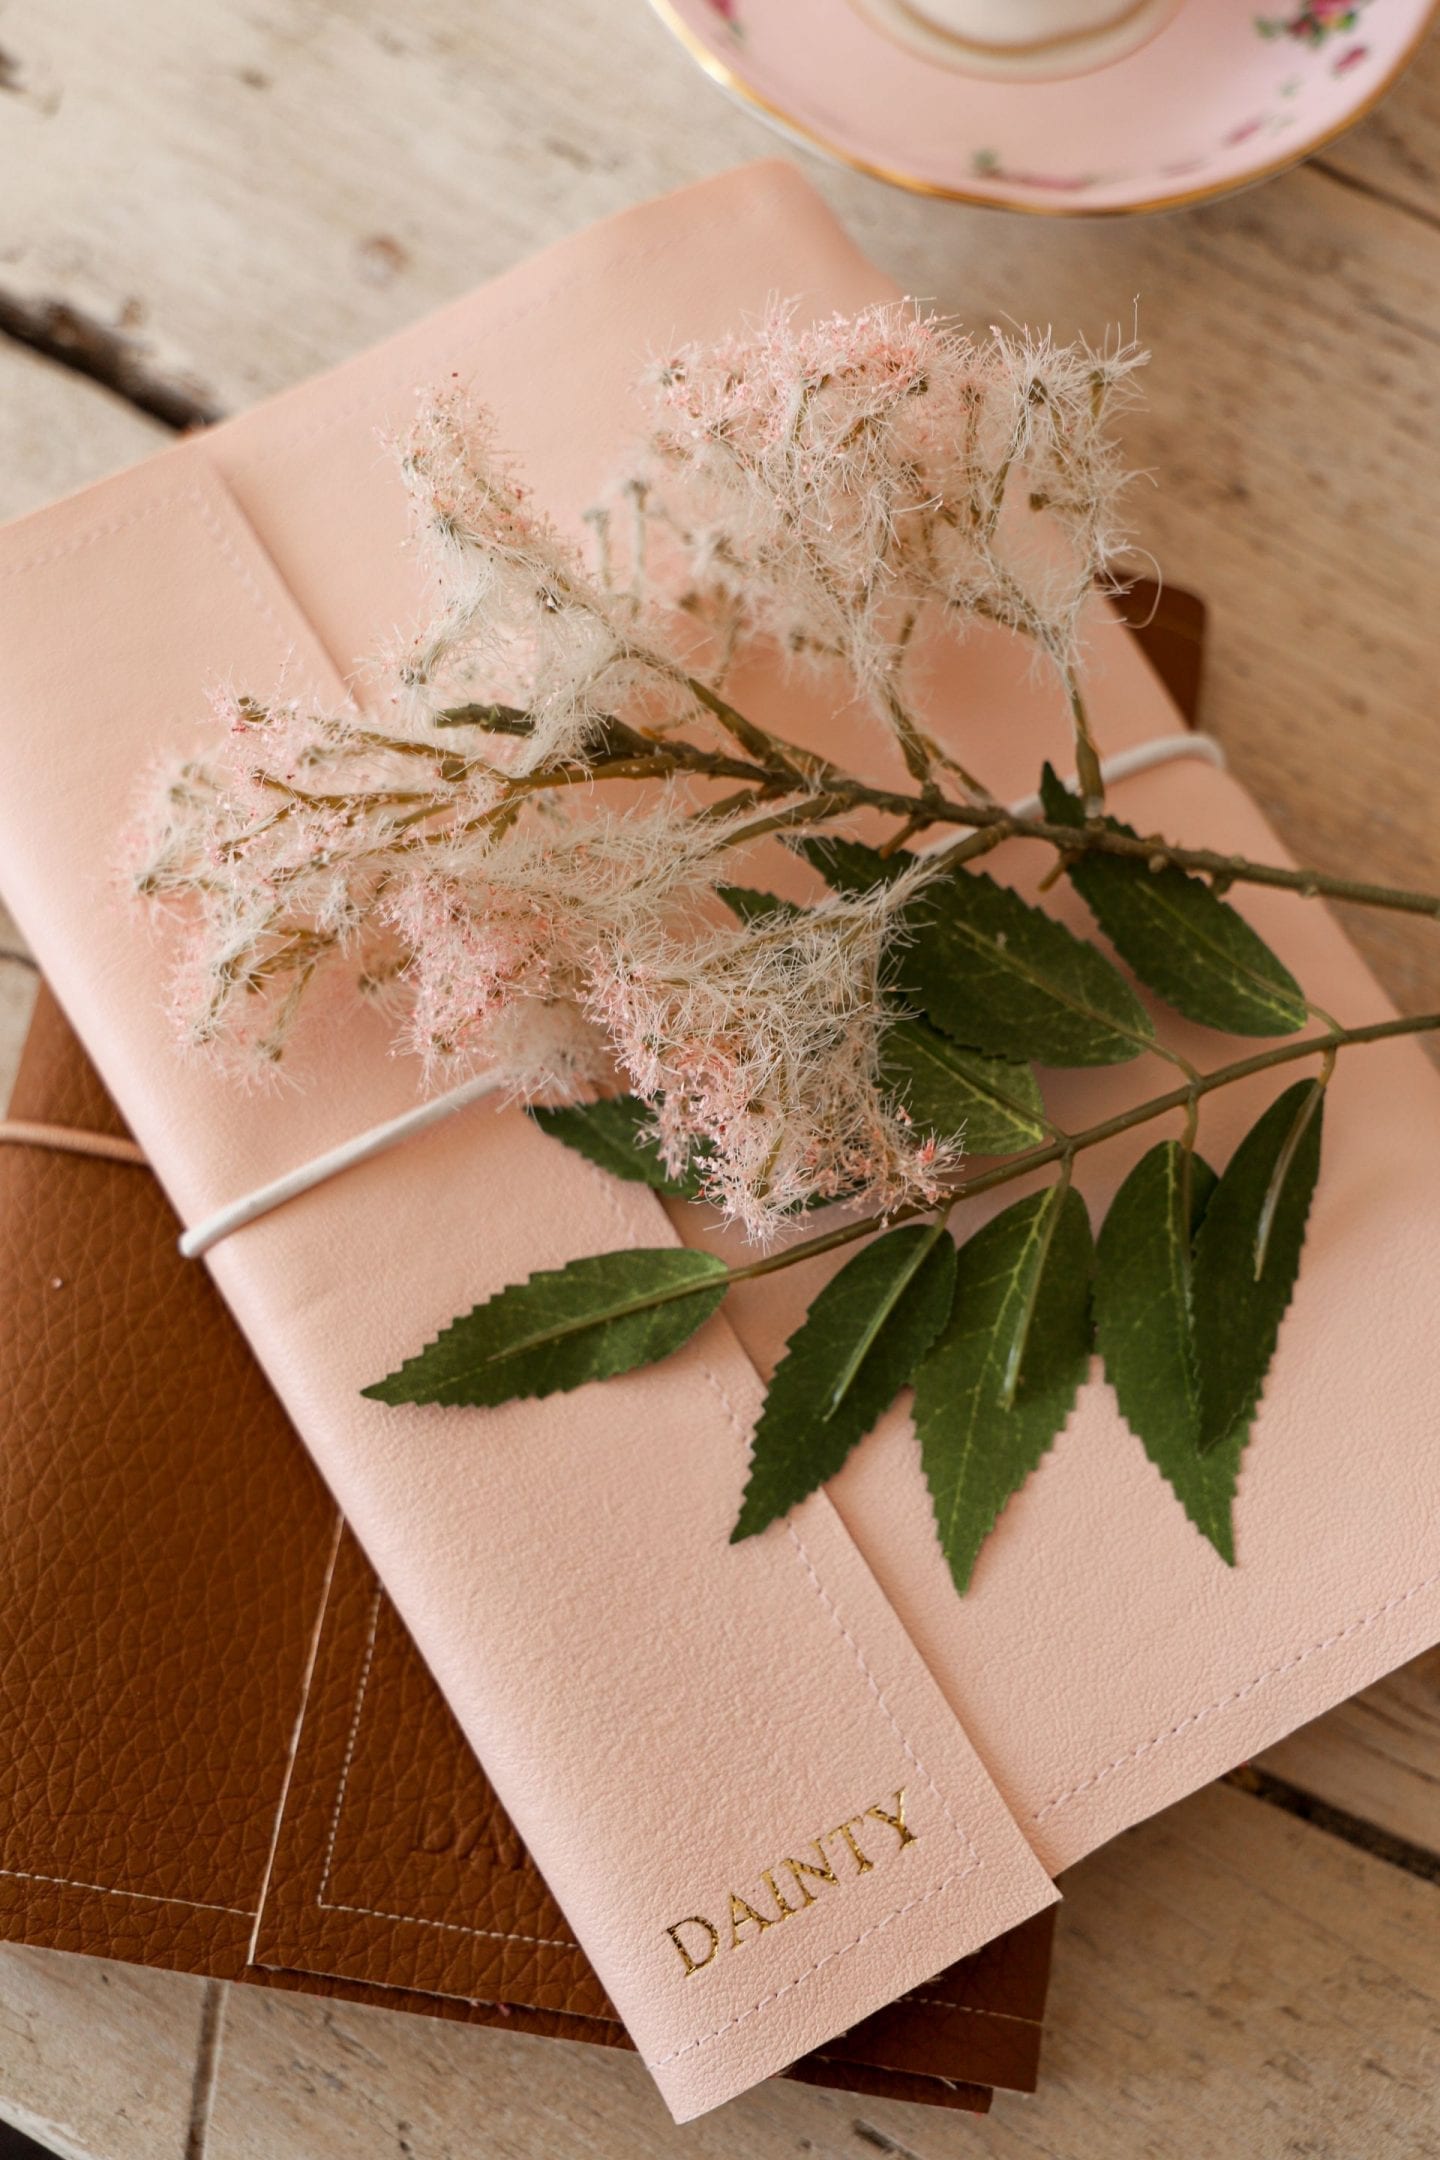
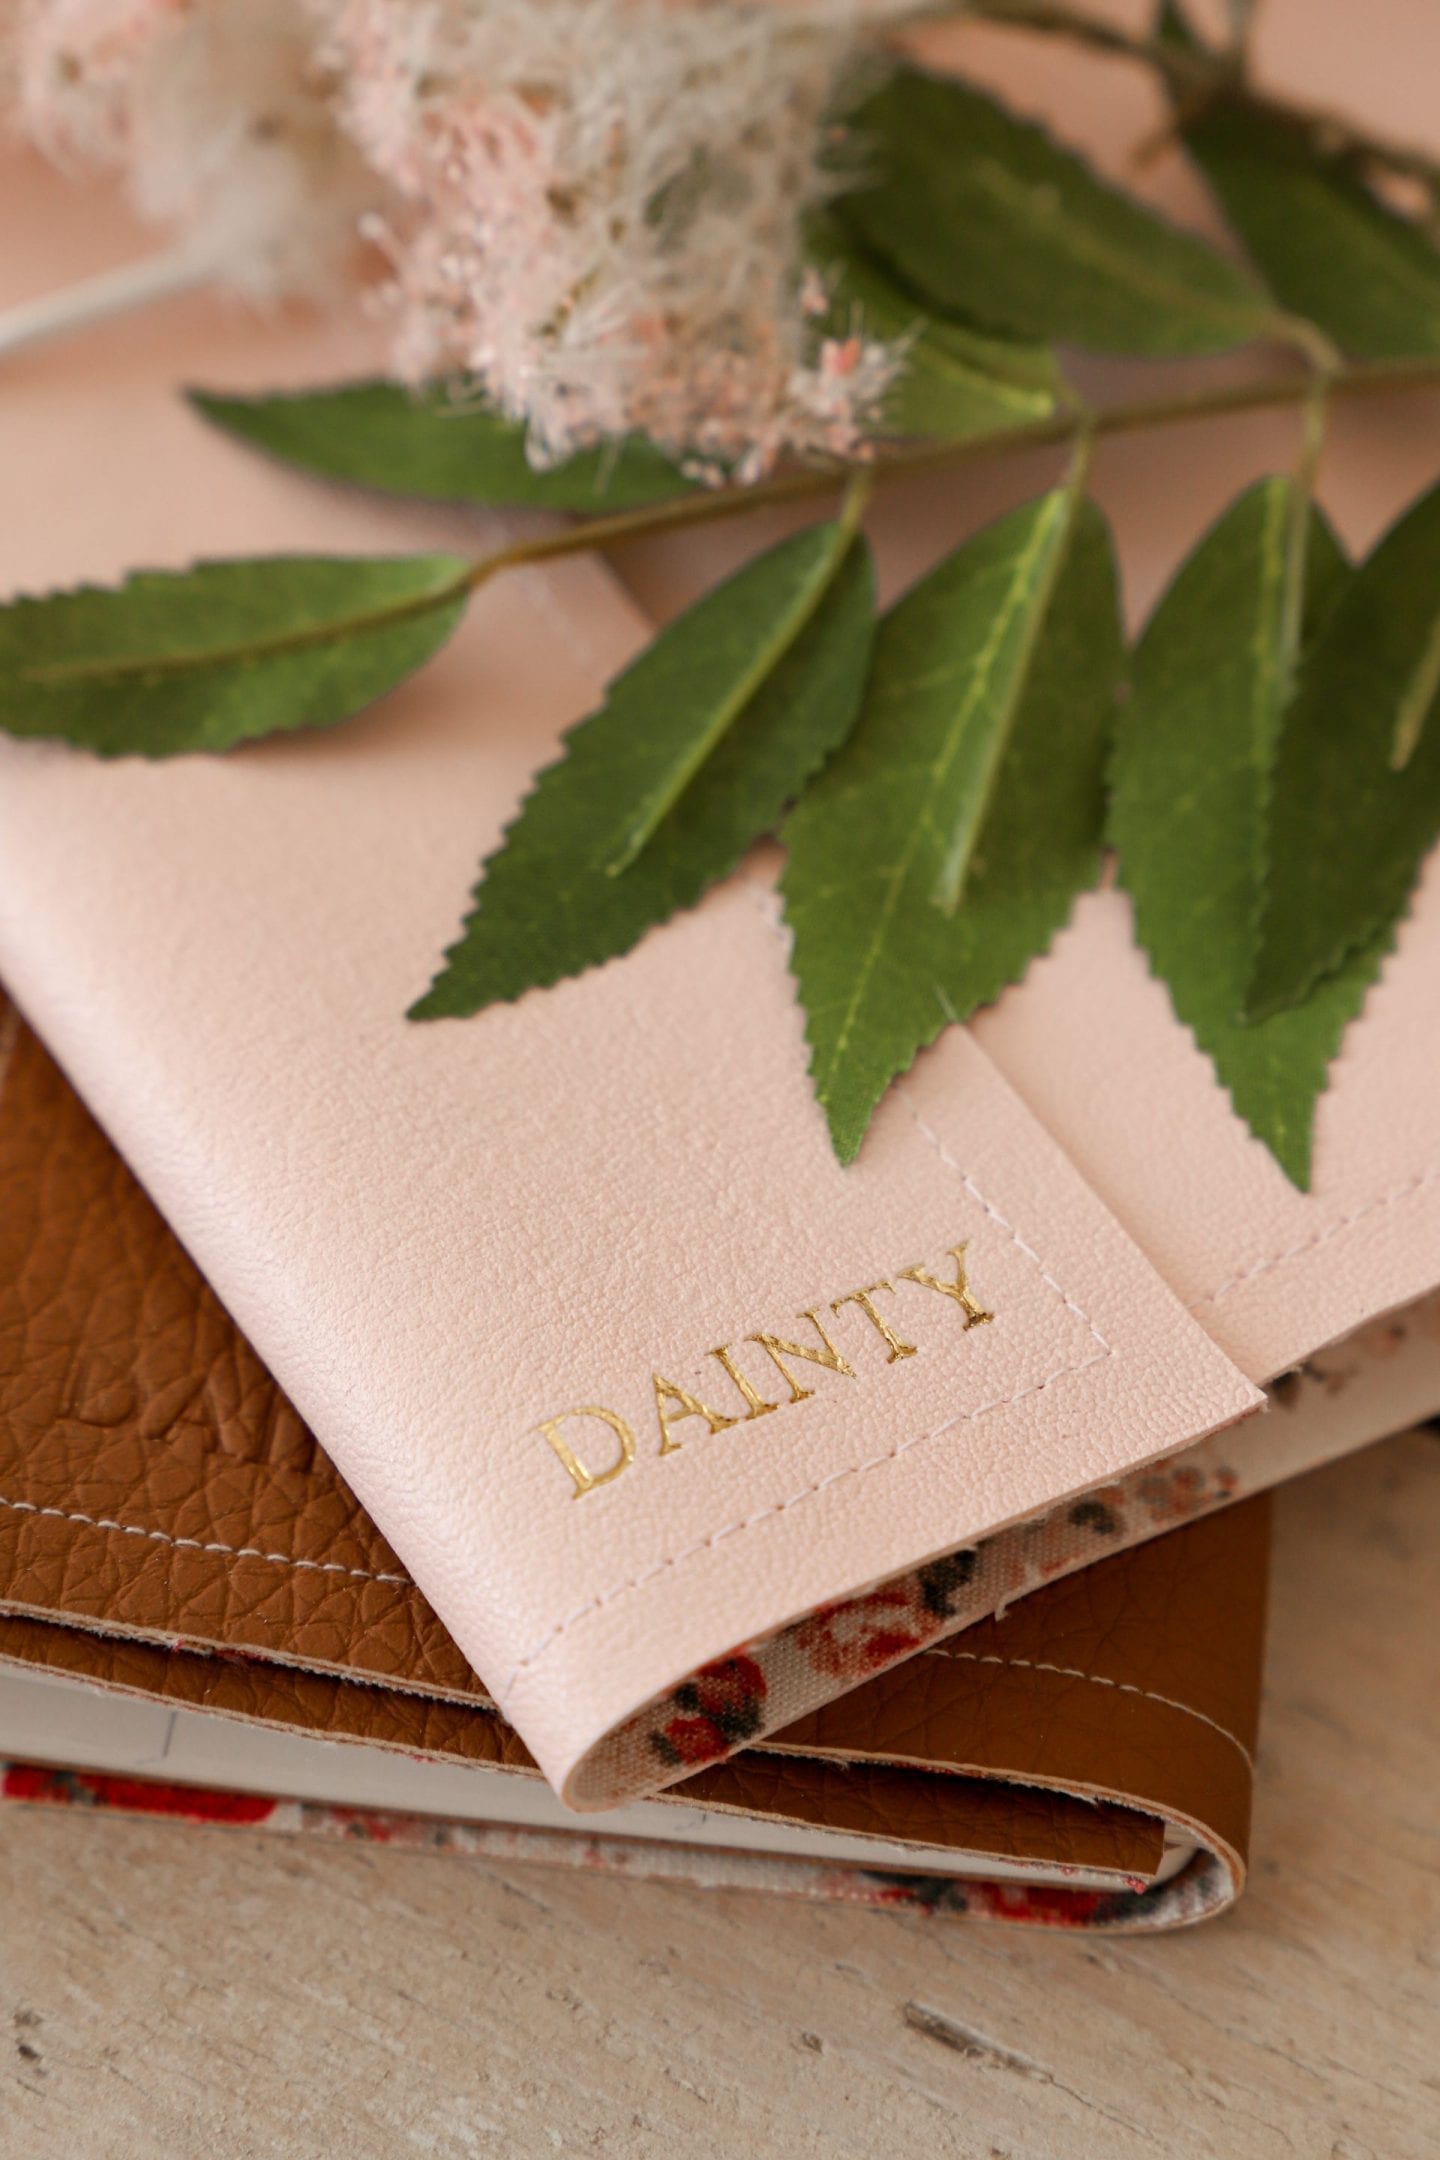
Hey everyone, welcome back! I missed last week’s blog post but I did upload a fresh Youtube video if you missed it. The past few weeks have been a little hectic but I am back to normal now. This week, I decided to get crafty and I made some DIY travellers style notebook cover. I am a fan of journaling and writing things down. When it comes to working, I time block by using the google calendar app but when it comes to personal journaling, I prefer to put pen to paper. So, I decided to make my own notebook cover so I can use different journals but keep them all in one place. This DIY looks harder than it actually is and it only took me an afternoon to make two journal covers. To make it easier to follow, I have made a YouTube video to show how I created these notebook covers and I also got an embossing demo from the lovely Tara from farfetchedaccessories.ie

I wanted to use faux leather fabric for this DIY but it was actually harder to work with. I found it was thinner and when I bonded some lining fabric I noticed it would melt. So, here is what I did to get around that.
- I started by roughly cutting my faux leather fabric, lining fabric and some Bondaweb to size, this first cut doesn’t have to be perfect as we are going to cut it later with a rotary blade.
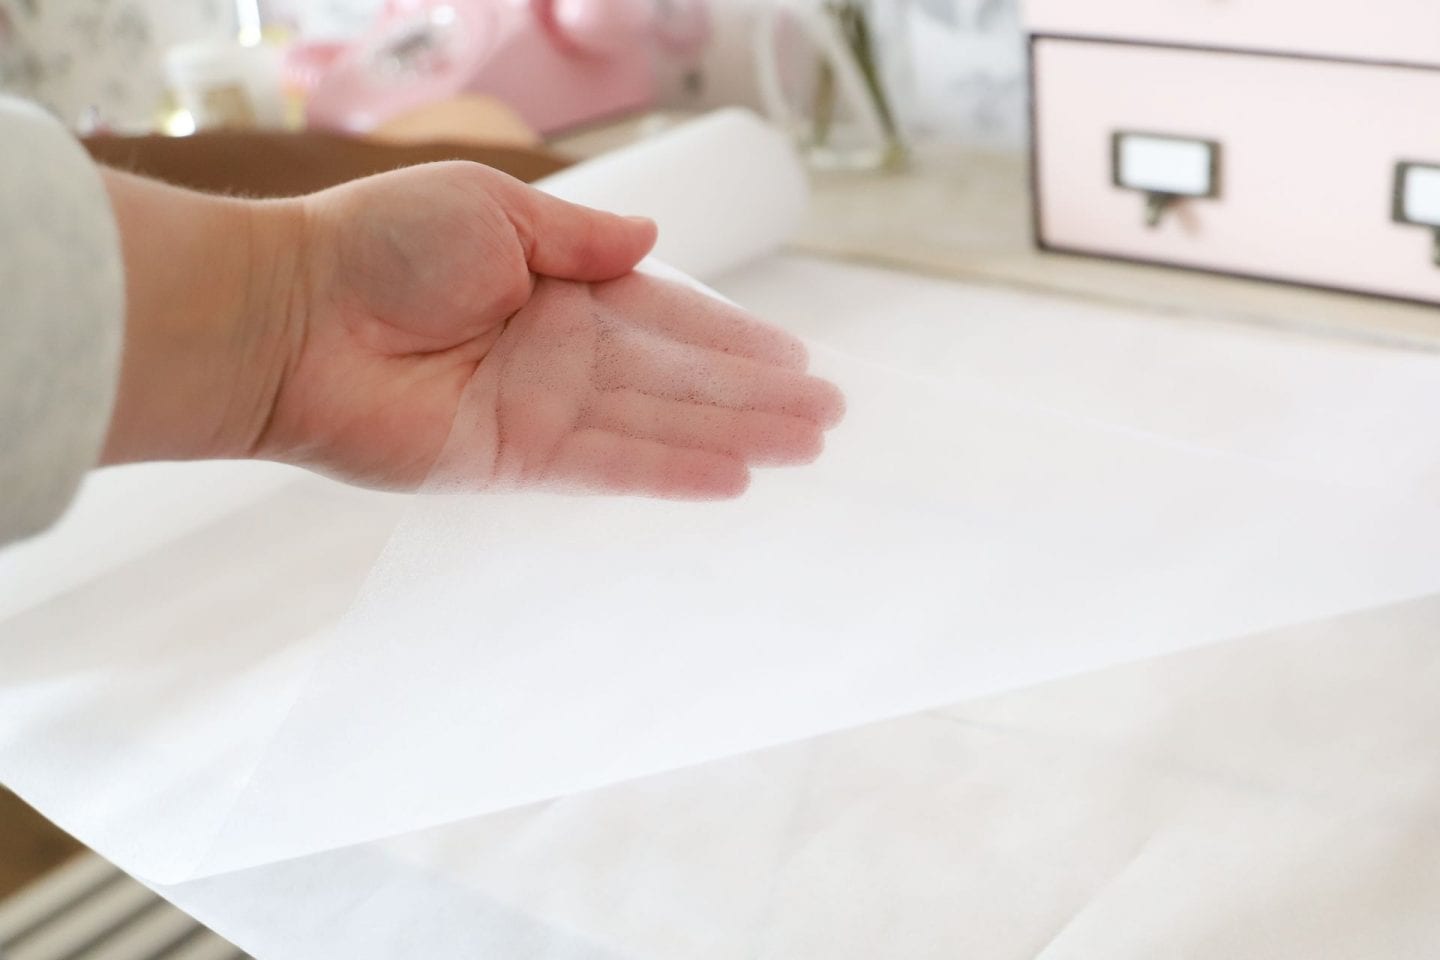
- As my faux leather fabric was thin, I decided to line it with some floral cotton fabric to make it thicker. I bonded the lining fabric to the faux leather but using my iron and some Bondaweb. I picked this up in Hickeys, this is really easy to pick up and almost all fabric/craft stores will have this. I placed some paper onto my ironing board so my fabric wouldn’t melt to my ironing board cover.
- I then used a rotary blade and my cutting mat to cut my fabric to size. I purchased some small copy book-sized notebooks to put inside my cover. I placed them inside and measured before cutting.
- I stitched all the way around the edge of my fabric to give it a more polished look.
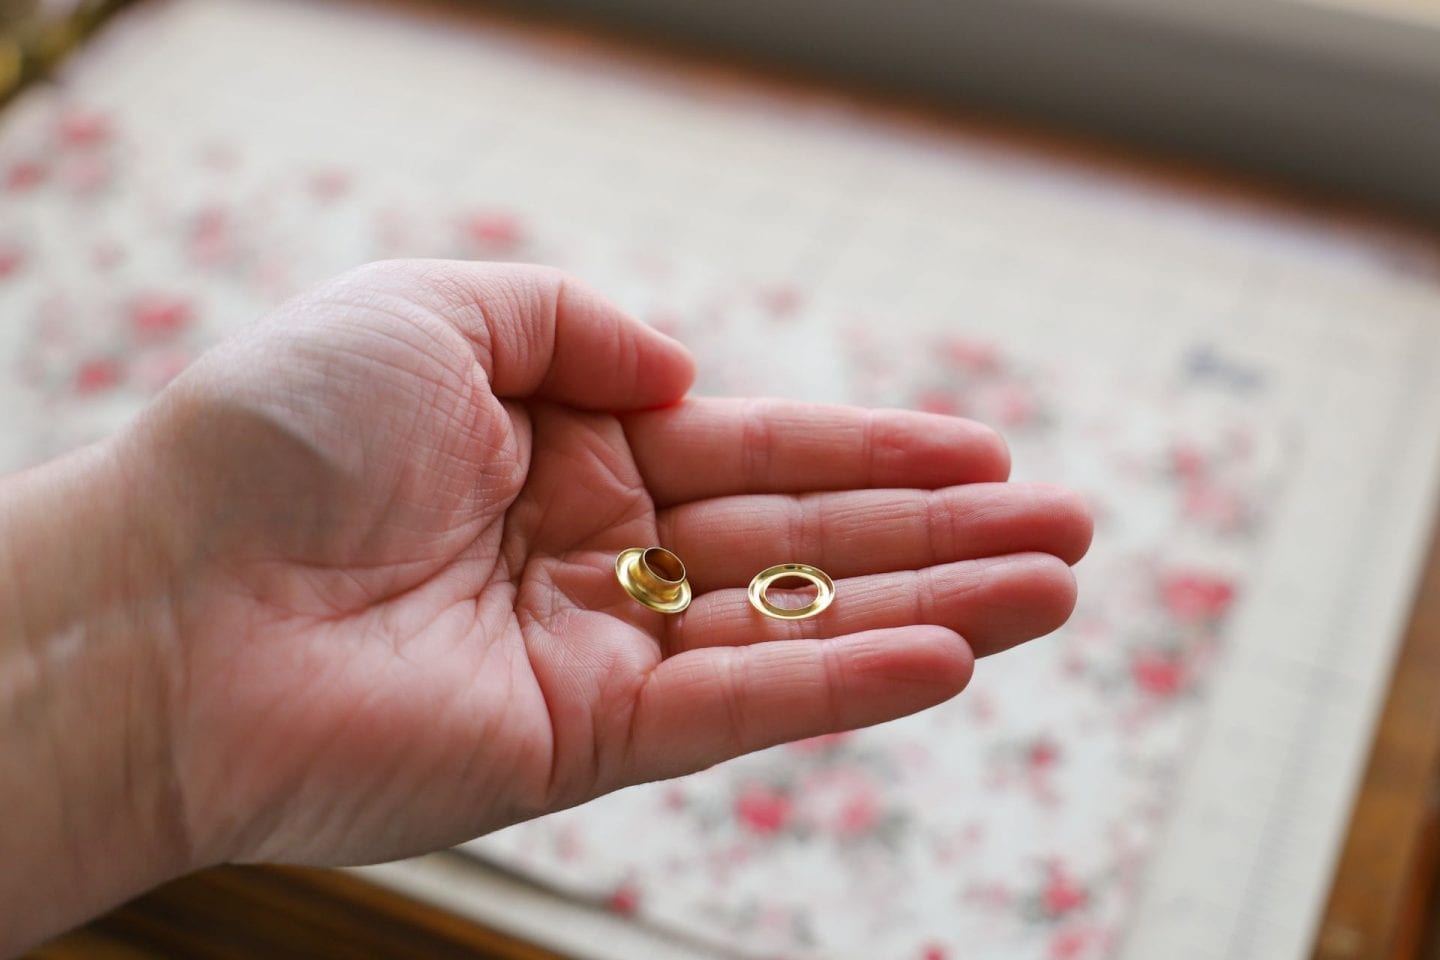
- I then measured for the spine of my notebook and I added 5 rivets. I added two to either end of the fabric and one in the middle. If you have a look at my Youtube video you will get a better idea of how I inserted the rivets.
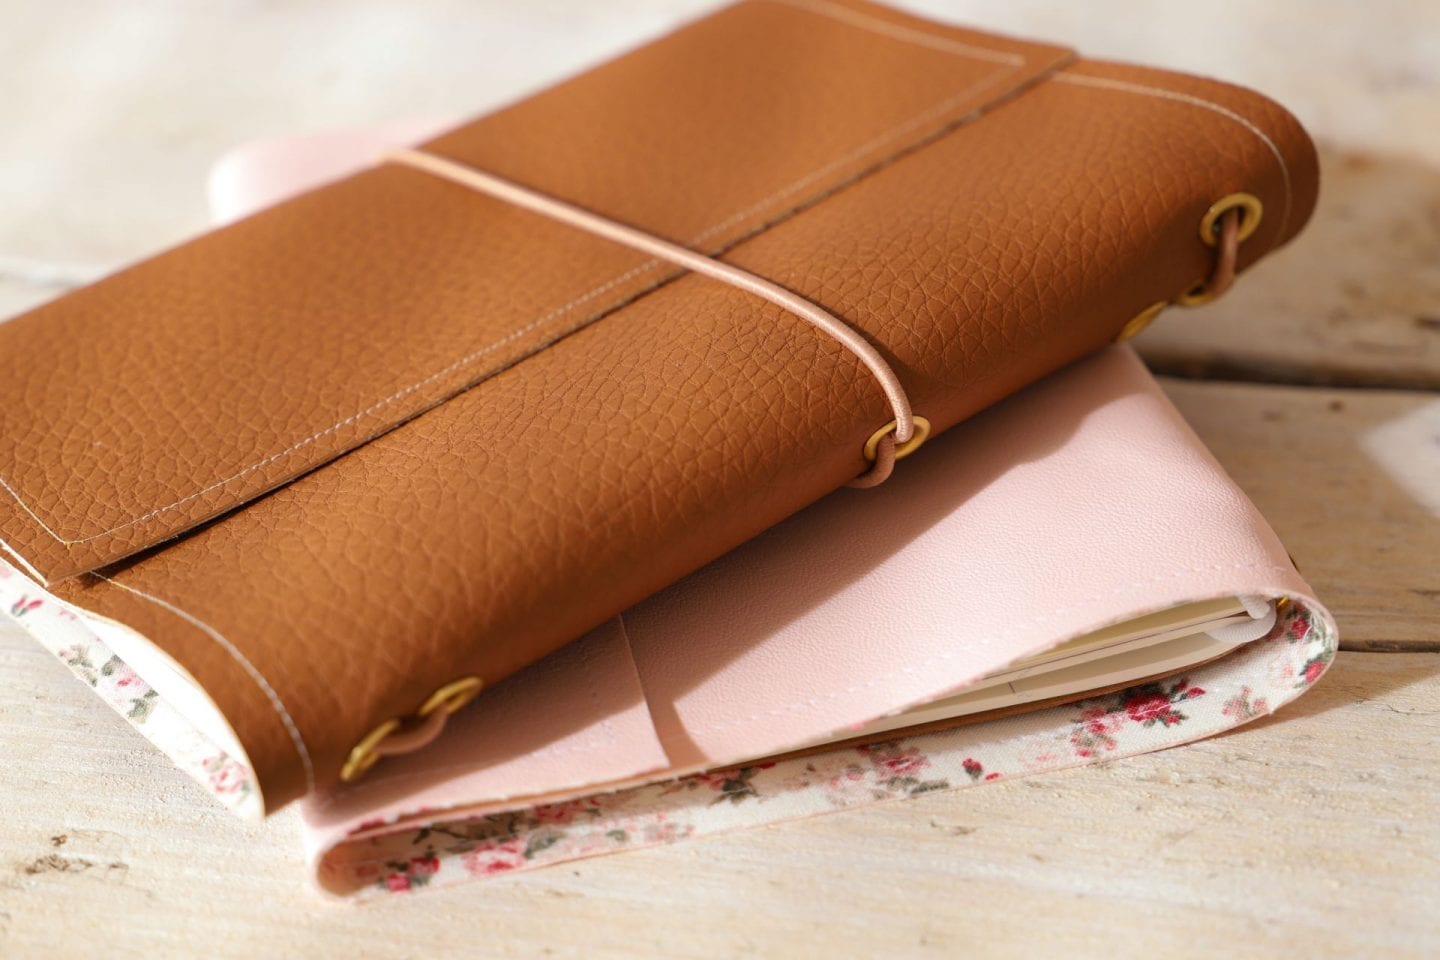
- I then threaded through some elastic. Do not tie the elastic too tight or else your copybooks will crinkle. I then added some elastic to the middle rivet as this piece would be my elastic to keep my book folded over. Check out the video to see how I did this.
I purchased my faux leather fabrics and my rivets from myfabrics.co.uk but you can also purchase faux leather fabric from Amazon.
What are your favourite notepads to journal with? I picked up some kraft style notepads from Paperchase to use as inserts in my notebook cover, I love a mix of blank, lined and dotted paper to write on. I also picked up a small bullet journal insert that I also picked up in the Paperchase store in Arnotts.
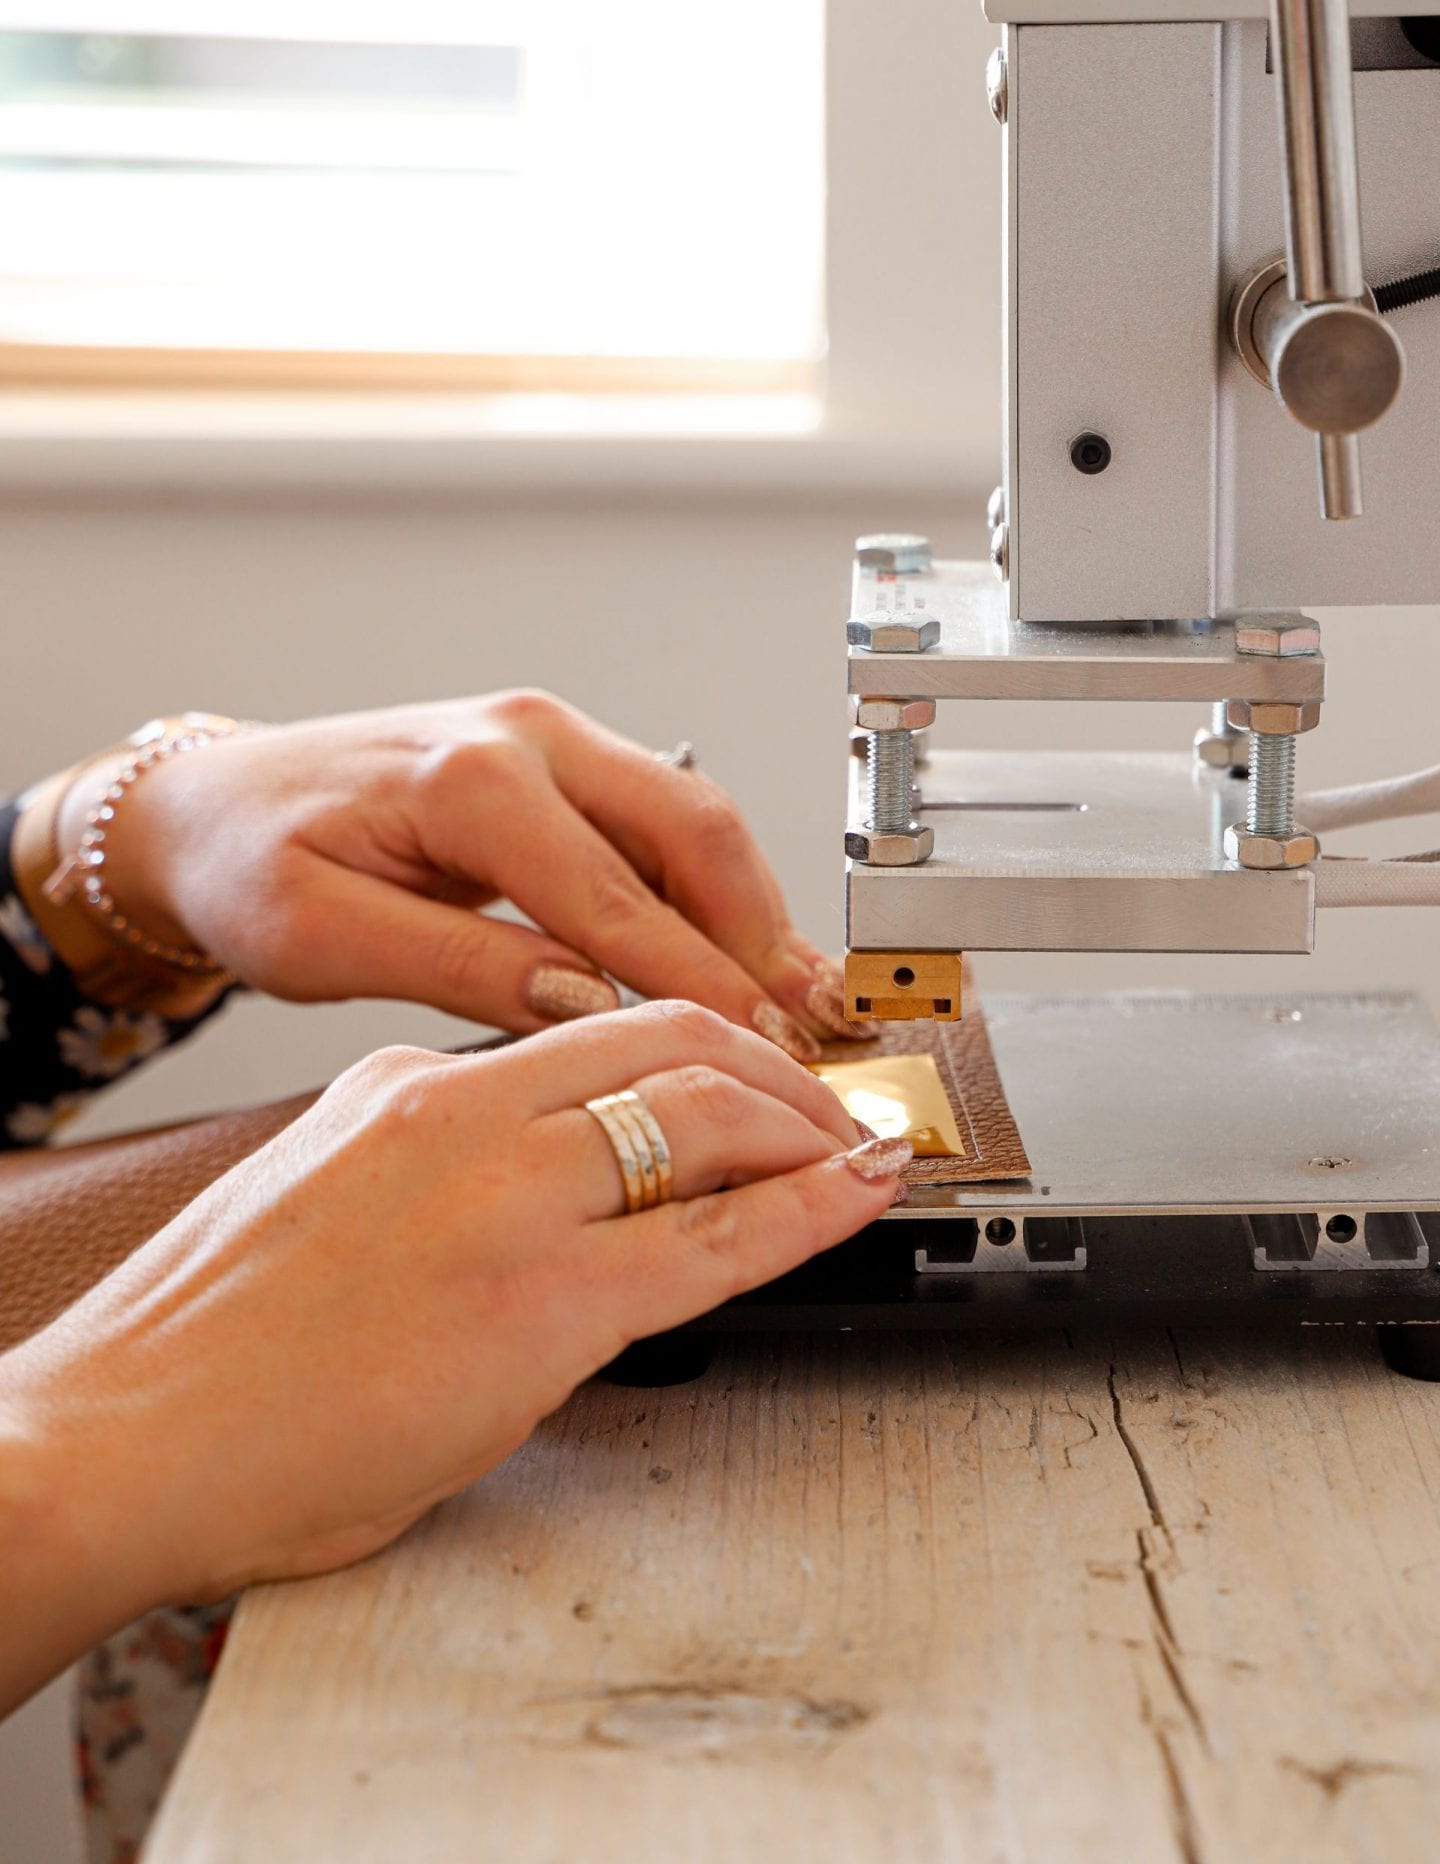
Tara from farfetchedaccessories.ie kindly gave us an embossing demo in this weeks video. I have always wondered how to personalise items and it was great to see how it is done. Tara is offering you guys free personalisation on any orders placed between 17th Oct 2019 – 9th Nov 2019. Just use the code Dainty at the checkout.
I hope you got some value from this weeks video and blog post. Do let me know if you guys create one. Use the #doingadainty to share your creations on Instagram. I love to see what you guys are making. Don’t forget to subscribe to my YouTube channel as we are nearly at the 100k mark! Massive thank you for your support. If you enjoyed this DIY then check out my other DIYs here.
Thanks for reading,
Chat soon,
Catherine.