
Make your own bathtub organiser
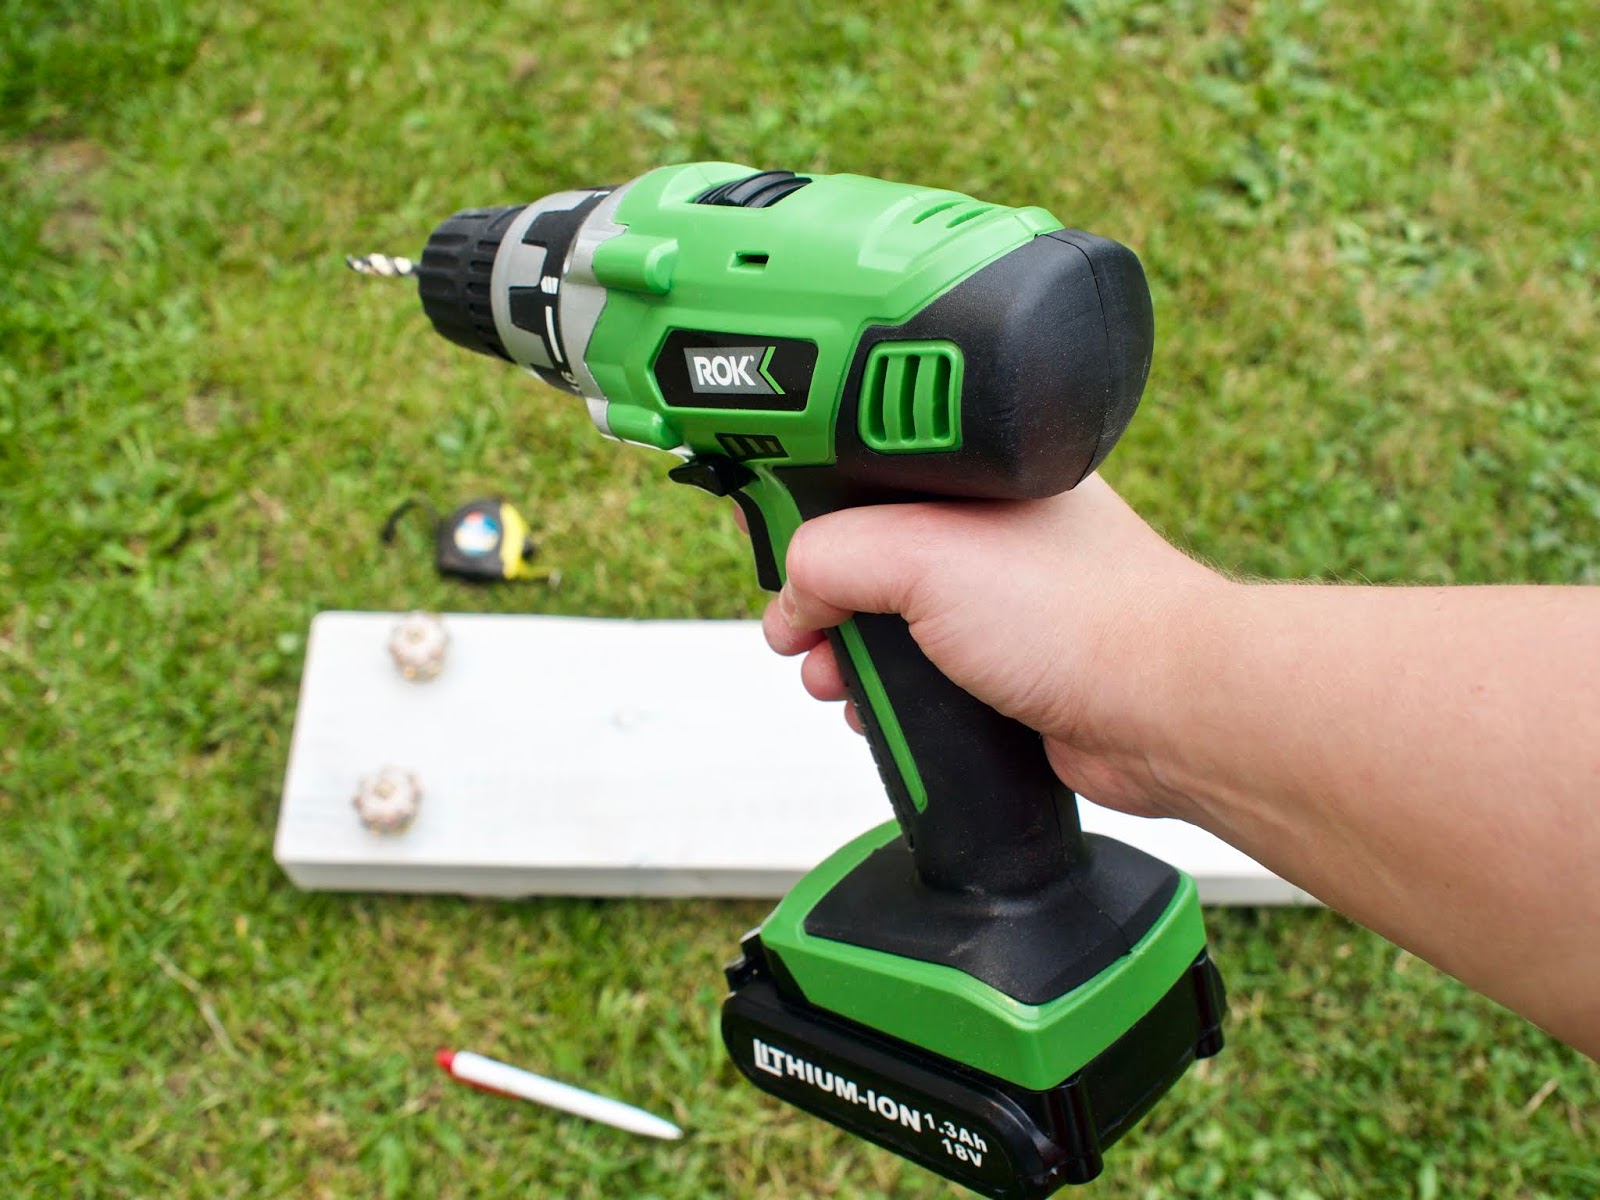
You might have seen my recent budget bathroom makeover. Well, I was admiring peoples bathtub caddies and I wanted to make one for myself. I have some planks of wood in my garden from when I had my Velux installed earlier in the year. like a true crafter, I didn’t want to throw the pieces of wood out in case I could use them in a project. I decided to use some of the wood in today’s post to make my very own bath caddy. This was easier than expected and I also got to use my new drill! Which made me feel very empowered.
Measure twice and cut once
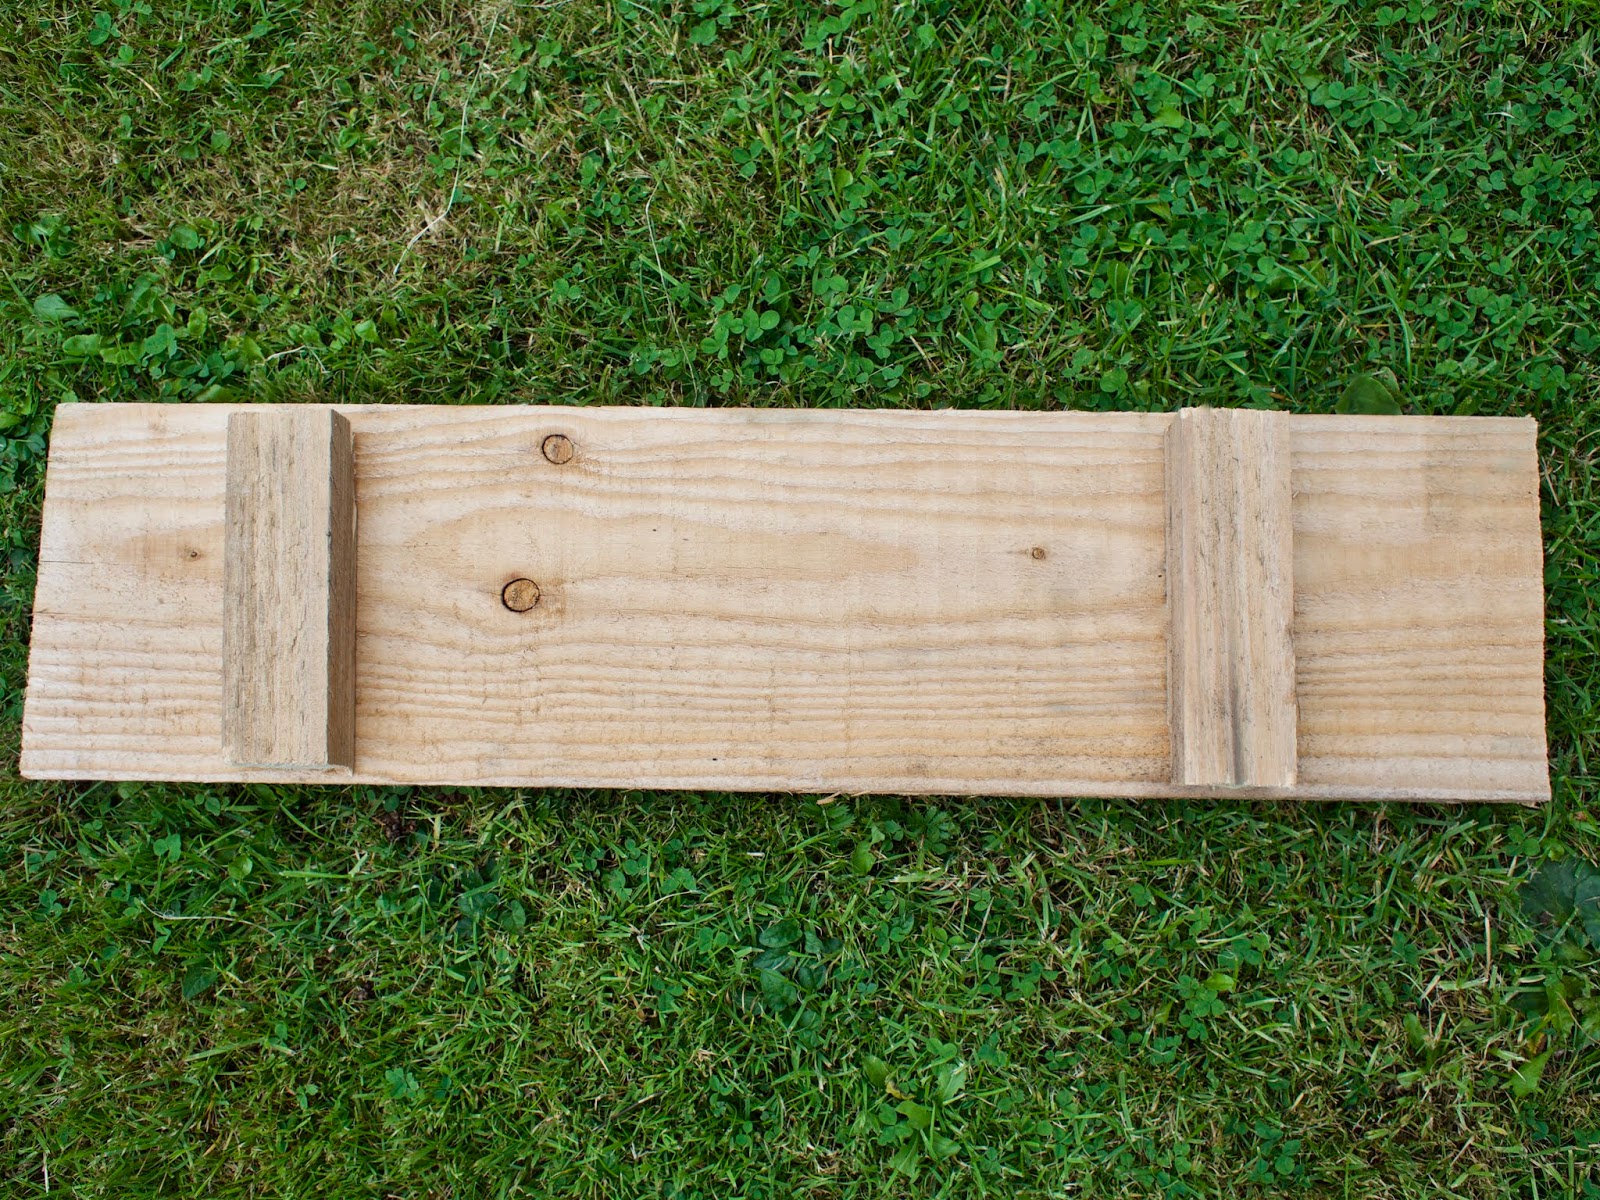
The first thing I did was measure out how wide my bathtub was. I then marked the wood and used my saw to cut the wood to size. I also measured where I wanted the two smaller pieces of wood for the underneath. These underneath pieces of wood stop the caddy from slipping and sliding off your bathtub. I used a saw that I had in my shed to cut the wood. If you have an electric saw or jigsaw then this would be easier to use. As with all power tools, please be cautious and if you are not confident then ask someone to help you or get a pro to cut the wood for you.

Once my wood was cut to size I used some Gorilla glue to glue the small pieces of wood to the underneath of the larger piece. I used glue because my wood was really thick and I didn’t have a nail long enough to drill it together. You can use a drill if you have one.


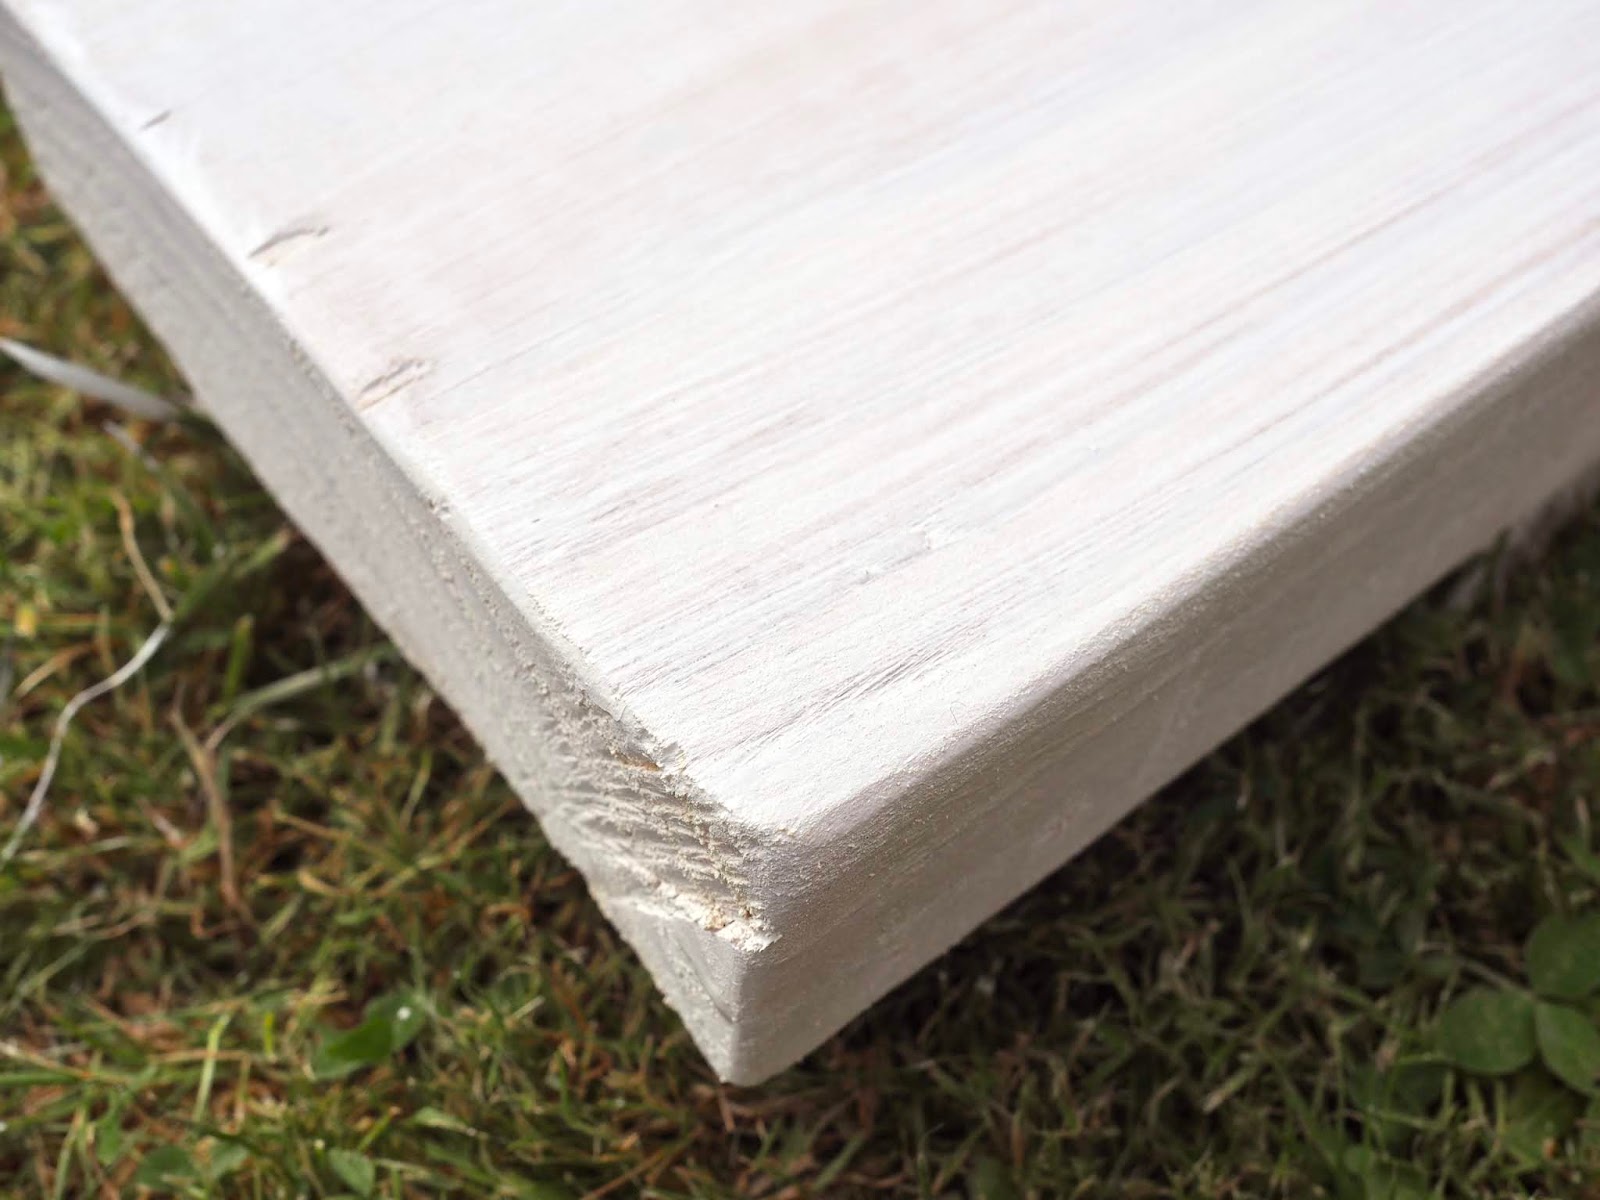
My wood was really rough to touch, so, I used some coarse sandpaper to smooth the surface. I have a palm electric sander and I used it to smooth out the wood. I started with a coarse grit sandpaper and then finished it with a lighter grade sane paper to make it extra silky smooth. You can have a look at my Youtube video and watch how I sanded the piece.

Whitewashing my piece
I loved the character of the wood and I didn’t want to hide it, so I decided to whitewash the piece with some watered down chalk paint. I made a paint that was half water and half chalk paint. I then used a brush to apply it to my piece of wood. I let it sit for a few minutes and then using a dry rag I wiped the paint away and brought out the details of the wood. It took me a few goes to get the effect I wanted but I am really pleased with how it turned out. As the wood gets really wet please allow extra drying time before sealing your project. If you don’t allow your piece to fully dry it may develop some mould which you don’t want. So leave it for a few hours to fully dry.

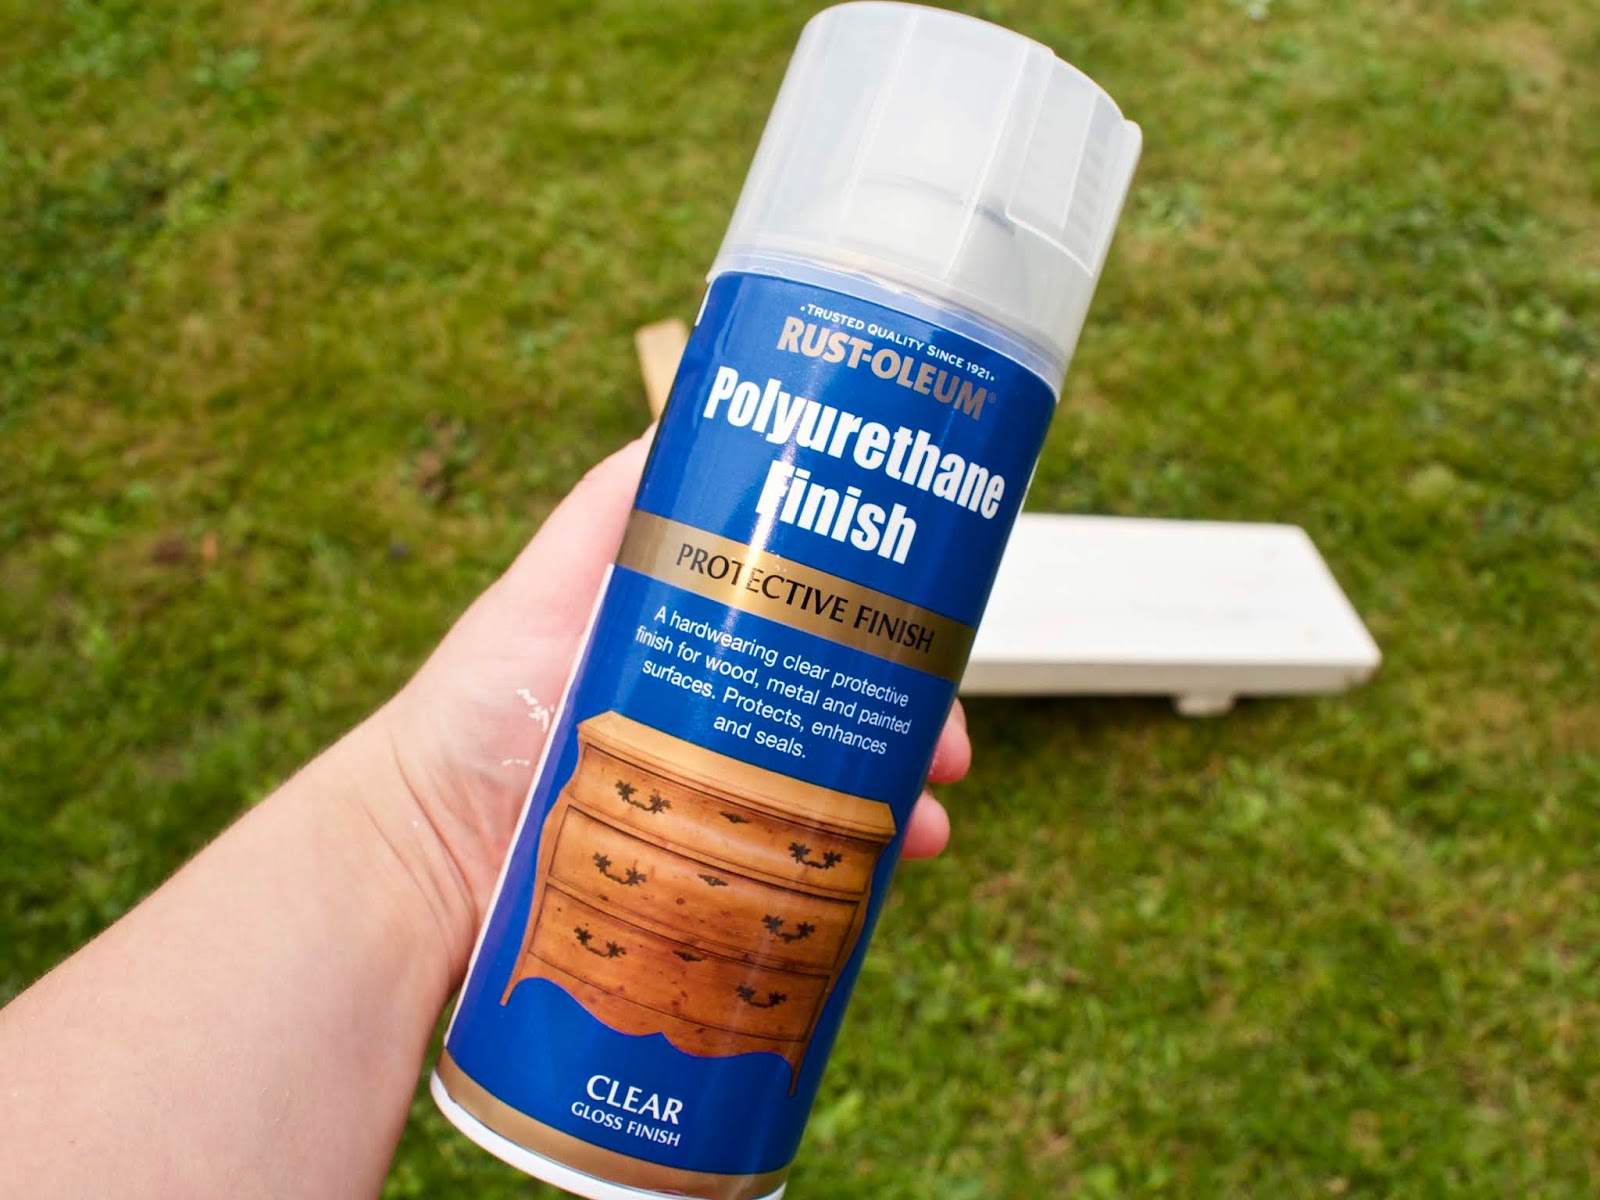
I then used some Polyutherine spray sealer that I had in my kit to seal my piece. As this is going into the bathroom, you want to protect it from moisture. This sealer does have a strong smell so I recommend that you use it outside and allow it to fully dry. Once the piece is fully dry it will be wipeable and protected.
Adding some details
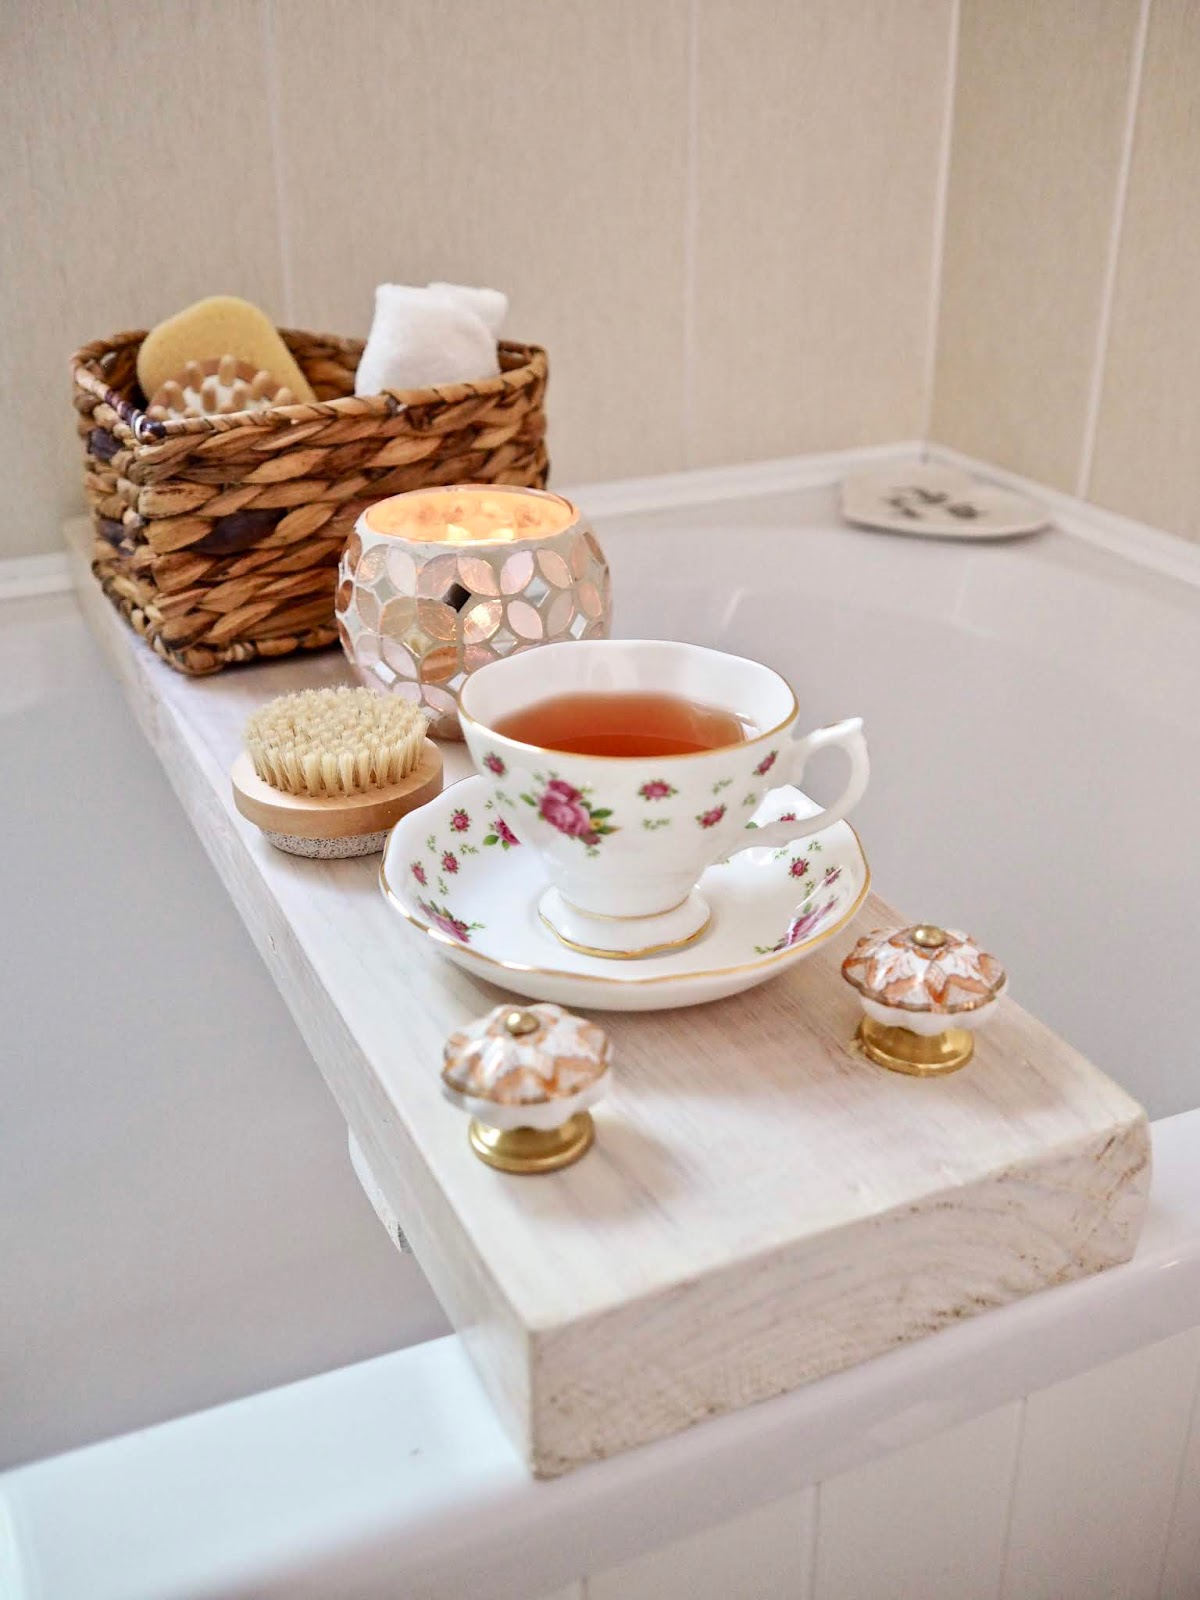
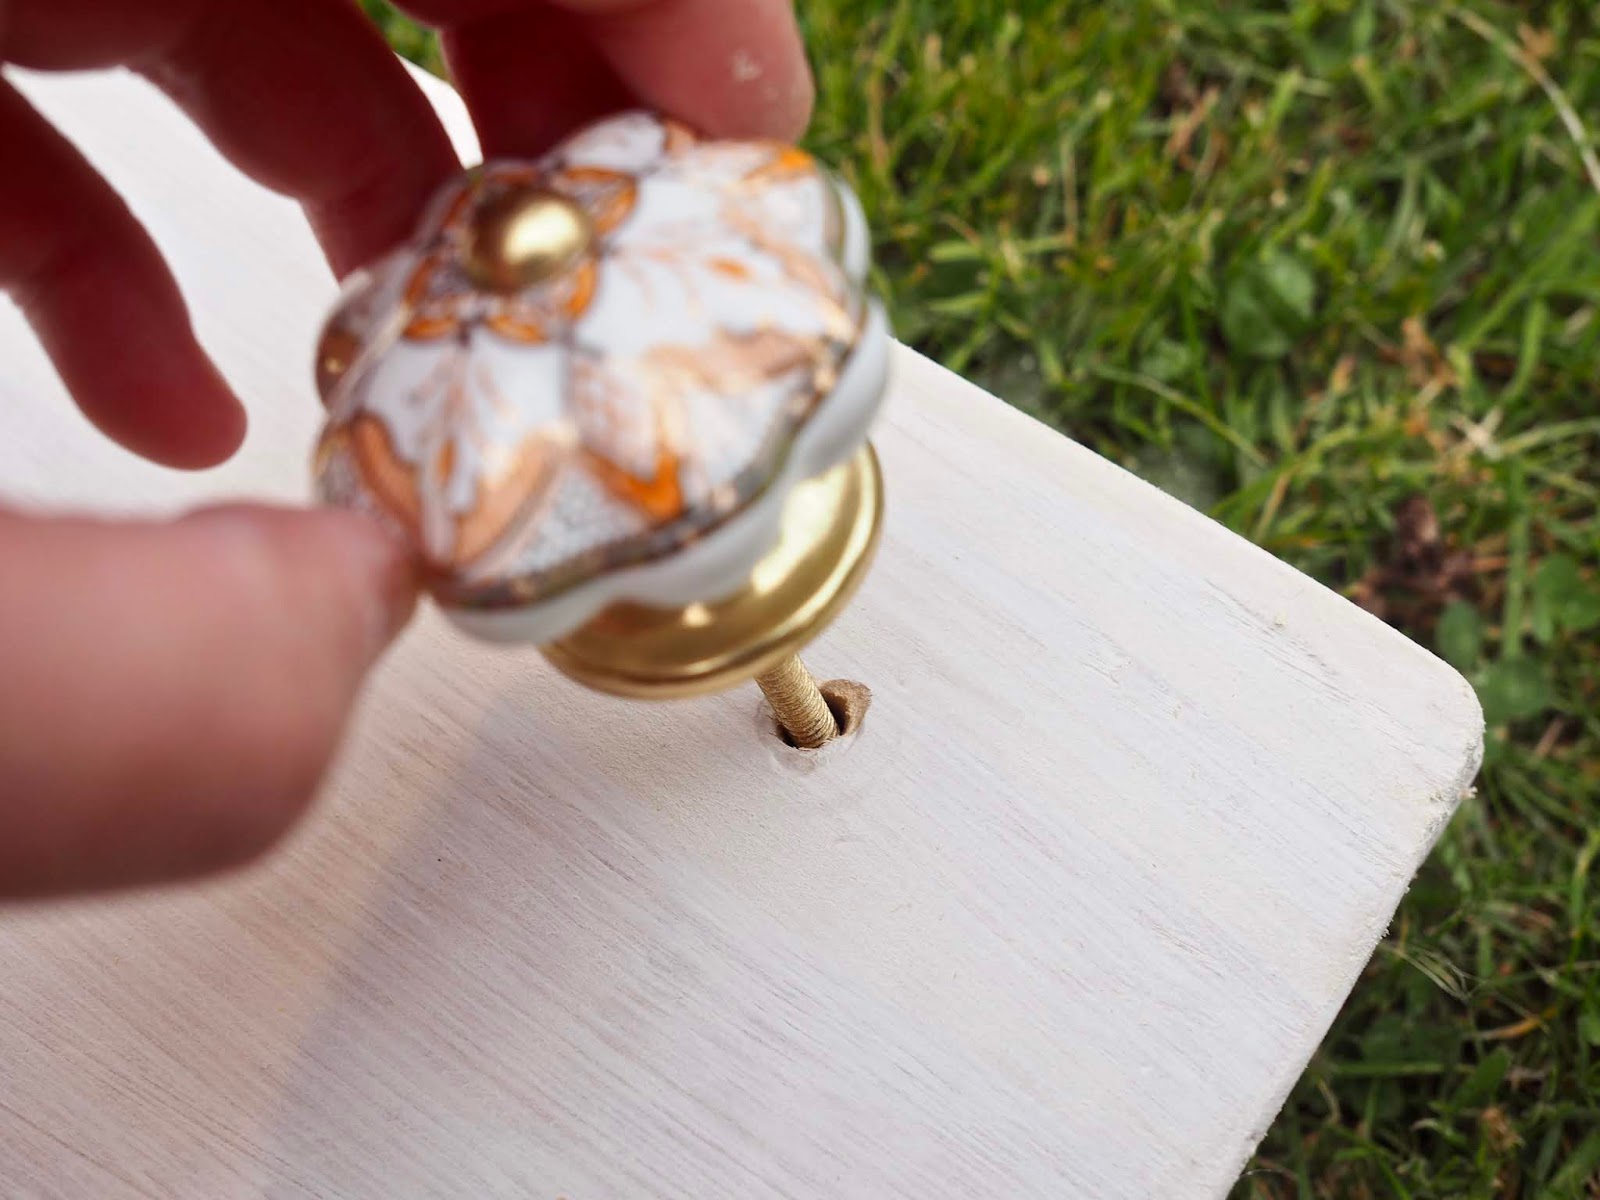
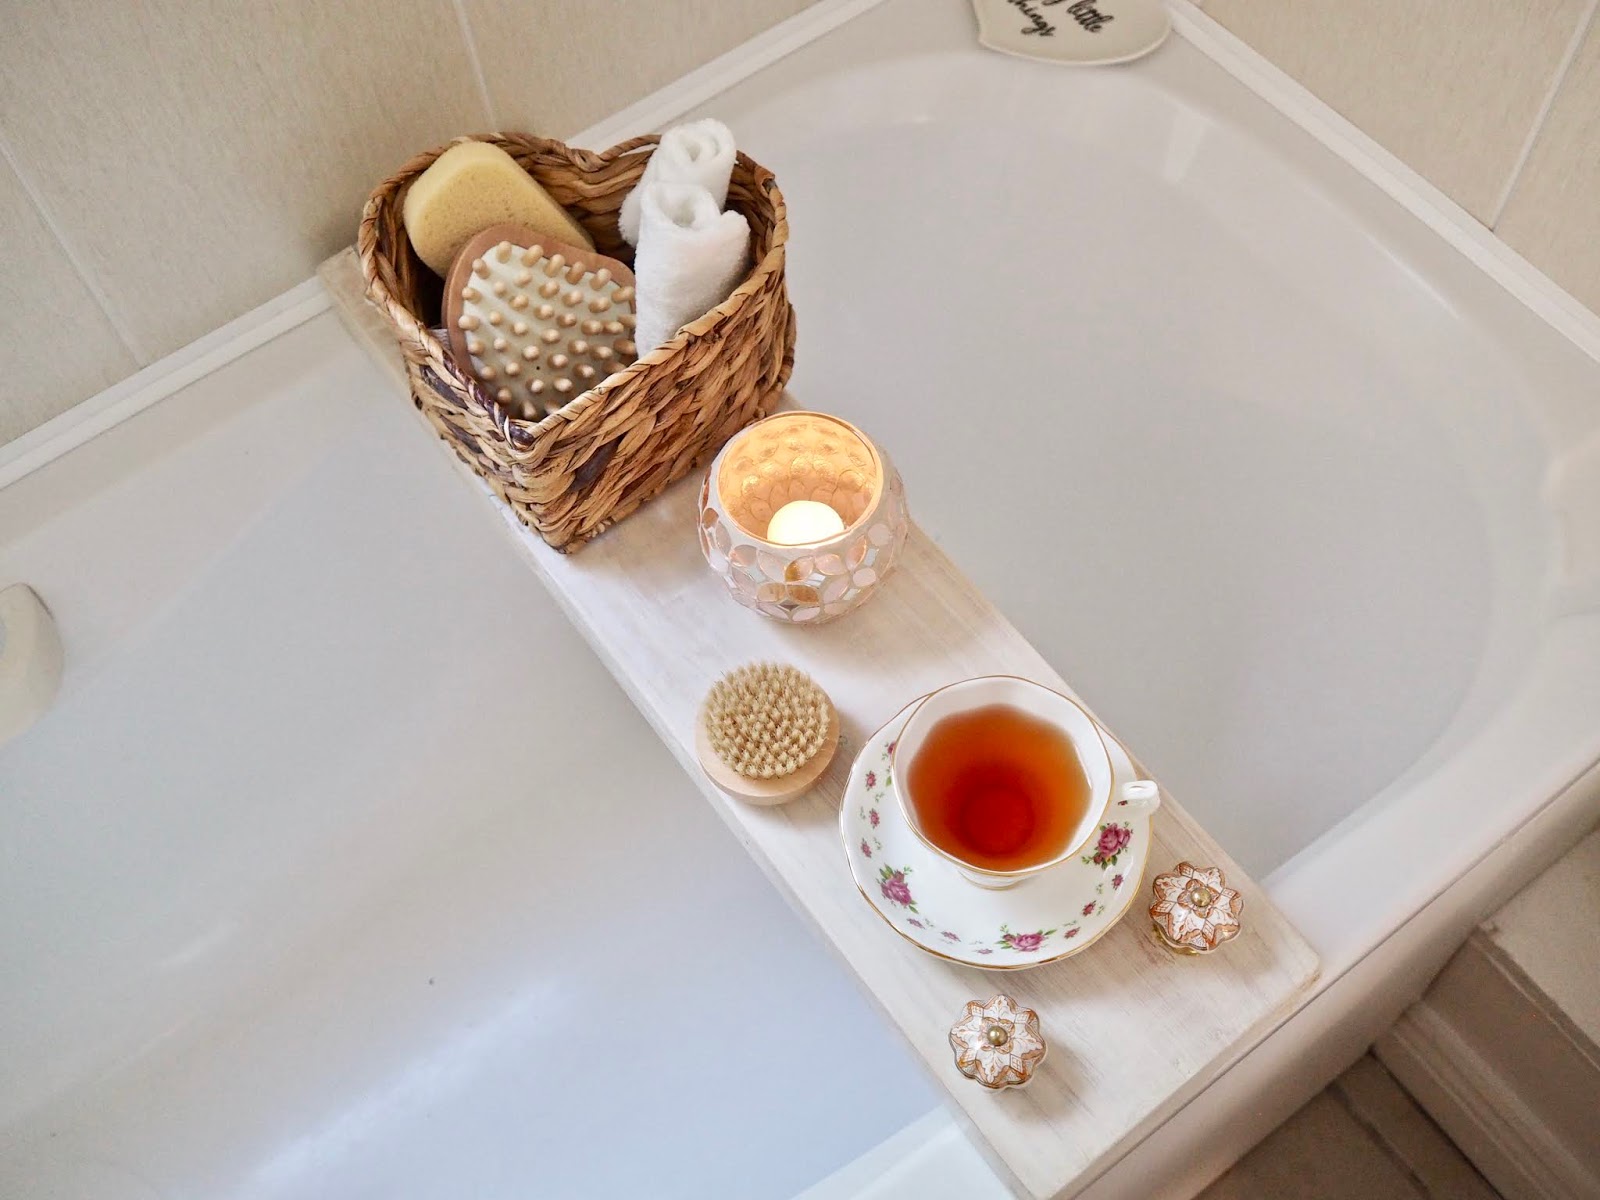
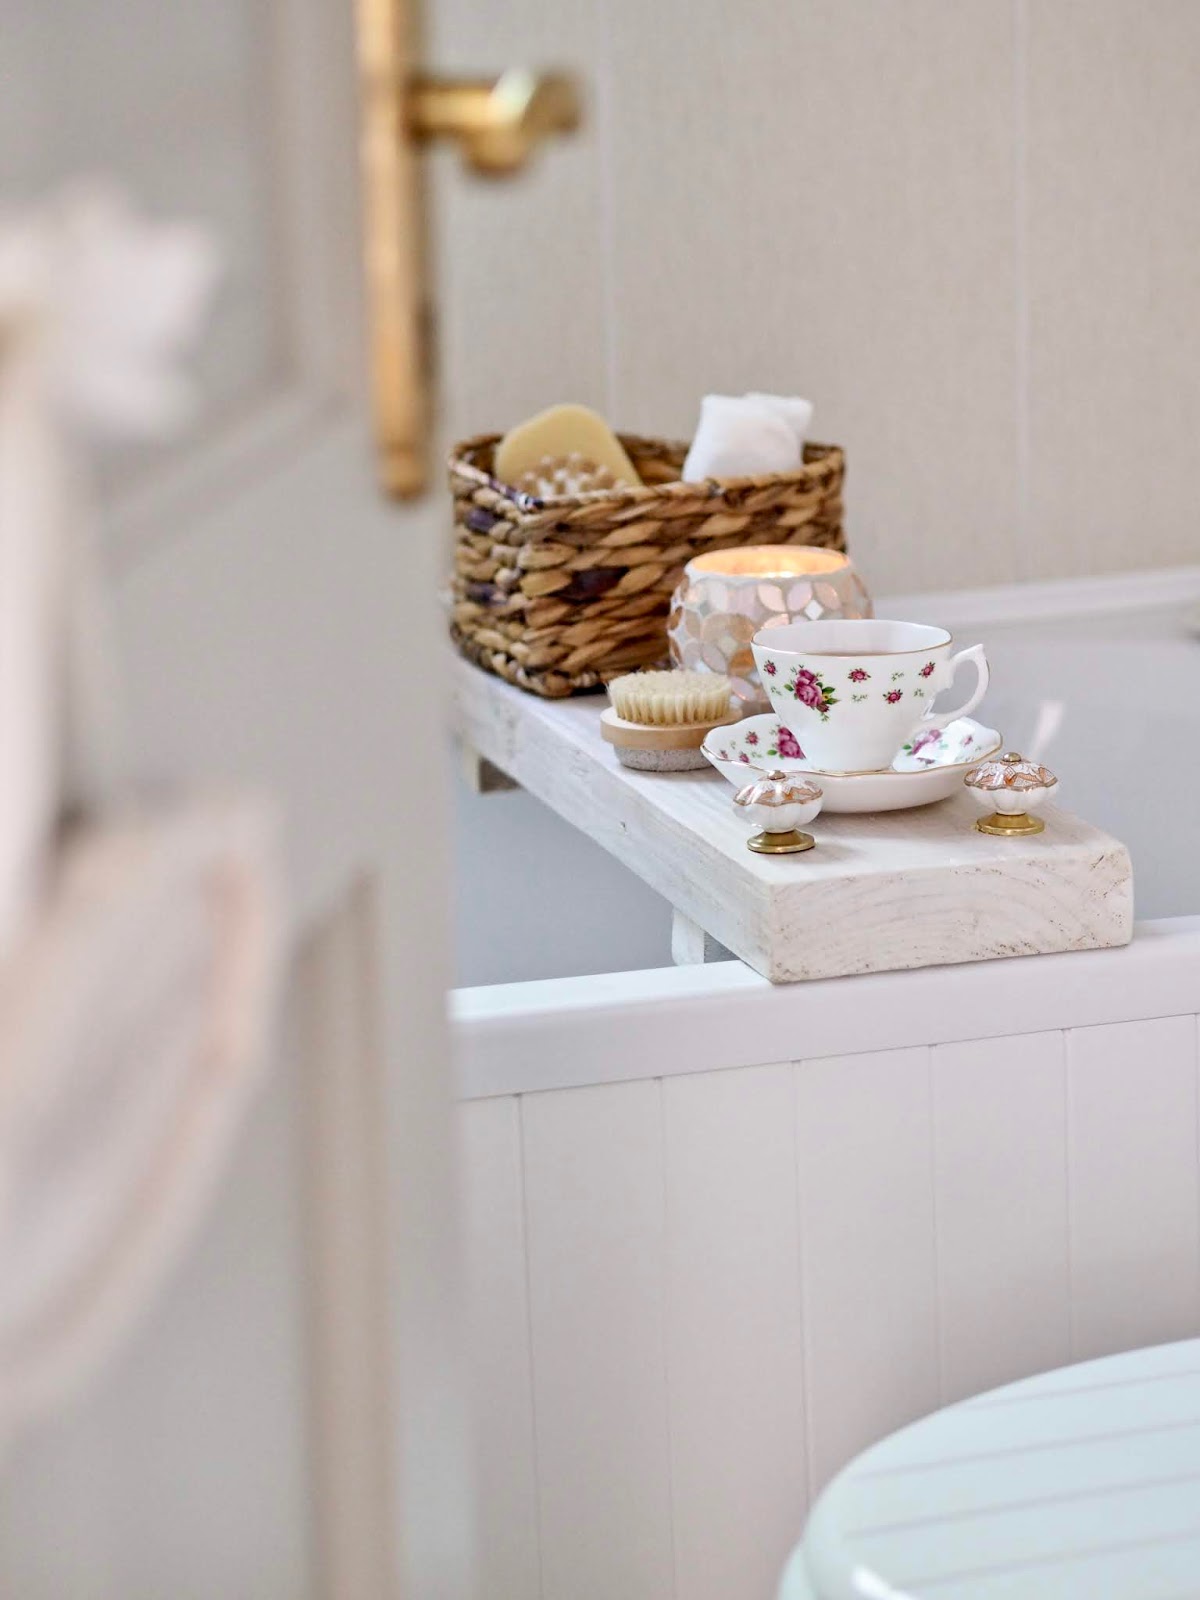
I did go looking for some nice handles but I couldn’t find any. When rummaging in TK Maxx I found these knobs. They came in a pack of 6 for only €9.99. I used my drill to add some holes to the corners of my caddy. I then added my fancy knobs to make my piece easy to carry and move when in the bathtub. You can also use some glue to apply your knobs, as my piece was heavy I decided to drill mine in.
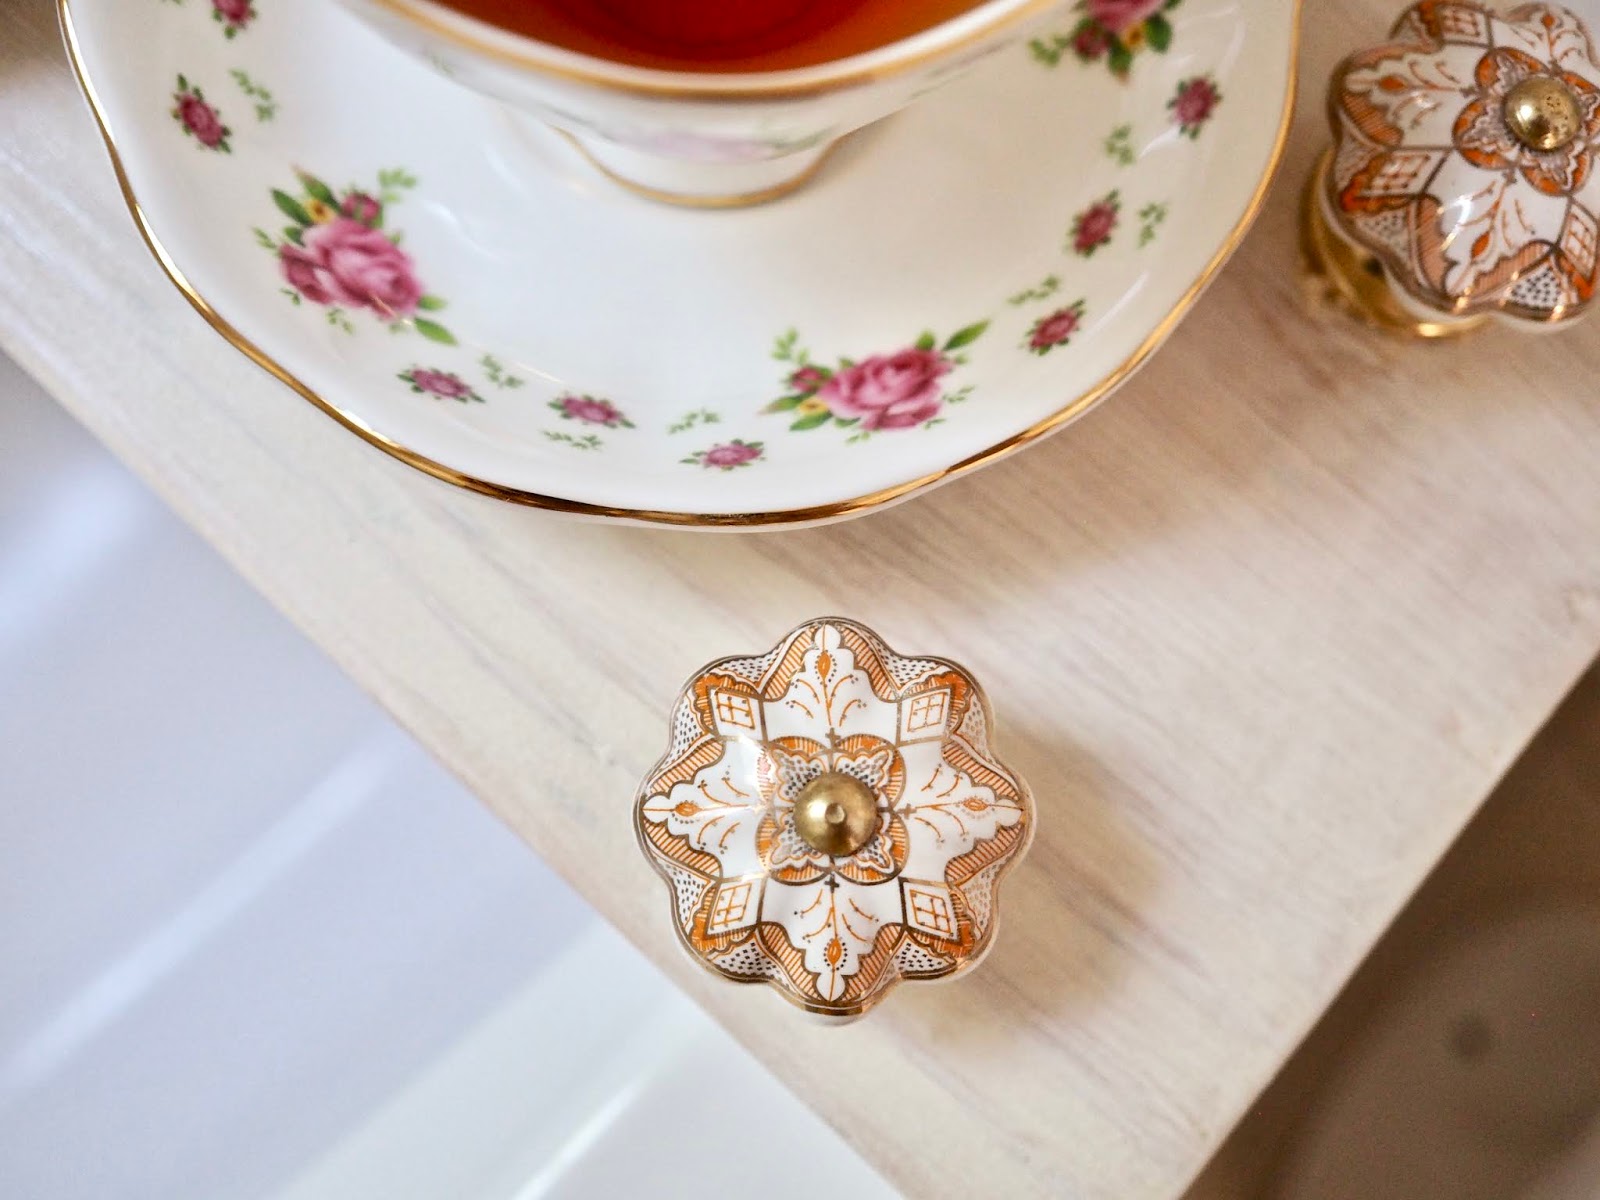

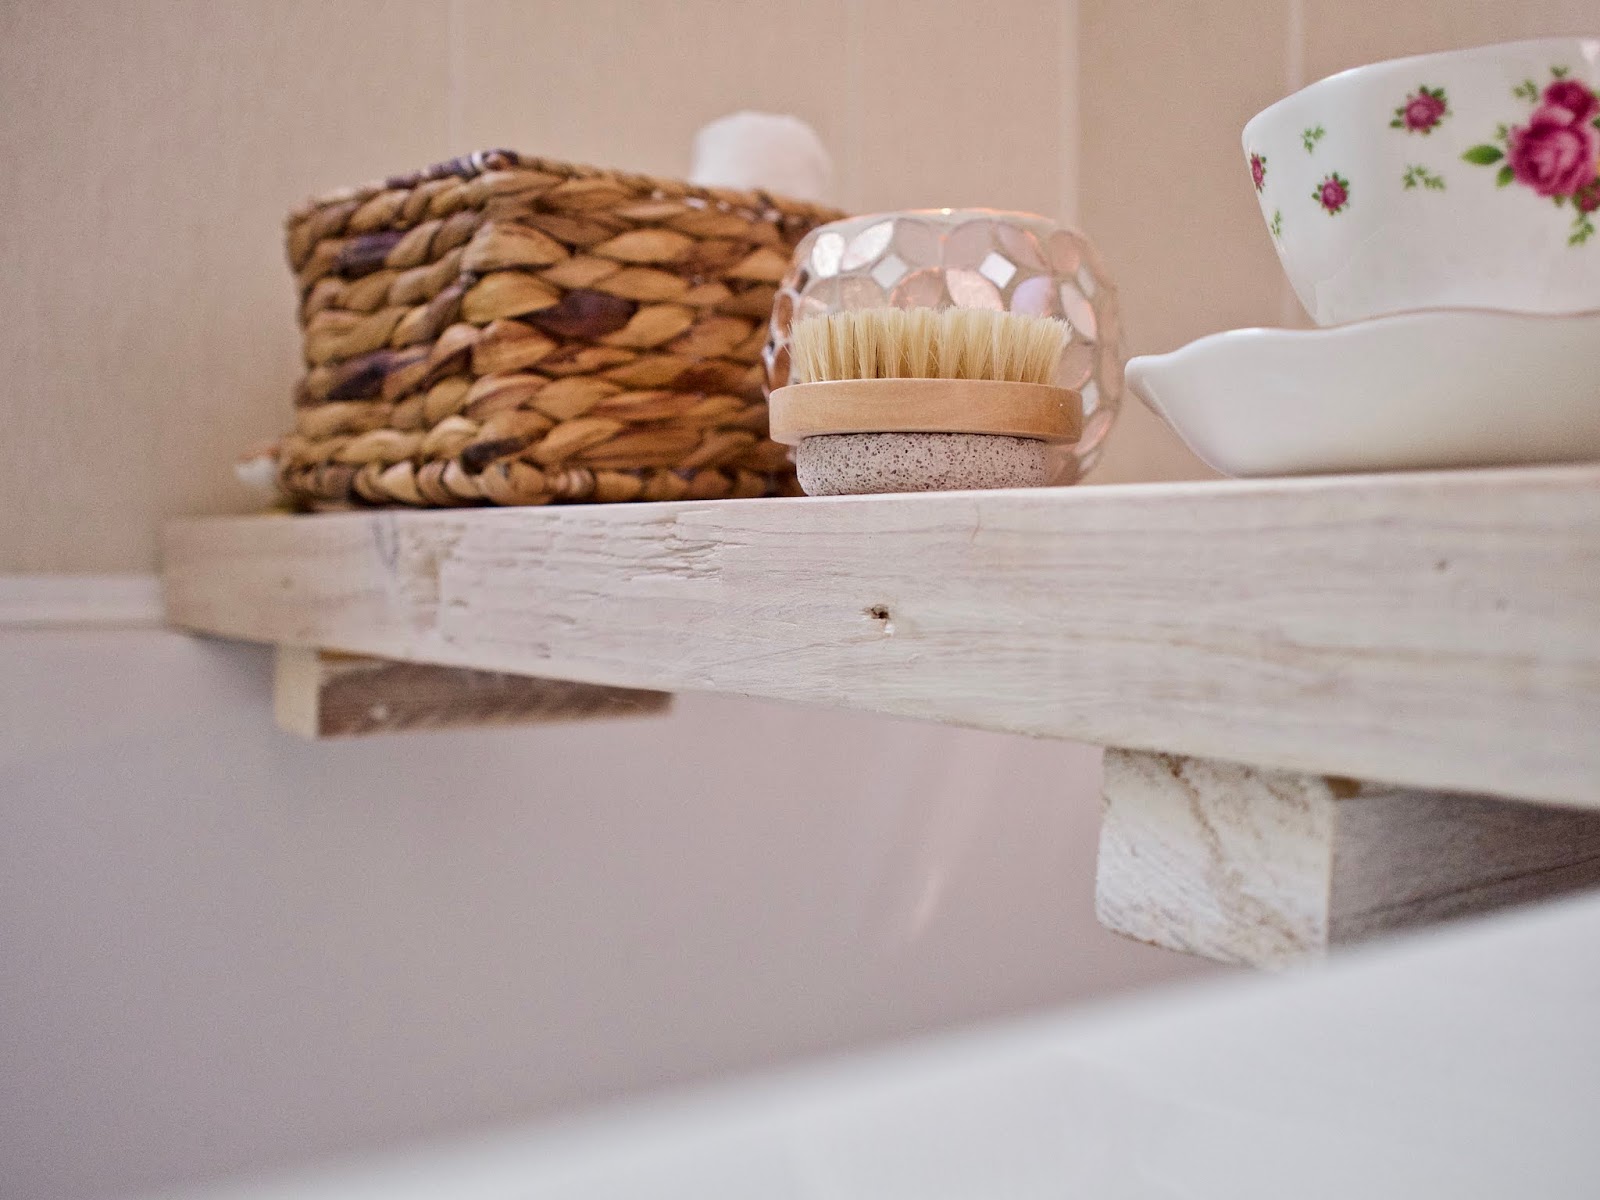
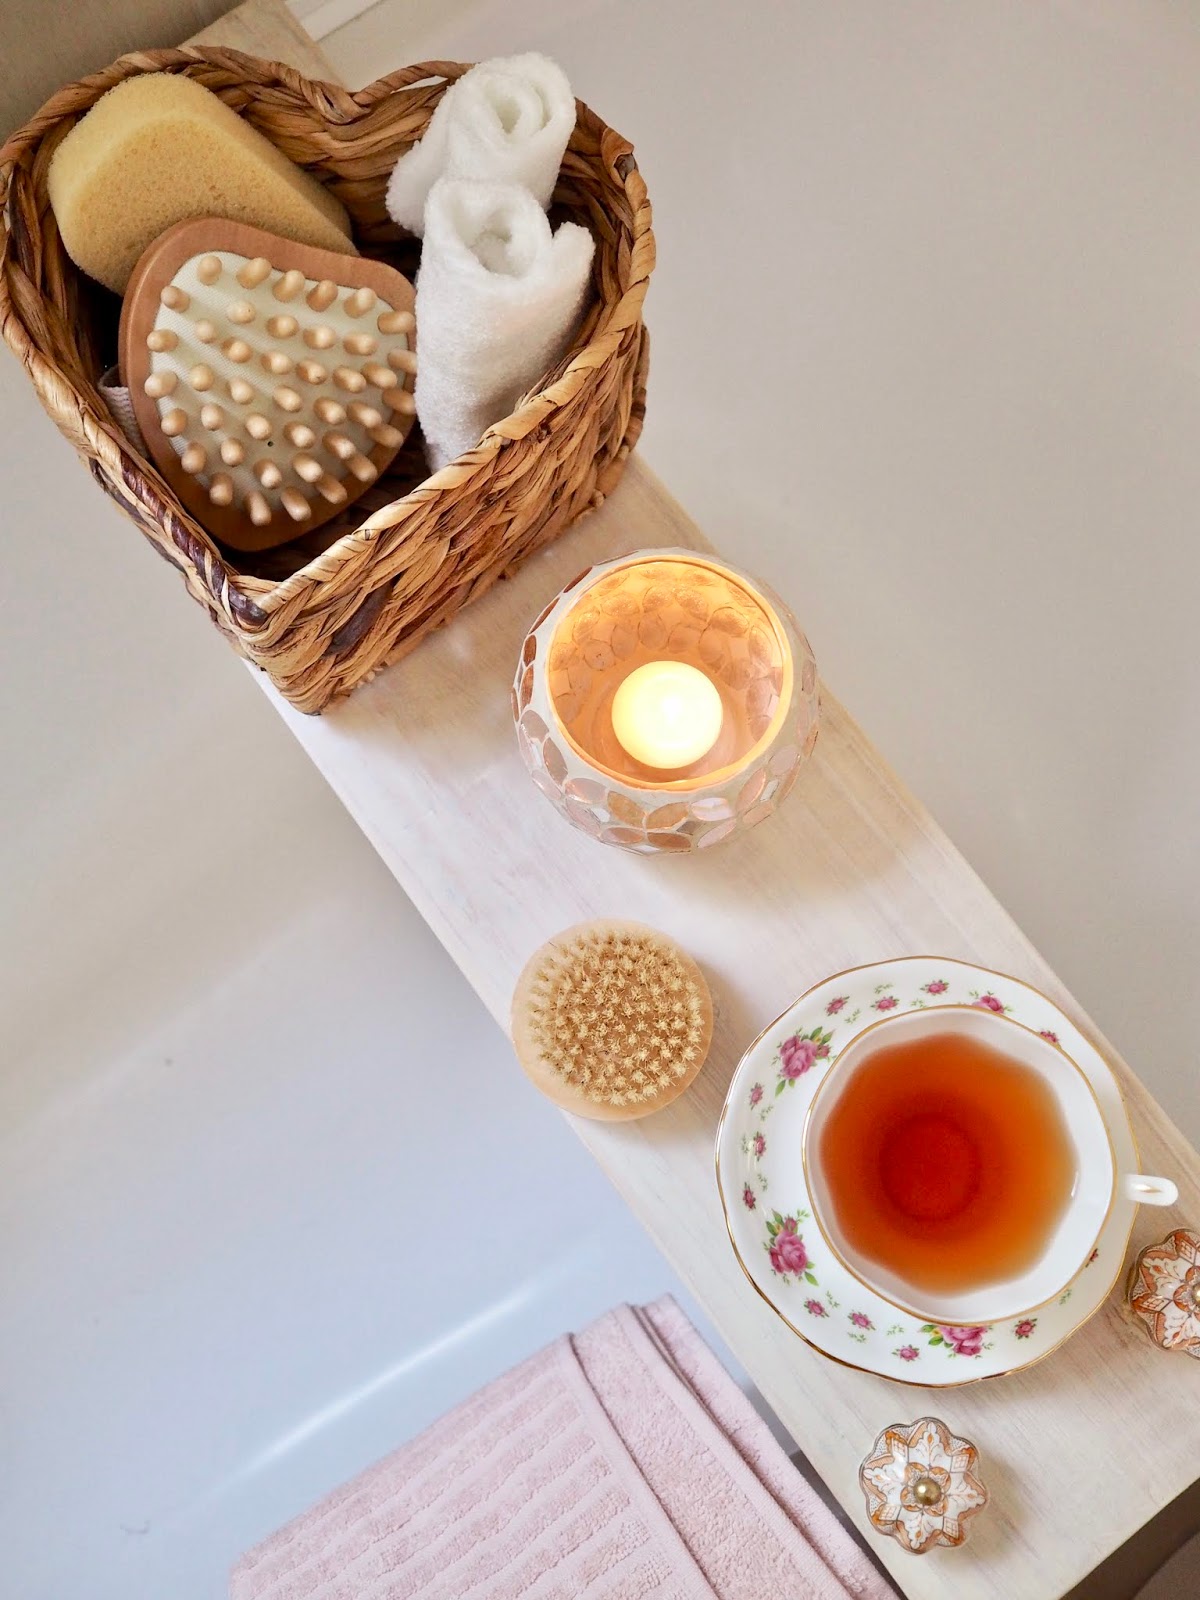
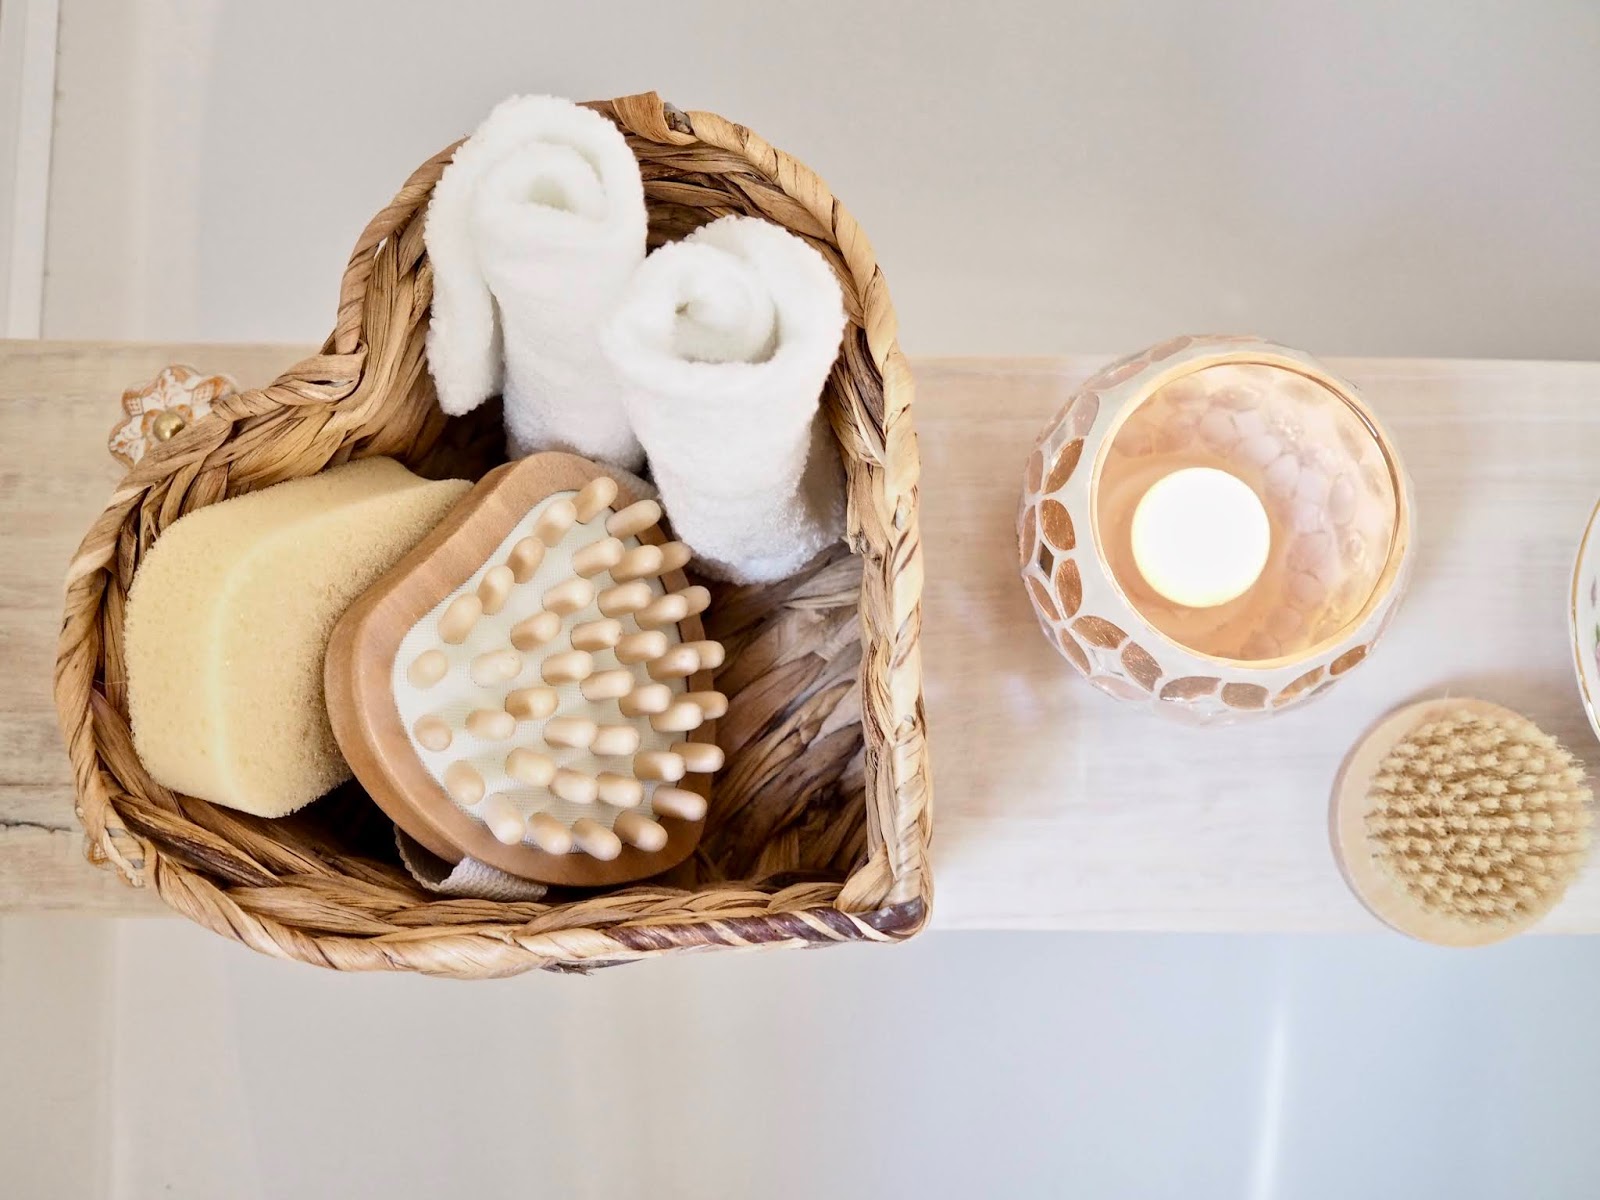
Once you are finished an happy with your piece you can then have fun and style it. I purposely didn’t get a stand for my phone as for me, a bath is a phone free zone. I got a cute love heart wicker basket from The Range. I added some of my bath time faves to the basket so I could enjoy my soak. A cheeky glass of bubbles is optional for your bath time but its perfect for unwinding, I went for some tea instead and used one of my Royal Alberts to style the tray.


Please do check out my video on how I made my bath caddy and if you enjoyed it then please give it a thumbs up. If you want to see my budget bathroom makeover then check out the post here. Have a great week everyone!
Thanks so much for reading,
Chat soon,
Catherine.
Please pin the below image to your Pinterest boards


Love this amazing DIY Idea, thank you for sharing with us .
Definitely making this in the spring (need to do outside) lovely the way it turned out! Your channel is fabulous just found you today & I am hooked !!
Thanks fo reading, yea, since i replaced my bath panel I am loving my bath tub x
Thanks for reading Avril, have fun making one! Tag me on Instagram in a pic if you make it x
This is so cool! I'm going to need one of these when I finally replace my gross old tub!
Wow, so great DIY project. I can't wait to have a try.