
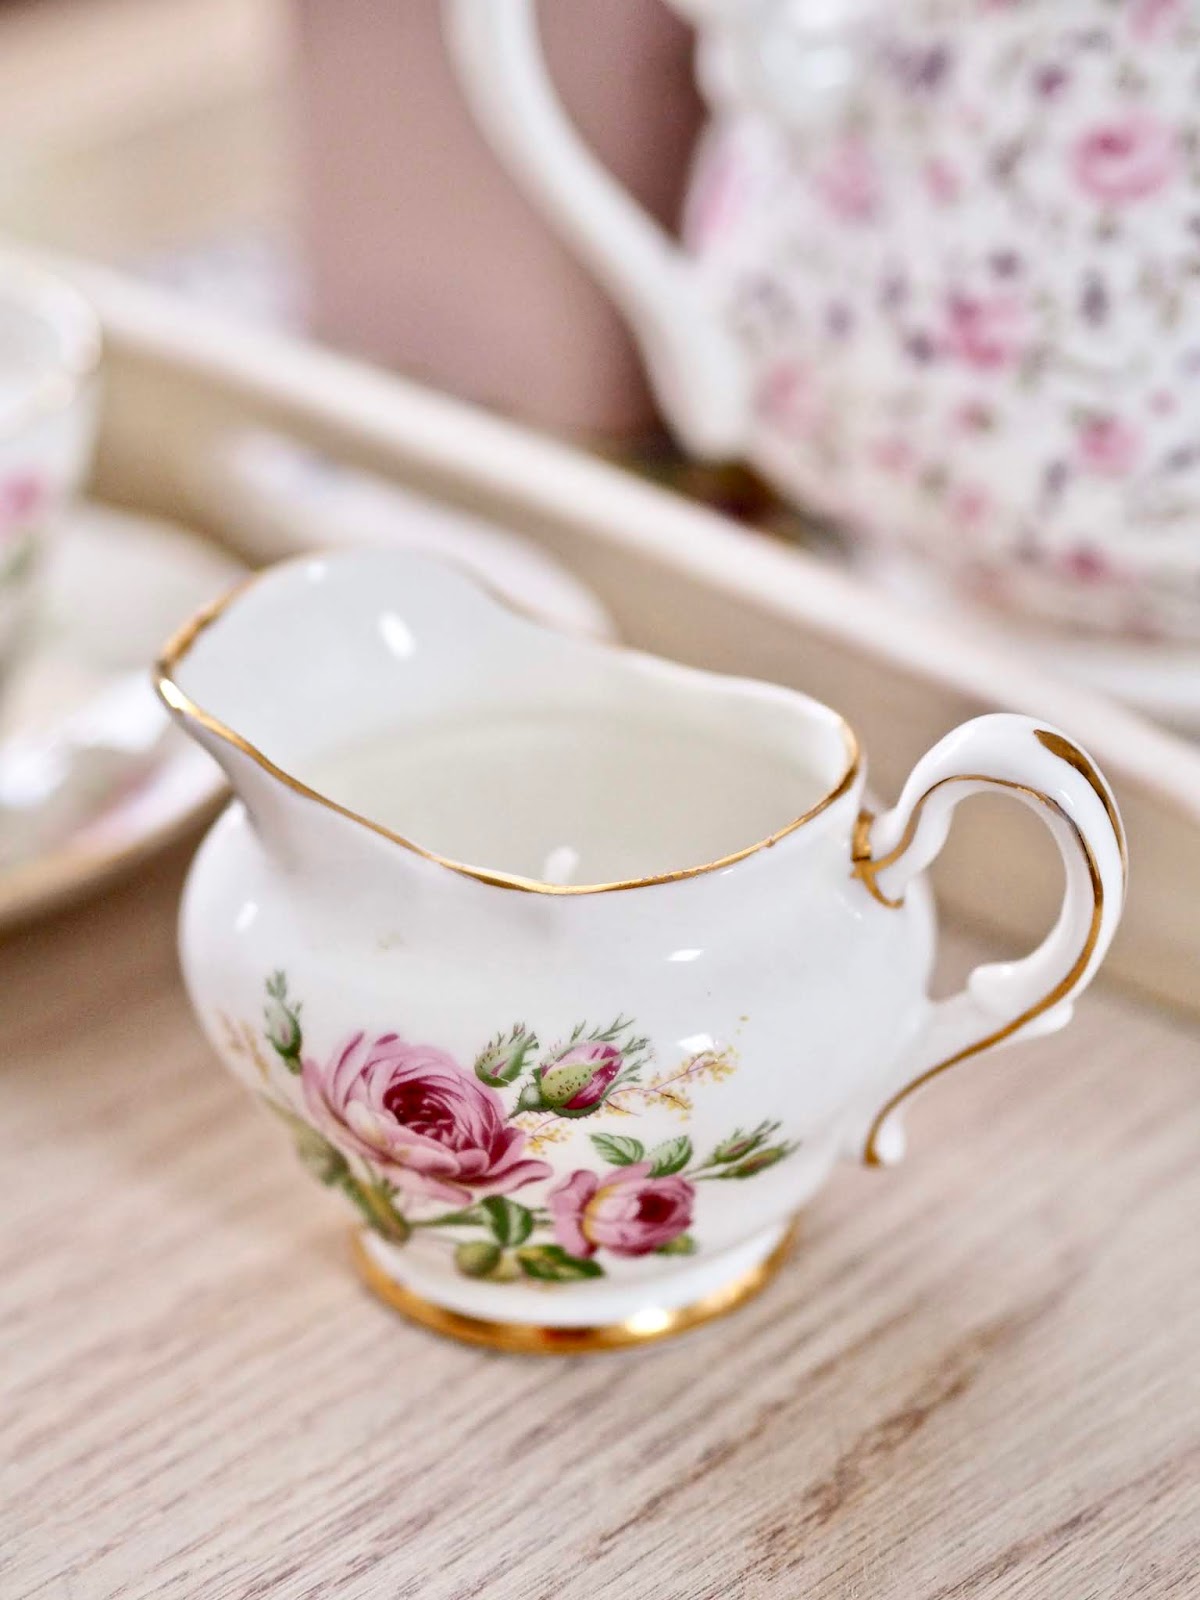
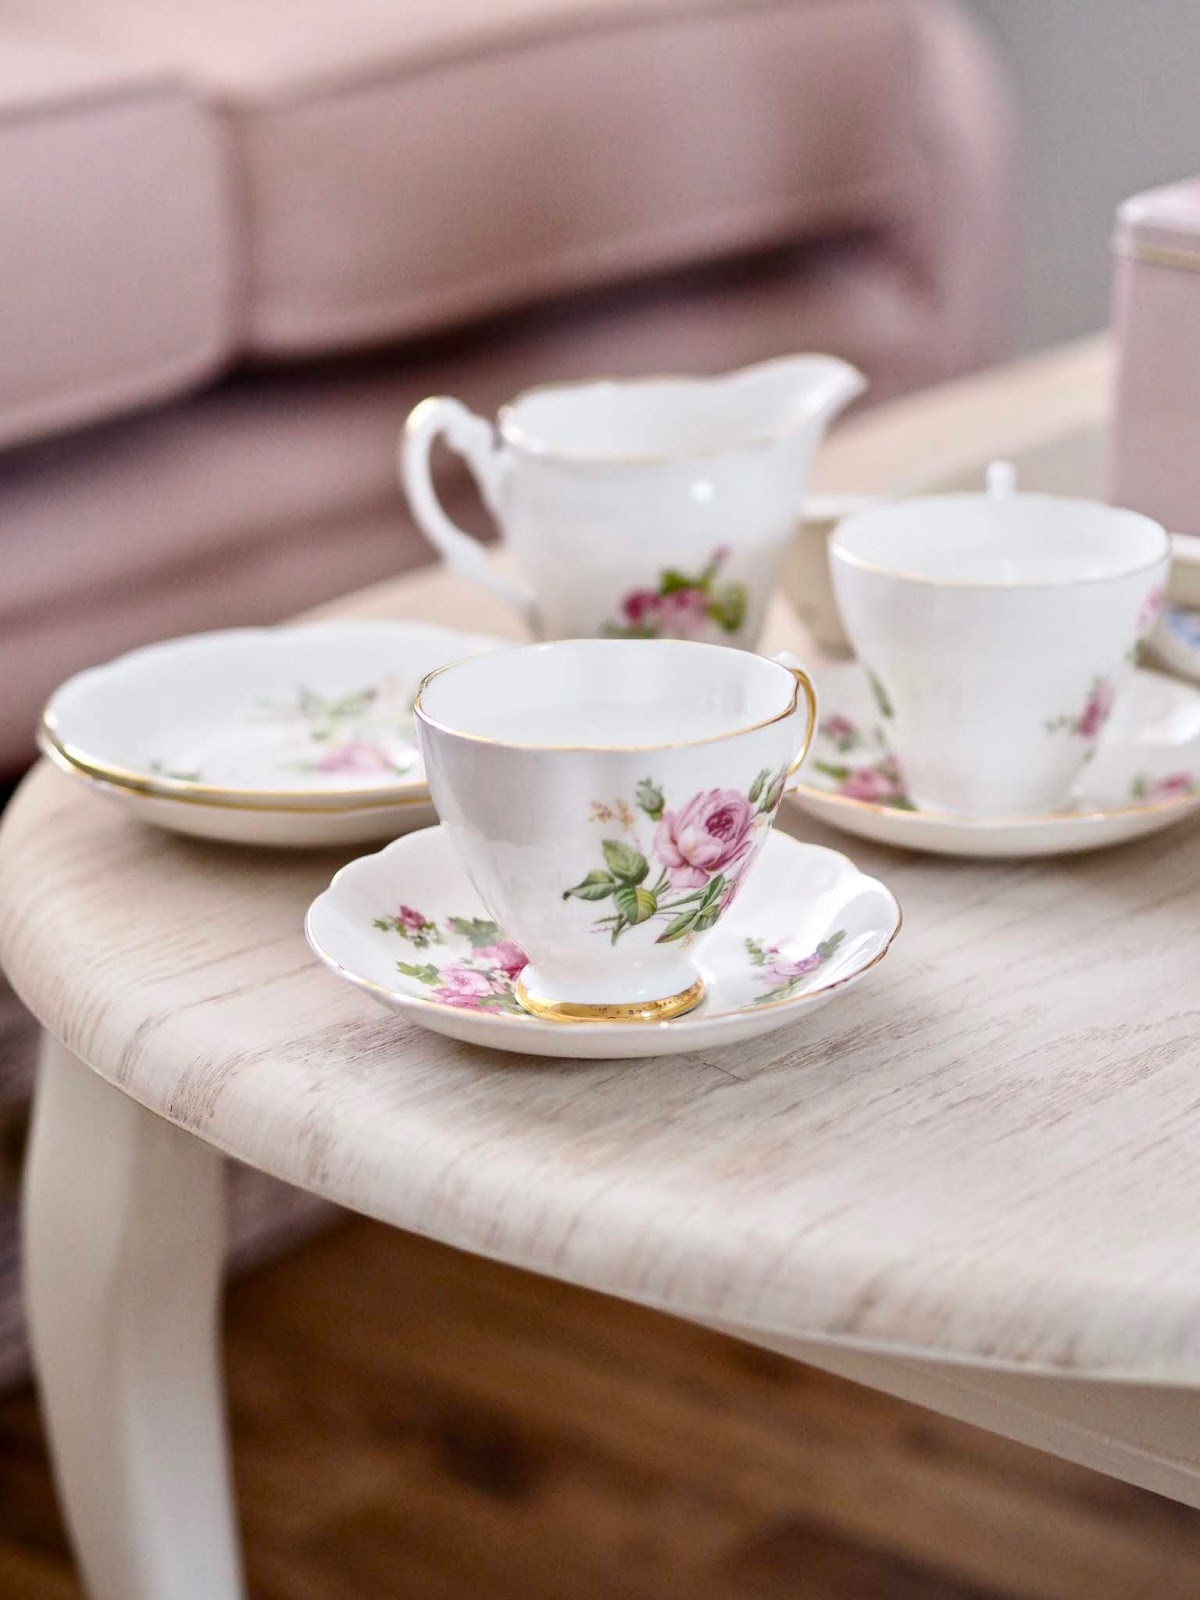
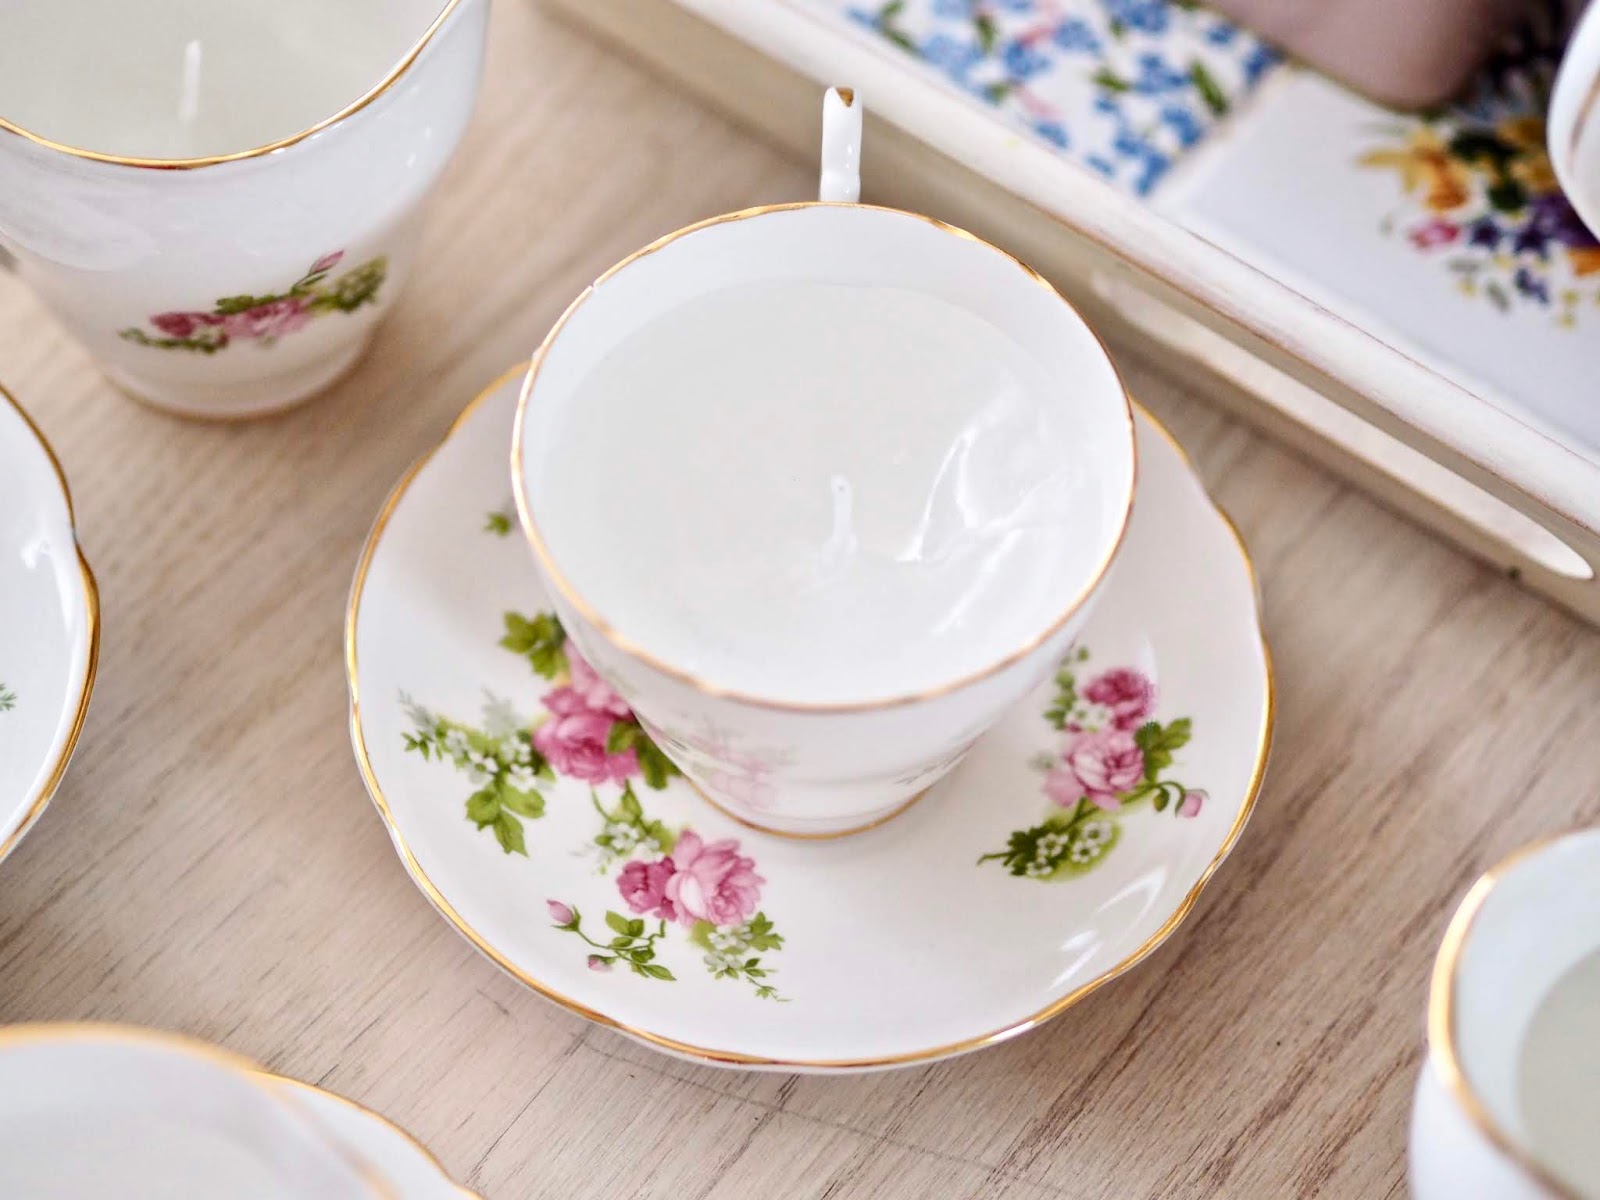
I love a china teacup with a floral print, they are my guilty pleasure, and I love to collect them. A great way to reuse china is to transform it into a candle. Teacup candles are fun to make, but they also make great gifts. Also, the teacups give off a lovely warm glow as the candle burns. In this post, I will share how to make DIY teacup candles!
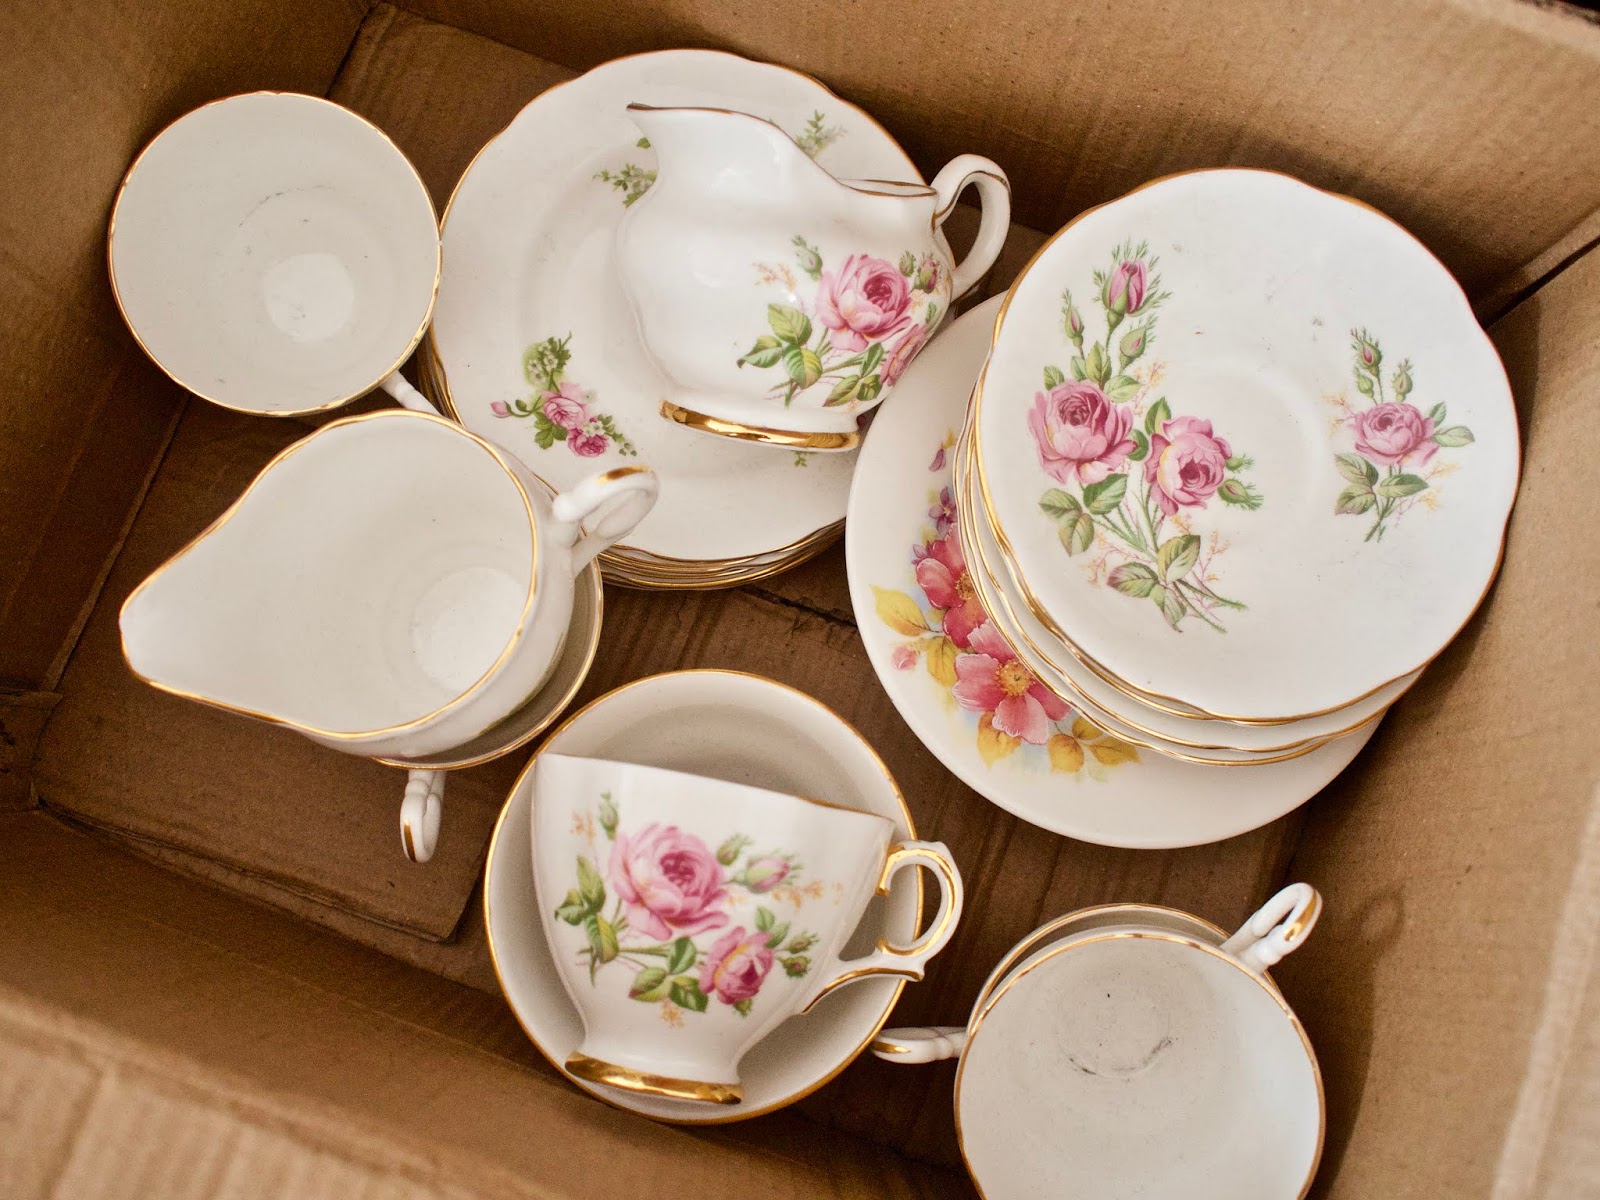
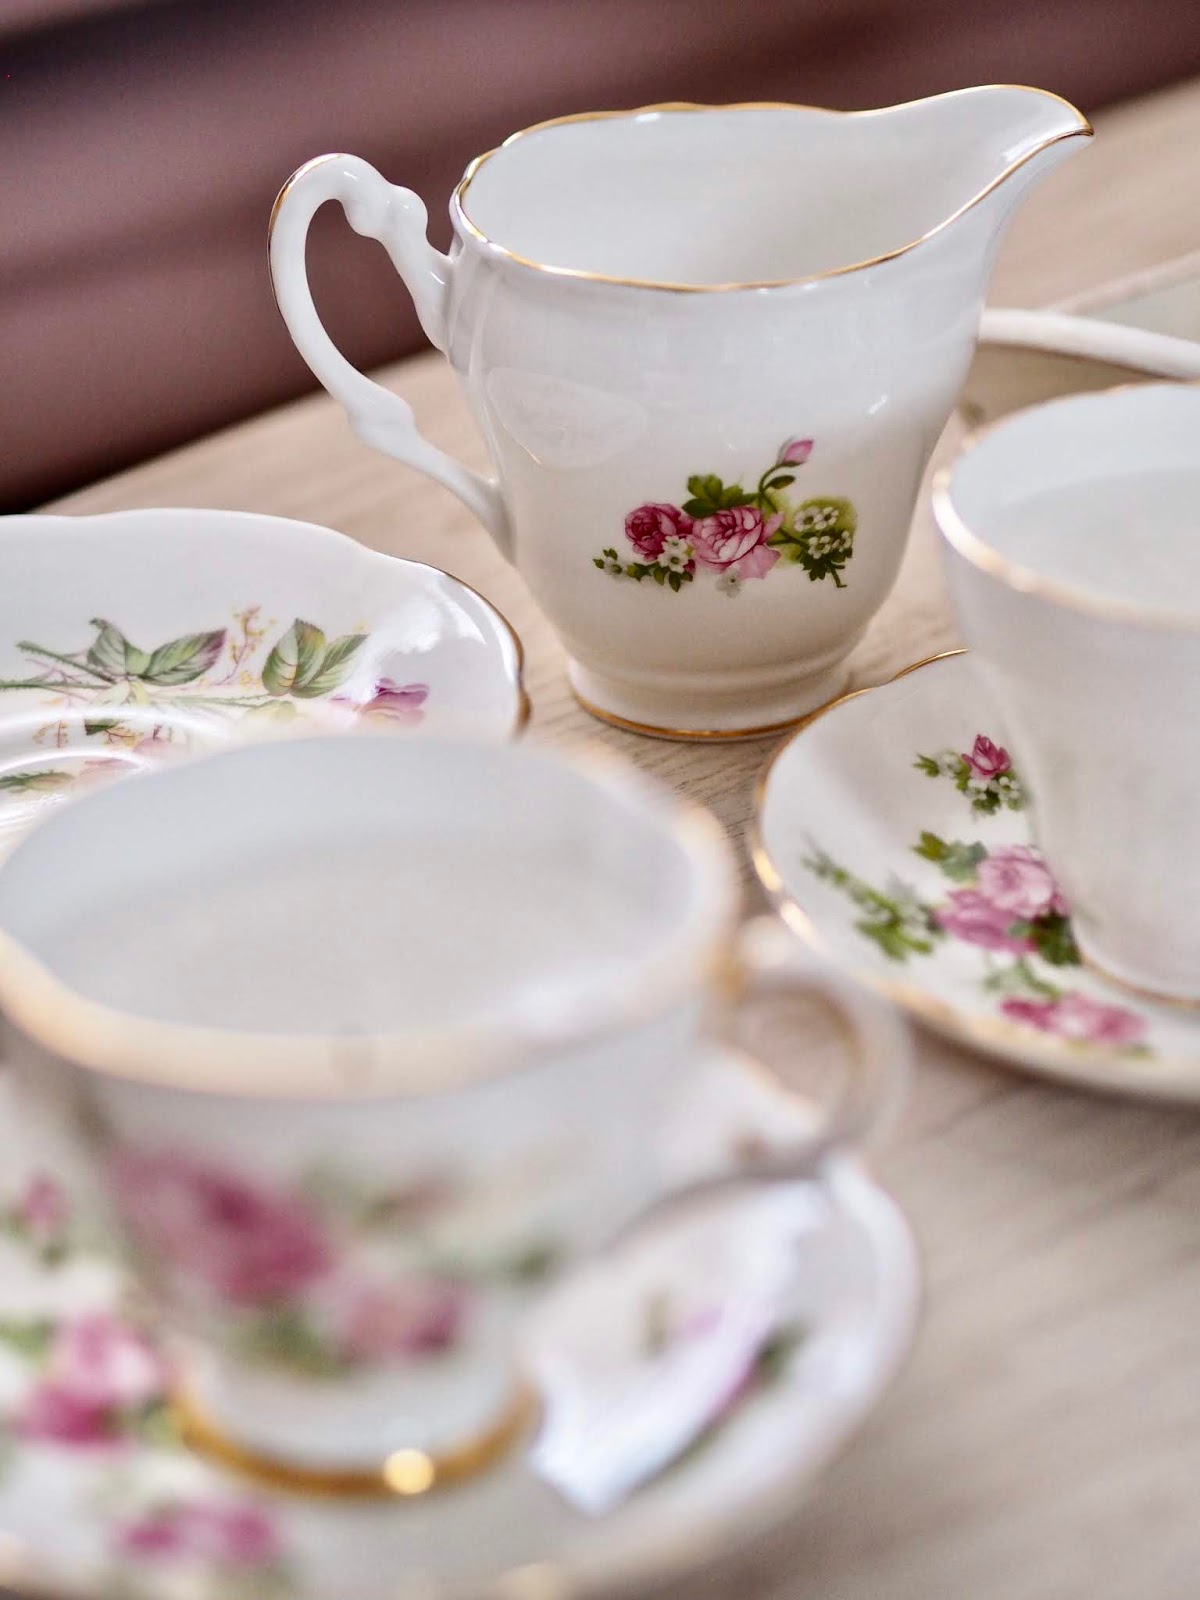
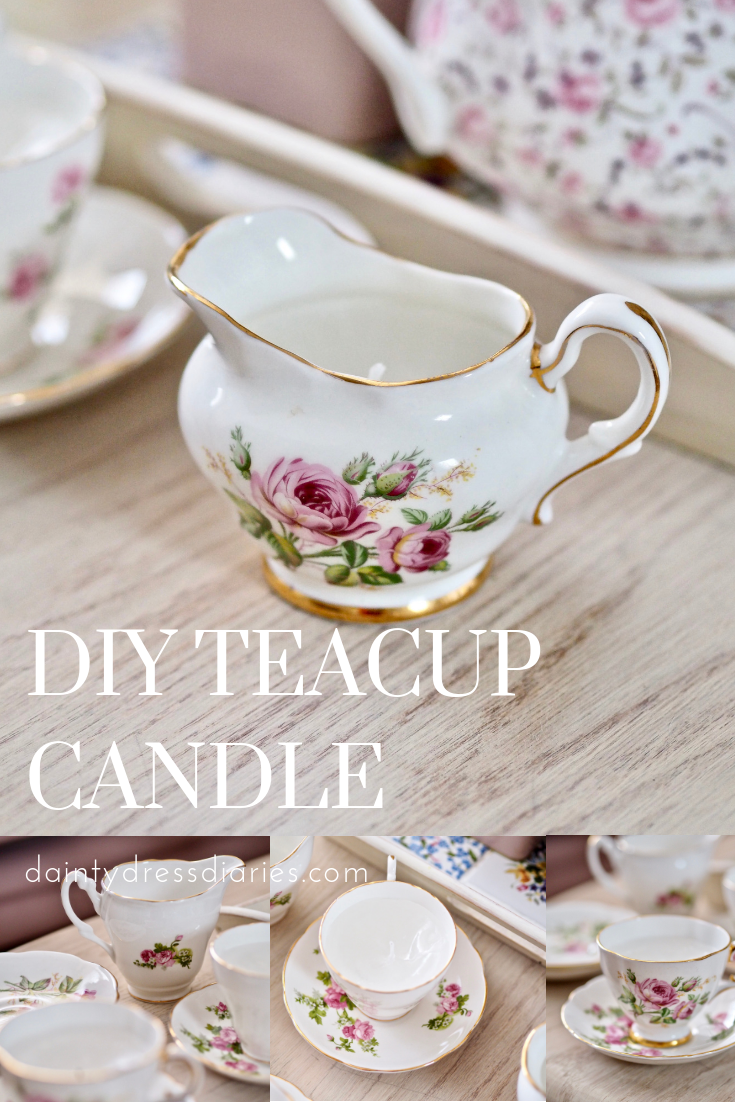
You can find plenty of old china in the charity shops and on second-hand websites. I love to use the milk jugs as well as the teacups for candle making. Before picking our perfect china, check for any hairline cracks or damage.
Make sure the china you use is free from damage, as they may crack when your candle is lit.
* This post may contain some affiliate links
What You Will Need To Make Your DIY Teacup Candles
There are many candle waxes on the market, and I have experimented with a few. The three most popular waxes for candle making are paraffin wax, soy wax and beeswax. Parrafin wax is the cheapest. However, it has become less popular in recent years, with people favouring more natural waxes. Soy wax and soy wax flakes can be purchased easily online, or you can try beeswax. When choosing beeswax or soy, pick a brand that ethically sources their waxes.
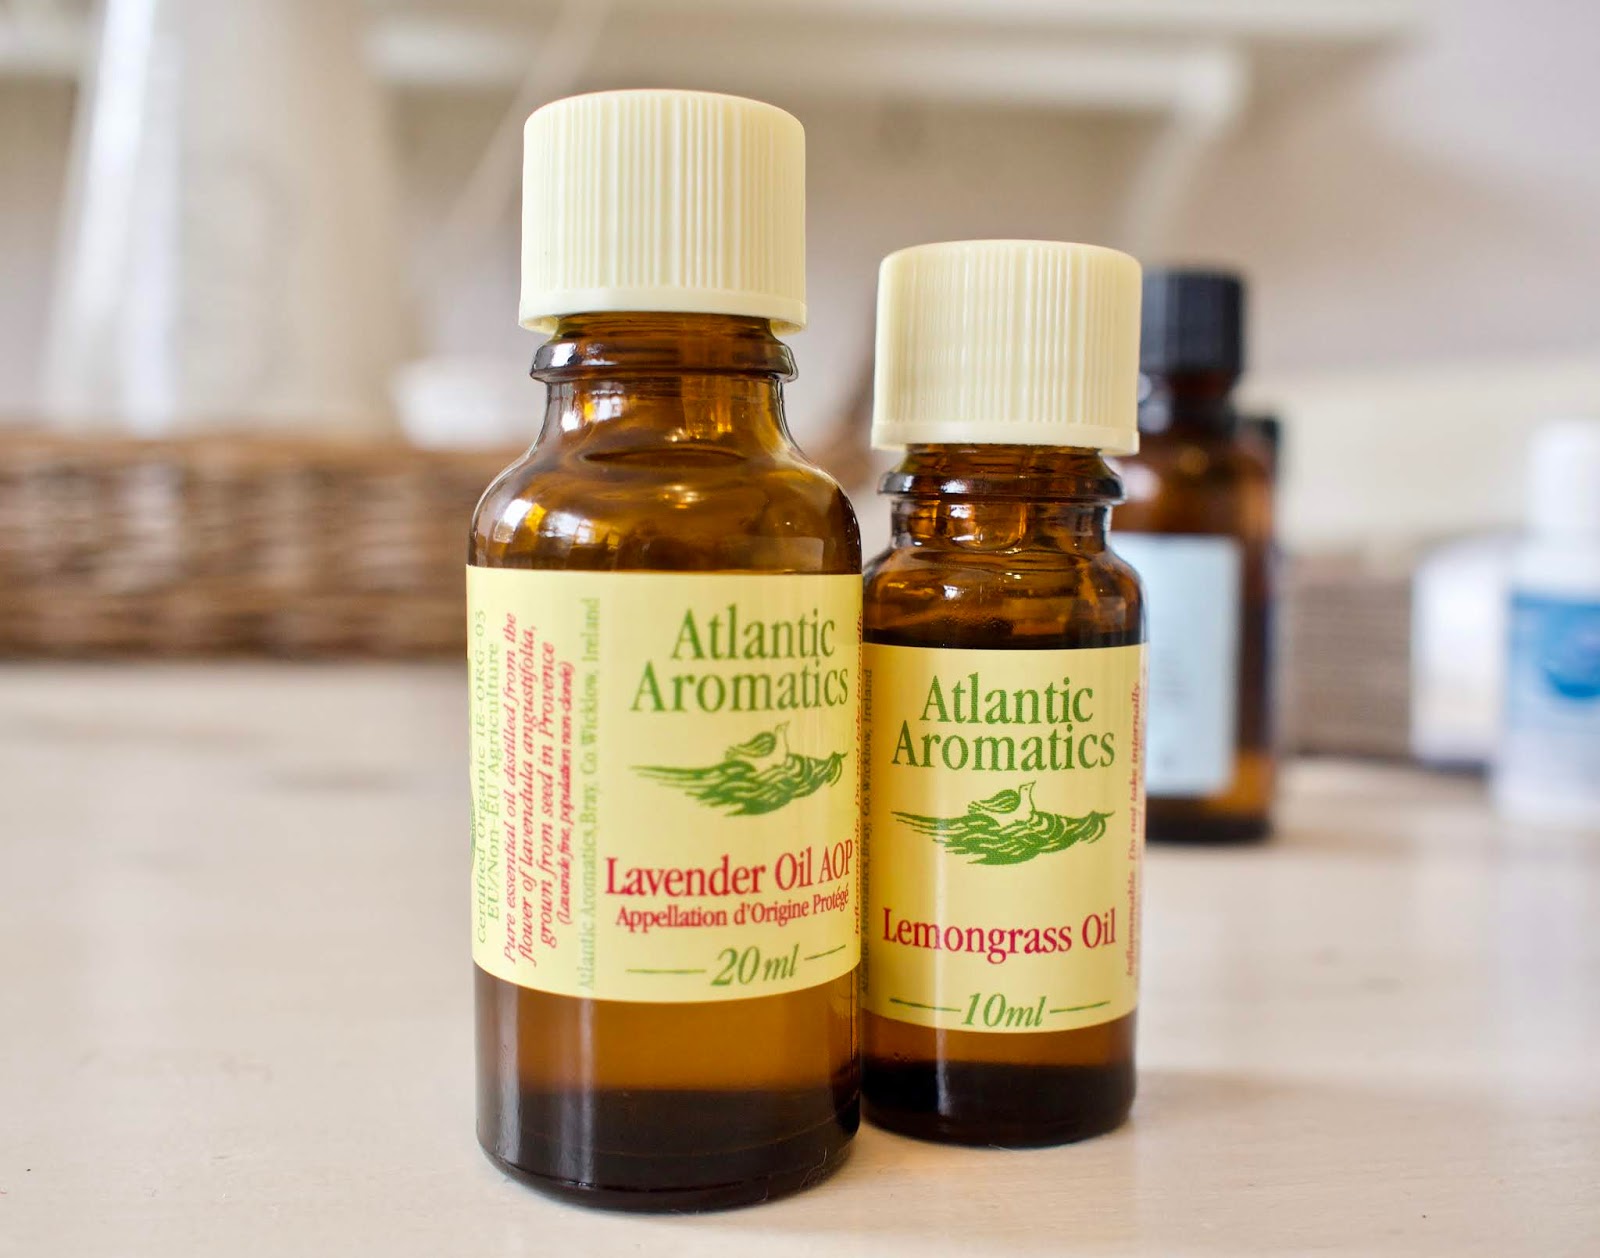
Create a unique candle scent by adding a blend of essential oils. Are shop-bought candles too strong for you? Control the amount of scent in your home by using less or more essential oils. I used a blend of lavender and lemongrass essential oils for my scented candles.
Your DIY Candle Making Shopping List
- Old china cups
- Wax of choice
- Wicks
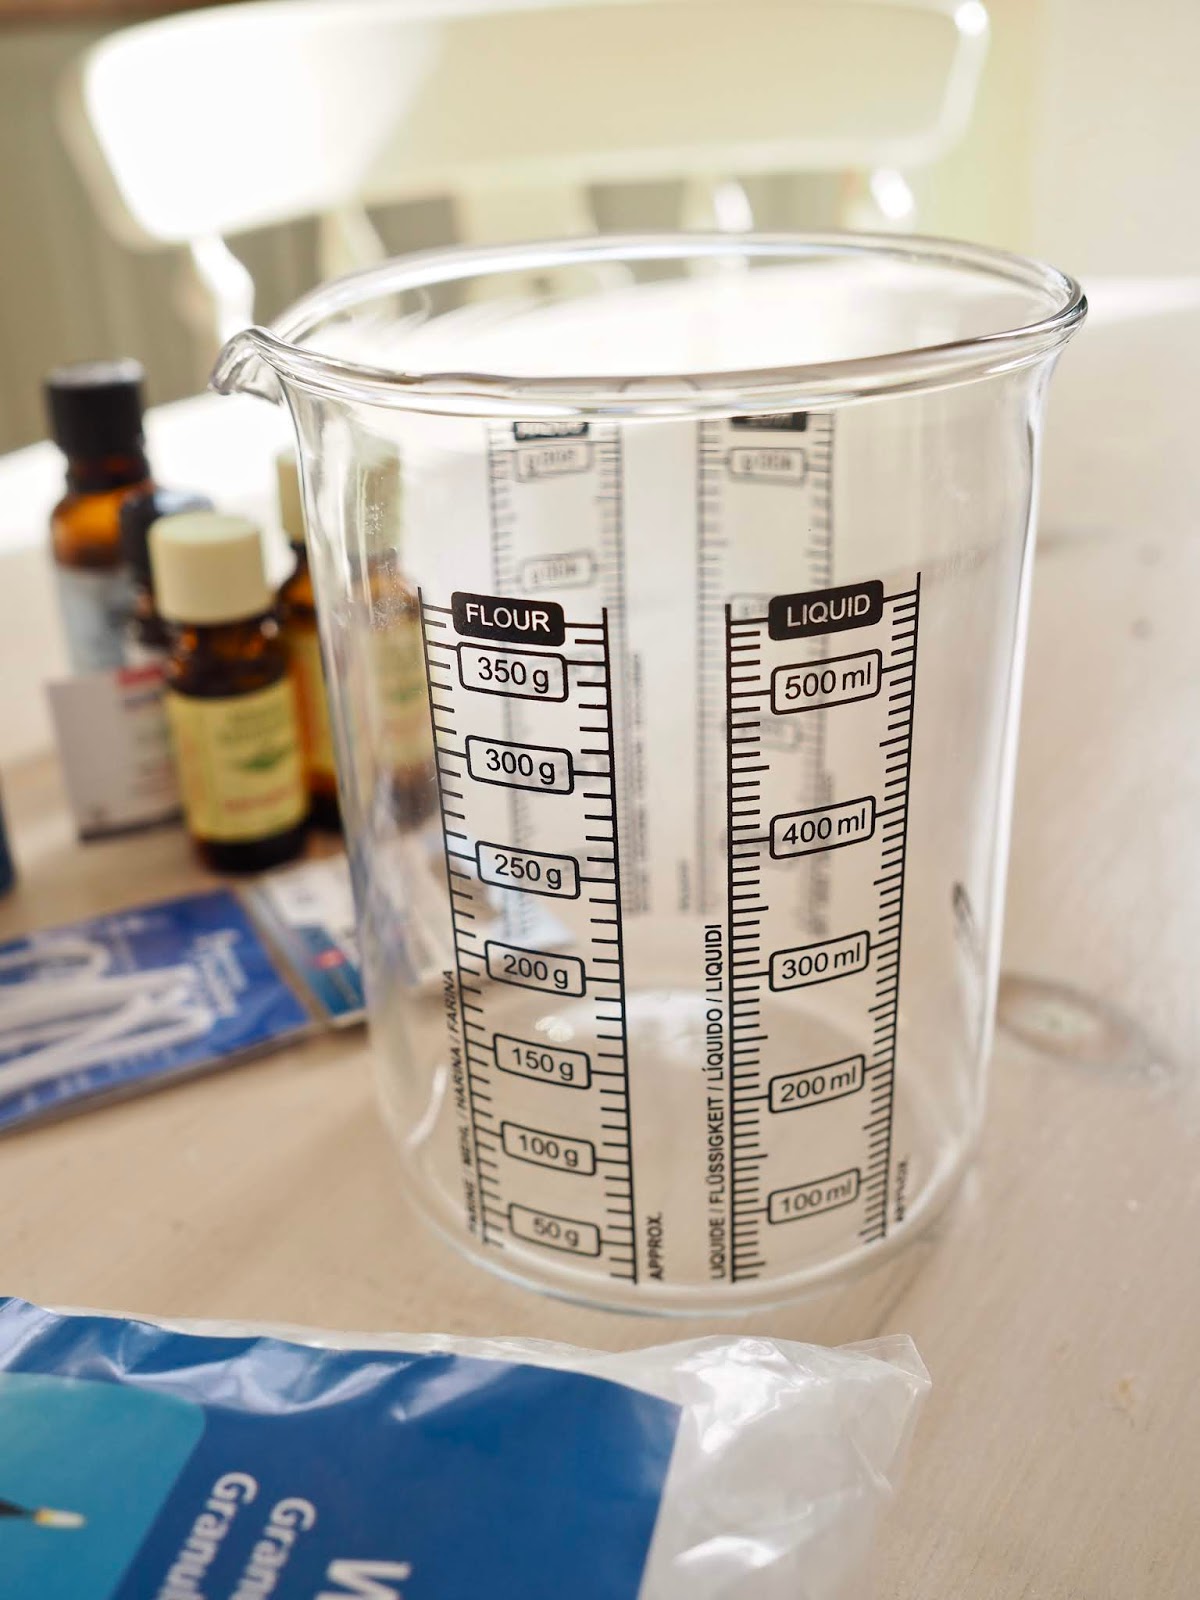
- A measuring jug
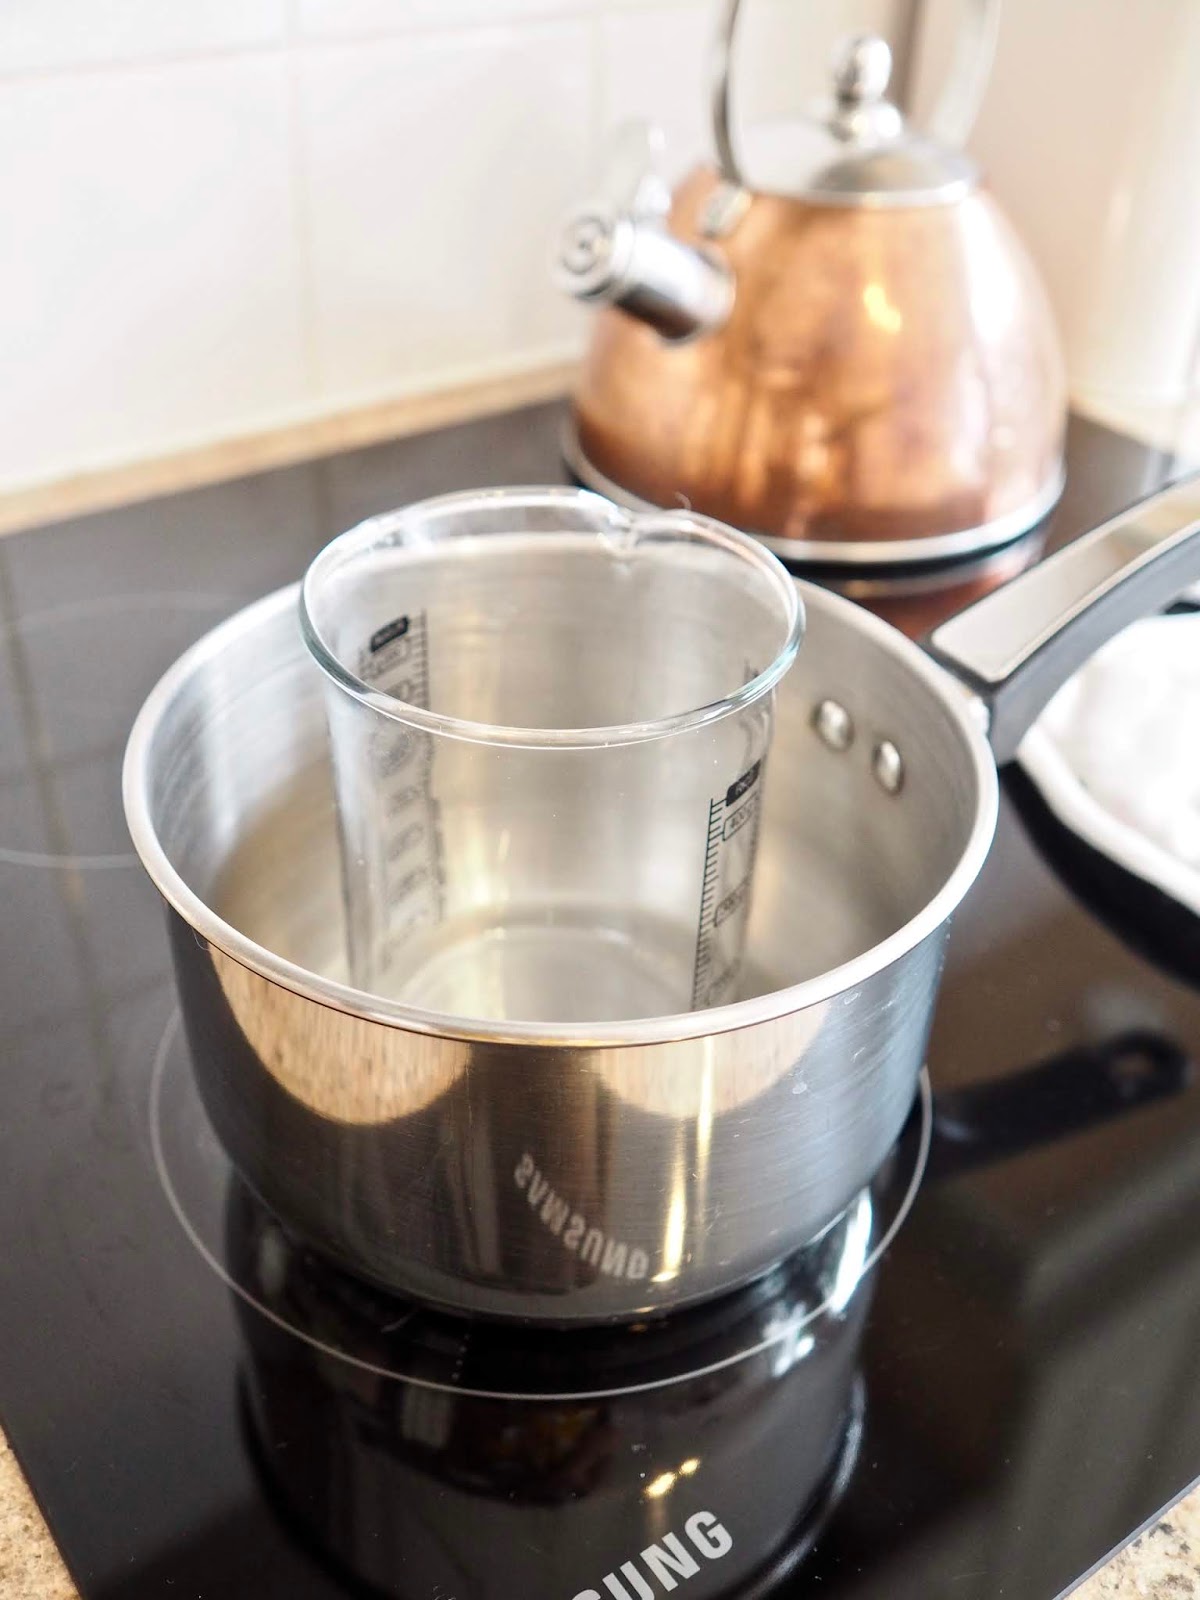
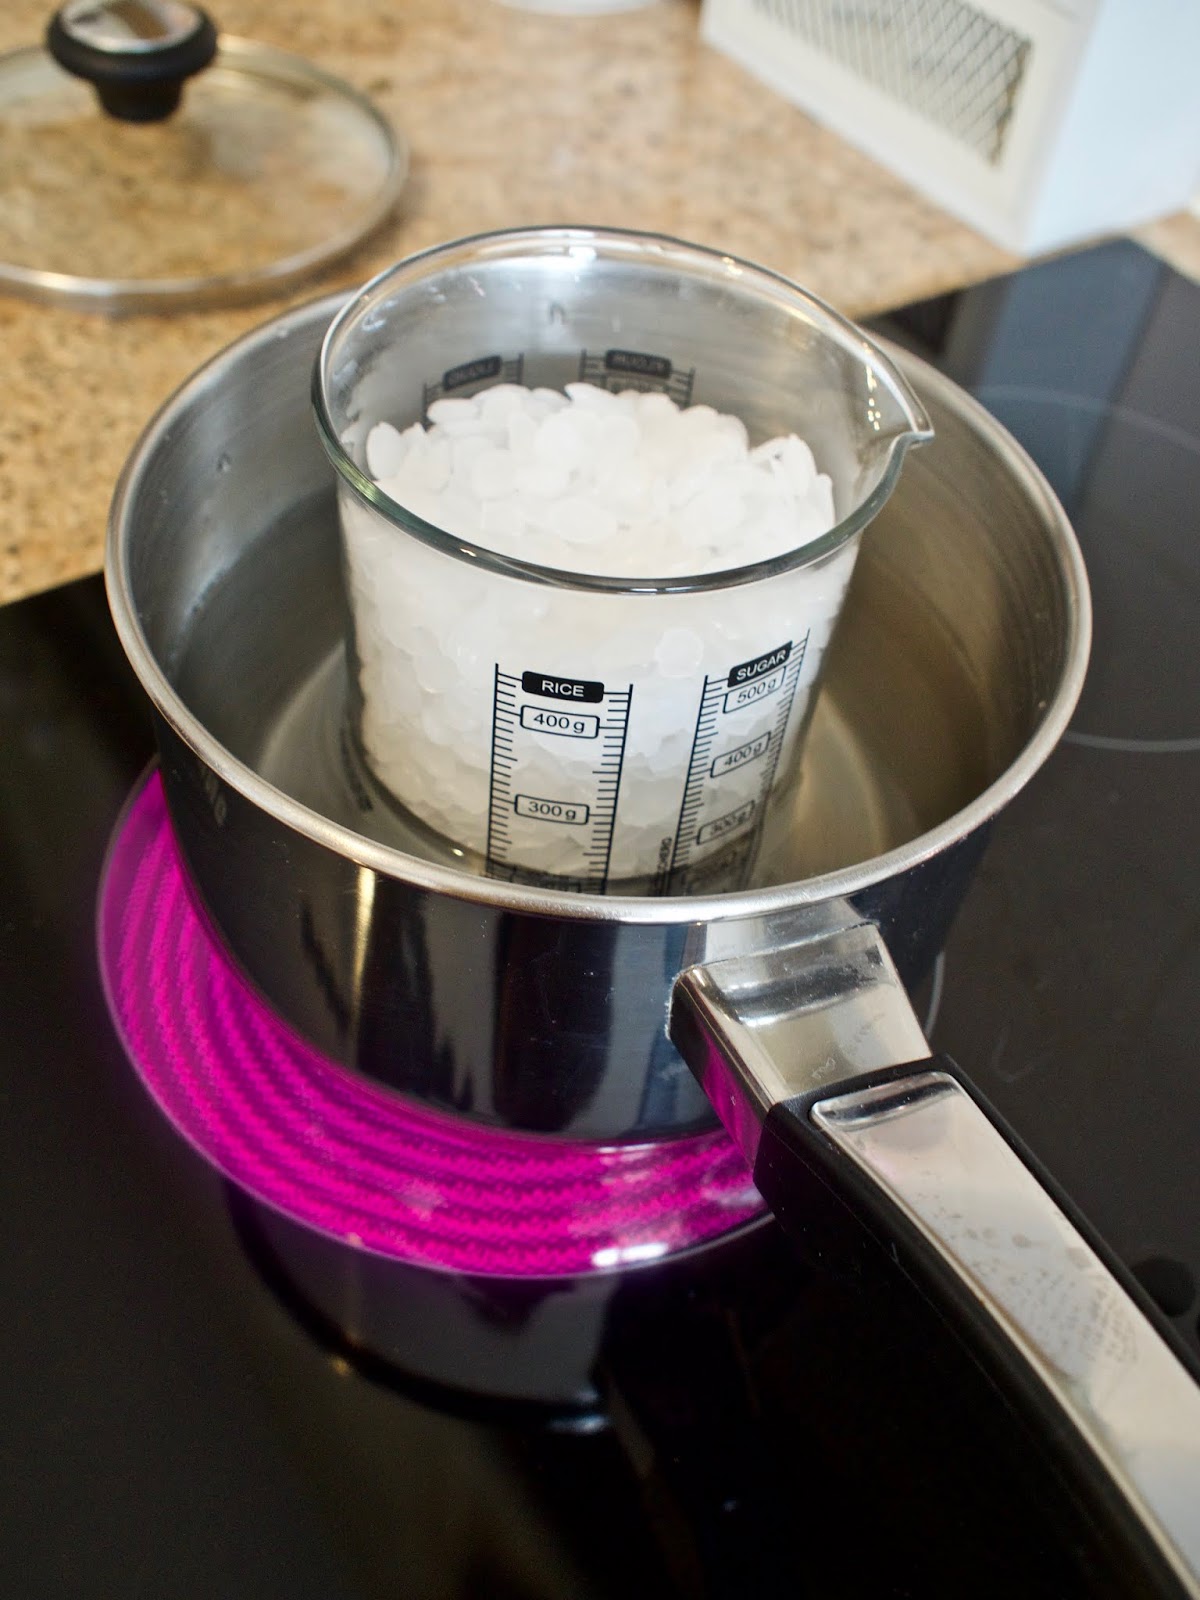
- A pot and to make a double boiler
- A spoon to stir
- Essential oils for a scented option
** Any jugs or spoons cannot be reused in the kitchen. Keep these in your craft stash for craft making.

How To Make Your Teacup Candles
Melt 500 grams of wax in a double boiler until it is clear. Be careful not to let the wax overheat. Once the wax has melted, carefully take off the heat.
You can now add in drops of essential oils. For mine, I used some lavender and lemongrass oils to make a fresh scent. I added roughly 40 drops of each, but this was a light scent. If you want a stronger scent, then you can add extra essential oils. Stir in your essential oils, and we are now ready for pouring.
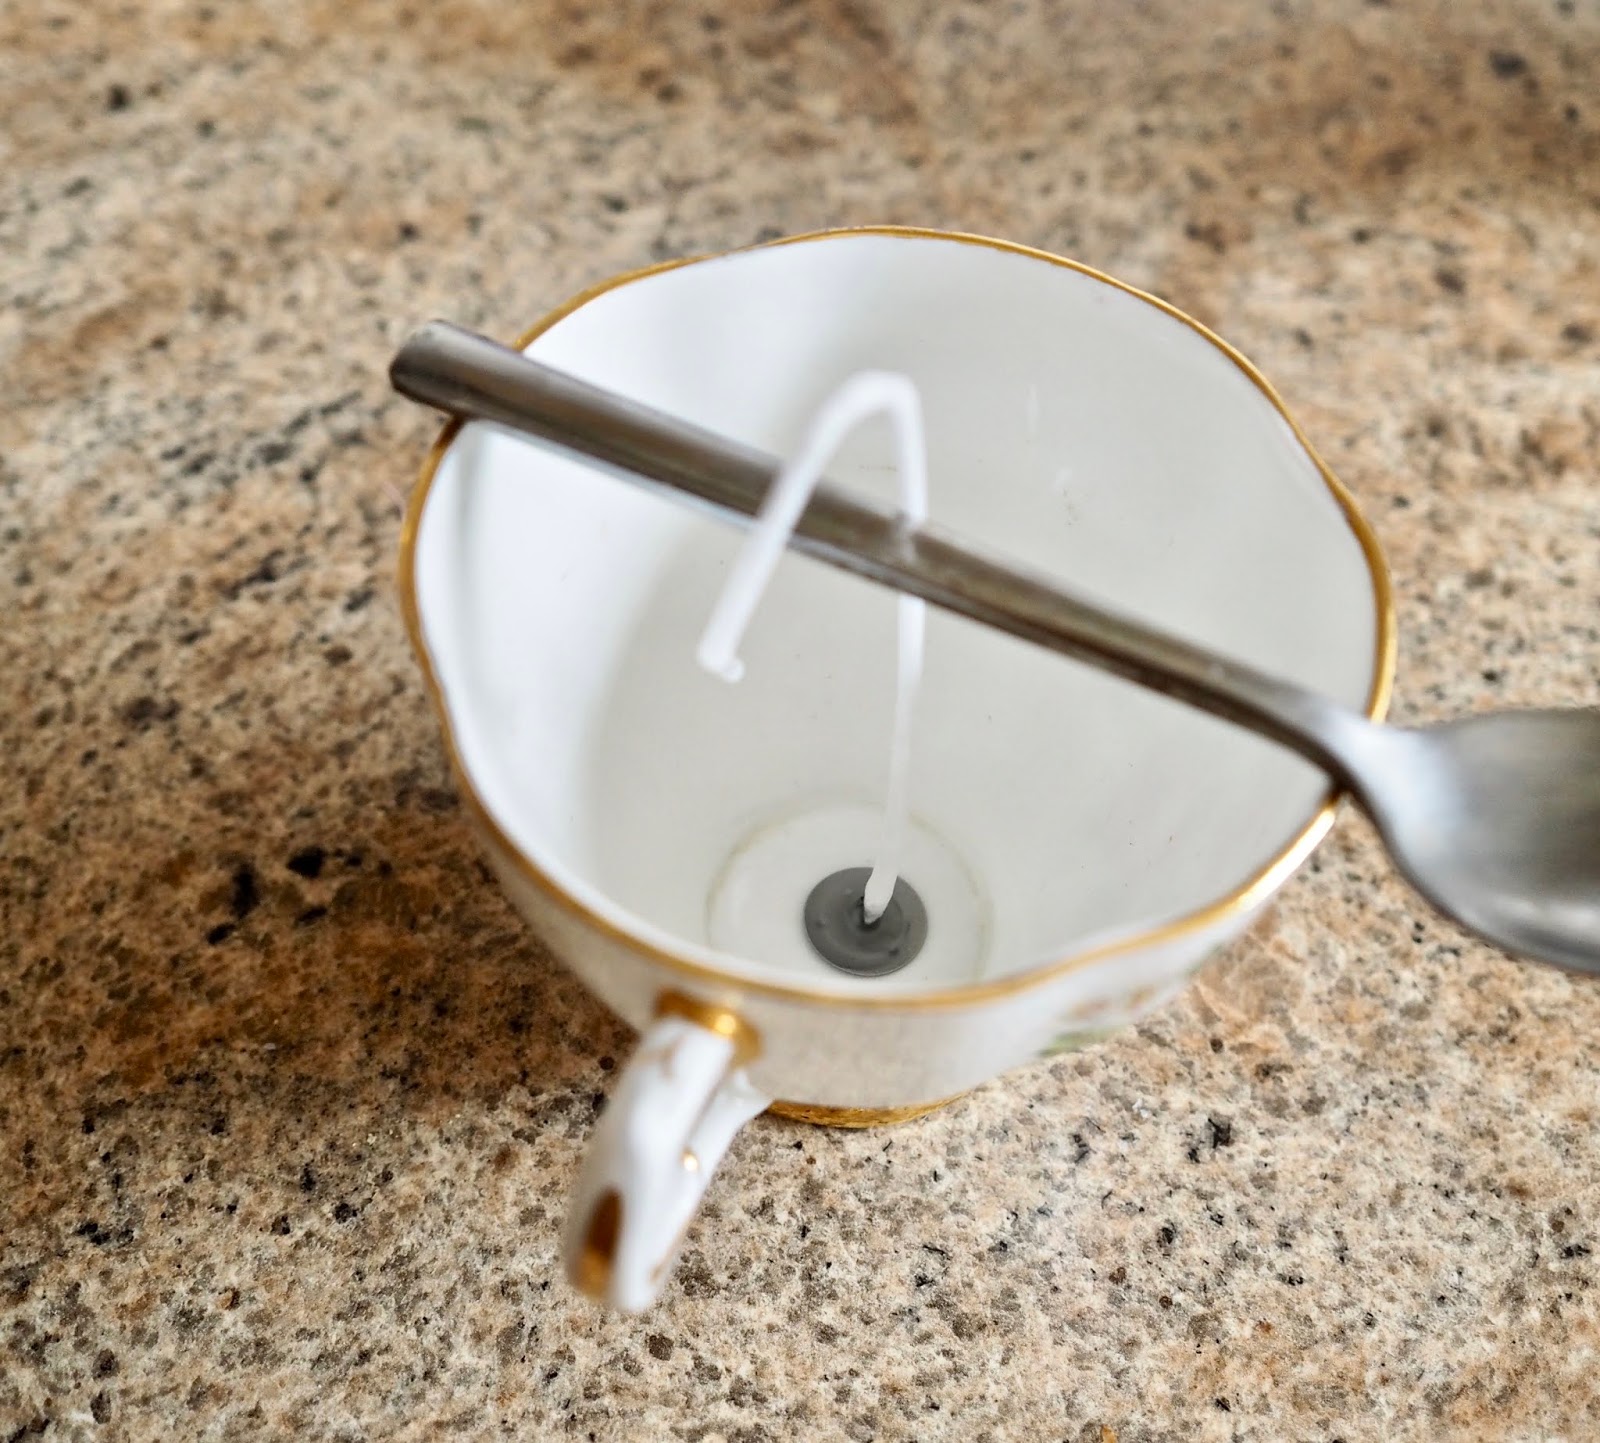
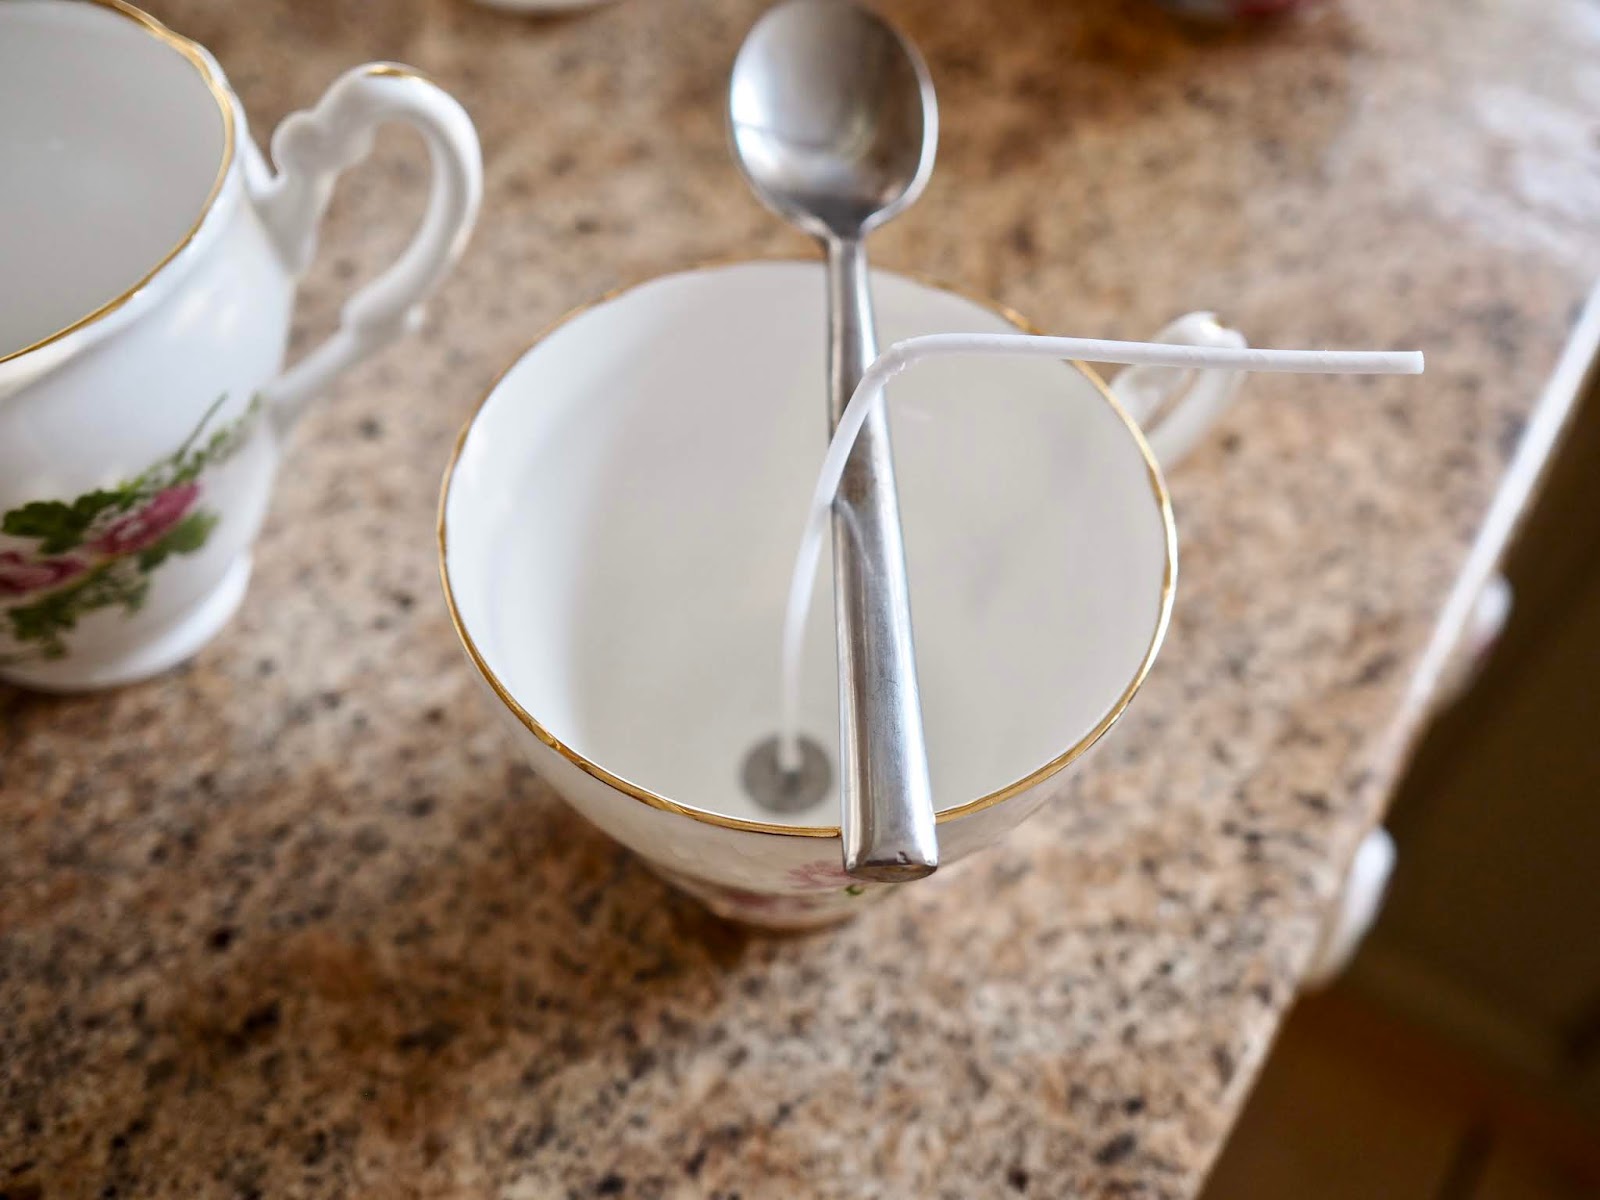
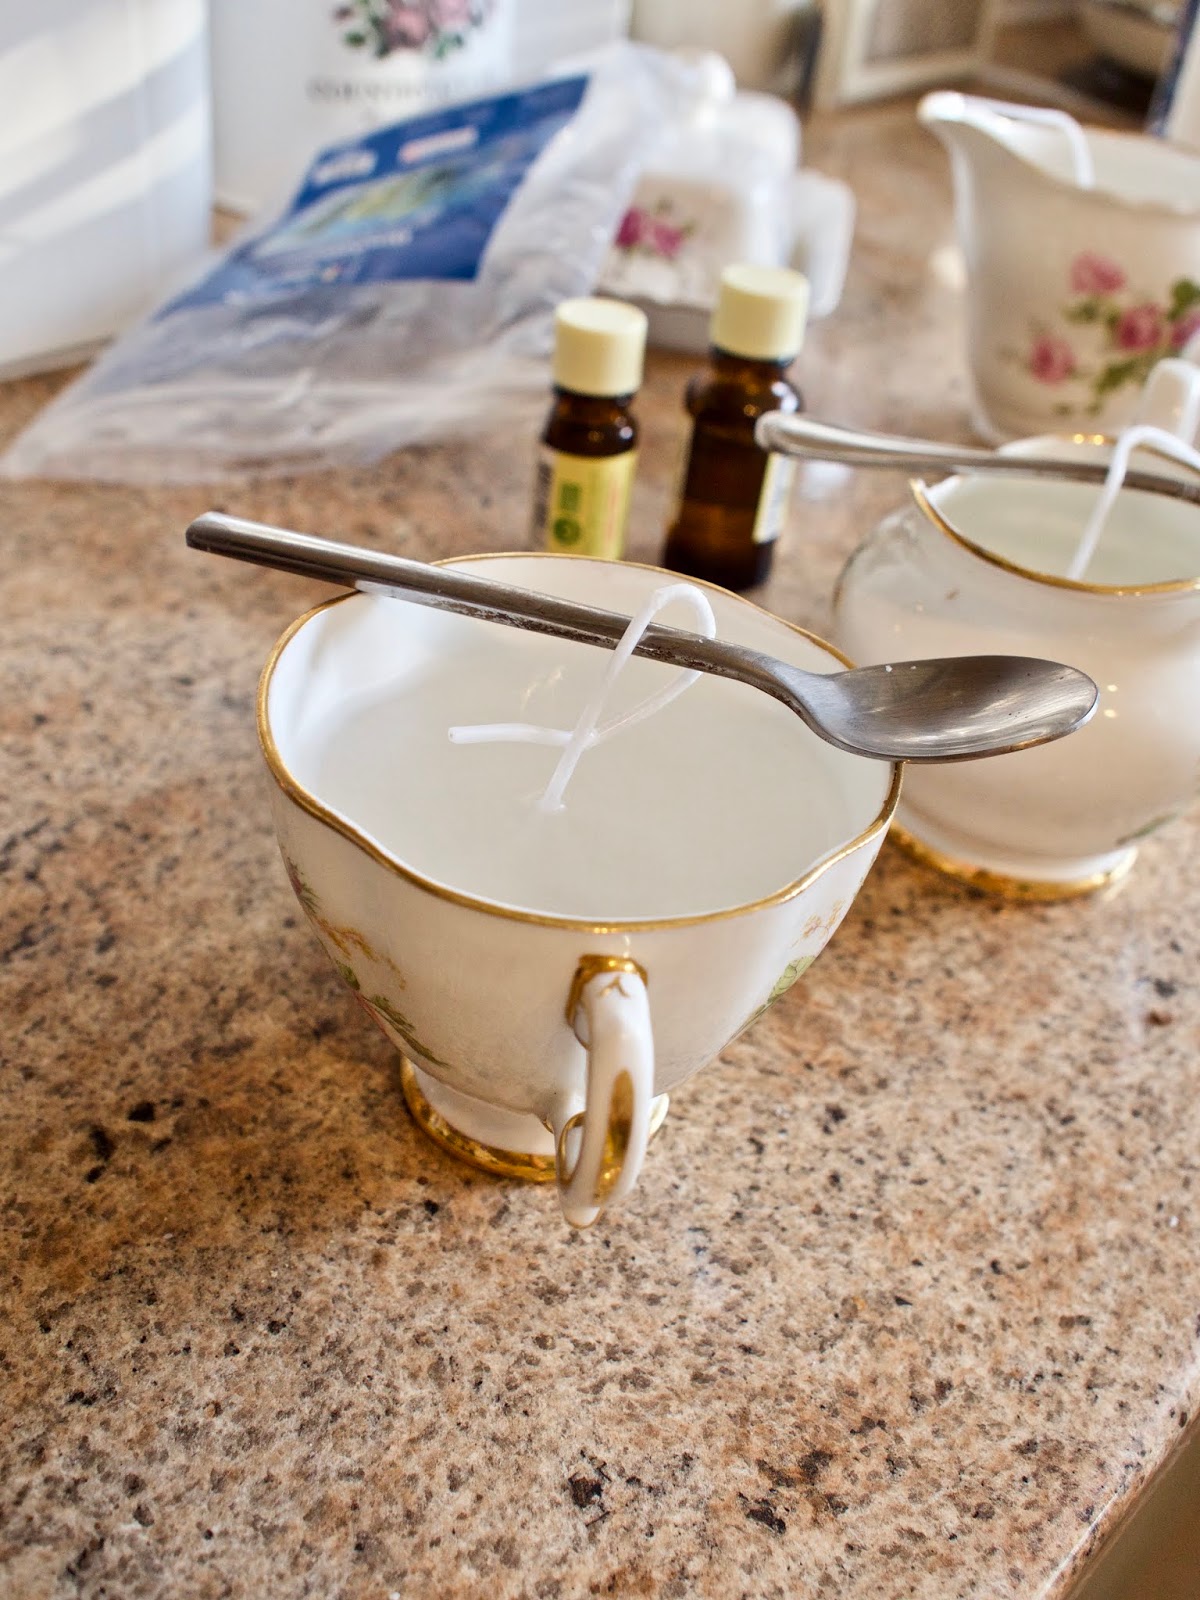
Add a wick to the bottom of the cup and use a stick to hold it in place. You can add a tiny bit of glue to the base of your wick to keep it in place for when you pour your melted wax into it.
Add a wick to the bottom of the cup and use a stick to hold it in place. You can add a tiny bit of glue to the base of your wick to keep it in place for when you pour your melted wax into it.
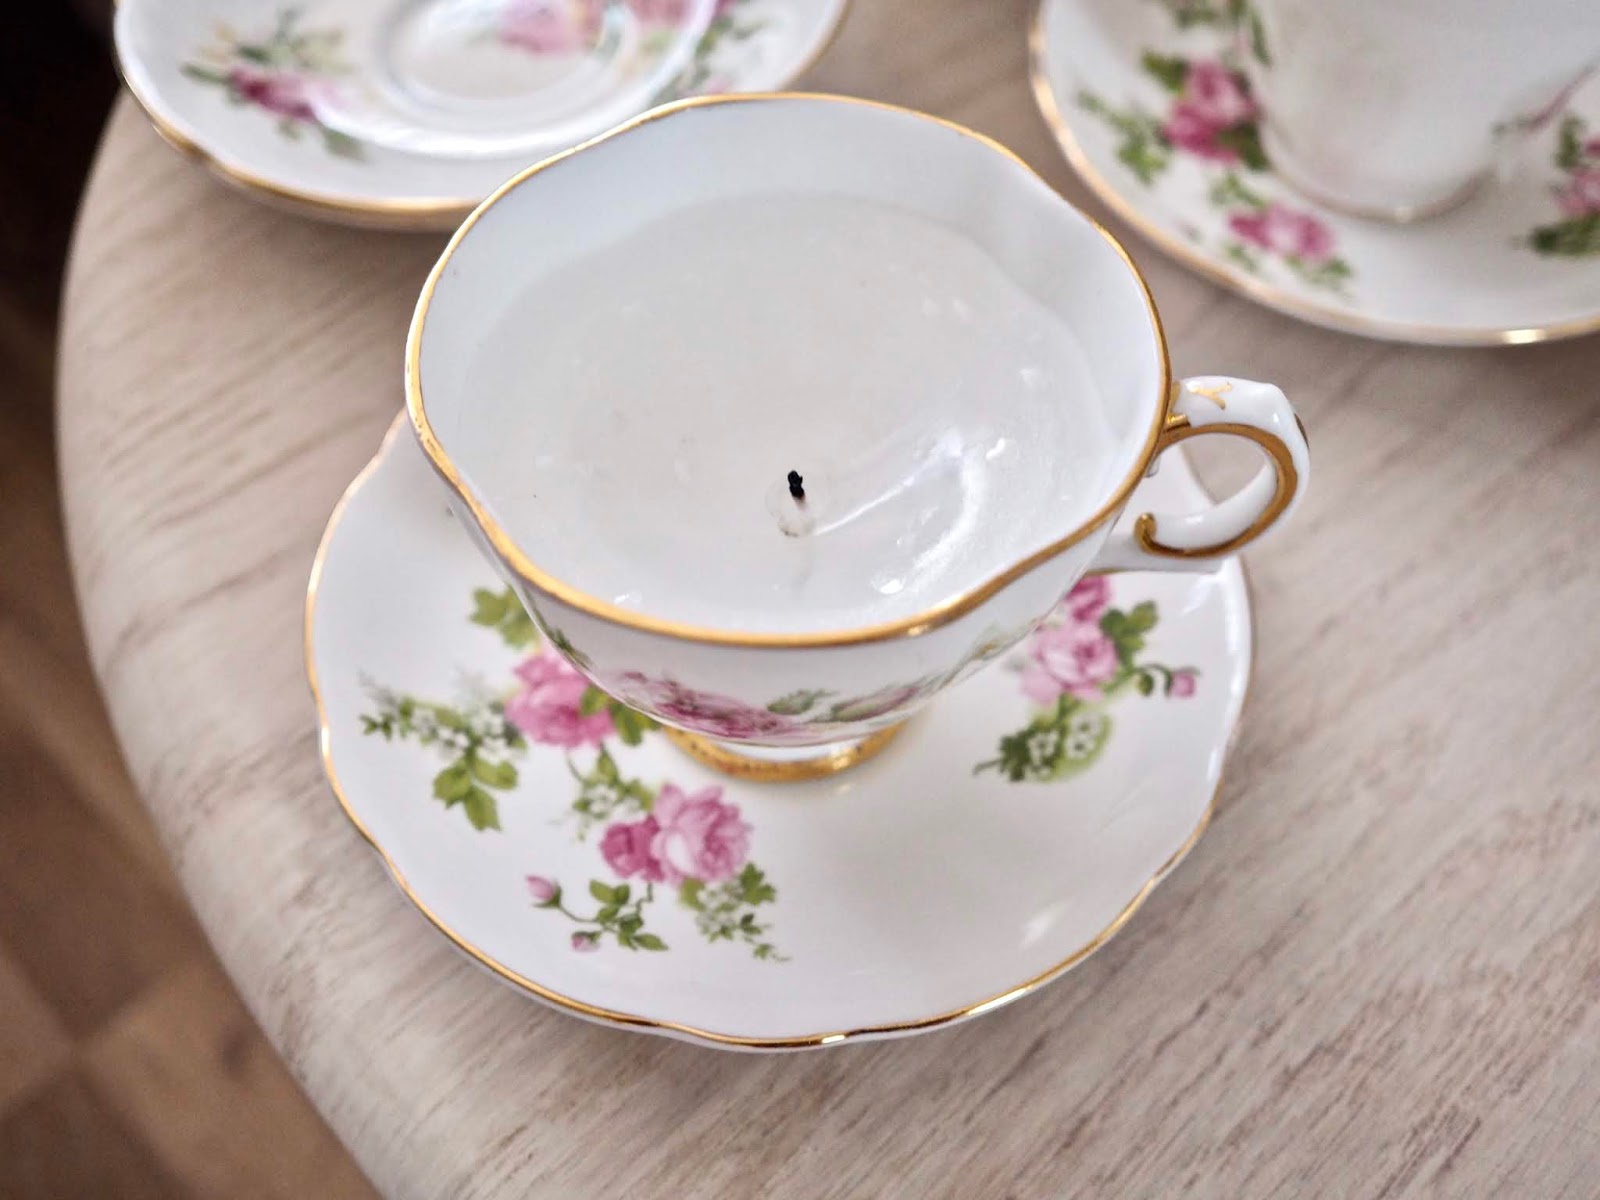
Take extra care when pouring the wax, as your wax will be hot. You can now pour your wax into your teacups and allow them to set. I leave my candles out overnight to set. Depending on the type of wax you use, some waxes cure quicker than others.
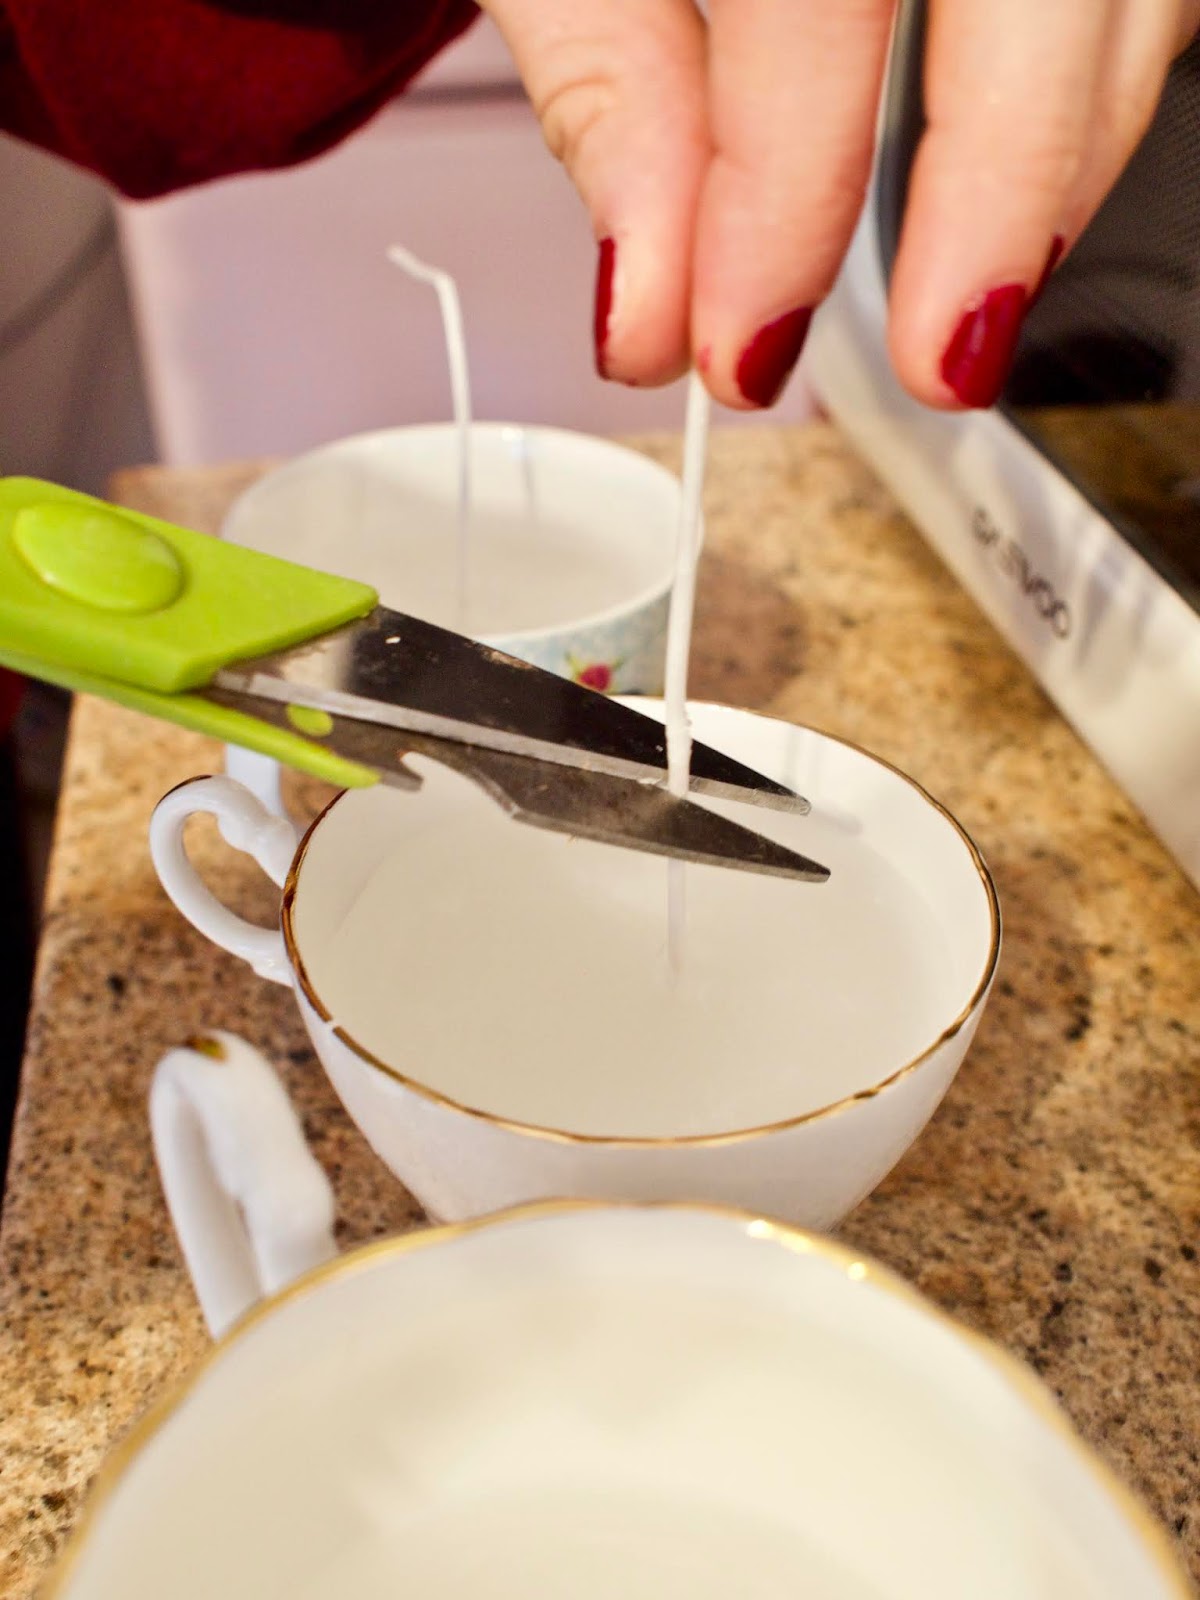
Sinkholes
Once the wax has hardened, you can trim your wick to size. Don’t trim it too tightly, and leave about an inch on top. If you notice any sinkholes when your wax hardens, you can fix these by melting some fresh wax and doing a second pour. Sinkholes are common in candle making, especially for beginners.
If it is your first time, I recommend doing small batches at first, and you can tweak each batch of candles along the way. Once your candles have burnt down, you can reuse the china cups as many times as you like.
Extra tip: When gifting your candles, list the ingredients used as some people may be allergic to certain essential oils or ingredients.
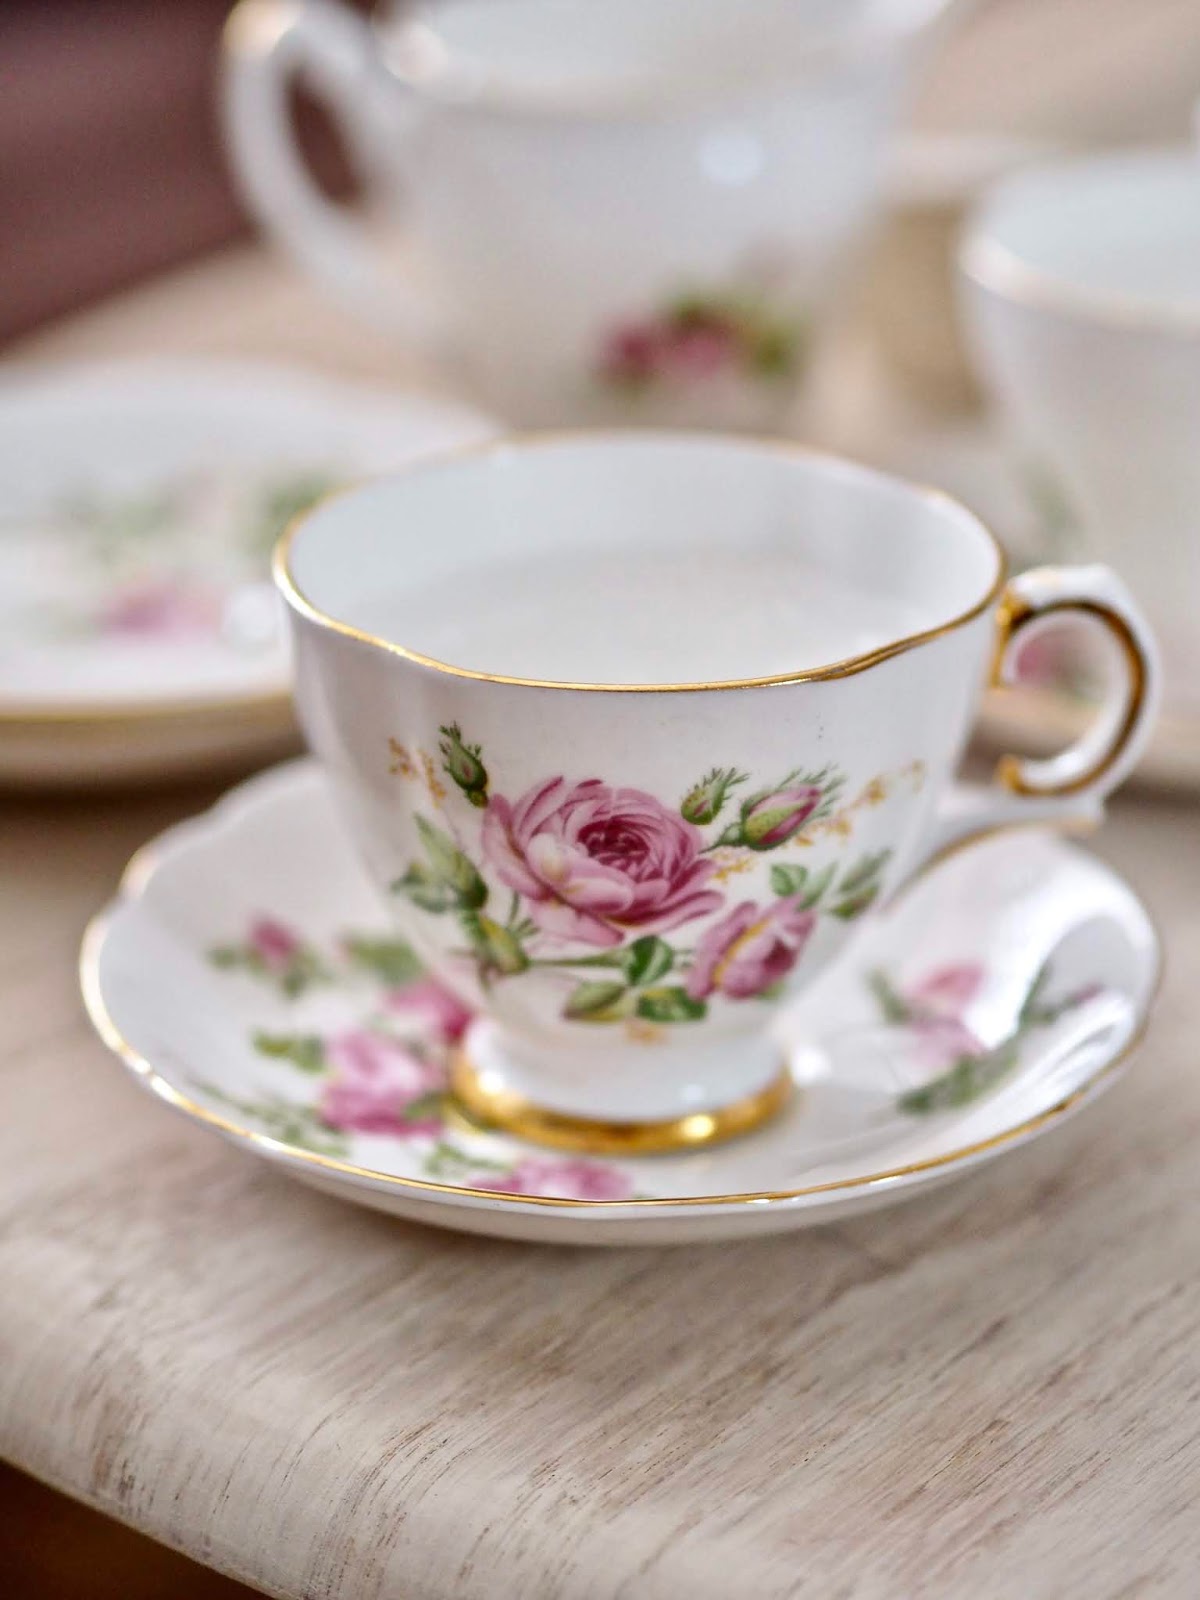
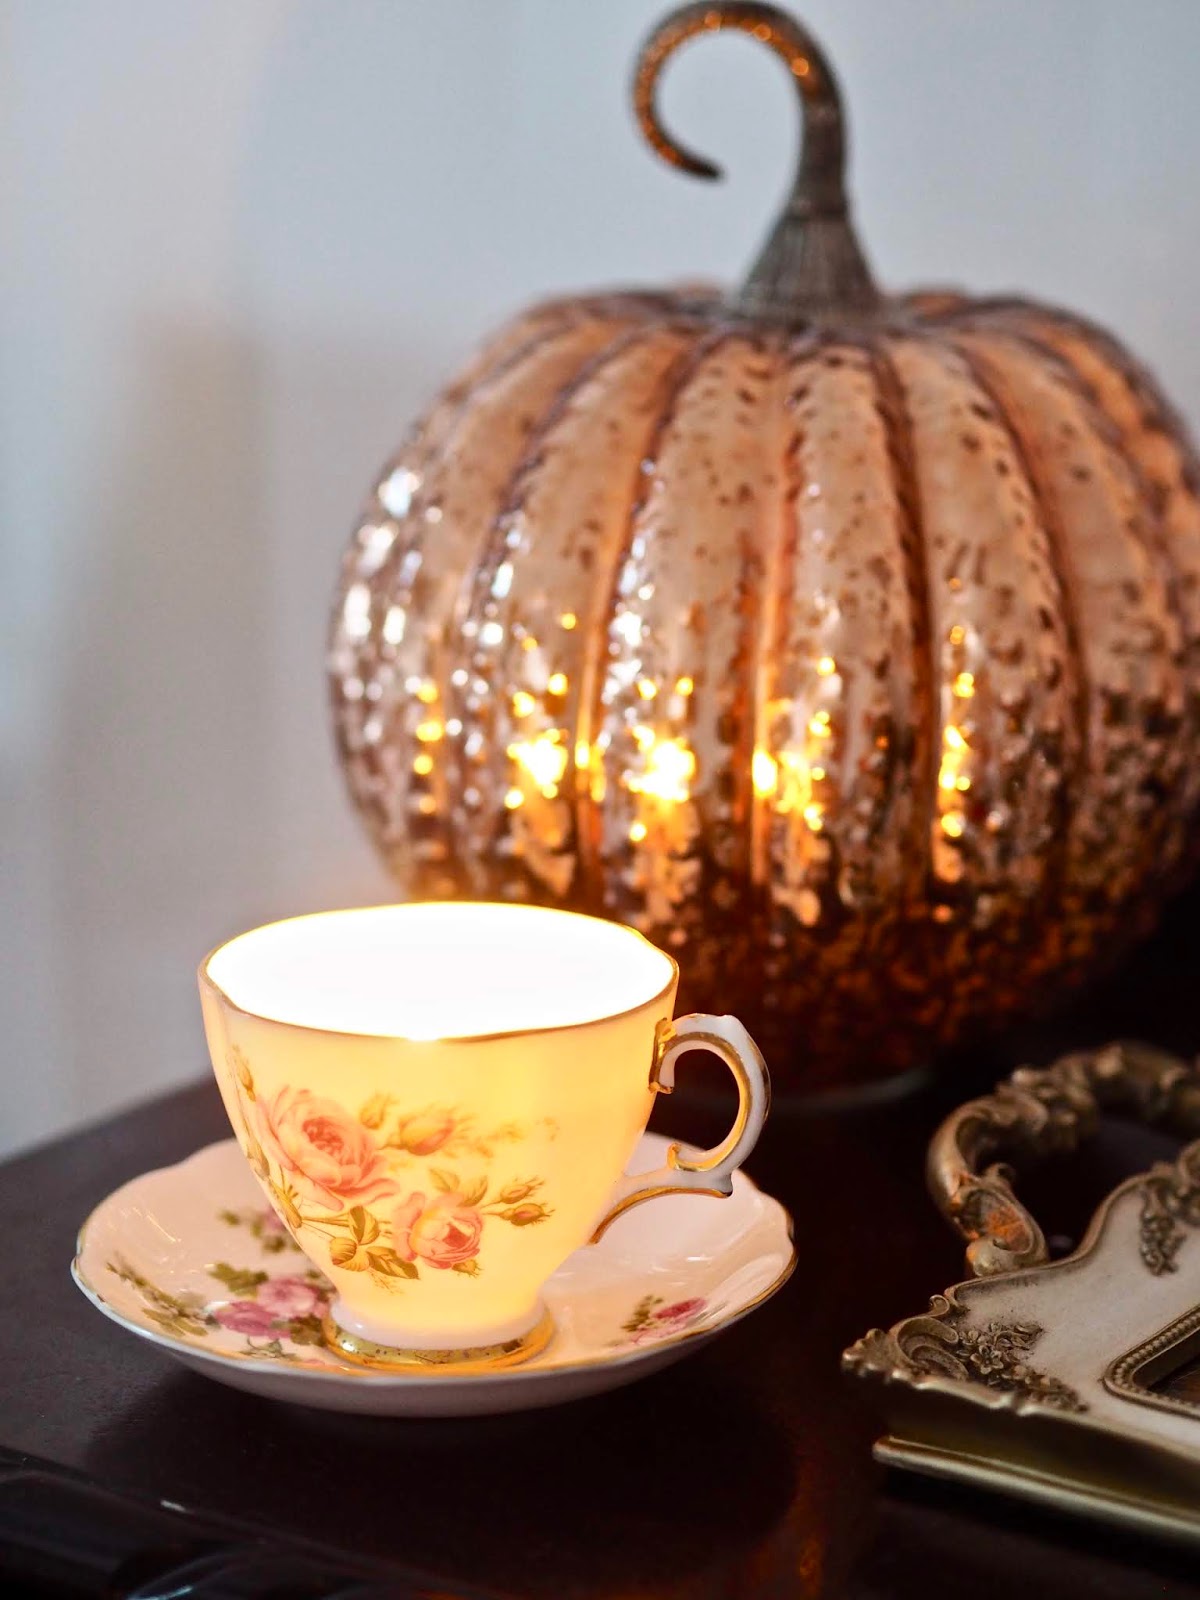
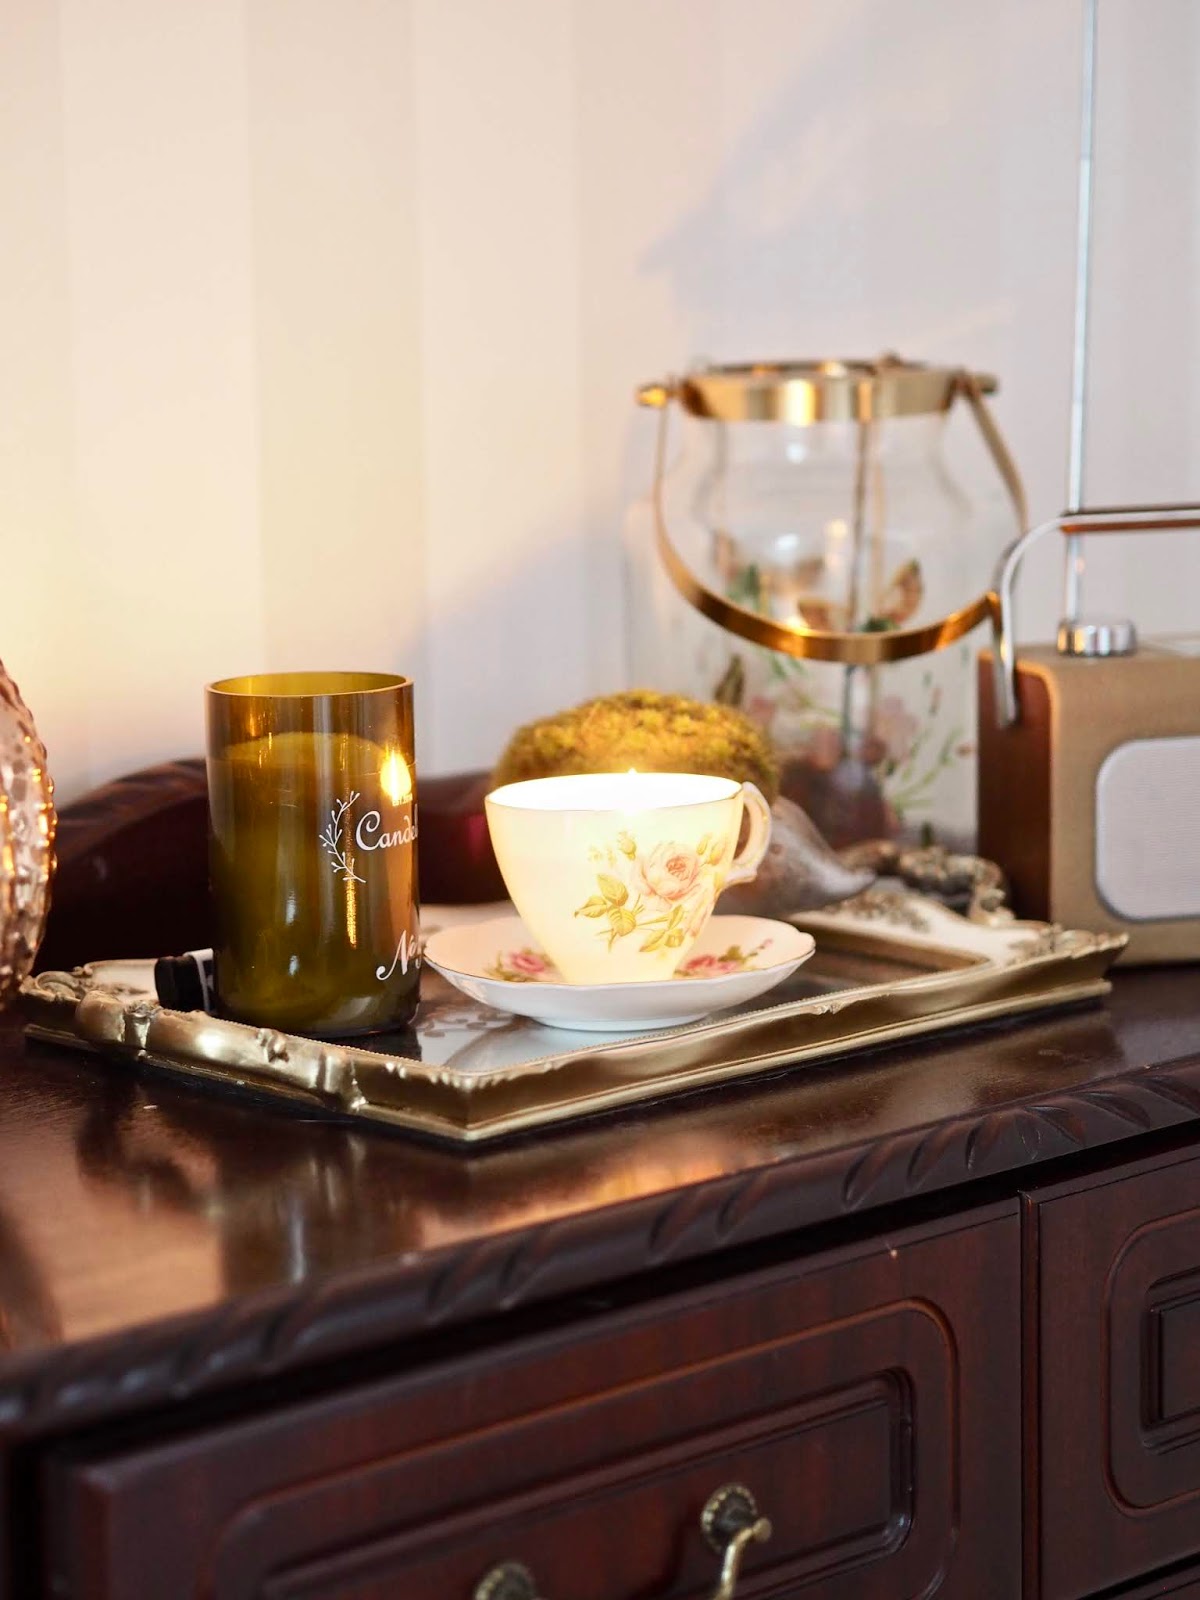
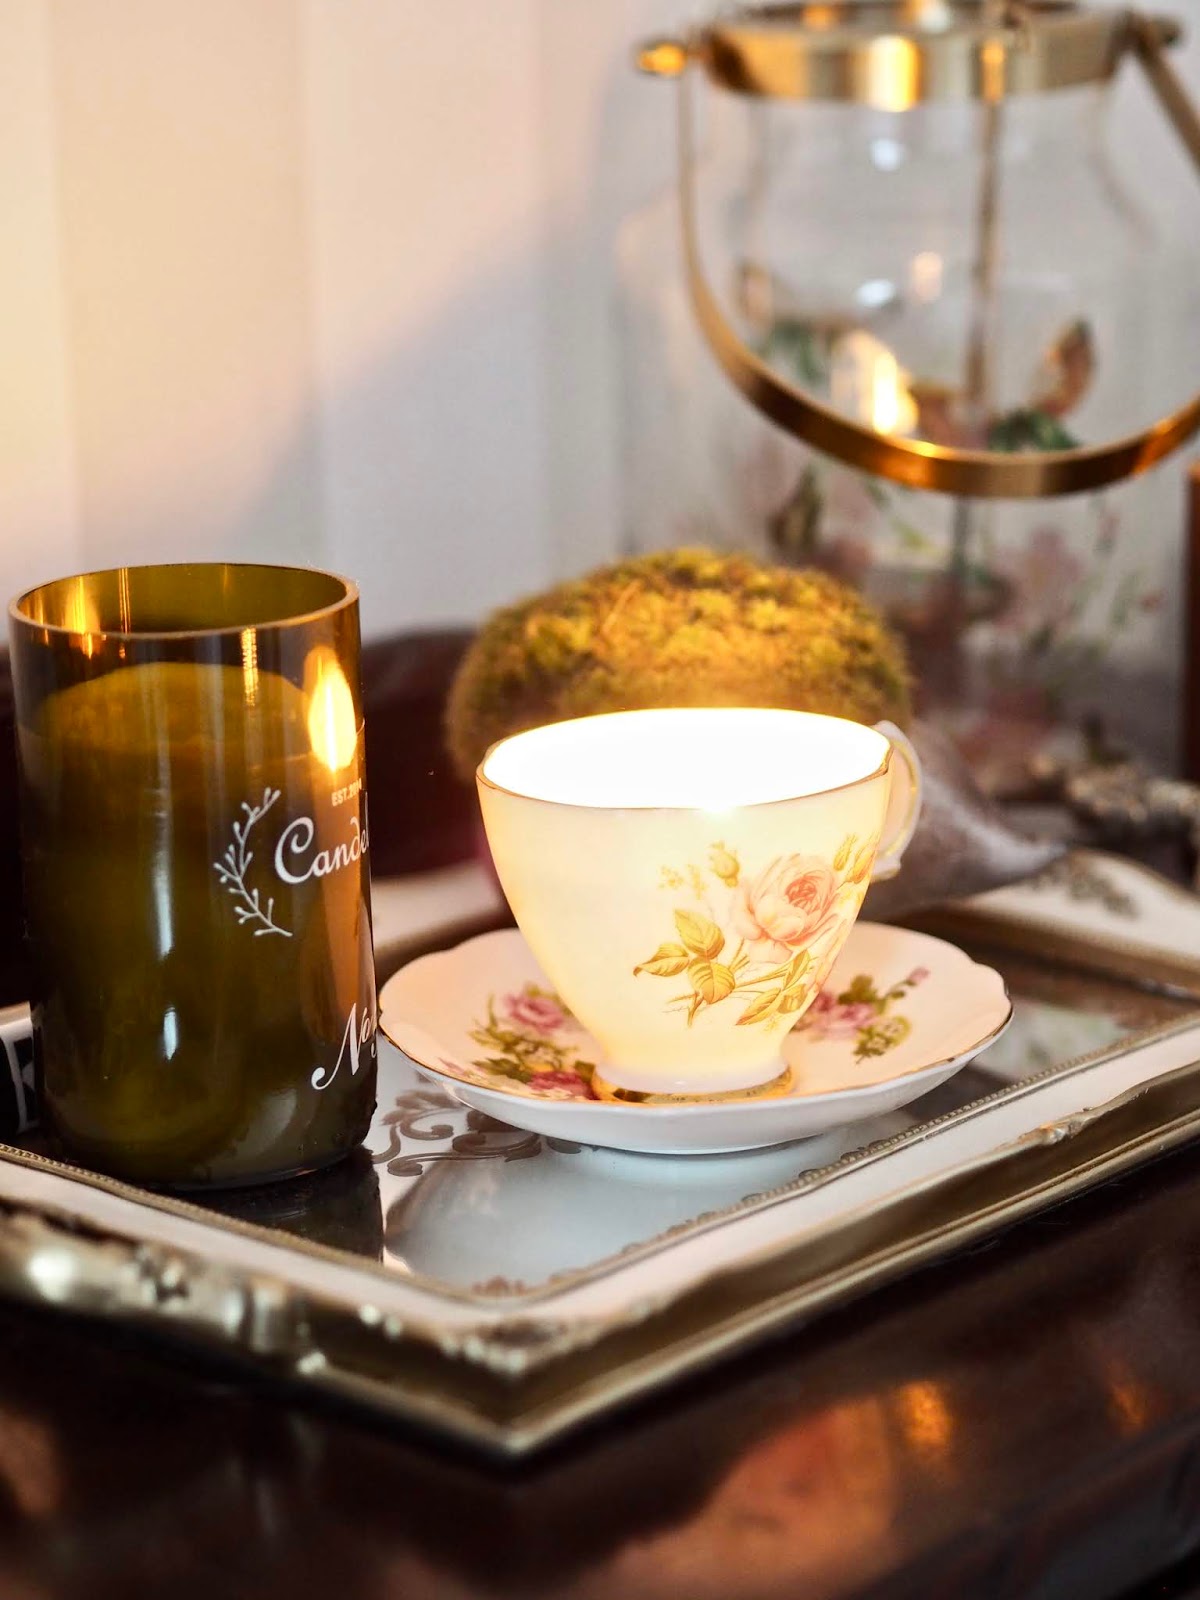
I hope you got some inspiration from today’s post. Also, I love how the china teacups glow when the candles are lit. I originally made these china teacups back in 2018, and below is an older video sharing our first time making them. I hope it gives you some inspiration to have a try at making these DIY teacup candles.
Thanks for reading, Chat soon, Catherine.
Please add the image below to your Pinterest boards

Please let me know – how many tea cups did you get out of 500g of wax?
Can I use cups that are not bone china?
Many thanks.
Geraldine
Author
Aw I hope you are able to find some teacup treasure when you are out and about. Glad the knee is getting better ❣️
Pity the US’ian here, stuck in a land where all the junk shops have is lots of really ugly coffee mugs and very, VERY very few pretty teacups. I even have all the candle making supplies (a friend used to be a candlemaker, but then gave it up and gave me everything when she moved to Colorado), but not the pretty teacups!….
Ah well. We shall keep looking. And now that the junk shops are actually opening back up (and my broken knee is getting better) I can start hunting…
Going to try this out. Where did you get the candle supplies
Thank you!
Author
Thanks Deb, You can pop them in the freezer to pop out the residue from the wax. Then reuse them for whatever you wish x
So cute, however do you have any ideas of what to do with your teacups once the candle is used up? Is there a lot of wax residue left?
Definitely a fun one to try if it is your first time to make x
These are so pretty! I love how they glow. I've always been interested in making candles, but have never given it a try!