
Paper flower wall DIY
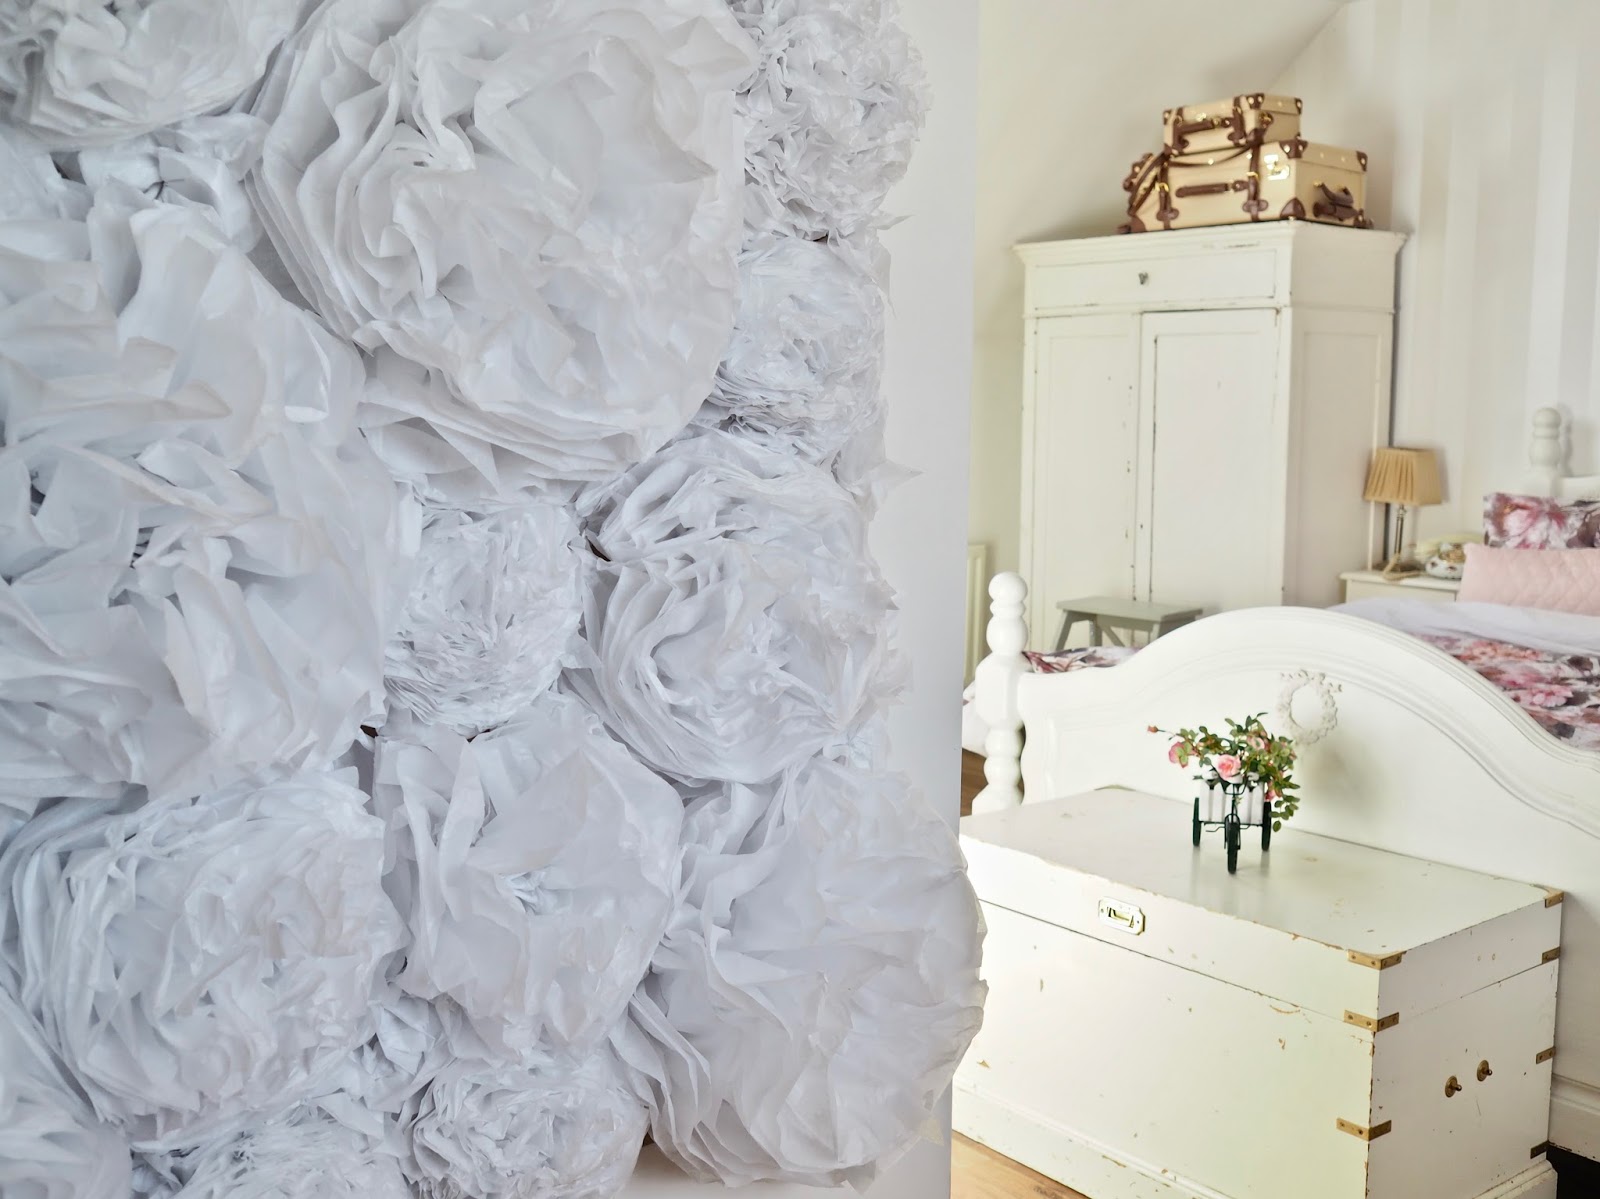
Nowadays, a party is not a party without a flower wall. Flower walls have become so popular, from weddings and Communions to festivals and pretty bars you are guaranteed to see a floral display. I wanted to make my own for an upcoming garden party but I didn’t want to break the bank.
Flower walls can be so expensive, whether you are considering renting one or making one from faux flowers they can be costly. I am pleased to say that the one I made in today’s post was really cheap and all it cost me was time.
I have also put together a Youtube video showing you how I put the flower wall together and I will link it at the bottom of this post.


What you will need for your DIY flower wall
For this wall, you are going to make a load of flowers from tissue paper. It took me a few hours to make all of the flowers so the biggest cost for this DIY will be your time. I suggest inviting a few friends around, get the wine and get folding flowers.
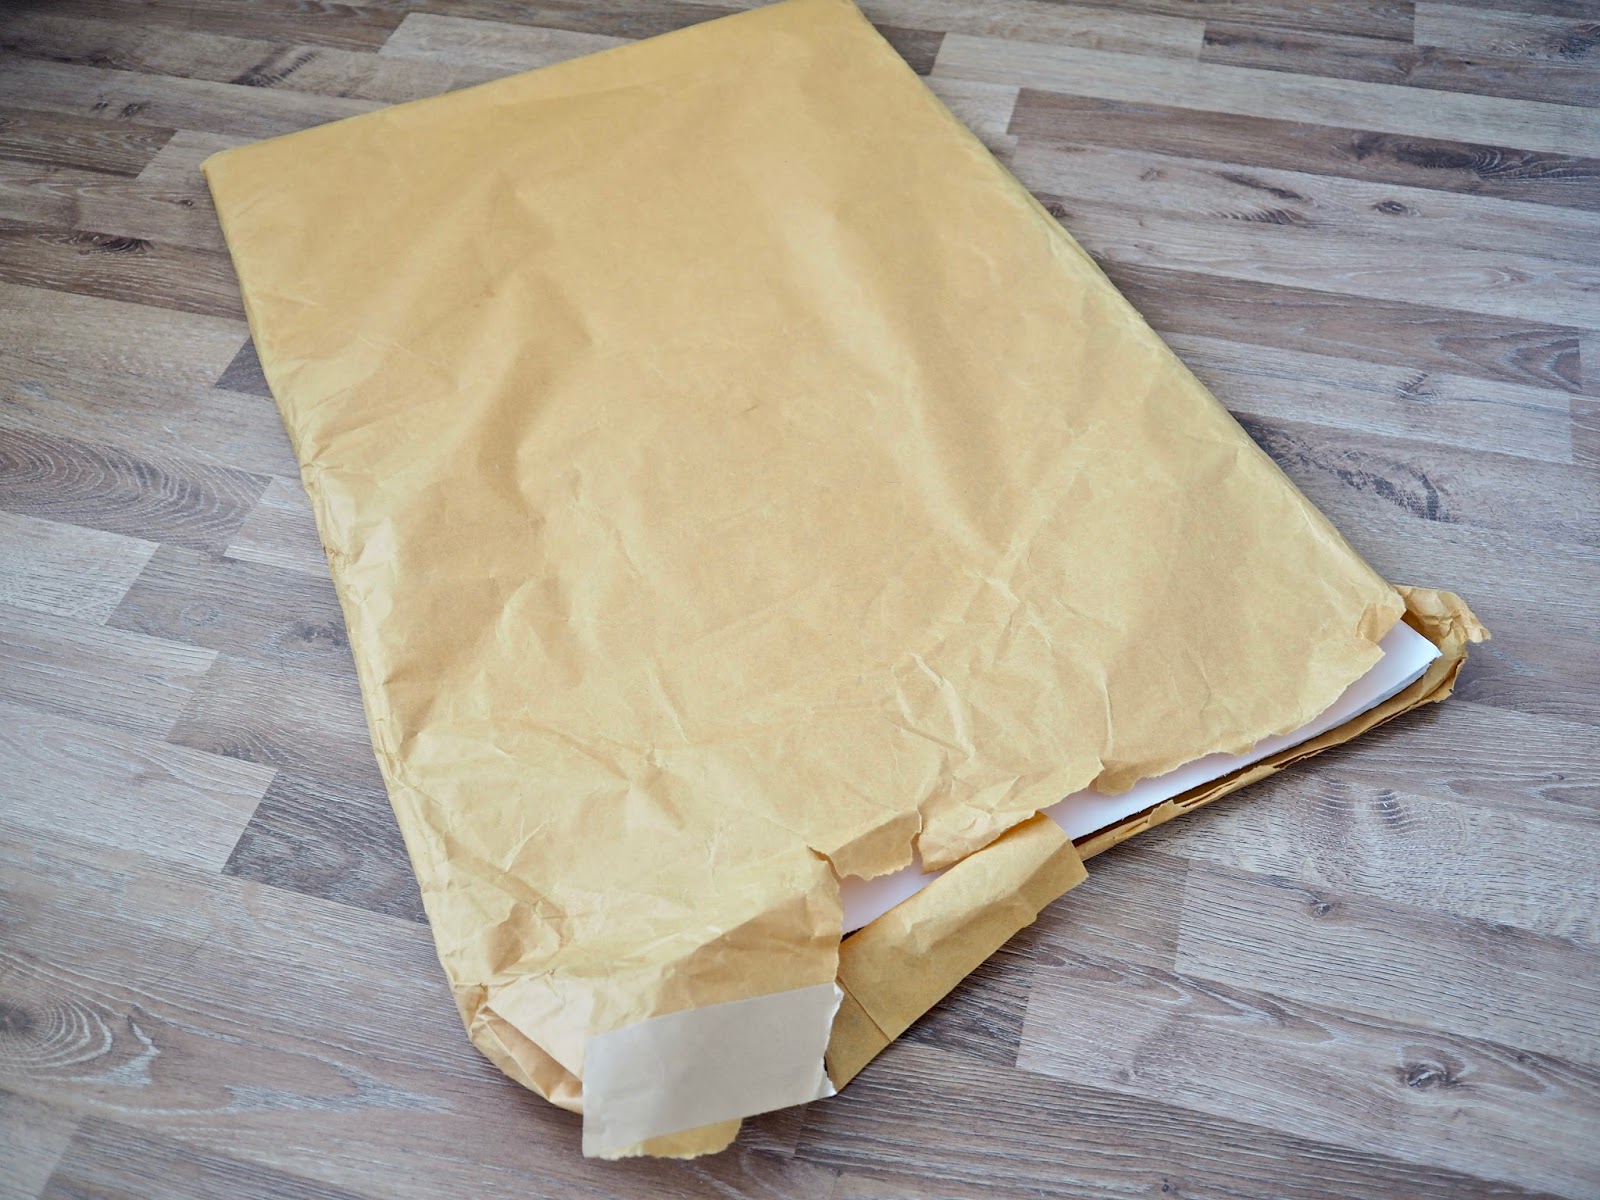
– Tissue paper, I recommend ordering from a stationary or wholesale company. The rolls from the craft shops will not be enough and will cost much more. Here is a link to some from Amazon and they come in different colours too.
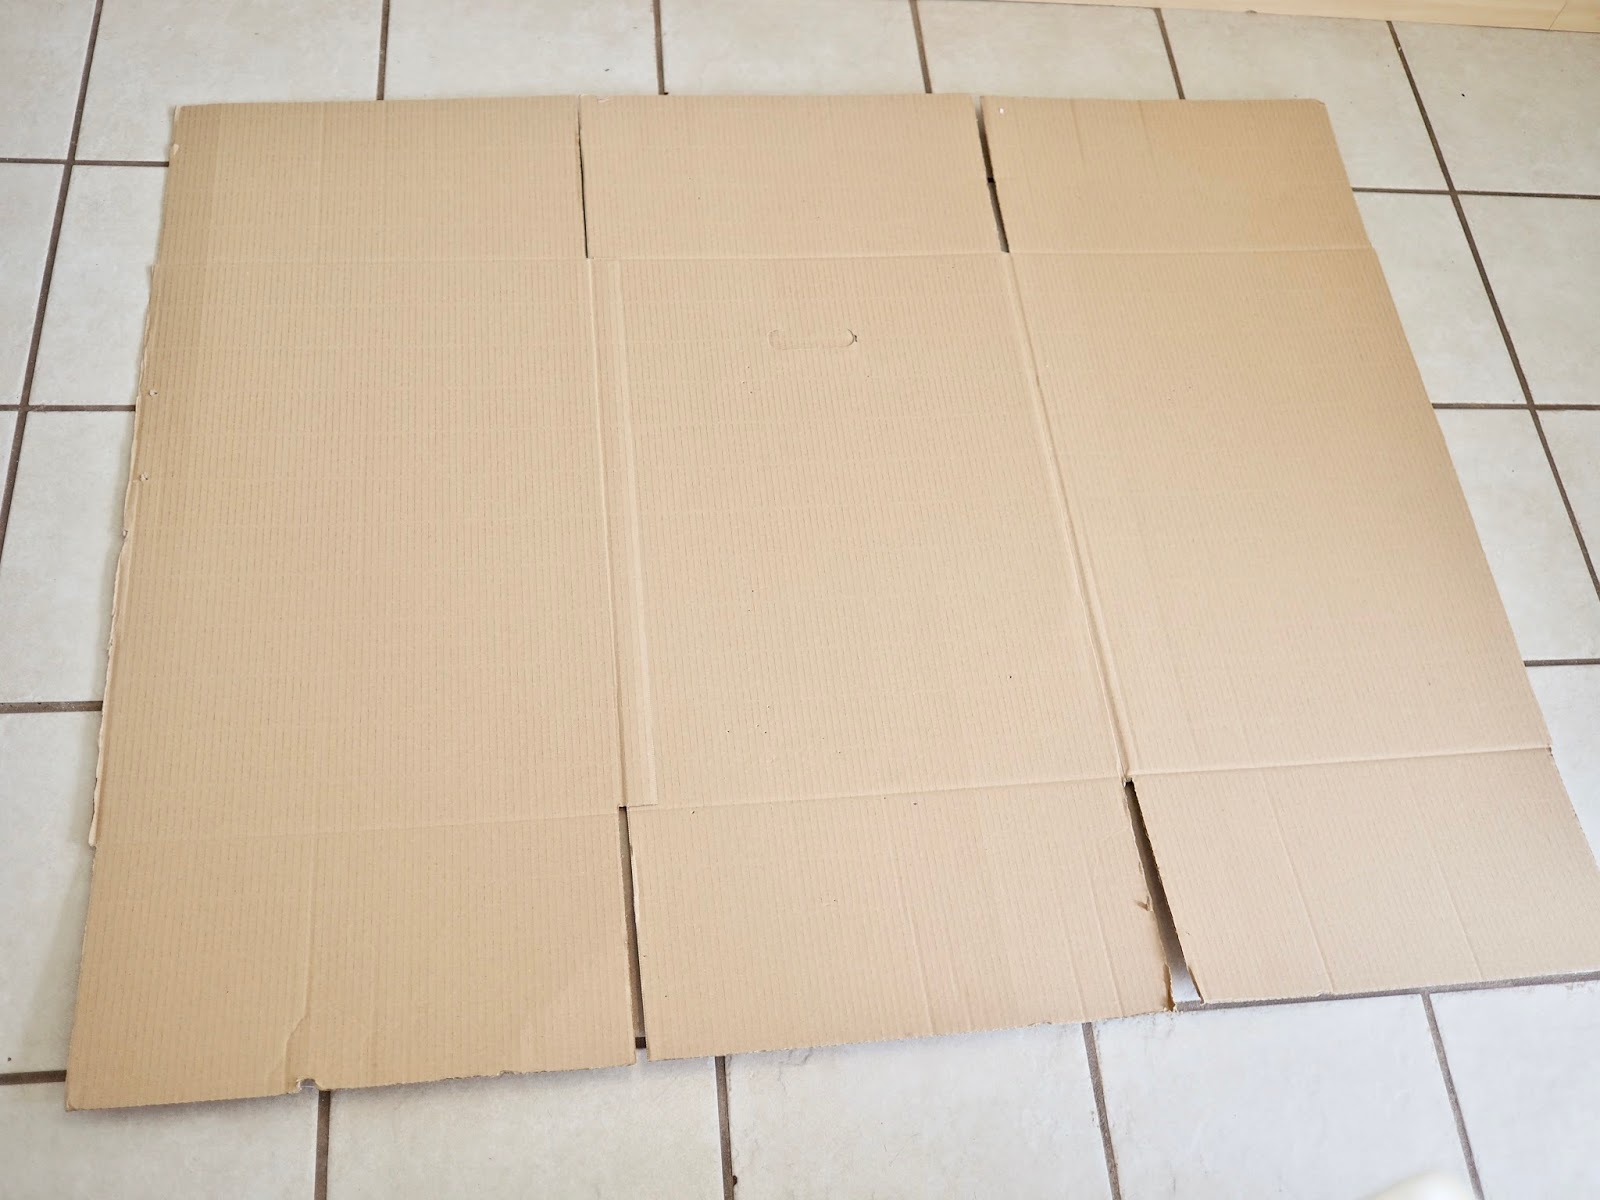
– Cardboard, The best thing about this is that you can get this for free! Ask your local supermarket or shop for a large cardboard box and cut to size. I was able to get mine for free from work. Don’t worry if it is not the size you want you can get a few boxes and cut to size.
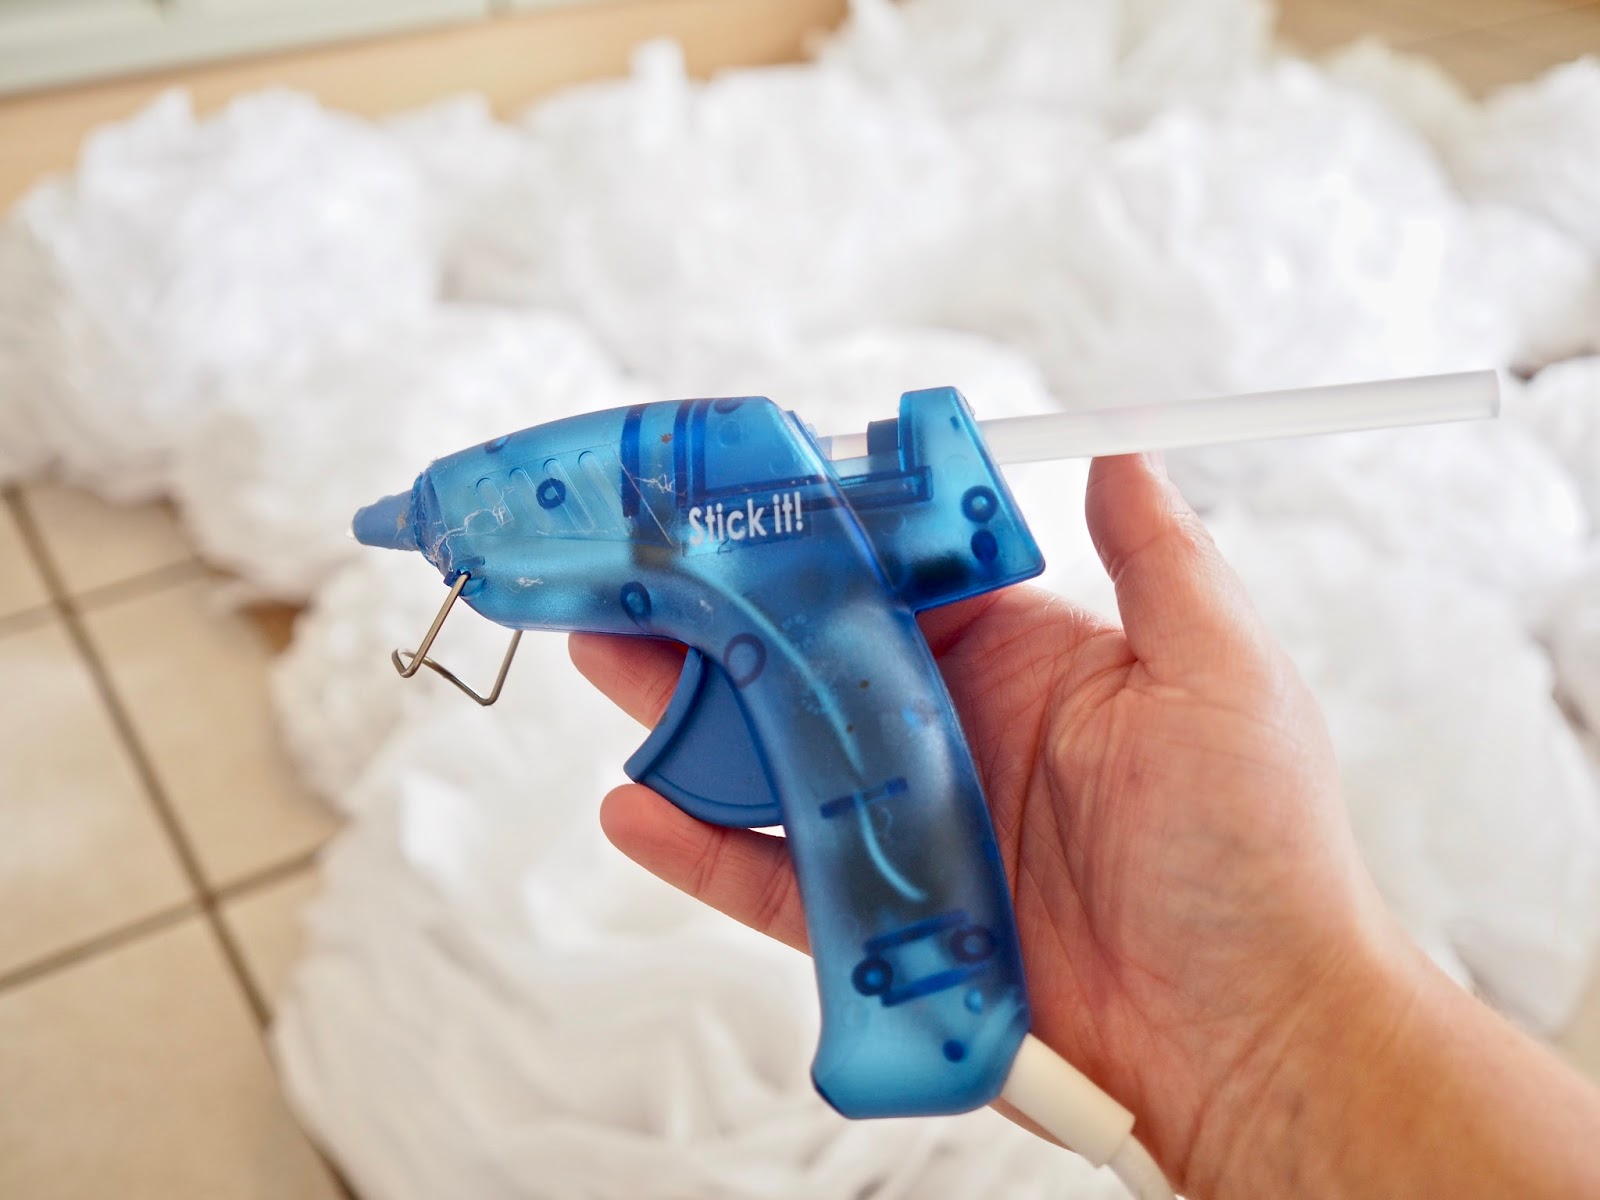
– String, scissors and a hot glue gun, You will need some string to tie the middle of your flowers, I used some clear thread from my sewing kit. Don’t worry if you don’t have a hot glue gun as you can use whatever glue you have.
How to make your flowers
Making these flowers will take you back to your school days! I remember making these in primary school.
I will pop images below for the steps to how to make the flowers and you can watch my Youtube video to get a better idea of how to make them.
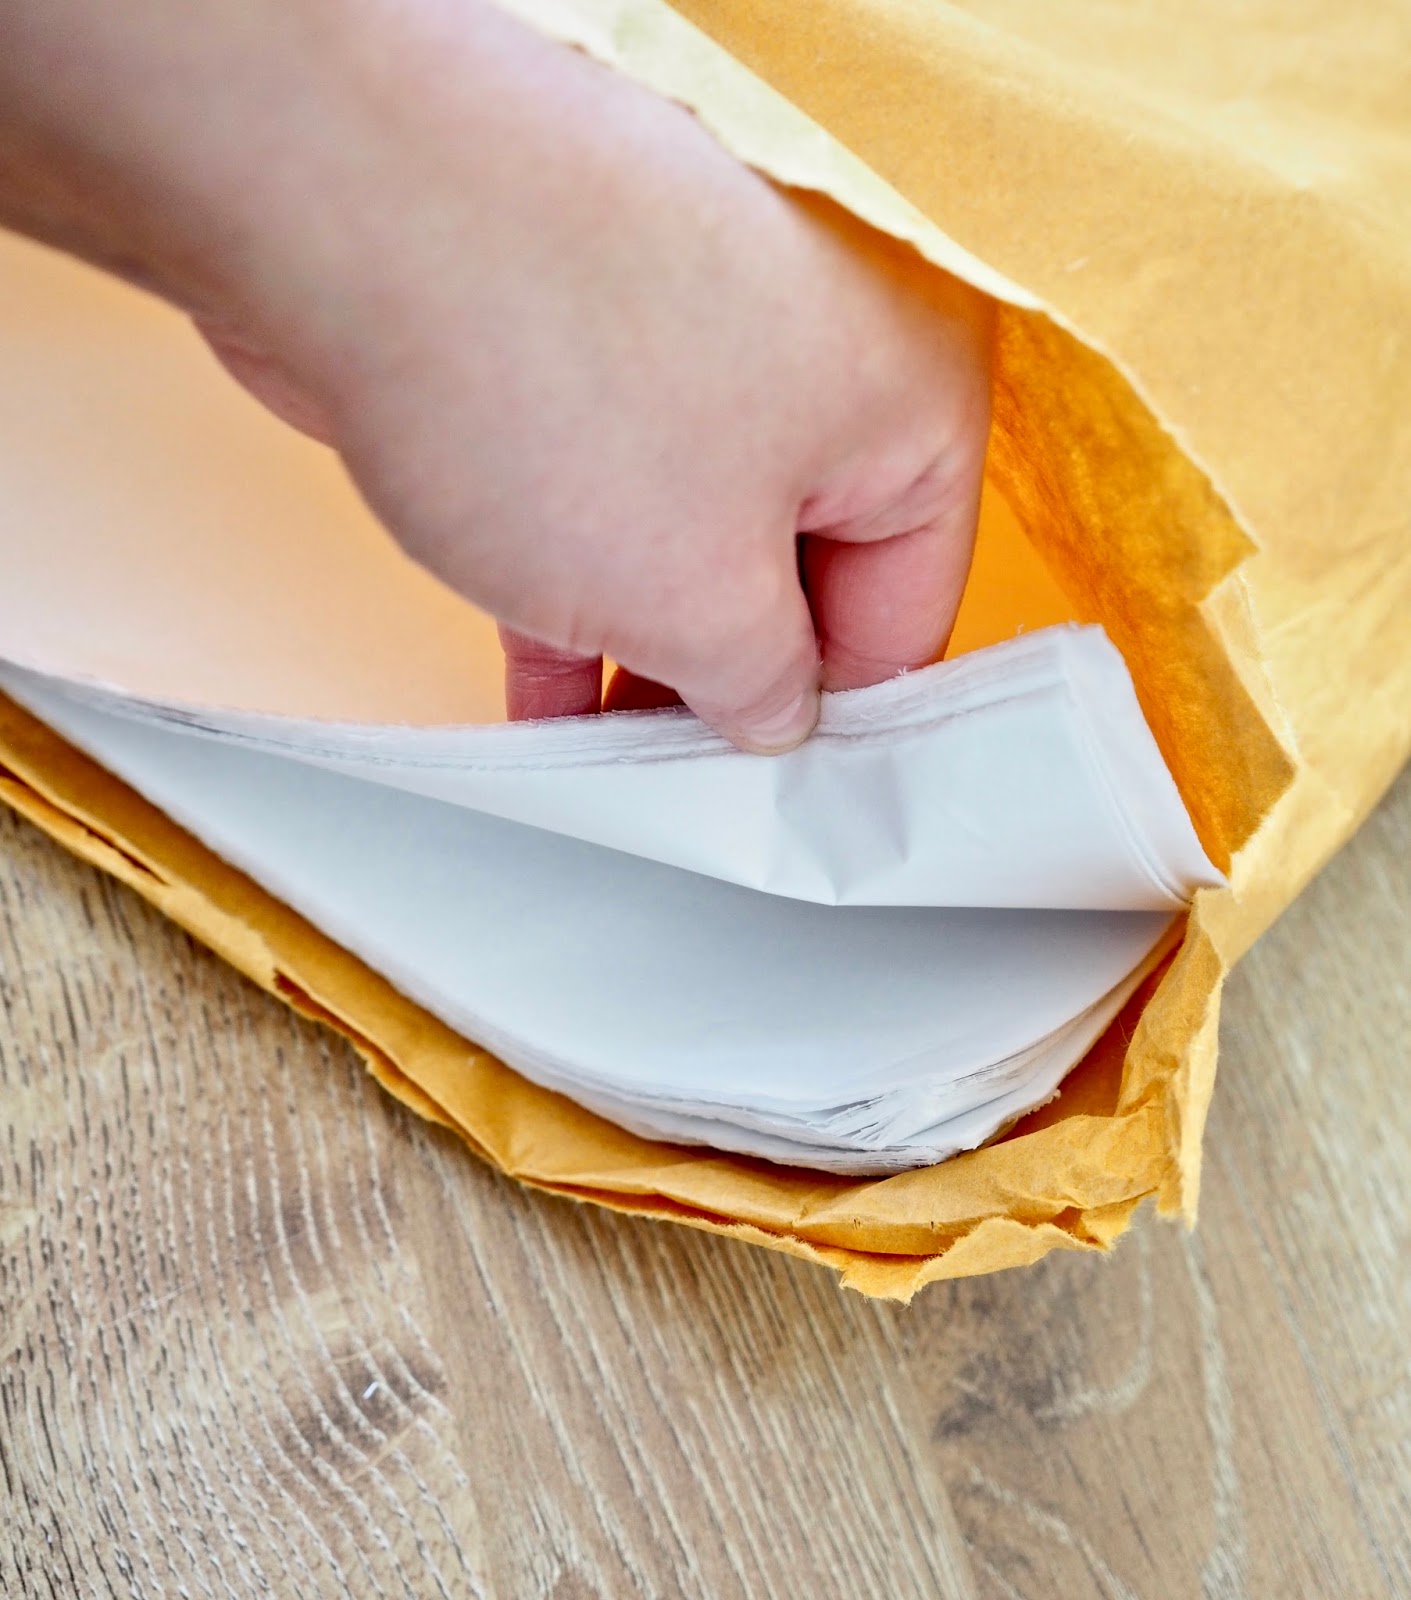
Start with a few sheets of paper. The more paper in the flower the thicker it will be. Lay the paper on top of each other and fold them back and forth. See the picture to get a better look at what I mean.
Once it is folder all the way then you can tie the middle with some string.
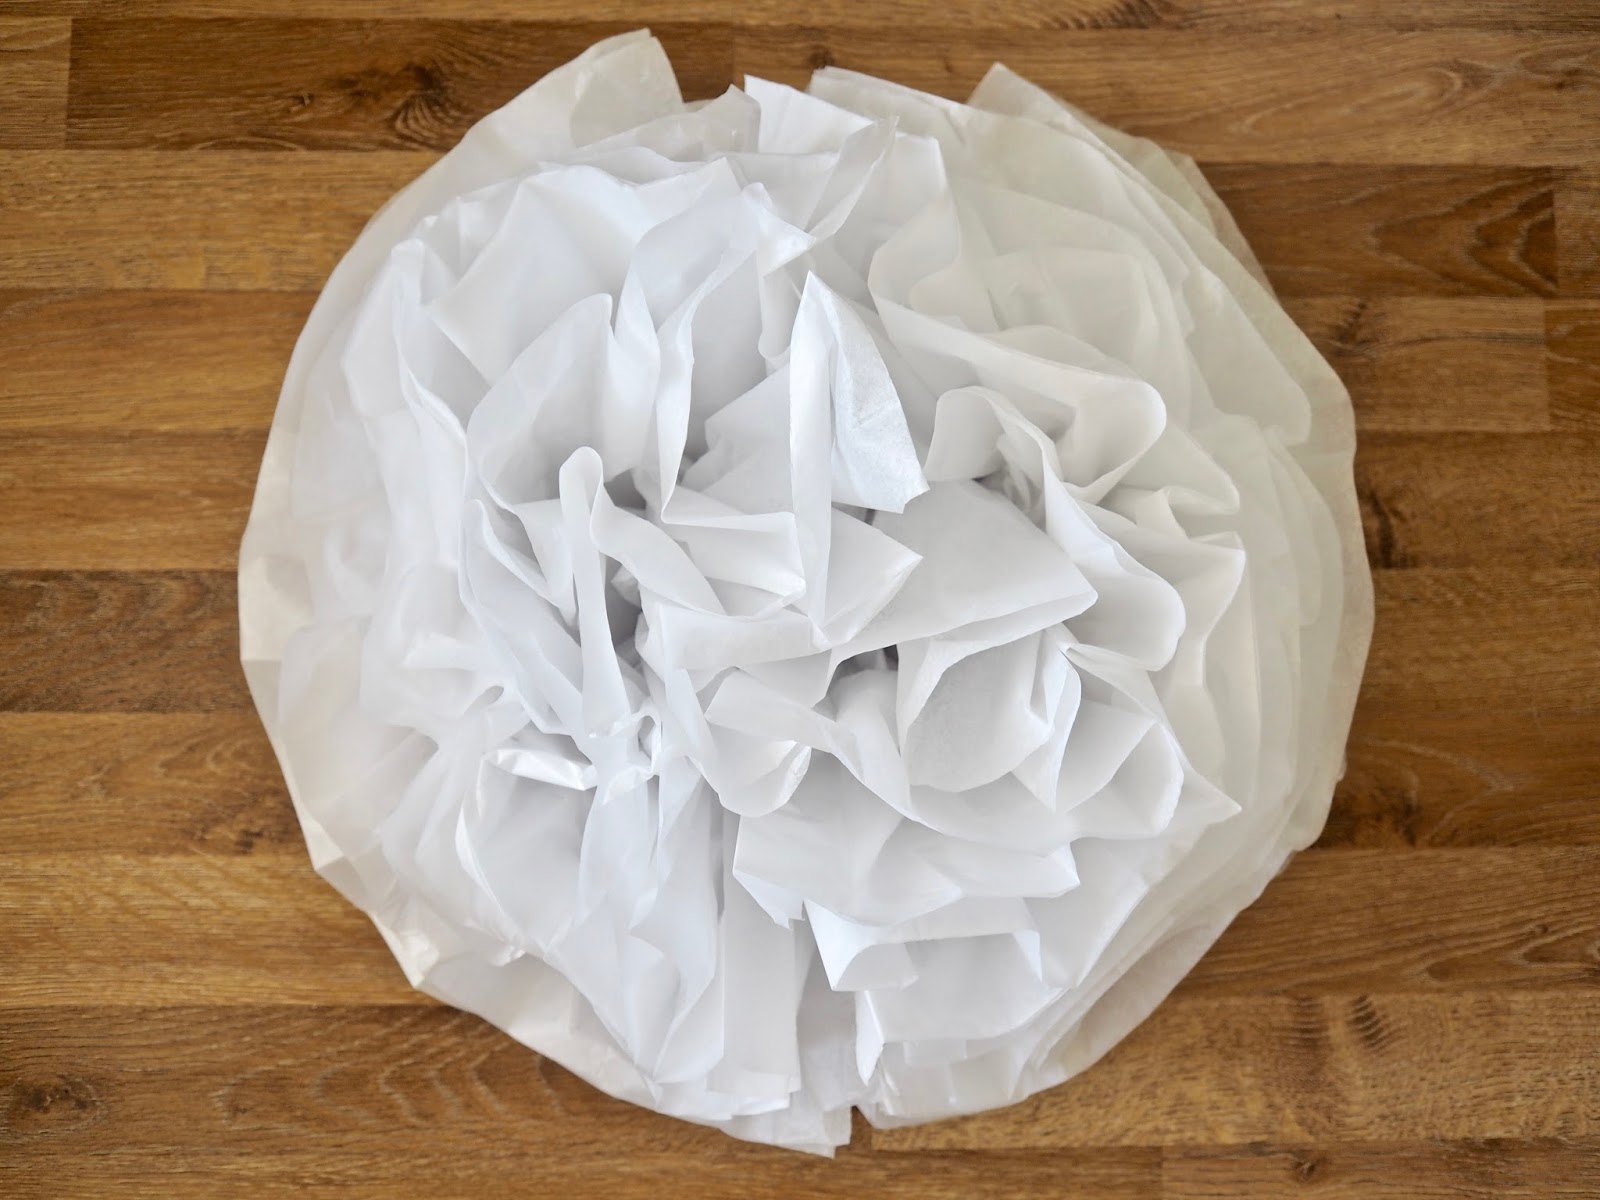
You are then going to gently pull the layers of tissue paper towards the centre. Don’t worry if you accidentally tear some of the layers as they can be easily hidden. Keep pulling each layer towards the centre until all layers are separated.
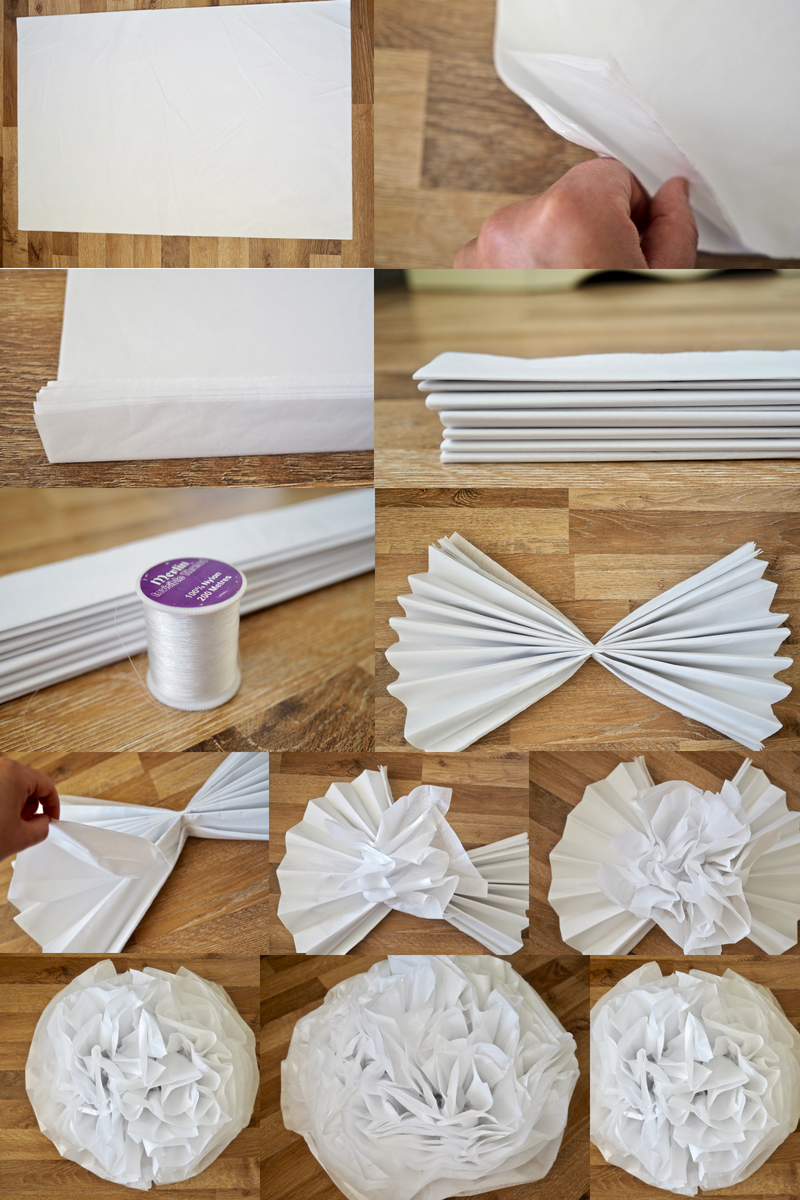
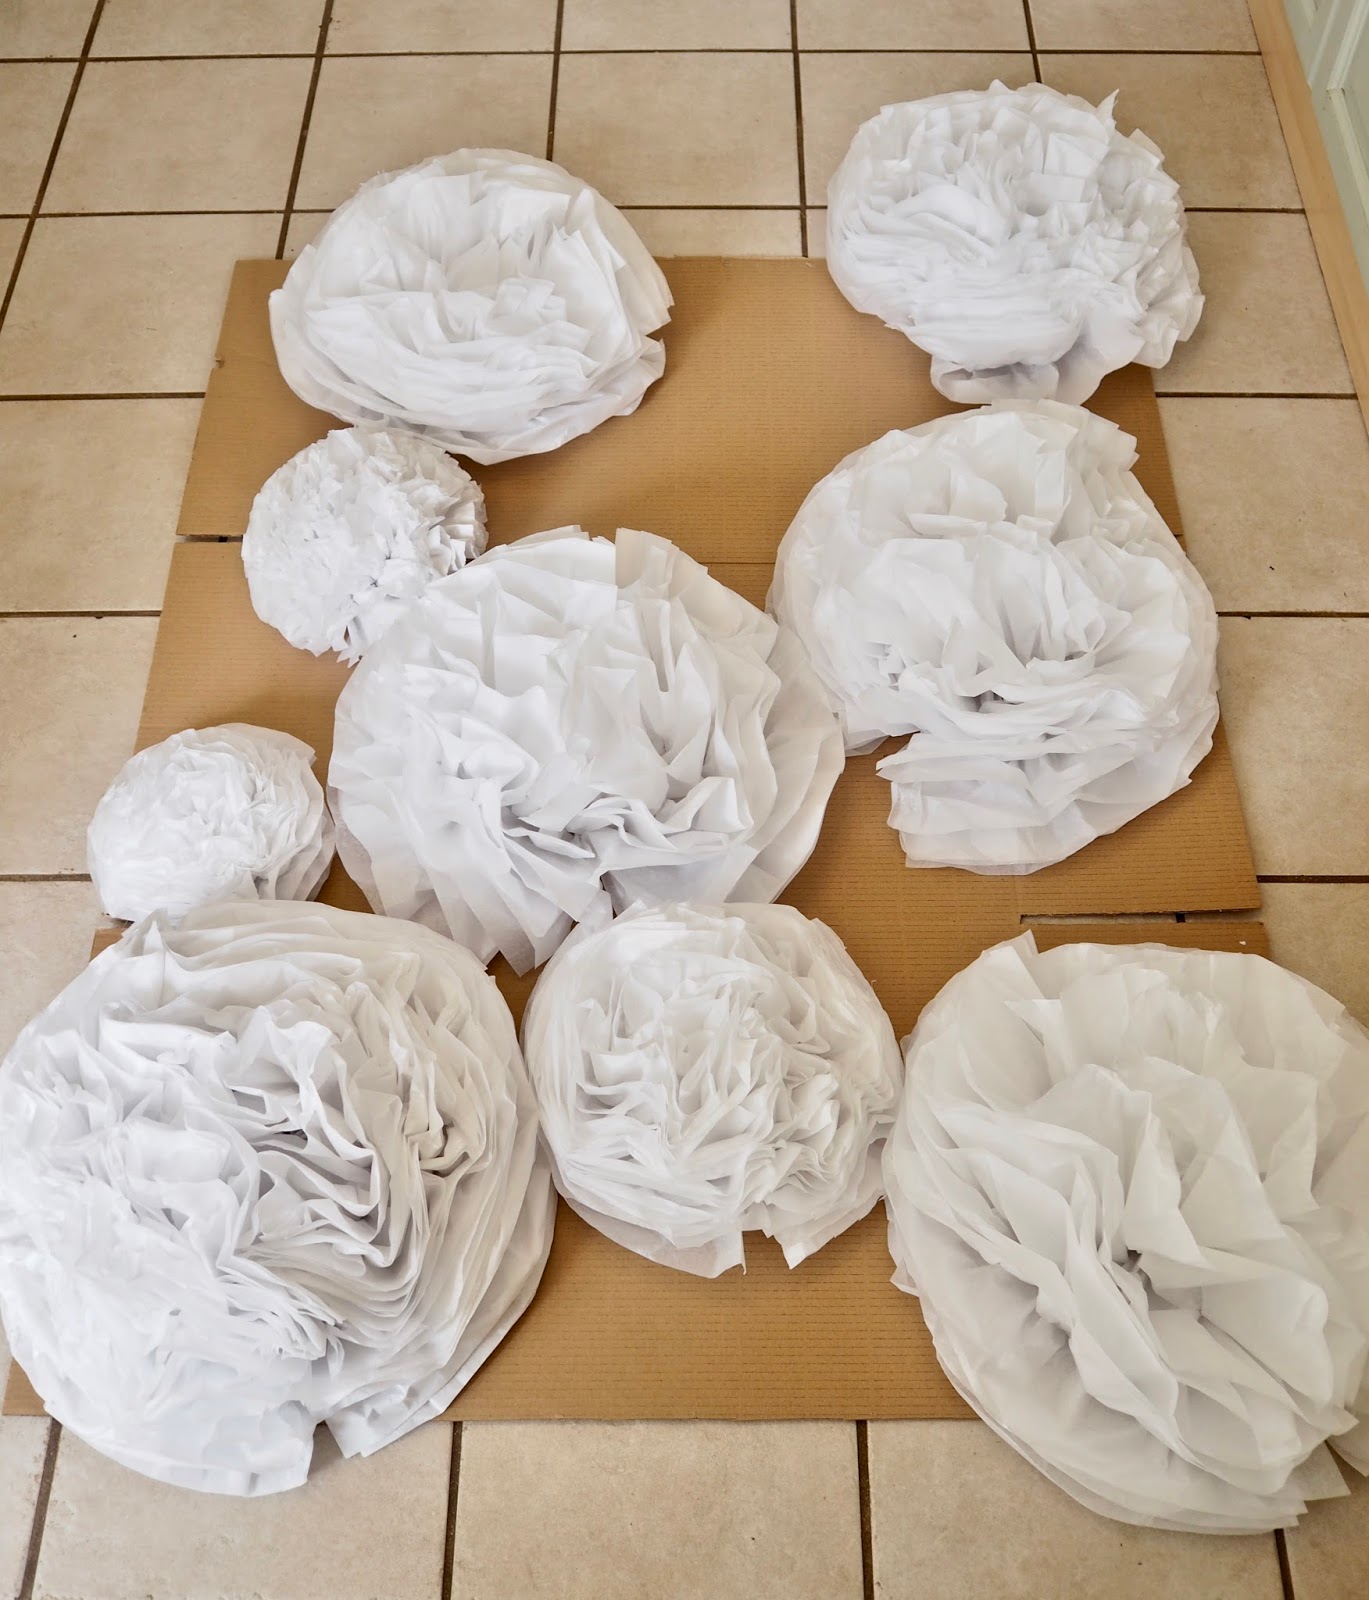
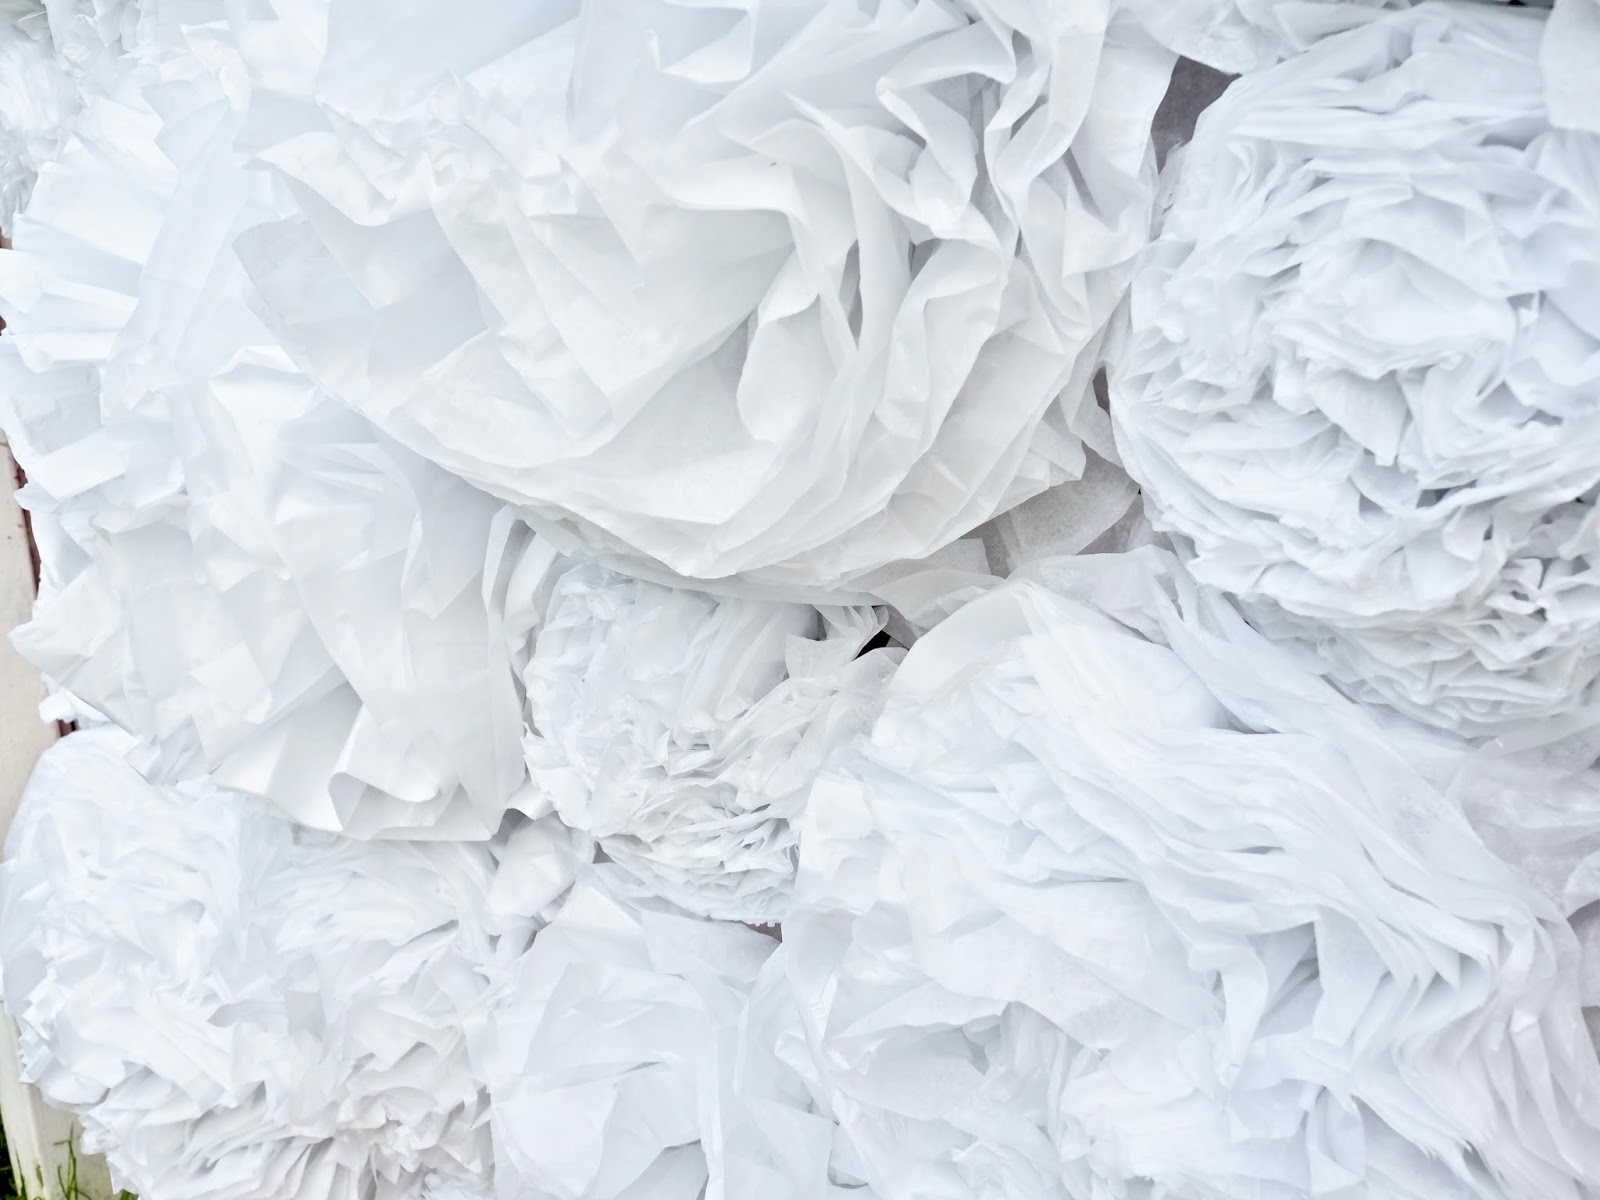
You can cut your paper into different sizes to get different sized flowers. For my wall, I bulked it up with larger flowers. I then made some medium-sized flowers and some smaller ones for the gaps.
This gave it that 3D look. Also, don’t worry if your first few flowers are not perfect as the more you make the better and easier they become to make.
Assembling your DIY flower wall
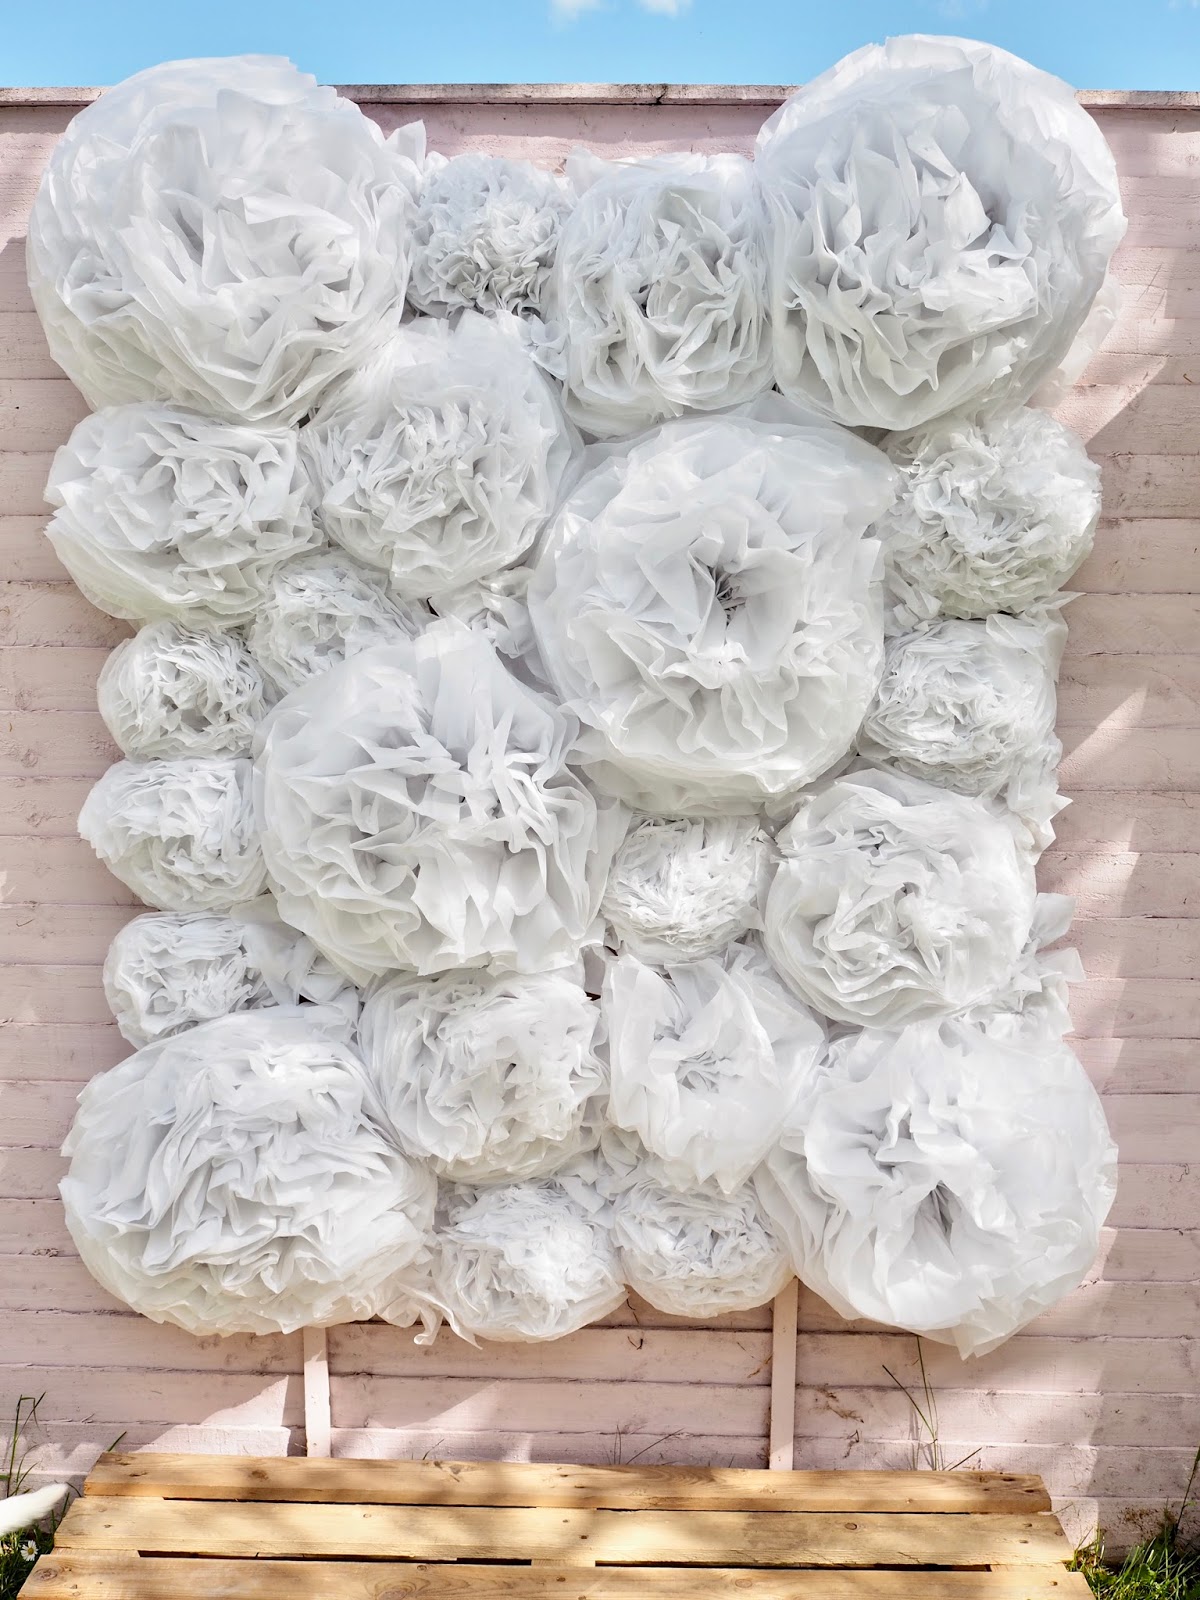
Measure out your cardboard. I am making my flower wall for a garden party so I measured my cardboard against the fence it will hang on in the garden.
If you want yours for a wall then measure out how big you want it and cut your cardboard to size. You can tape pieces together to make it bigger and cut to make smaller.
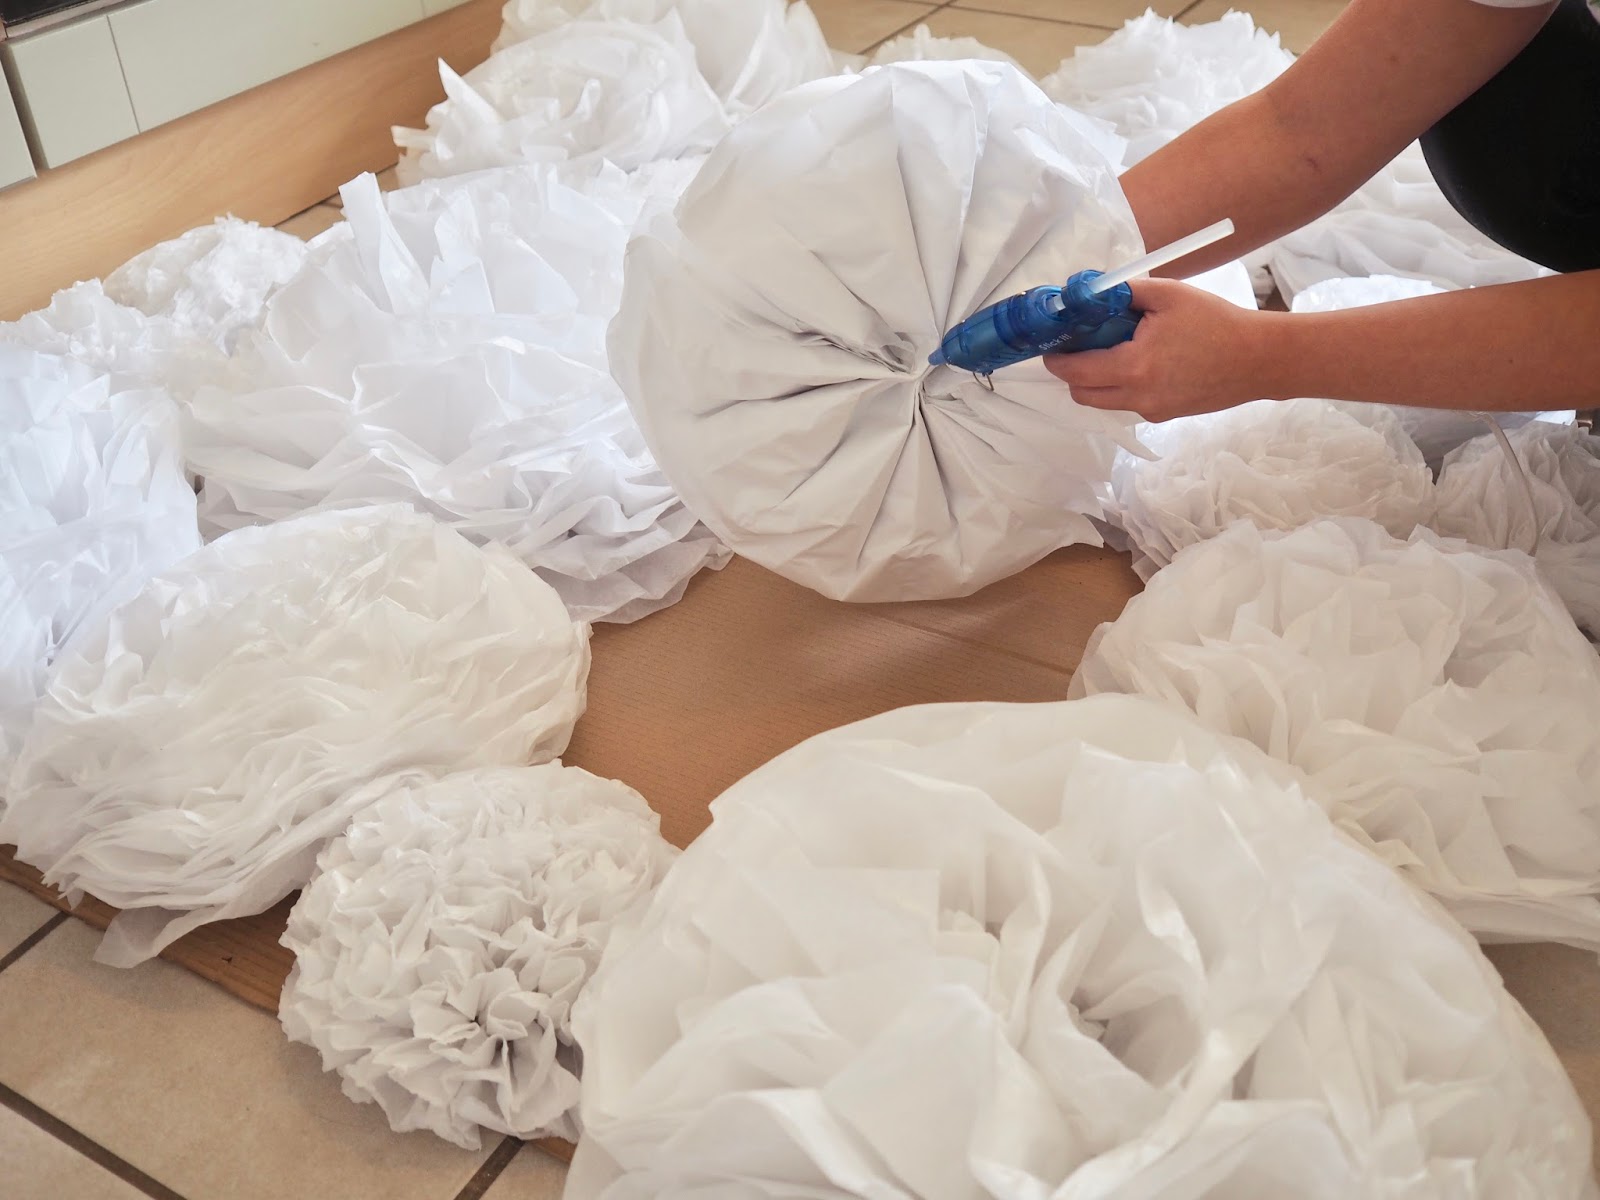
Once you are happy with the size of your cardboard you can then place the flowers on to your cardboard frame. I placed my flowers first and I arranged them how I wanted them. I placed the larger flowers on the cardboard and then placed the medium and small-sized ones.
Don’t worry if there are a few gaps as we will fill them. Once you are happy with your flowers and how they are positioned you can then glue them on. Using your glue gun or glue of your choice you can glue them all down. I loved the glue gun as it dried very quickly.
If you do use a different glue make sure you use one that dries quickly.
To fill in any gaps in your board simply get some tissue paper and roll into a ruffles flower shape and glue it into the gap and fluff up to cover the cardboard. I show you how to do this in my video which I will link below. Once your glue is dry and there are no gaps you are now finished your flower wall.
To hang the flower wall to my wall, I added some string to the top and hung it on my fence by hanging it off a nail. As the wall is made from paper flowers it is really lightweight.
You can now stand back and admire all your hard work and take a selfie against your pretty flower wall. You can also pop the prosecco as you will have saved a fortune compared to having made a real flower wall.


I would love if you could share this post as I know a lot of brides to be or ladies who have communions and christening would really like this post and it would save them some pennies too.
So, please share on Facebook, Instagram and Pinterest. I will also leave my Youtube video below too and you can share that also. I hope you enjoyed this post. Let me know if you give it a try!
Thanks for reading, Chat soon, Catherine.
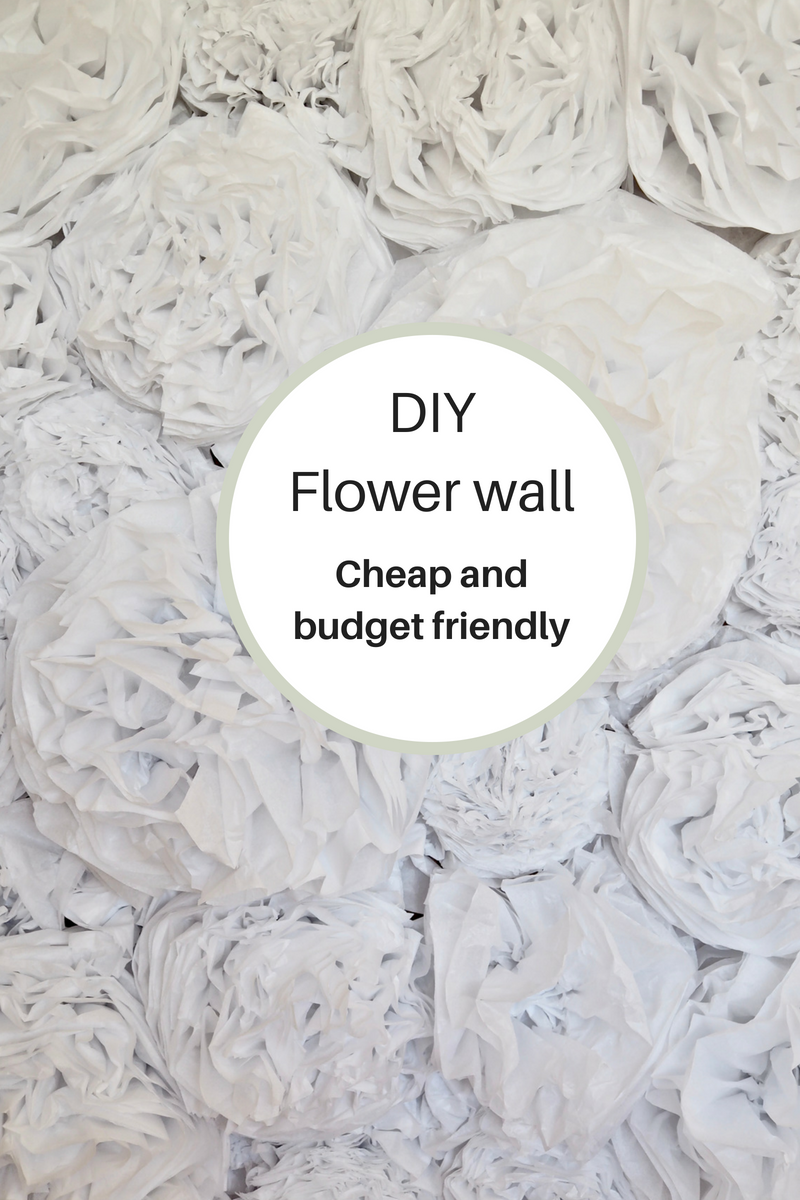
Please Pin this image to your Pinterest boards


This would great with with the shutter frame I have for a backdrop for Mothers day pictures. I think by adding different color flowers and adding centers to them would make them pop a bit more .
OMG this DIY project is so cool! Need to try it!