
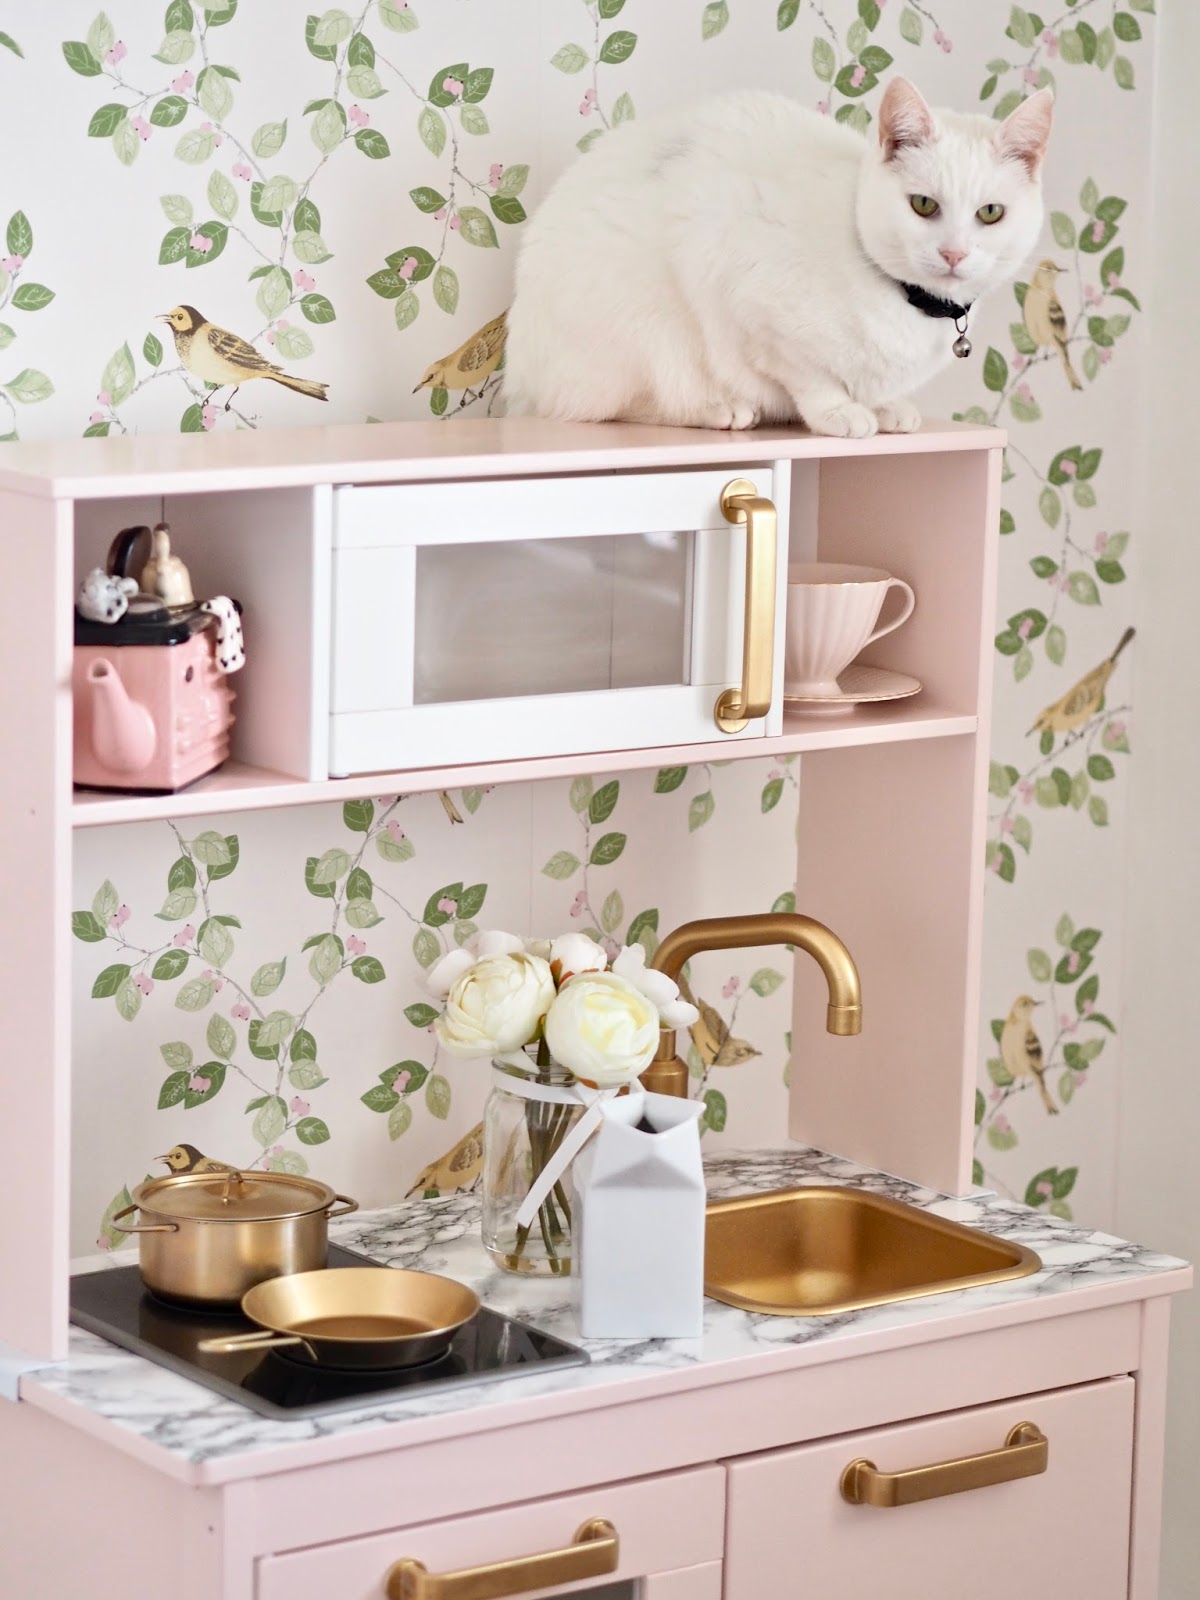
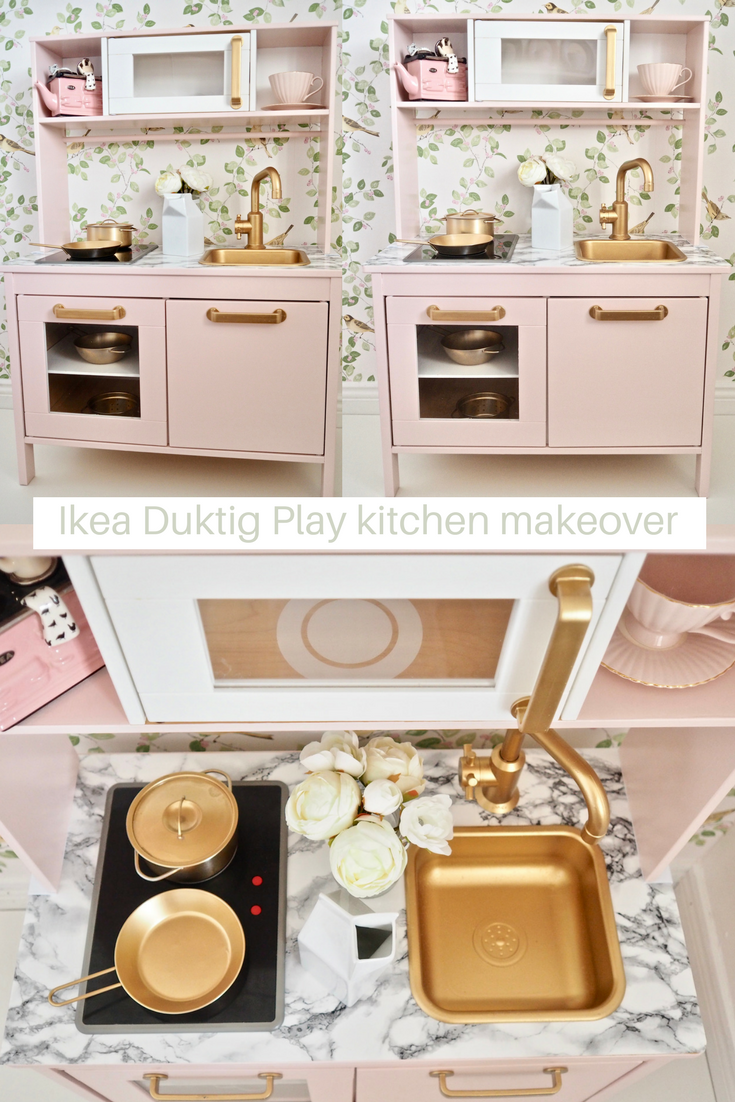
Ikea Kids Kitchen Hack
I am so excited about this weeks makeover. For a long time, I have been wanting to makeover my very own Ikea Duktig kids kitchen.
However, I have no kids! So, no valid reason to go out and get the Duktig kitchen to makeover, but, when my work buddy said she had one and it was getting out in storage I jumped at the chance to take it off her hands and give it a makeover.
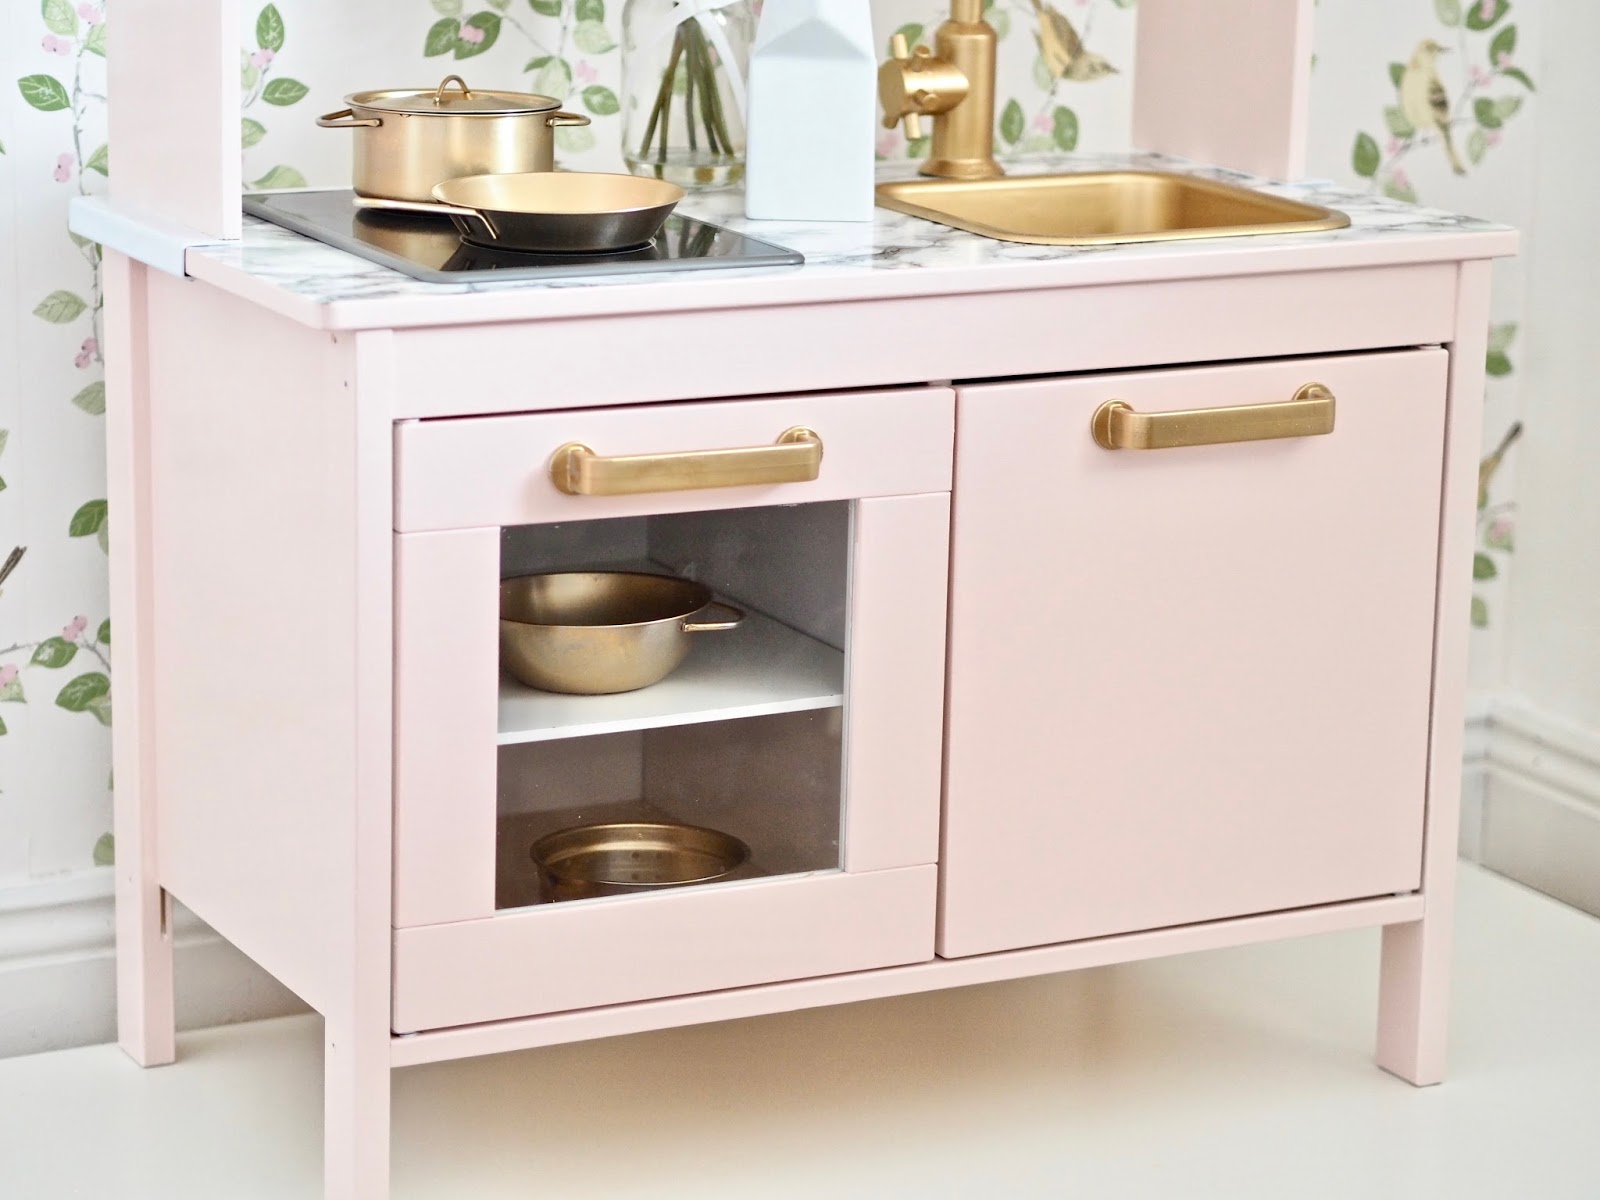
Also, I had been swooning over these Ikea kitchen makeovers on Pinterest and I really wanted to do one. I decided to go for a feminine style kitchen as it will be going back to a house full of little ladies so I knew they would appreciate my pink, gold and marble combo.
I have put together a Youtube video also on how I transformed my mini kitchen. So, I will make sure to link to the video at the bottom of this post.


The importance of priming your Ikea kitchen
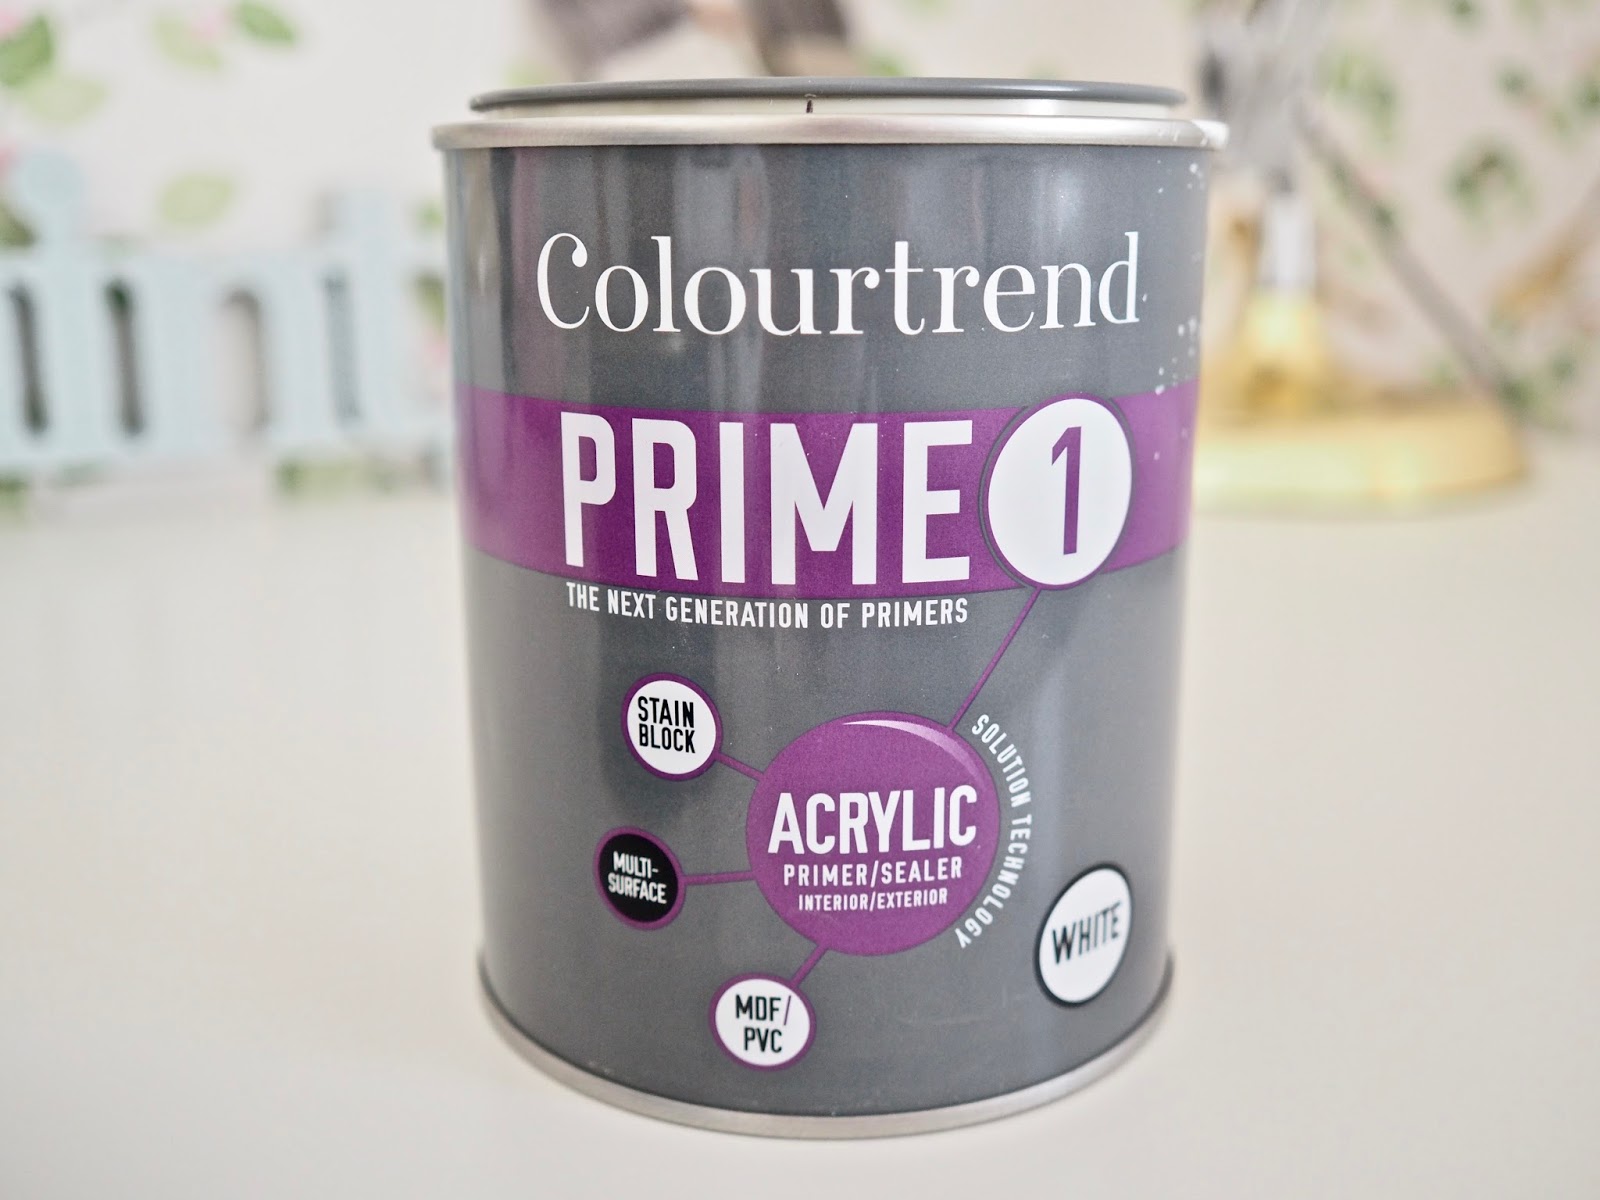
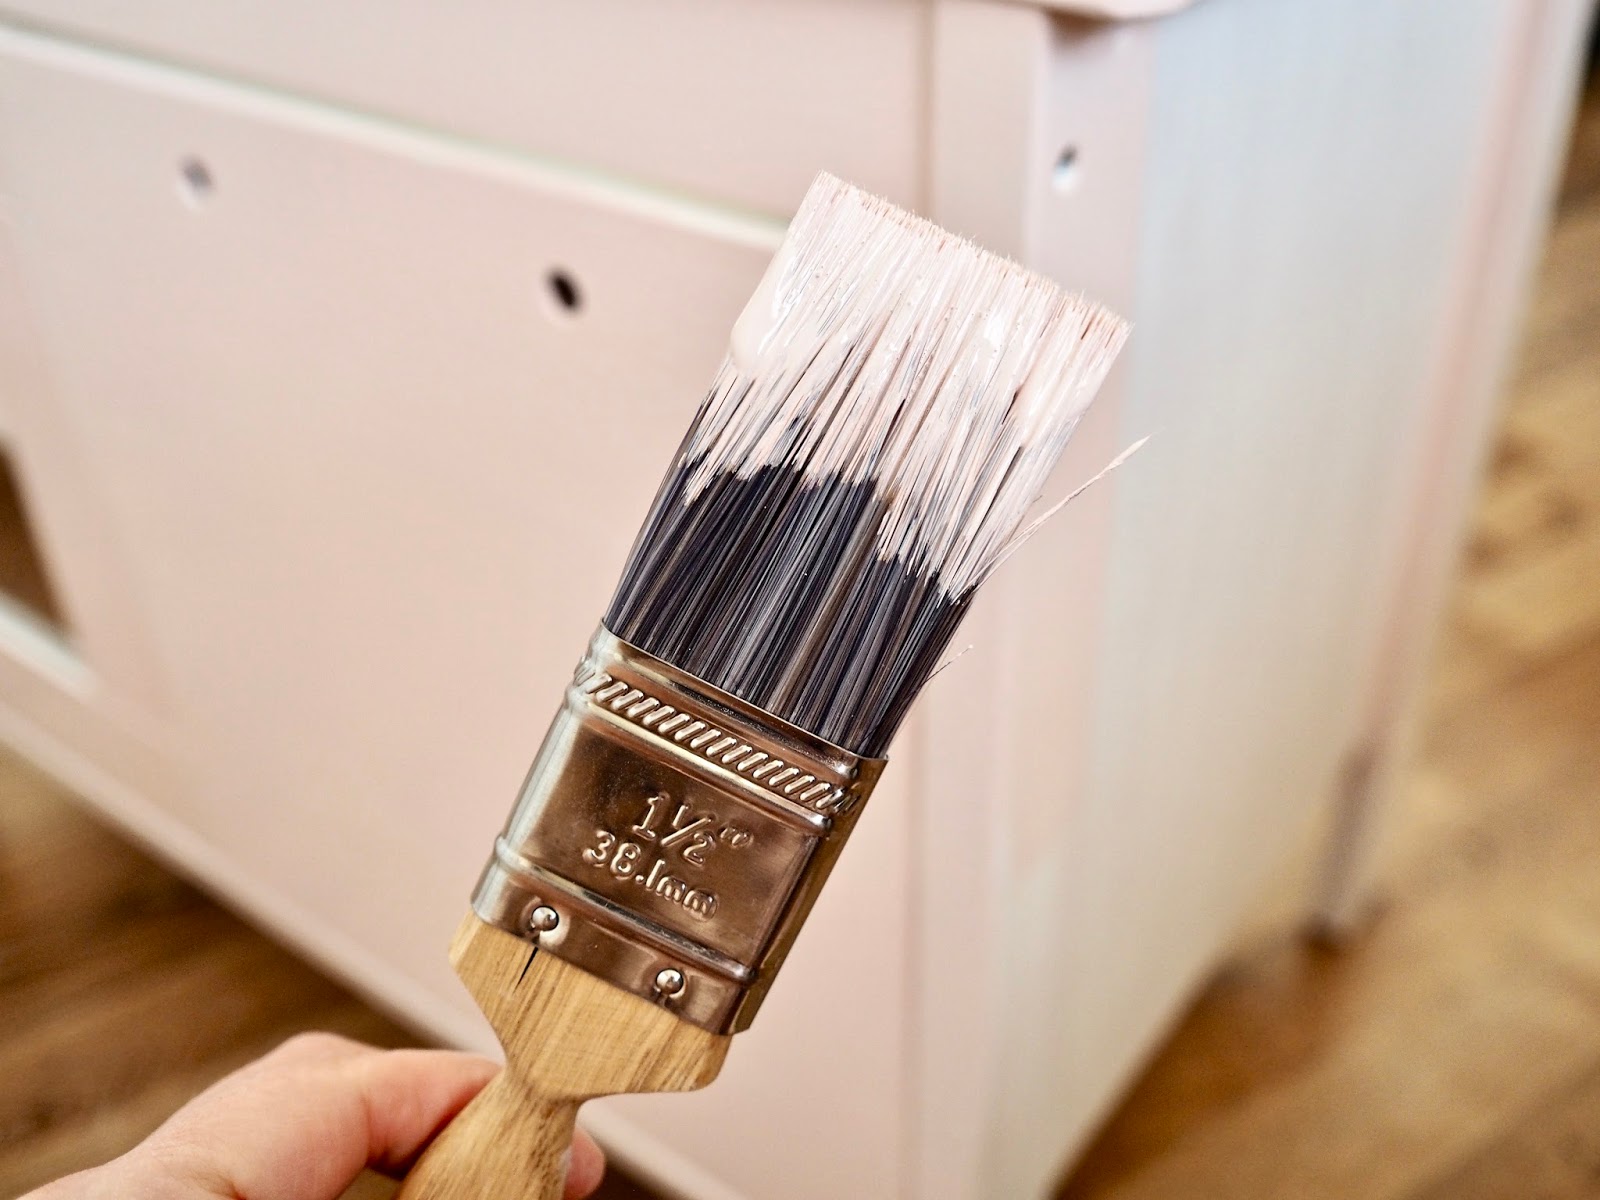
I cannot stress the importance of priming for this project. Mainly because it needs to be durable as it will be getting played with by heavy-handed kids.
The kitchen unit itself is made from a few different materials such as fiberboard, Birch plywood and polypropylene. These need to be given a coat of primer to ensure your top coat of paint stick to it. Also, the sinks, taps and handles on this kitchen are polypropylene plastic.
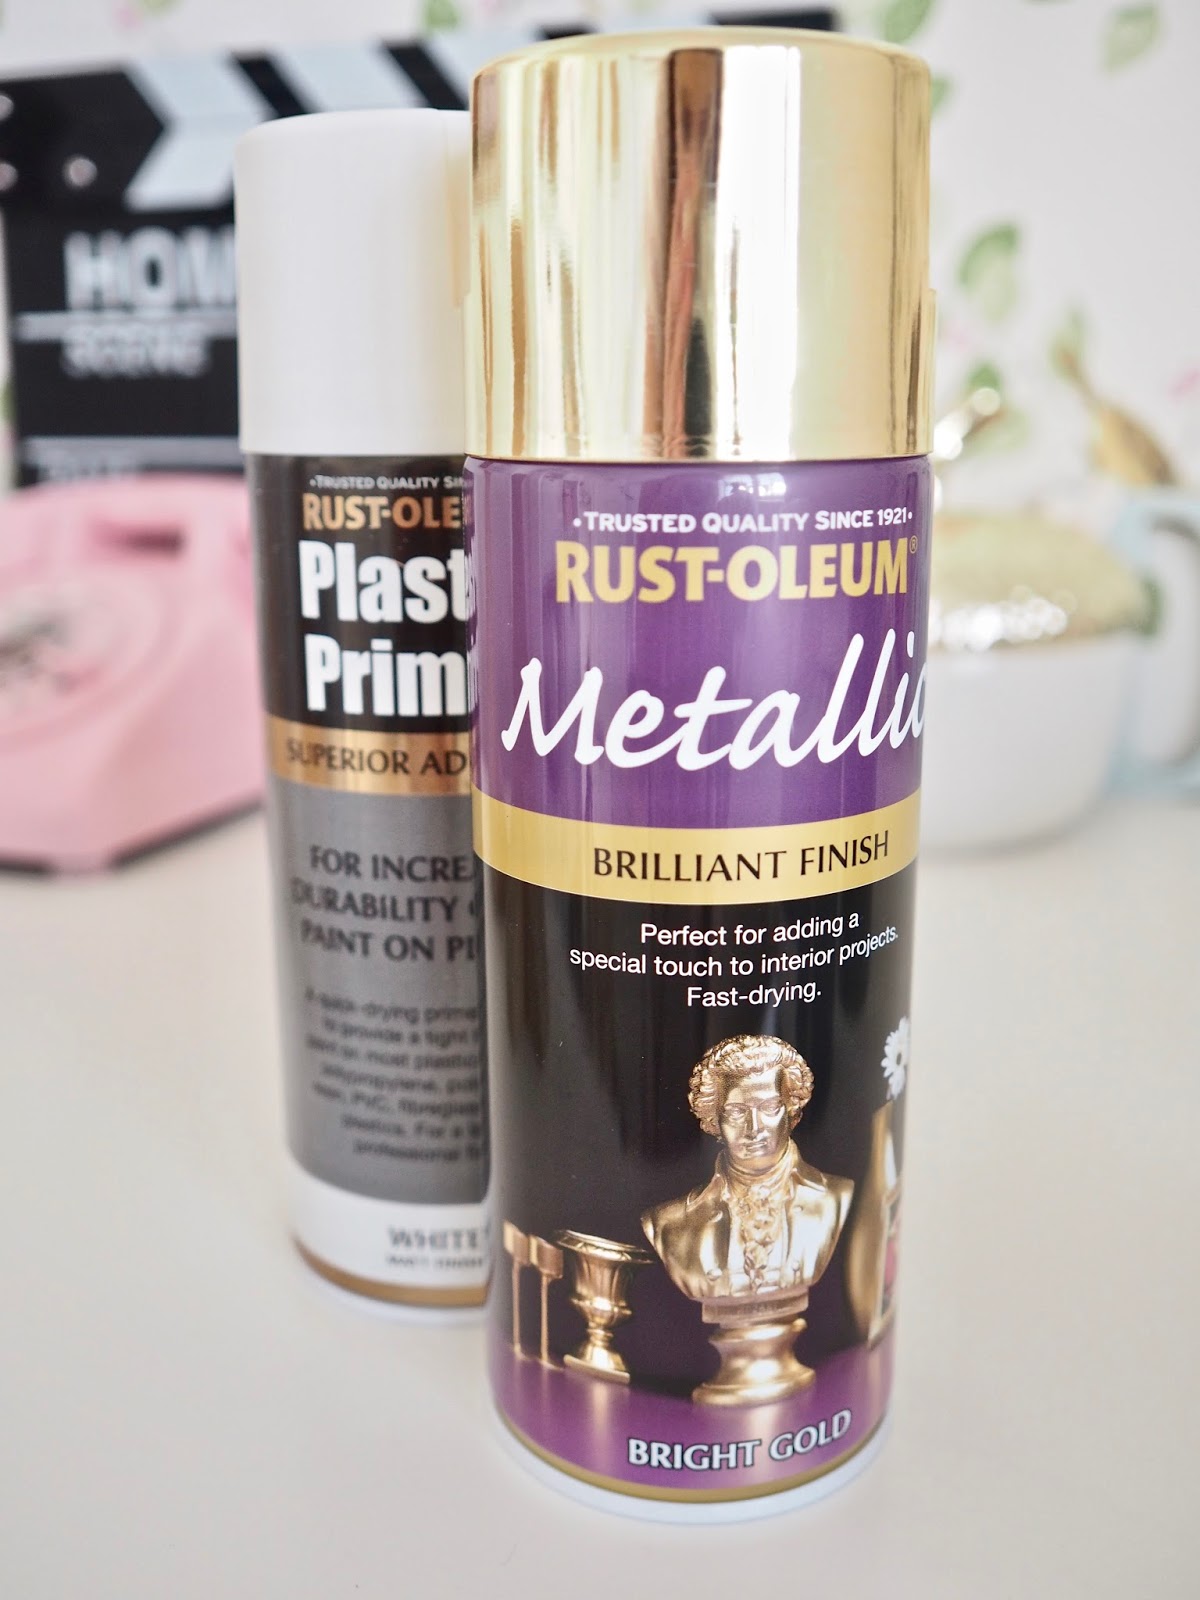
I sprayed mine with metallic gold, however, I used a special plastic primer before applying the gold to allow it to have the best base to adhere to.
If you skip the priming step then your paint will easily peel off and you don’t want your children playing with a unit where the paint is going to be easily peeled off. I applied two light coats of Colourtrend primer and allowed it to fully dry before I applied the top coloured coat.

The paint I used on the Ikea Kitchen
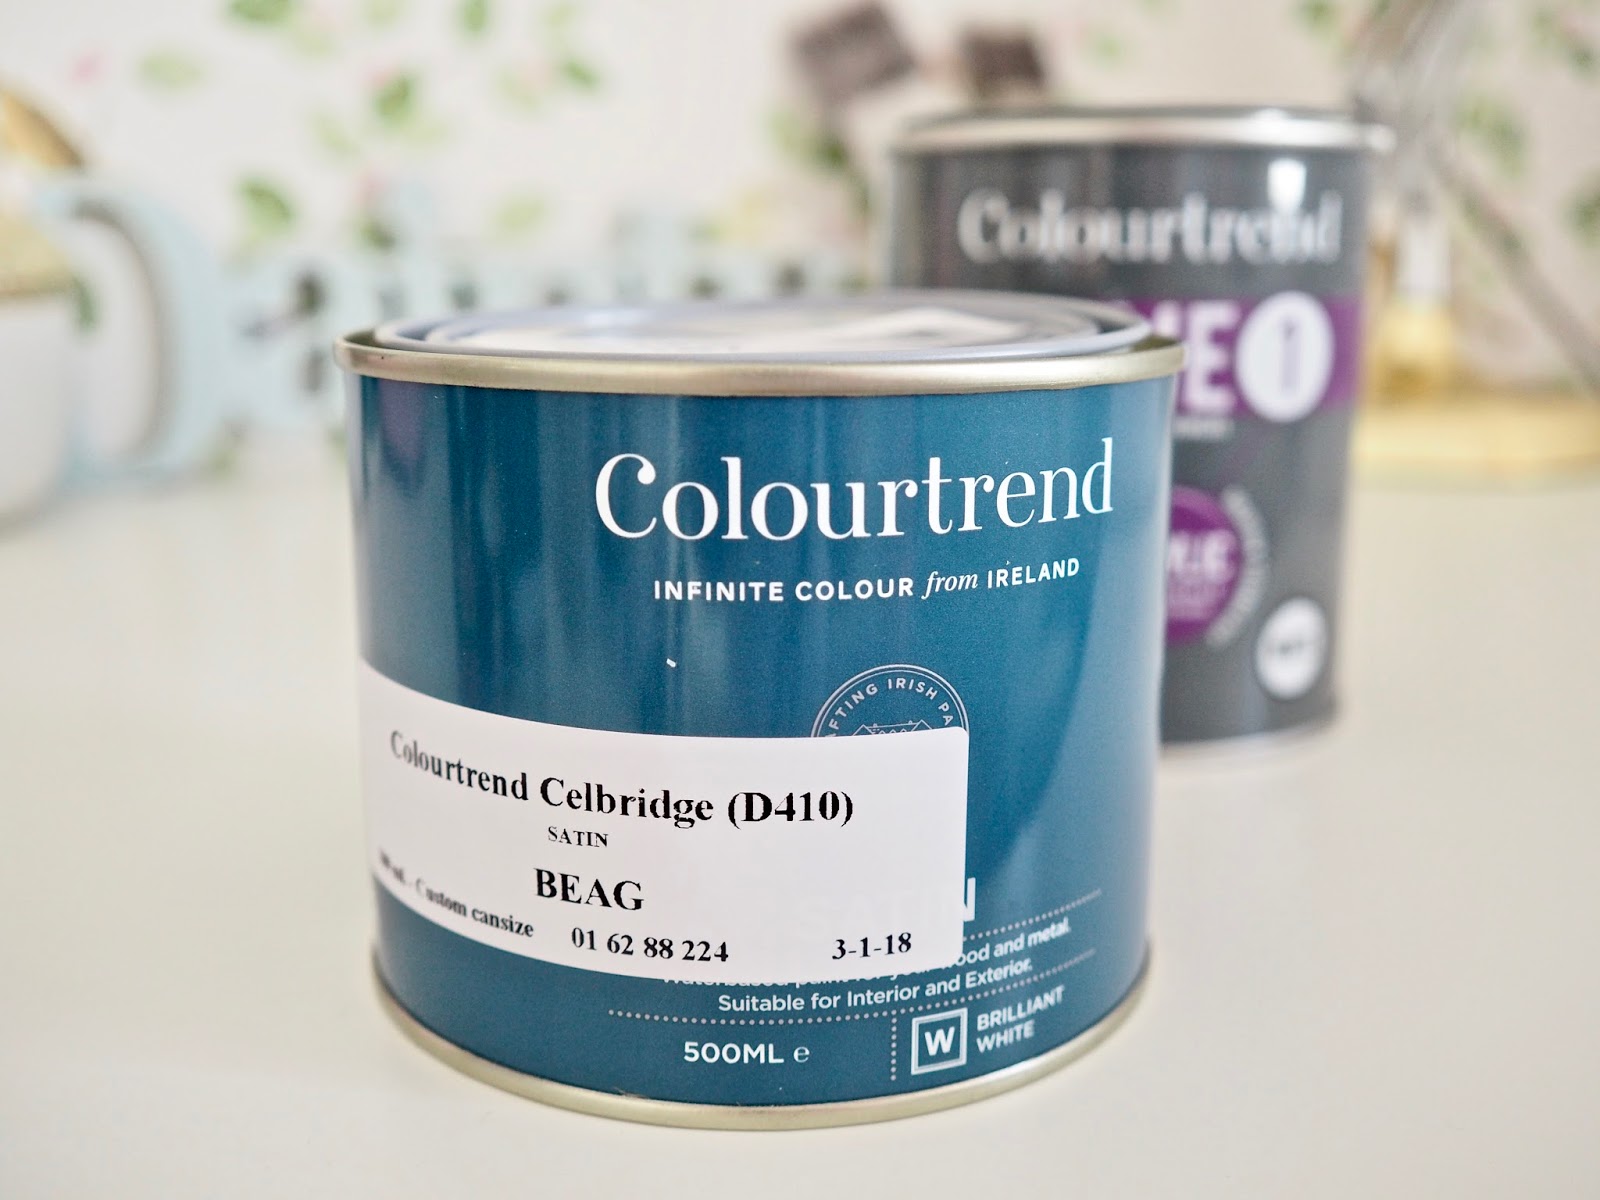
I decided against using chalk paint for this project and went for satinwood paint instead. Previously I used the Colourtrend satin paint in a workshop with Joanne Condon in Kyle lane.
I used it in a china cabinet and I loved the durable finish I got from this paint. Also, I had no discolouration, no chipping and I found it was reliable and hard-wearing.
The satin doesn’t need a wax or varnish on top of it unlike chalk paint does and it is really easy to keep clean. The paint dries with a slight sheen making it wipeable and easy to wipe off any paw marks from playing hands.
I used the Colourtrend primer and the Colourtrend satin paint in the shade Beag.
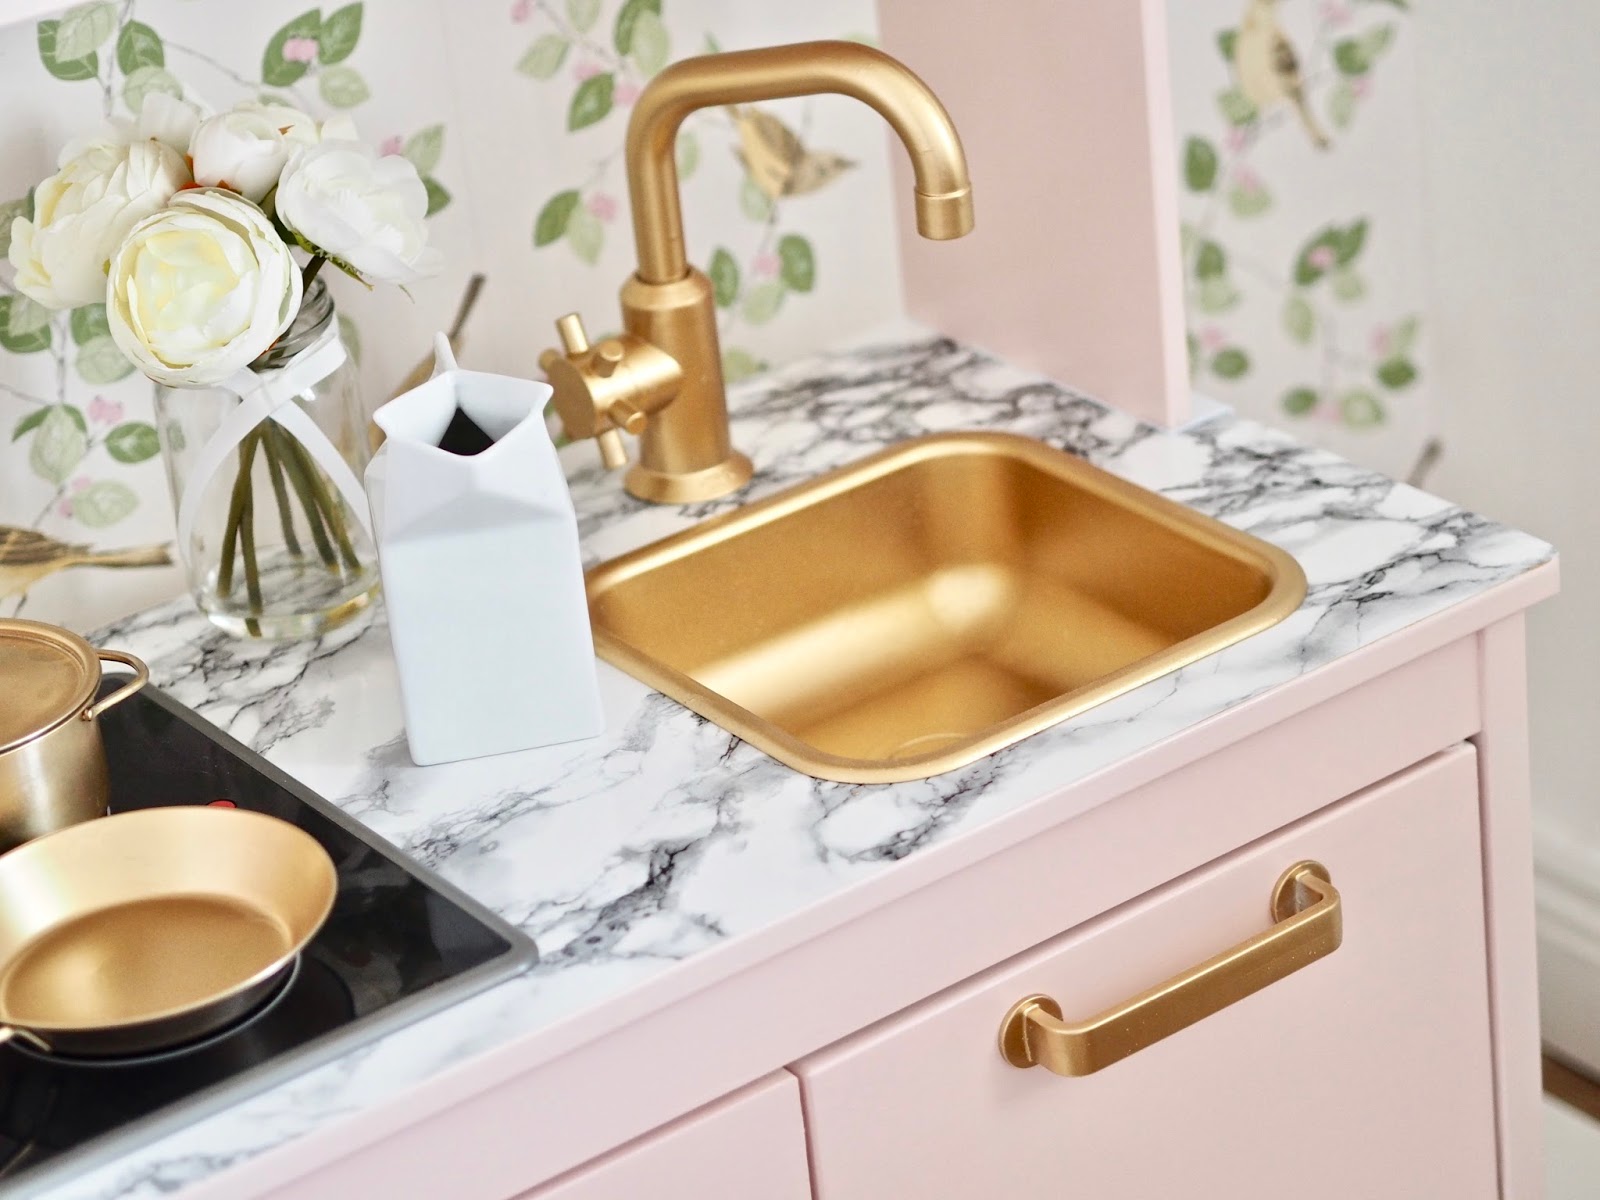
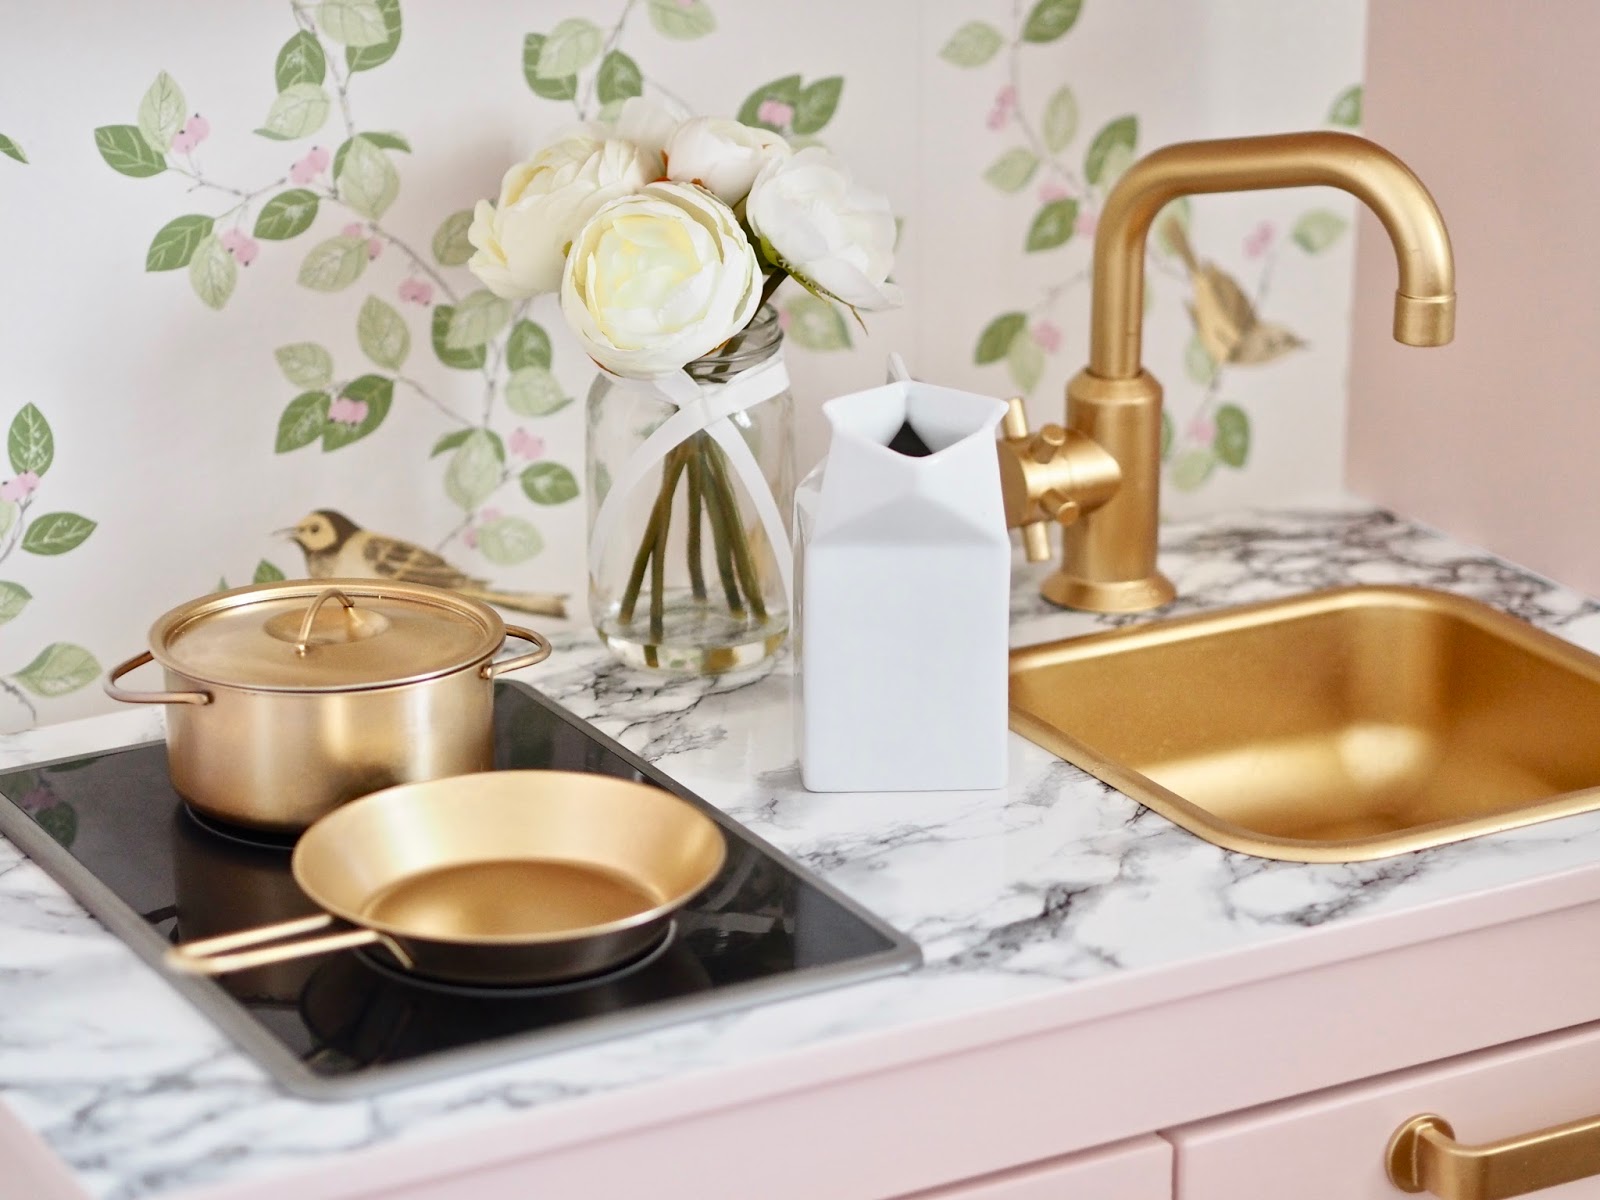
My marble counter
I had loads of marble contact paper leftover from my marble tray table DIY. So, I decided to put it to good use and I used it to cover the countertop of my kitchen.
Once all my paint was dry and I was happy with the coverage I applied the marble contact paper.
I got the paper from my local Woodies. When I think of contact paper I always think back to the horrible sticky bubbly stuff you had for covering your school books as a kid. So, I can happily say that it has come a long way and it is a dream to work with.
I first roughly measured and cut to size. Then I started at one corner and slowly peeled off the backing and smoothed it by using a plastic bank card. Using a blade, I trimmed off any excess paper and then it was ready to go.
I love the idea of the contact paper on the counter as it is really durable and can withstand kids playing on it.
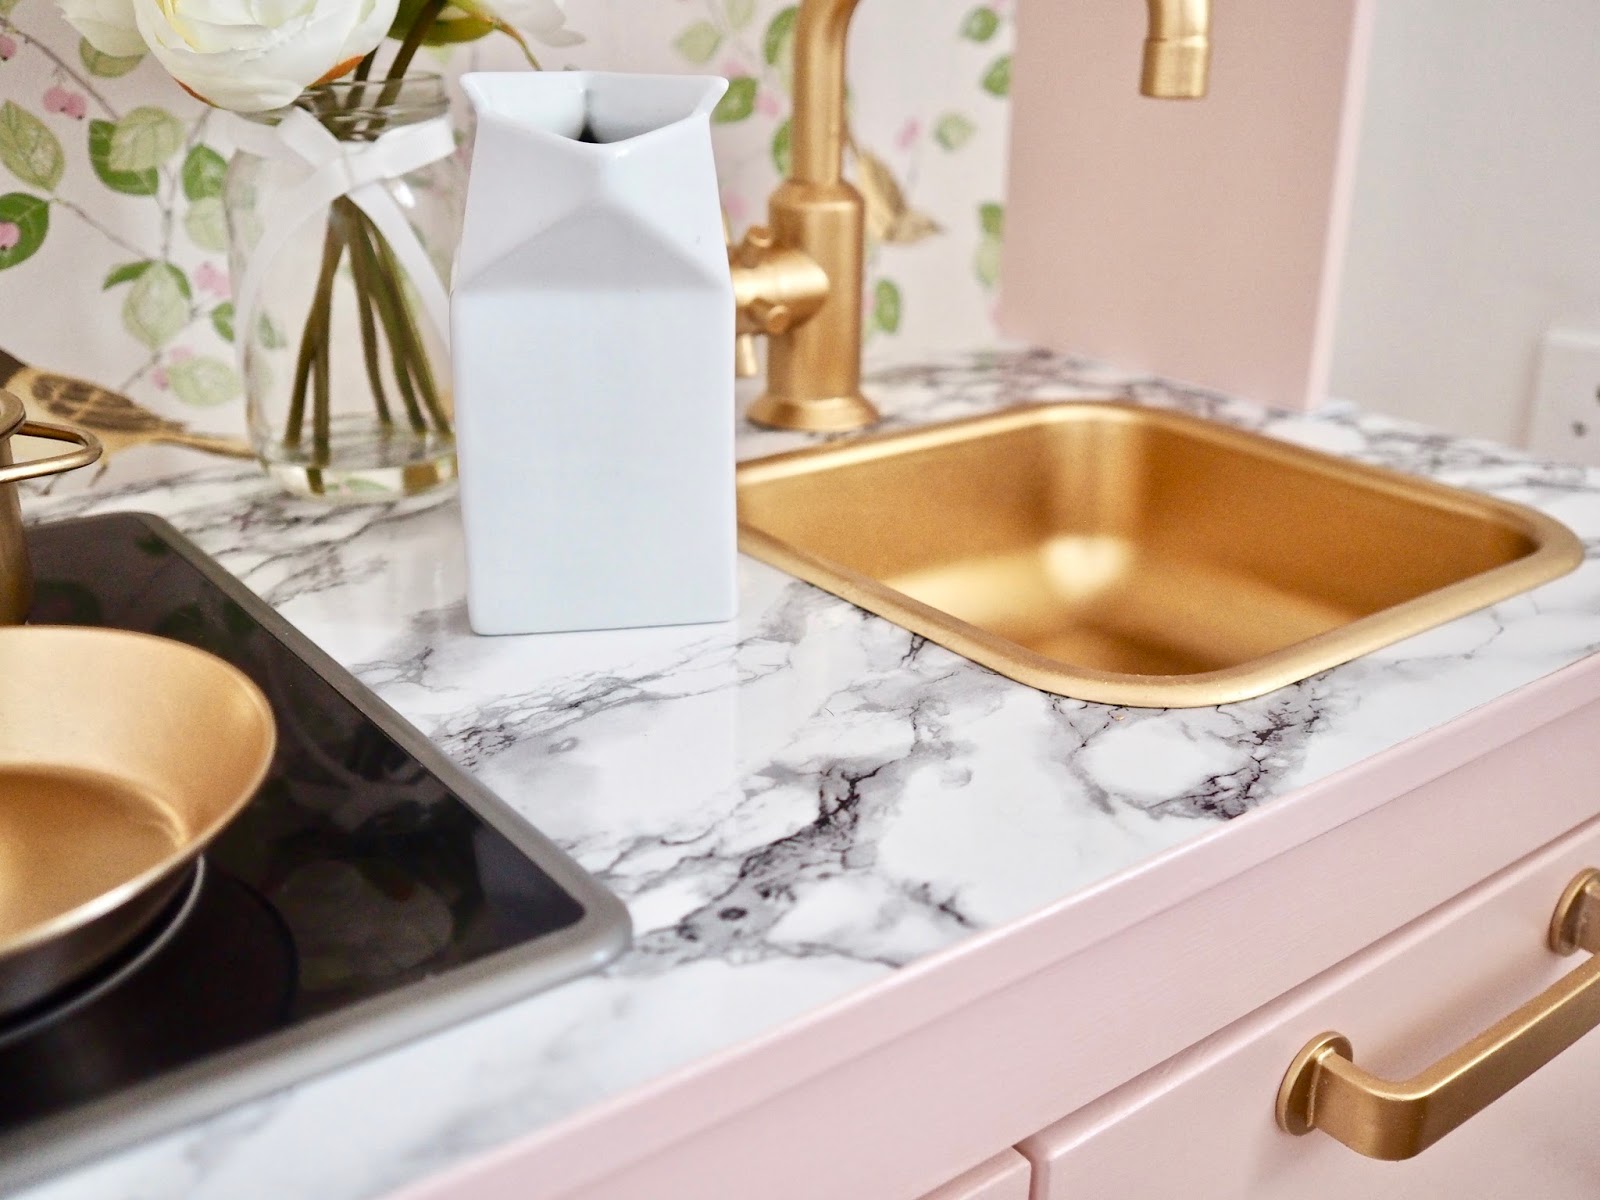

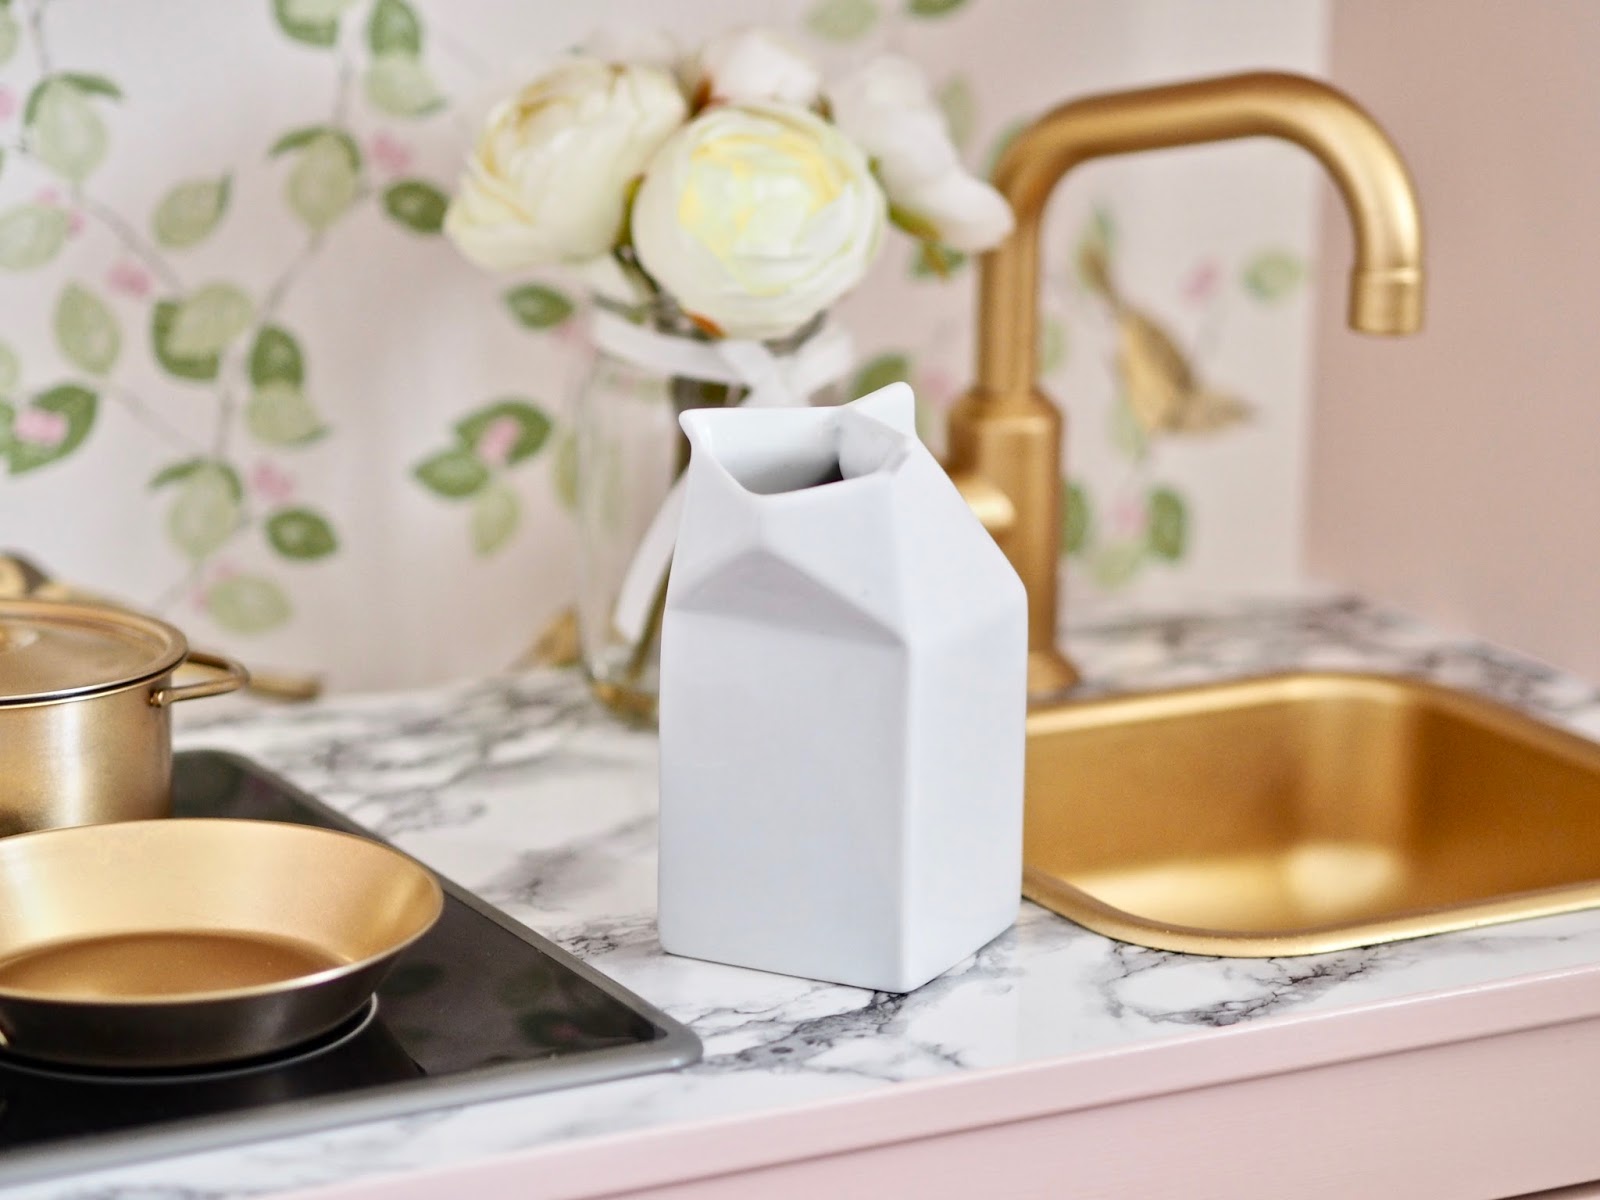
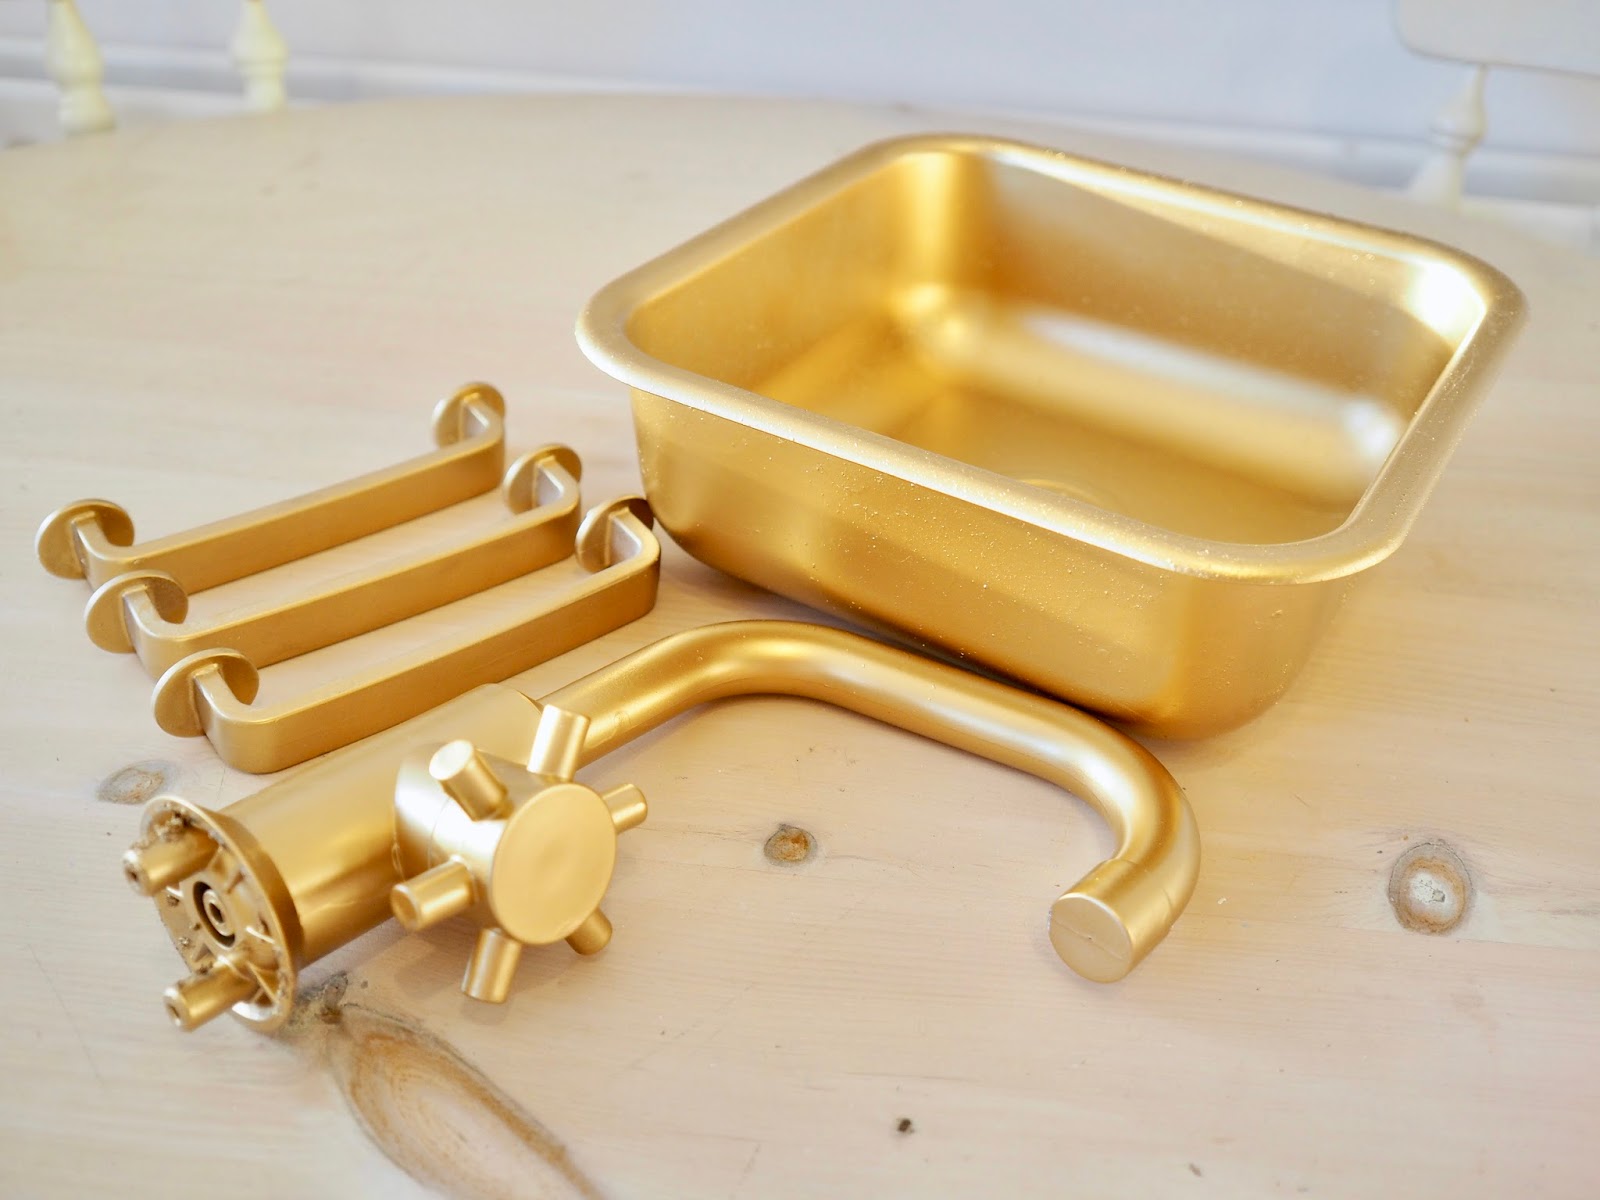
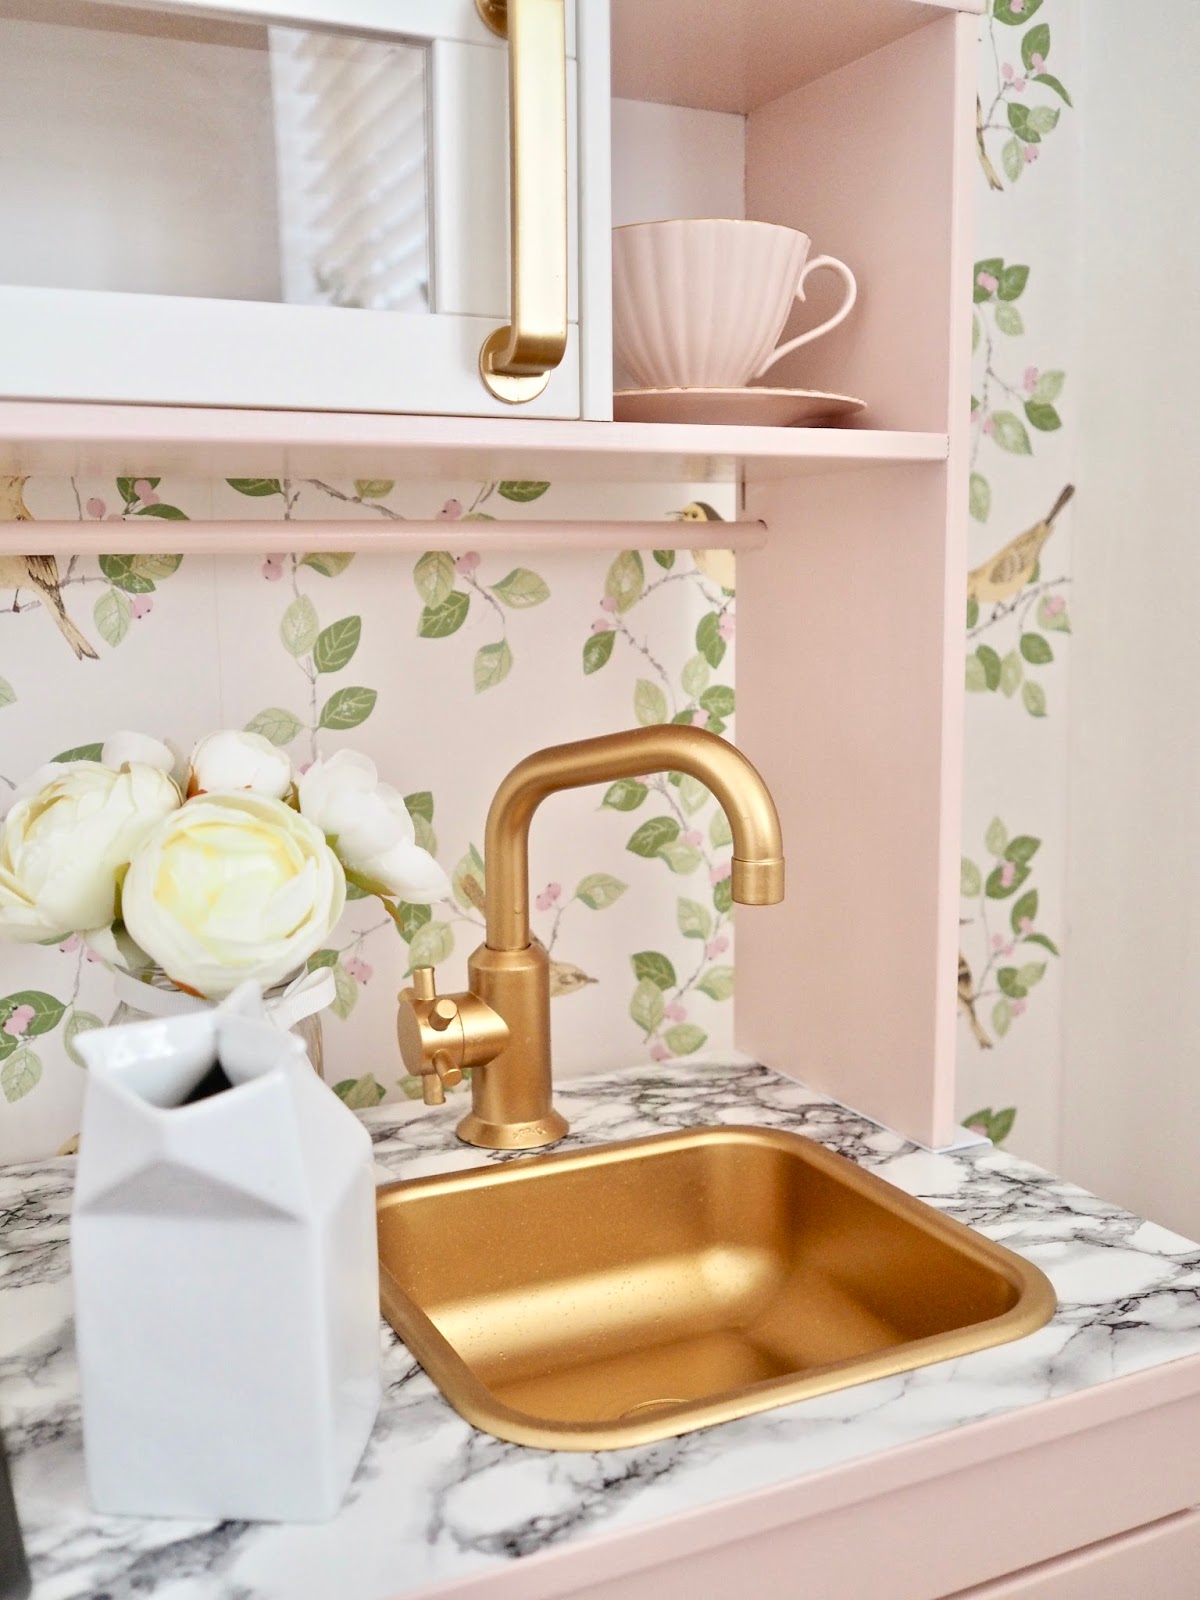
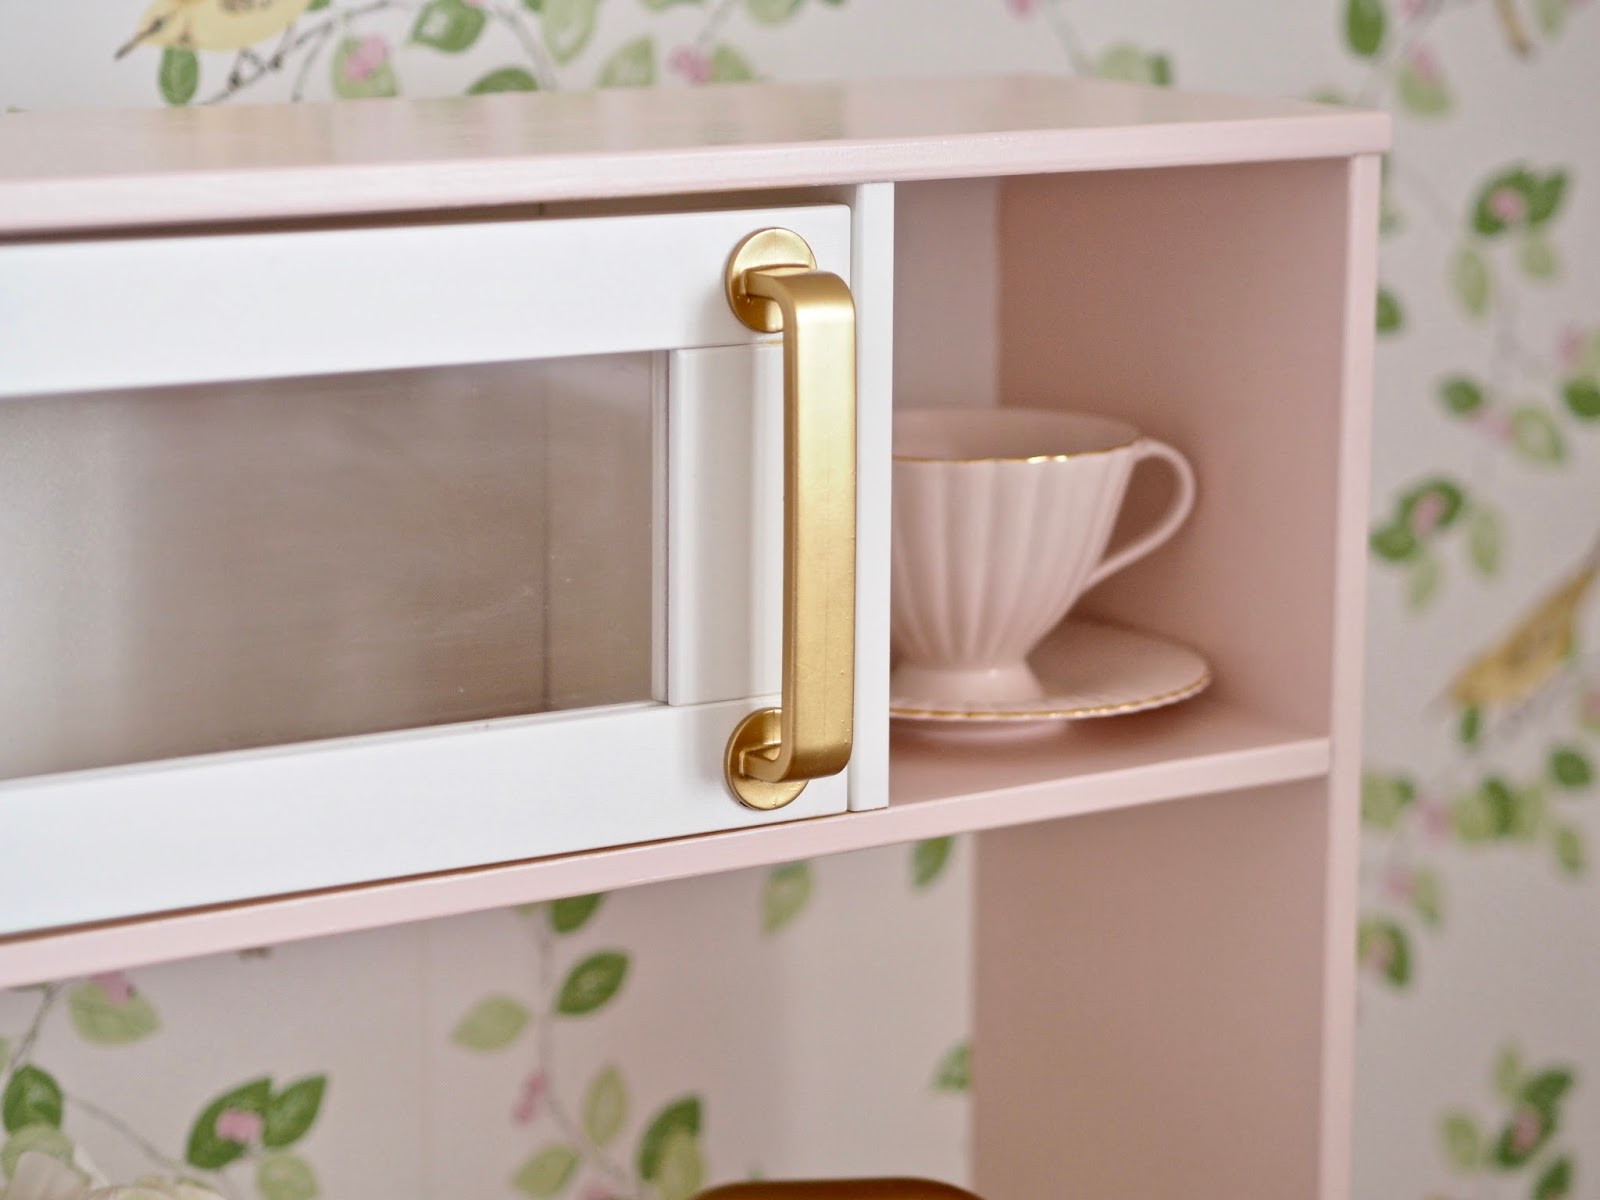
The gold sink and hardware
I then used the Rust-oleum spray paint for my sink, taps and handles. I used two coats of Metallic spray paint in the shade of bright gold. Before applying the gold I applied one coat of Plastic primer from Rustoleum.
I cannot stress enough the importance of plastic primer. If you don’t prime the plastic then the gold paint will peel over time.
When I primed my plastic sink I did notice that a corner of the sink flaked off. I removed off any of the areas that had flaked and I reapplied a thin coat of Plastic primer and allowed it a full 24 hours to dry before applying the bright gold colour.
I applied one coat of the bright gold spray paint and allowed it to fully dry before screwing them back onto the kitchen.
If you experience any flakes with the spray paint then remove the handles or sink from the kitchen to ensure any children playing with the kitchen don’t get any flaking paint on their hands.
I would also recommend painting this kitchen for children that are slightly older and won’t lick or chew any of the painted pieces in the kitchen.

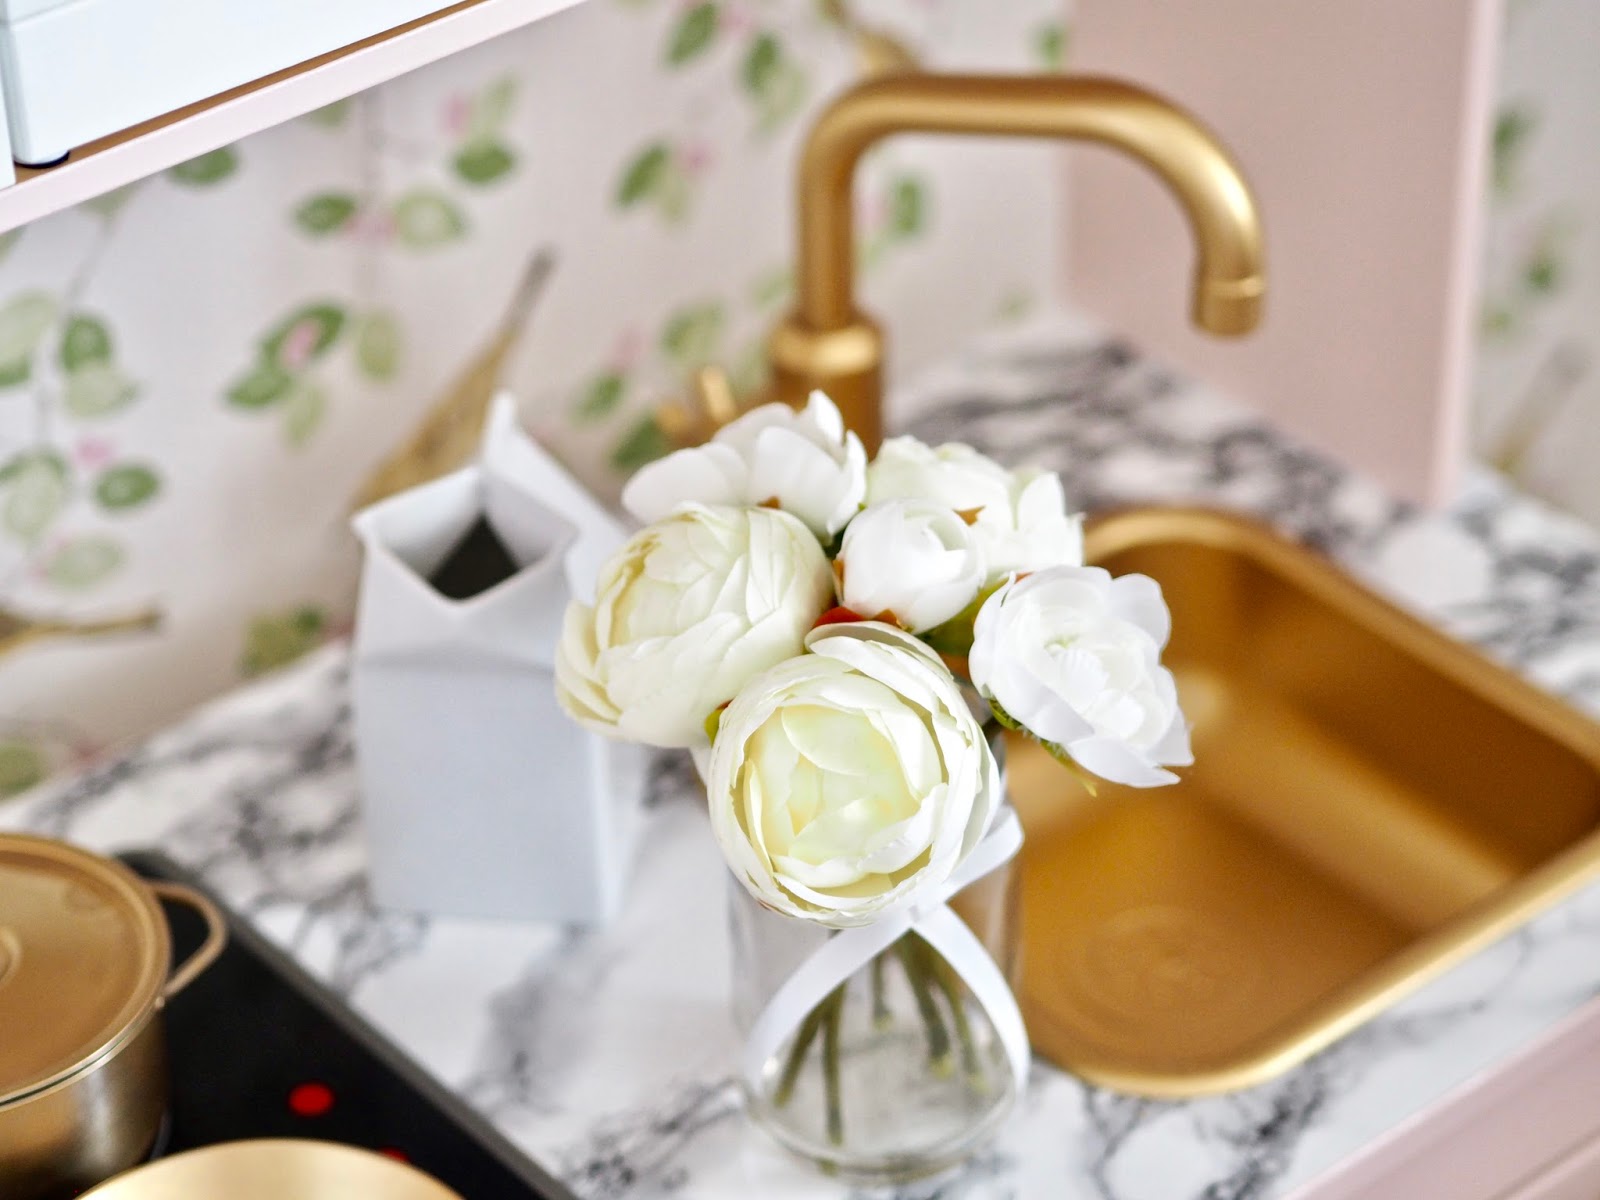
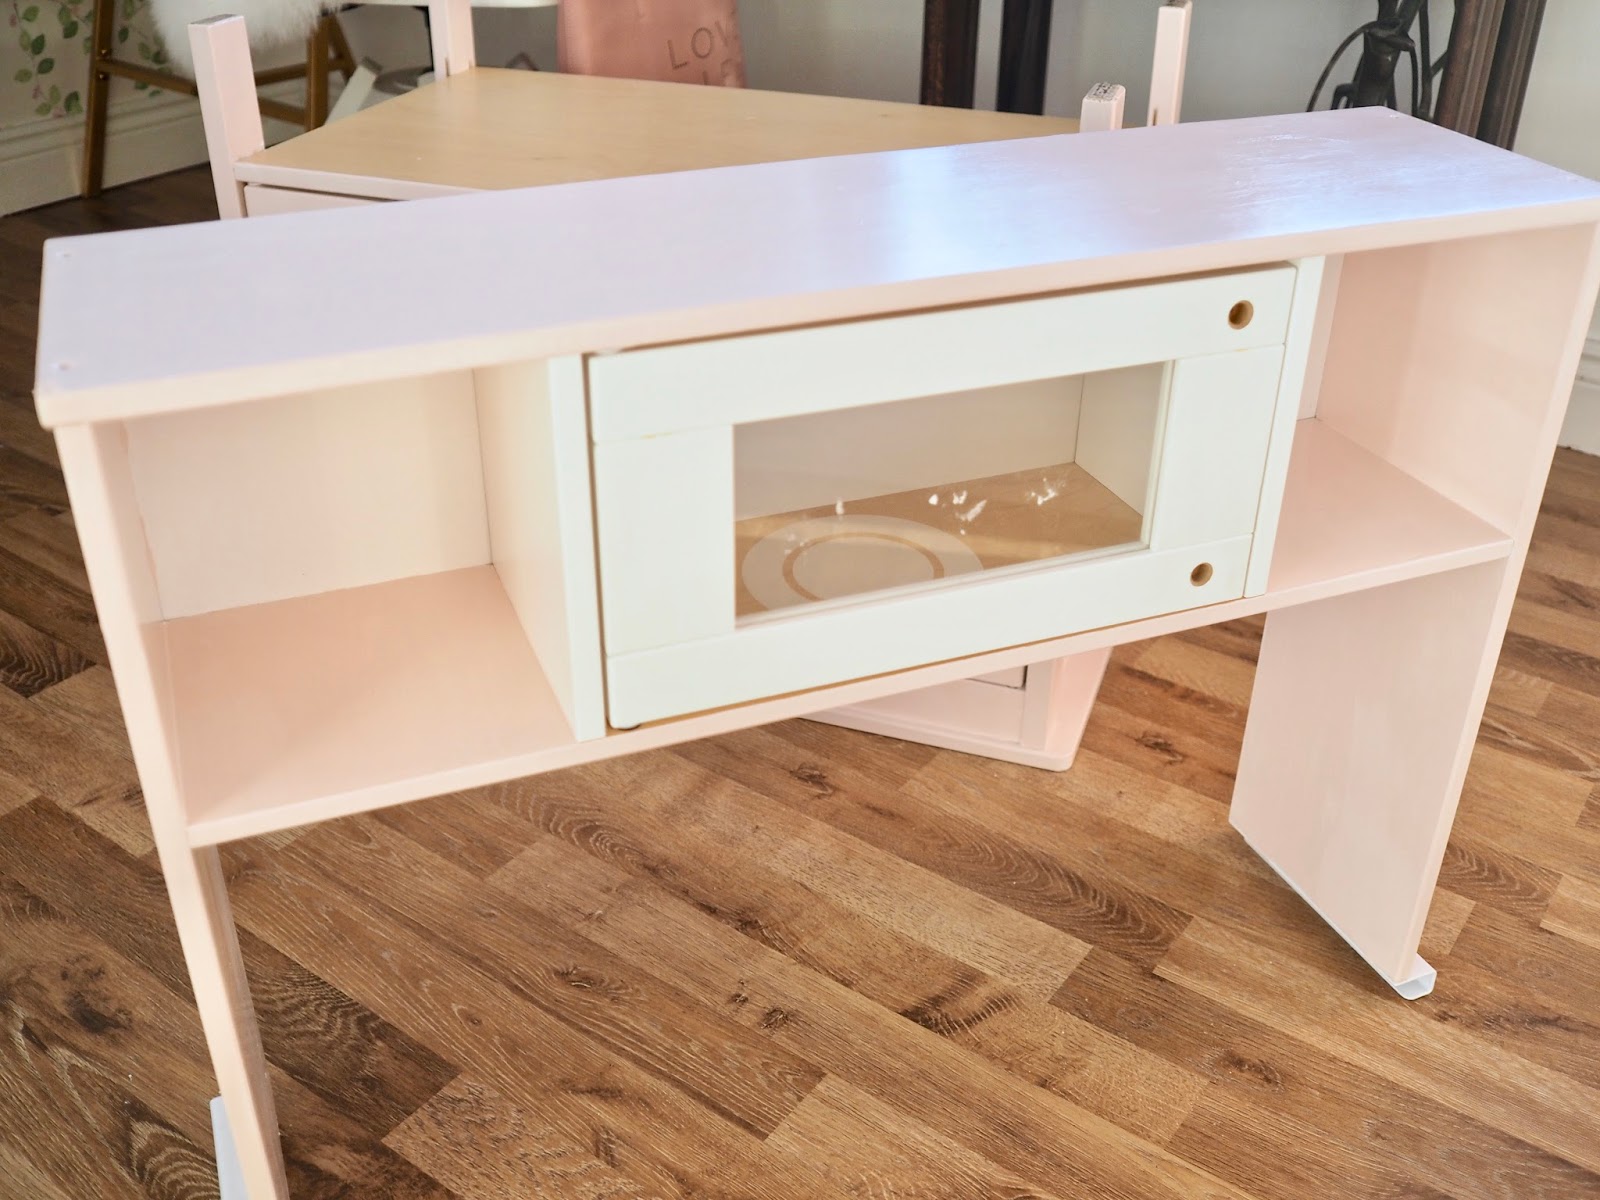
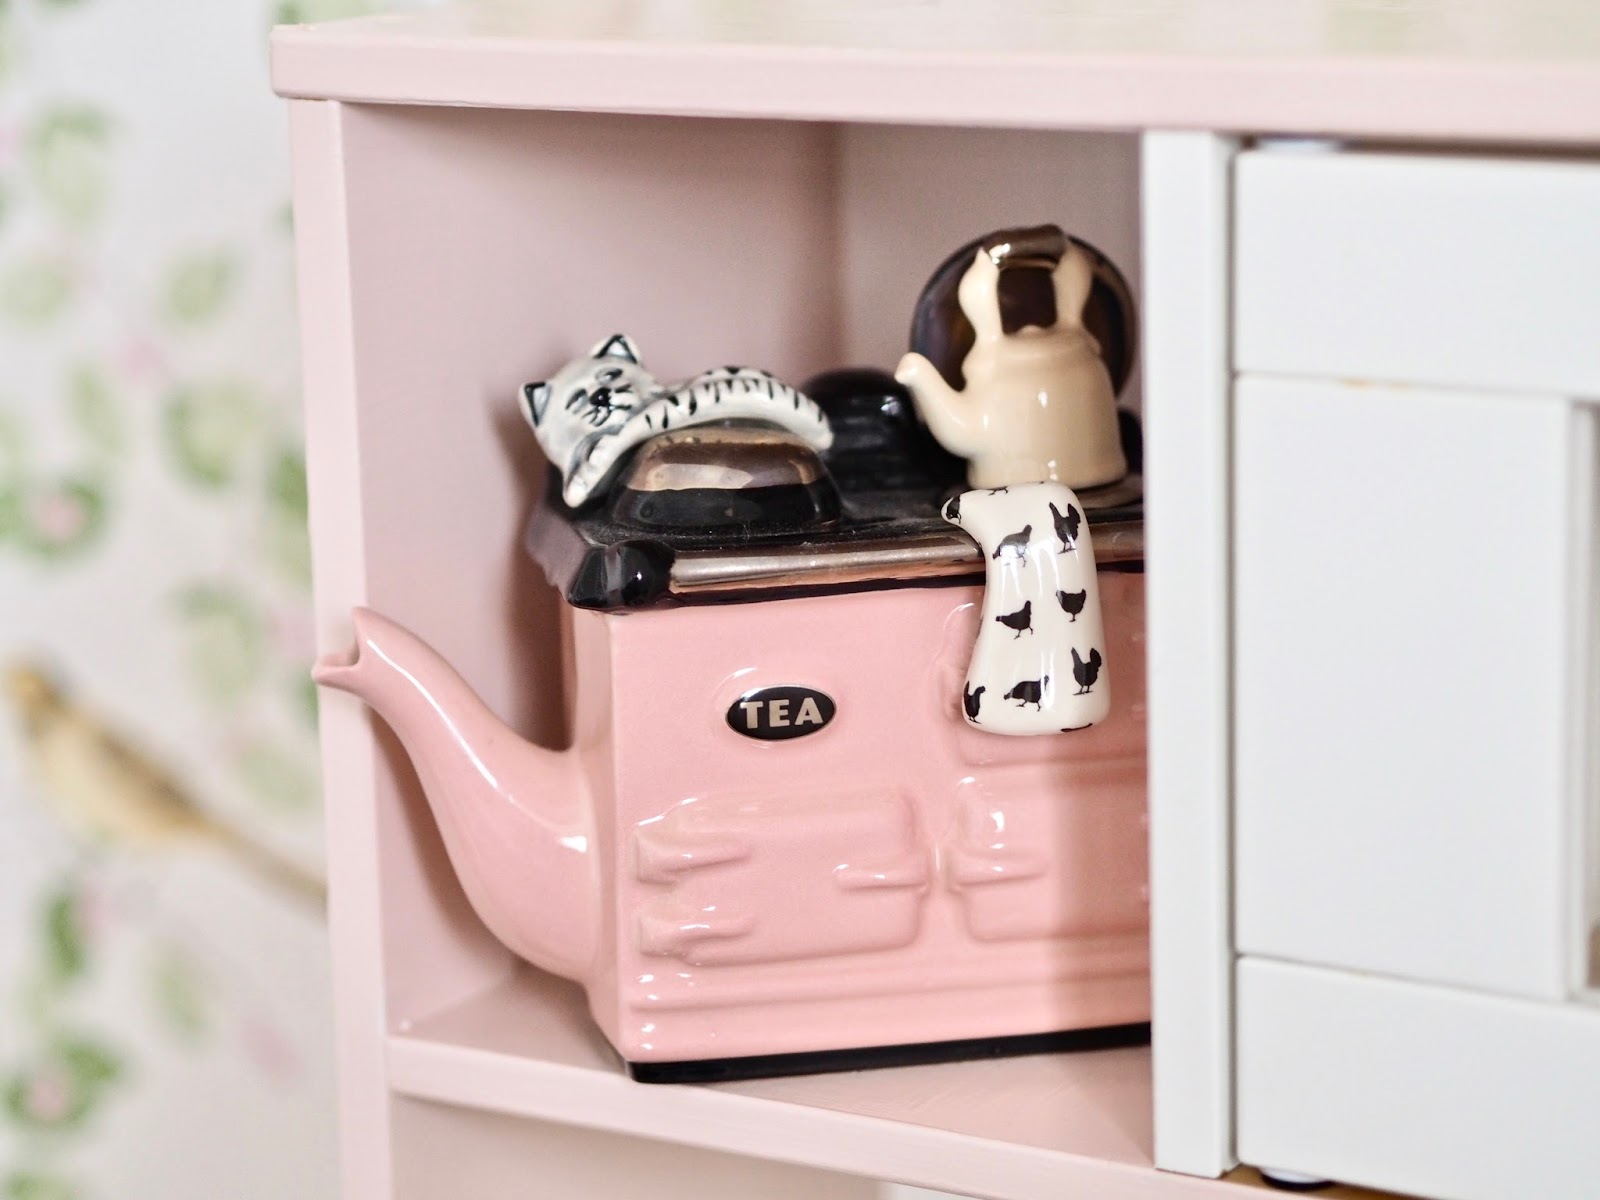
Assembling and styling your painted Ikea kitchen
Once I was happy with all the pieces I assembled my kitchen back together. This was the fun part as I could see it starting to take shape. As with all paints and projects, it is really important to let your piece fully dry and cure. Your piece can take a week or two to fully cure.
Make sure to keep your piece away from playful hands until it is fully cured. This will ensure the paint has a better chance of not chipping.

Check out my Youtube video for a better look at my kitchen. I will leave a link to it below. I would also love if you could pin and share this post on Pinterest, Facebook and Instagram and tag a friend who you think would enjoy this post and DIY. .
This has been my favourite DIY for a long time. Also, my inner child loved styling this up and photographing it and secretly playing with it too lol. Thanks so much for popping by, Chat soon, Catherine.
Please PIN this image on your Pinterest boards


Love this! I’m currently doing my own kitchen hack and I’ve sprayed the bowls, taps and handles with the primer (rustoleum) left for 24 hours and applied the metallic gold. The spray has pooled in the bottom corners of the bowl despite me lightly spraying. Did you experience this? Also the white primer appears to be leaking through once dry, not sure if its a dodgy spray can. would love to know your thoughts?
Thanks
Author
Hey Jessica, The Autentico versante in eggshell is really good. I have used it on my kitchen presses and used it recently in my work kitchen makeover. Make sure to use the eggshell, they also have a primer. If you buy from here https://autenticopaintonline.co.uk I have an affiliate discount code DAINTY10 for 10% off x
Soo beautiful! Going to try this hack for my daughters 2nd bday prezzie😁 cannot wait! Thanks for the inspiration!x
Would you no if there’s anything similar to the primer/paint you use? I can’t seem to find it anywhere in the UK so need an alternative?
Xx
Author
Thanks so much for reading Nicola x
I love this inspo and amazing to find an Irish blog that mentions products I have or can easily get!!!! Thank you
This is amazing! I will definitely make my IKEA kitchen inspired by yours for my twins. How much paint did you use? Is 500ml enough? Thanks for sharing this gorgeous piece 🙂
I’ve been looking at different Ikea kitchen hacks and this one really caught my eye! And I love the wallpaper in the background, really ties it together. Where did you purchase? Thank you!
I'm so excited to do this! Did you spray the pans etc too? x
Thanks! Yes, I think the pop of gold really makes it, I want the adult version!
That is so freaking adorable!! I love the gold features. And it looks like Blondie approves! 🙂
Thanks Linda, thanks for reading and commenting, Have a lovely weekend. x
Gorgeous! I love it!