Hi everyone.
Today I have a fun upcycle project for you and also a review of the wee red boutique chalk paint mix.
I picked up this Ikea dolls bed after seeing them up cycled into pet beds on Pinterest.
For ages I have been wanting to give it a shabby face lift for Blondie and I decided to test the chalk paint mix on it.
Read on below for all the details on what I used and how I mixed the paint and also a quick link to purchase the chalk mix.
The below picture is the Ikea doll bed before I got my hands on it, it came with a blue blanket and pillow.
How to mix the chalk mix.
You will have to excuse my packet as I was using a stamp kit and was testing a stamper and thought I had taken a proper pic of the packet but I hadn’t.
I used an empty plastic container to mix the paint but a jar would be perfect also.
I used half a tester pot of emulsion paint.
First I added a tea spoon of the chalk mix to the container and then I added a drop of water and mixed the powder and water into a paste.
Then I added in the paint and mixed well.
Don’t worry if your mix is too watery as you can add in a bit more powder to thicken like I did.
There is a lot of powder in the packet and this bag would last ages, I am going to try it on a shelf unit that I want to paint and see how much of it I use on a larger project.
You can find more info on the chalky stuff mix from wee red boutique here.
Here is their Instagram too @weeredboutique
The color is pale sable by Laura Ashley.
Above is a pic of my paint mix,
My advice is make a small batch as you will be surprised with how little you use and you can always make more if needed so you wont waste any powder.
I have used plaster of paris to make my own chalk paint in the past and I found this was less lumpy and it didnt start to dry out in the container like the plaster of paris did.
The paint went on really smooth and no lumps of chalk either. It seemed to take quicker to dry also between coats.
I applied two thin coats of the paint.
It wouldn’t be a shabby chic bed without some moldings!
You can get these little bow moldings here.
To seal the paint I used varnish, you can use wax but I have a tin of Annie Sloan lacquer that I wanted to use u and this worked perfect at sealing the paint.
You can also distress your piece but I wanted a block color for the bed.
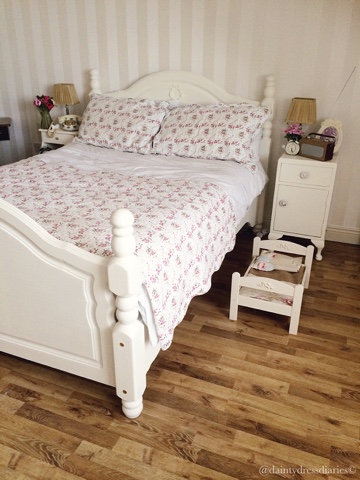
I just cut some hessian material and put it around the base of the bed and cut some of the floral fabric I had to make the duvet.
The floral fabric is from Hickeys Home focus in Blanchardstown.
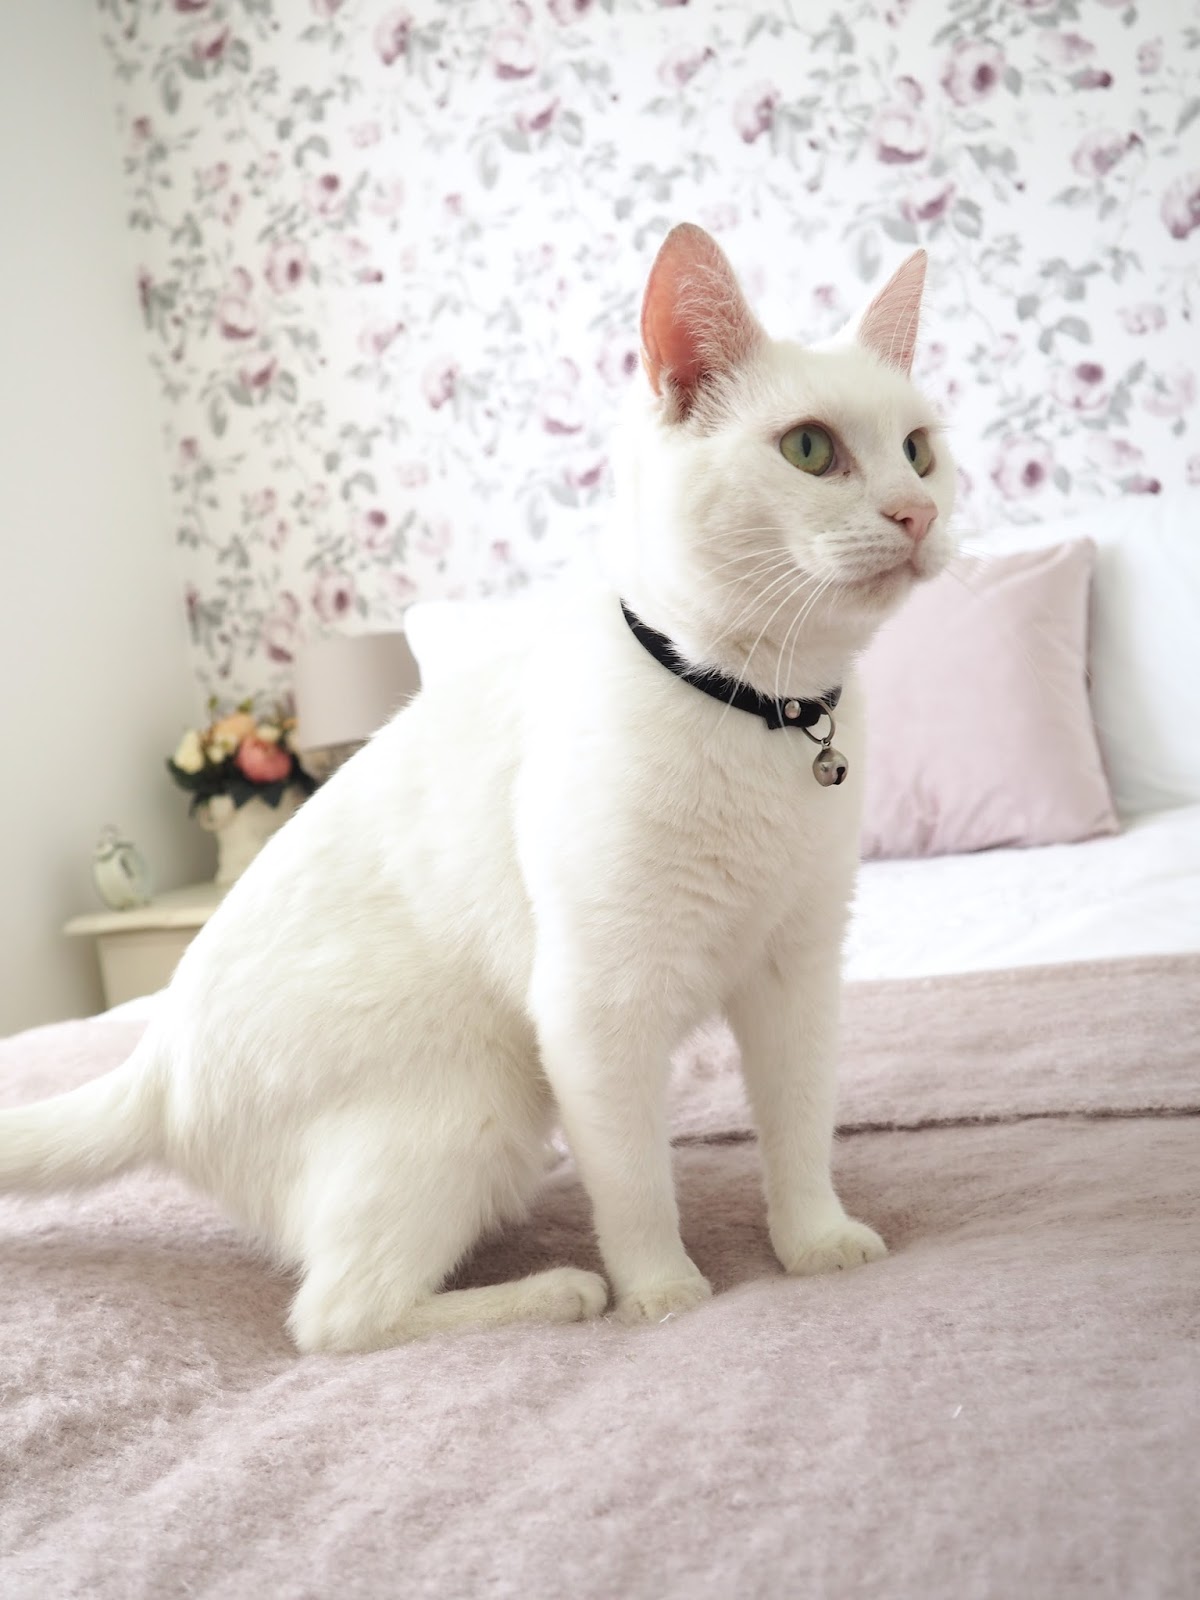
Now me and Blondie have our matching shabby chic beds.
You can find the blog post for my diy bed makeover here..
I hope you like it.
Please share your up cycle projects and paint jobs with me and don’t forget to share your blog in the comments section.
Thanks for stopping by.
Catherine and Blondie.


OH Catherine it's so cute next to your bed! Blondie is a cutie xx
Aw thanks so much siobhan x
Too freakimg cute!! Blonde is totally spoilt!!!
This is the sweetest cat bed ever!! Pretty sure I could never get my two to sleep on something like this but I wish I could lol! Blondie looks so cute in it! Great project!EllieWww.Maplesyrupandteacups.blogspot.com
Thanks so much for reading Ellie! so glad you liked it.
She really is a spoilt cat x thanks for reading.
This is too cute!! I may add appliqués to everything now, LOL!!! Thanks for the inspire!!
Aren't they fab!! They really transform a piece X
This is sooo cute! Fab transformation! X
Aw thanks X Blondie loves her bed! Although she tends to sleep everywhere around the house lol X