
Using contact paper and Copper spray paint
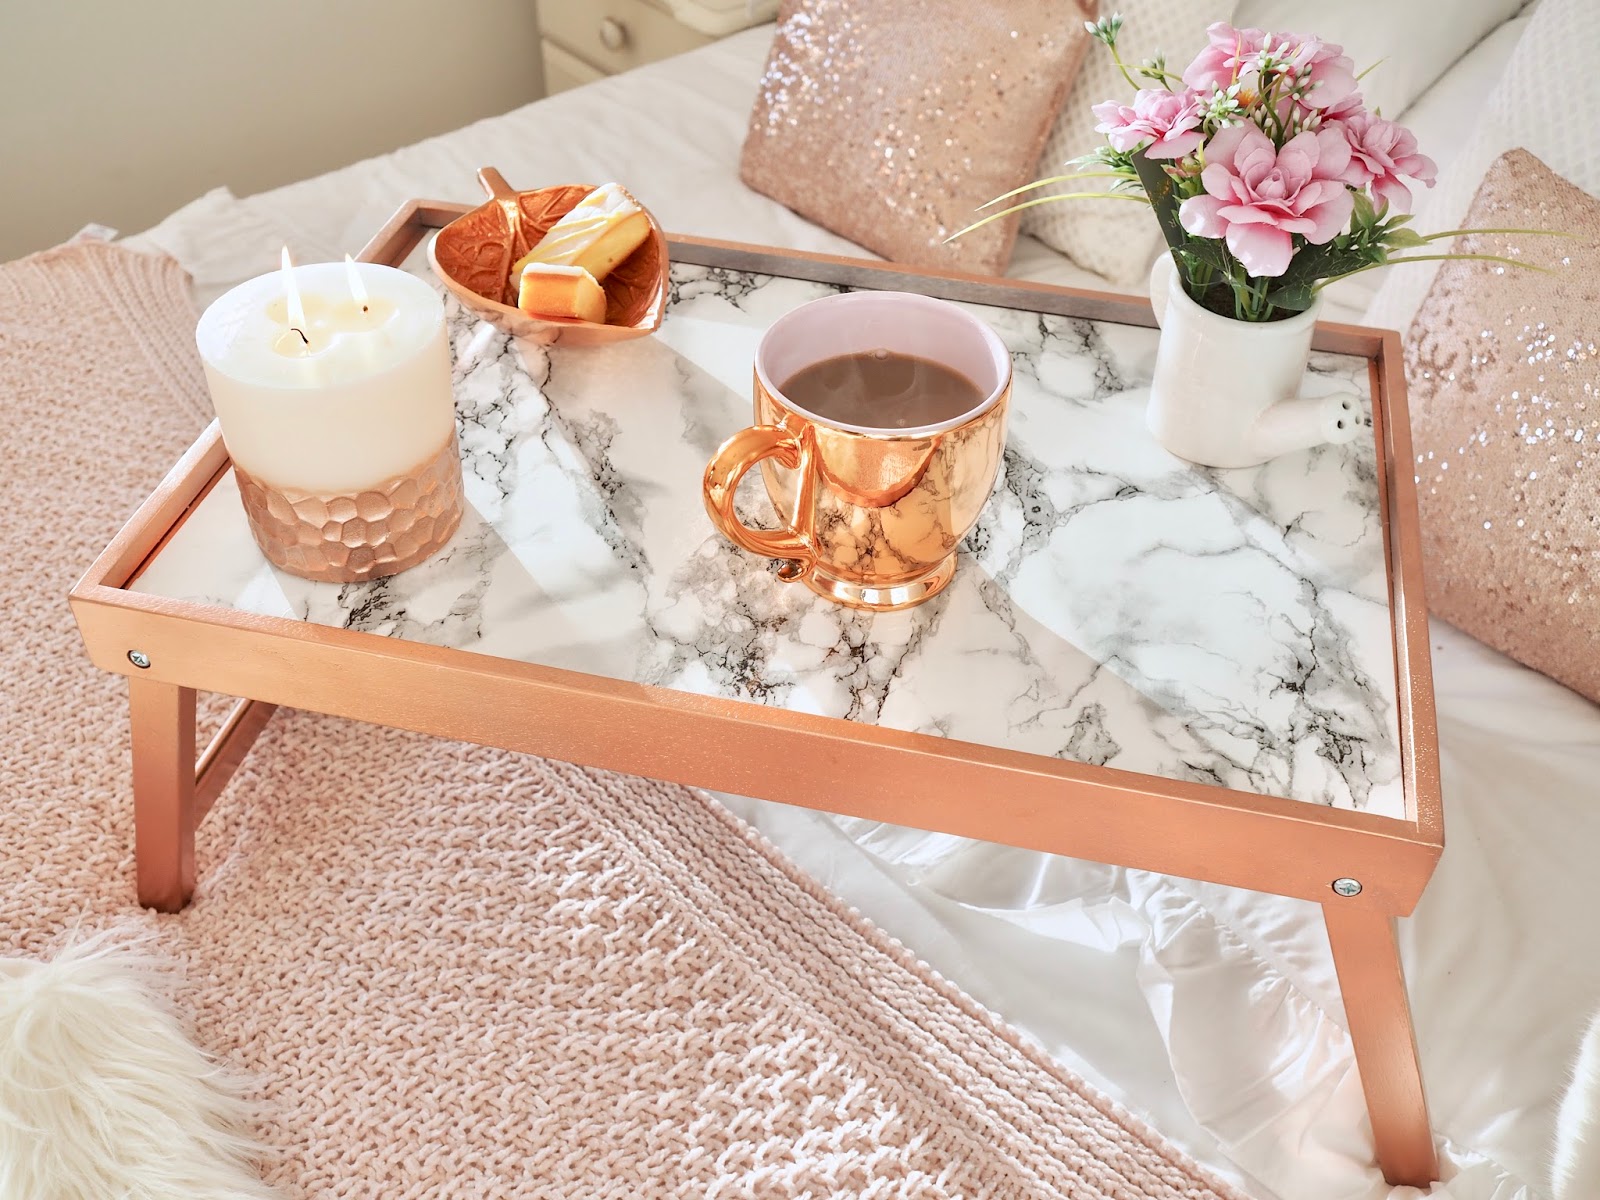
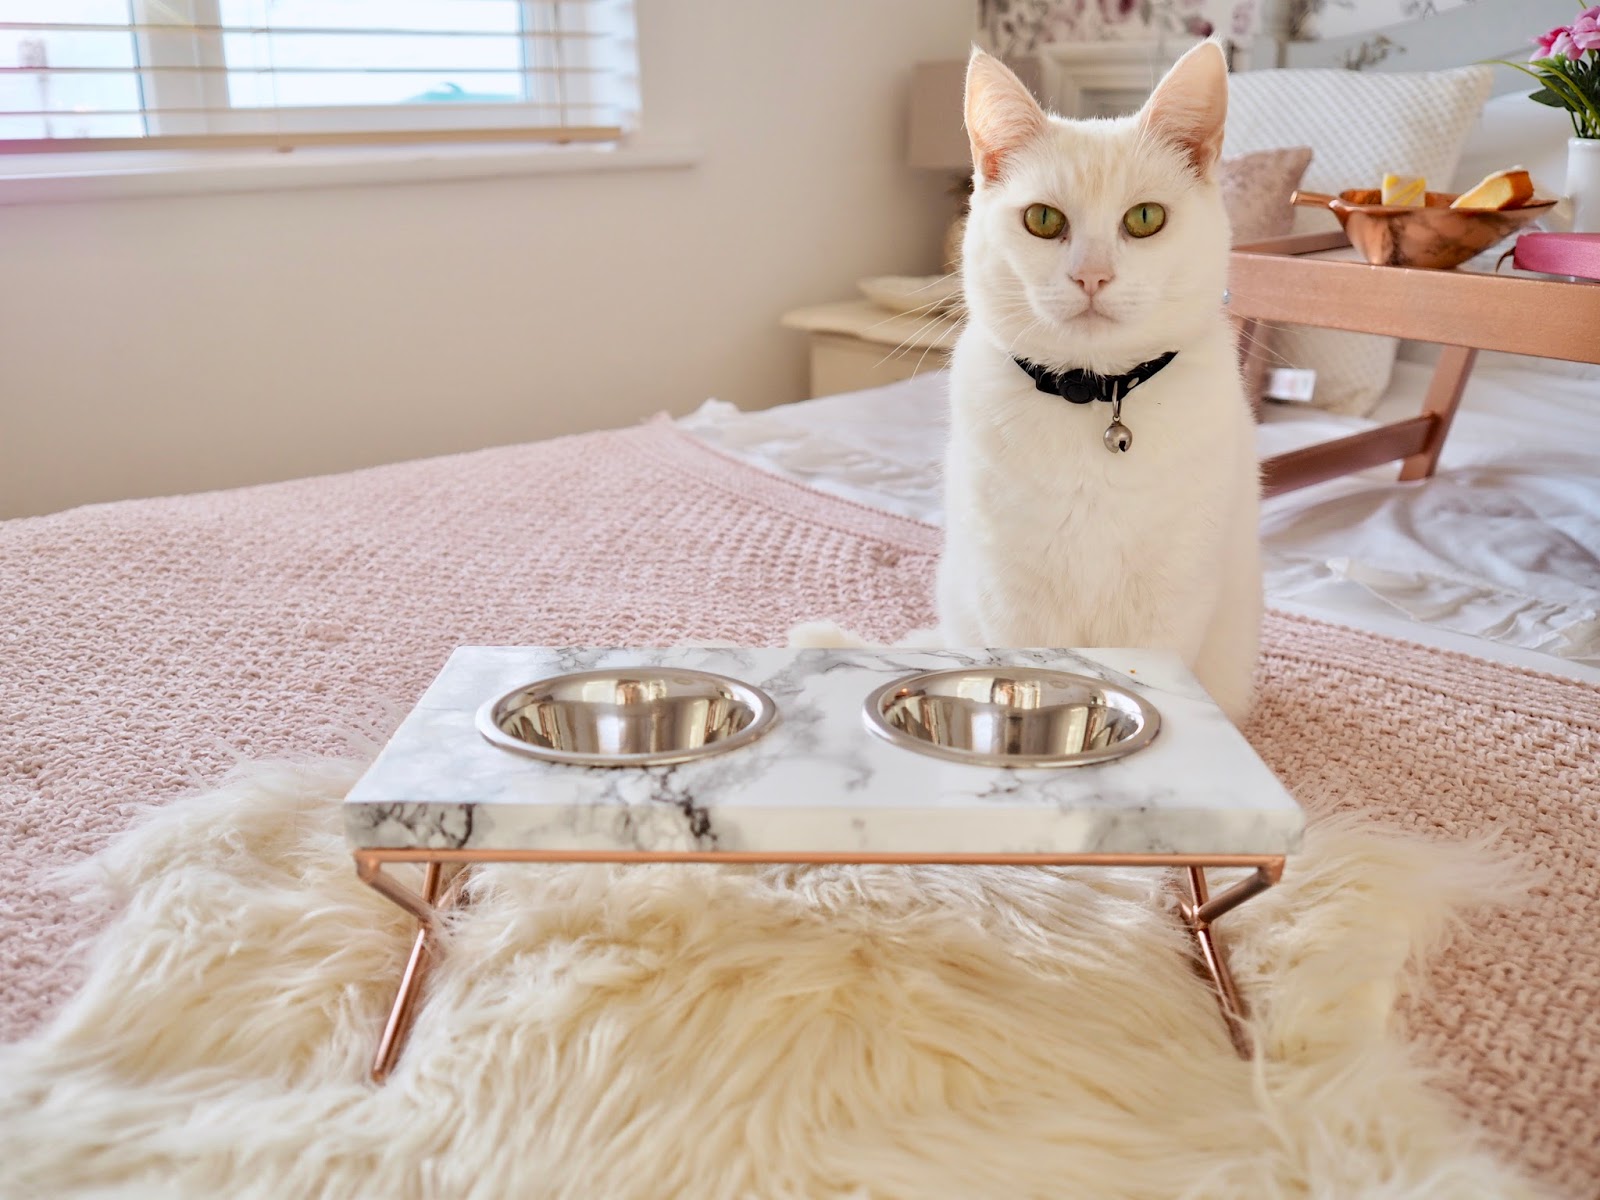
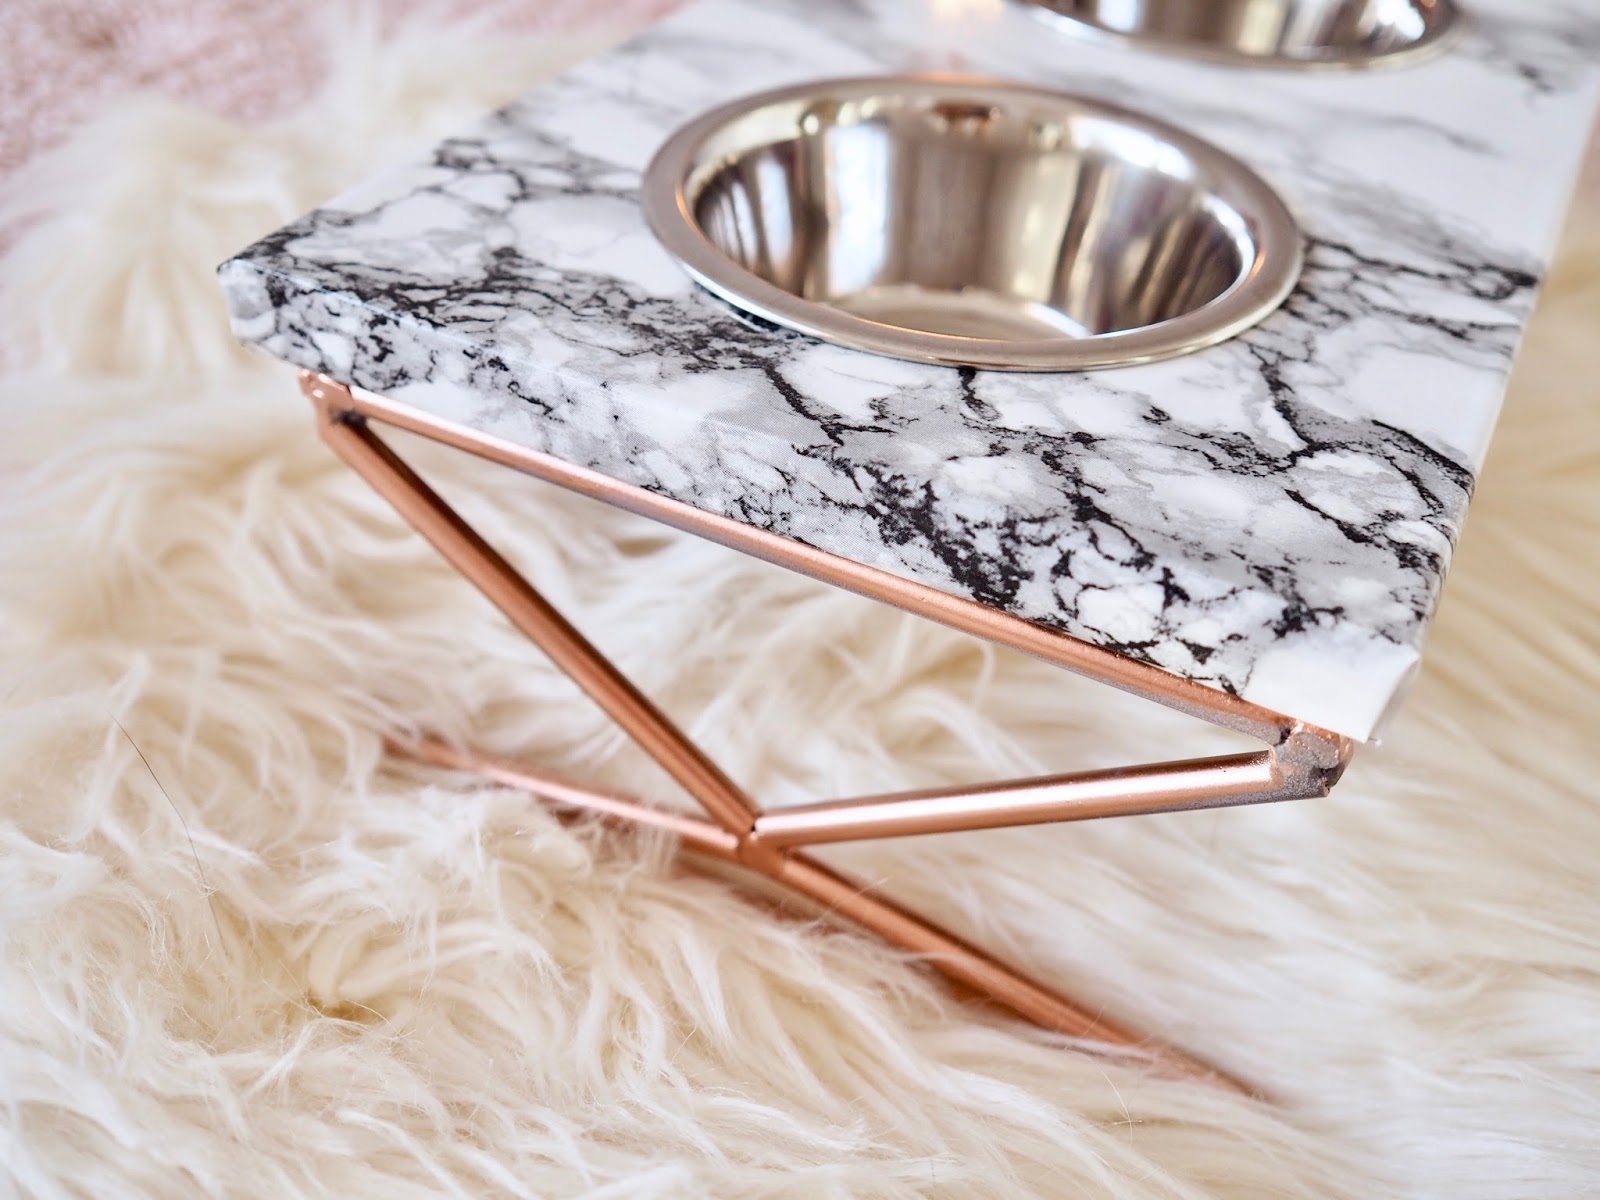
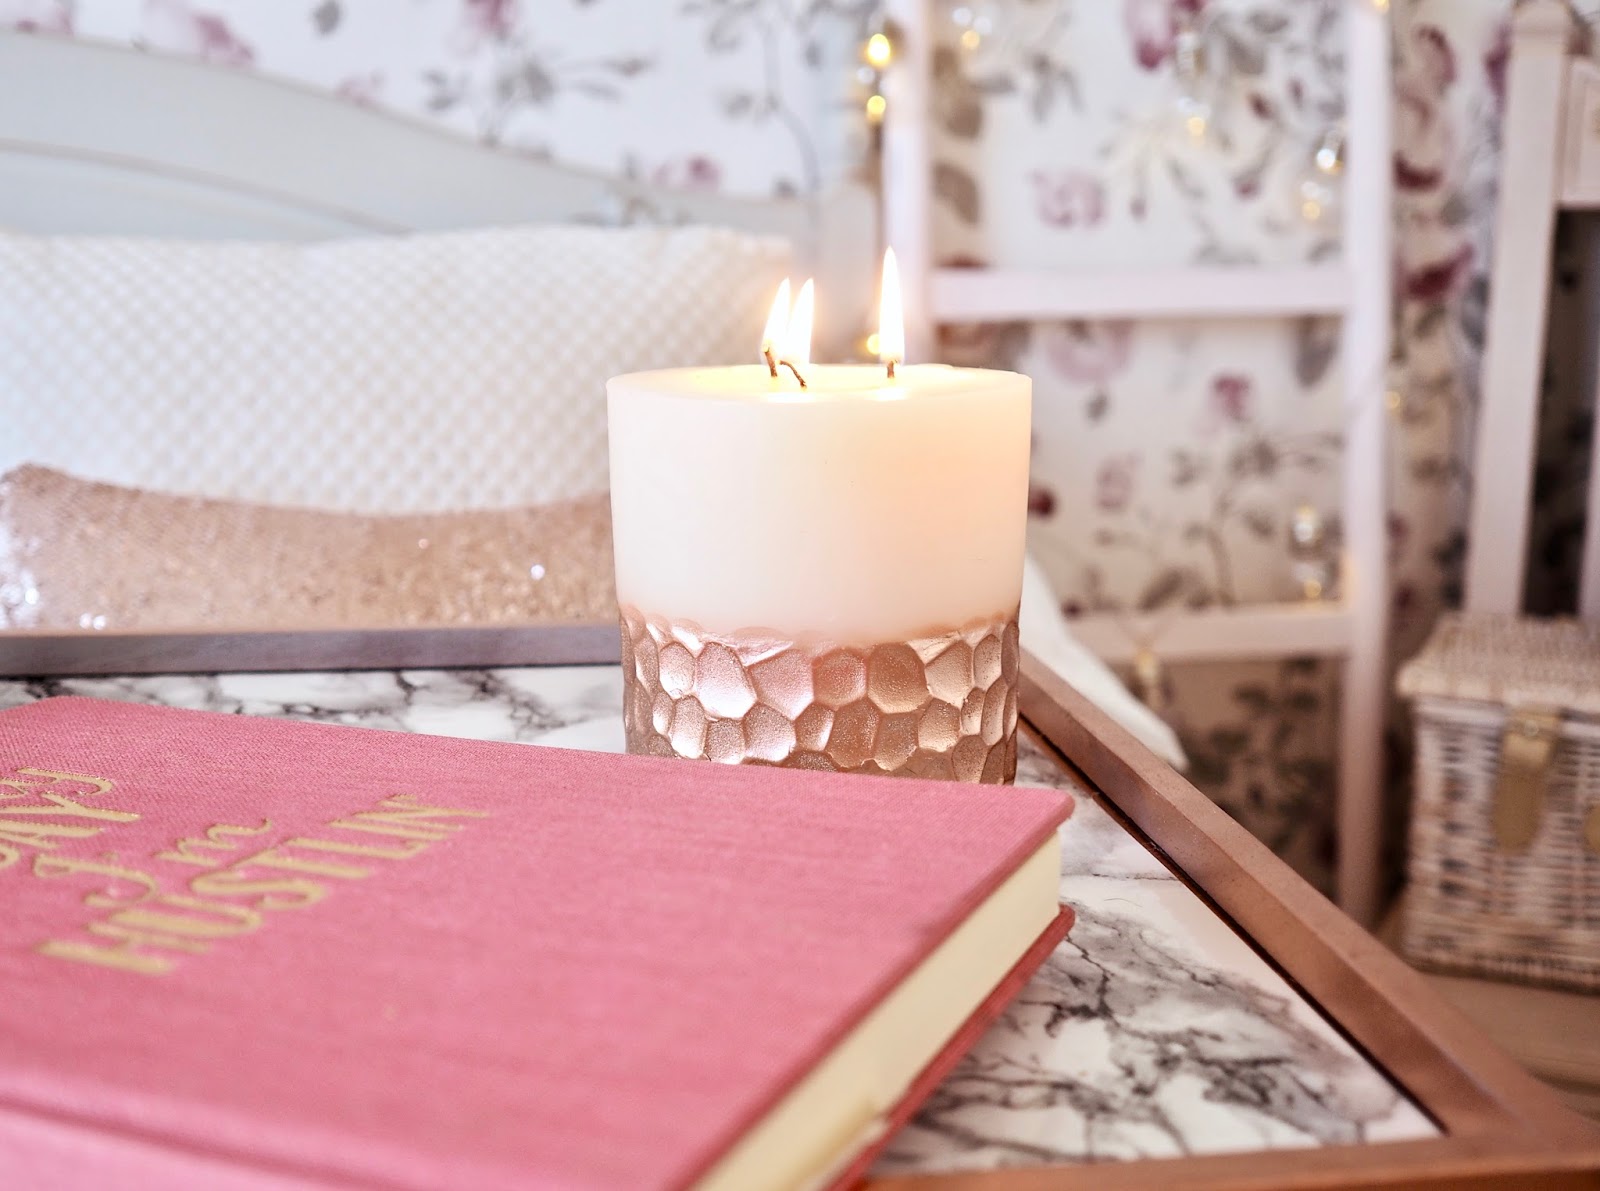
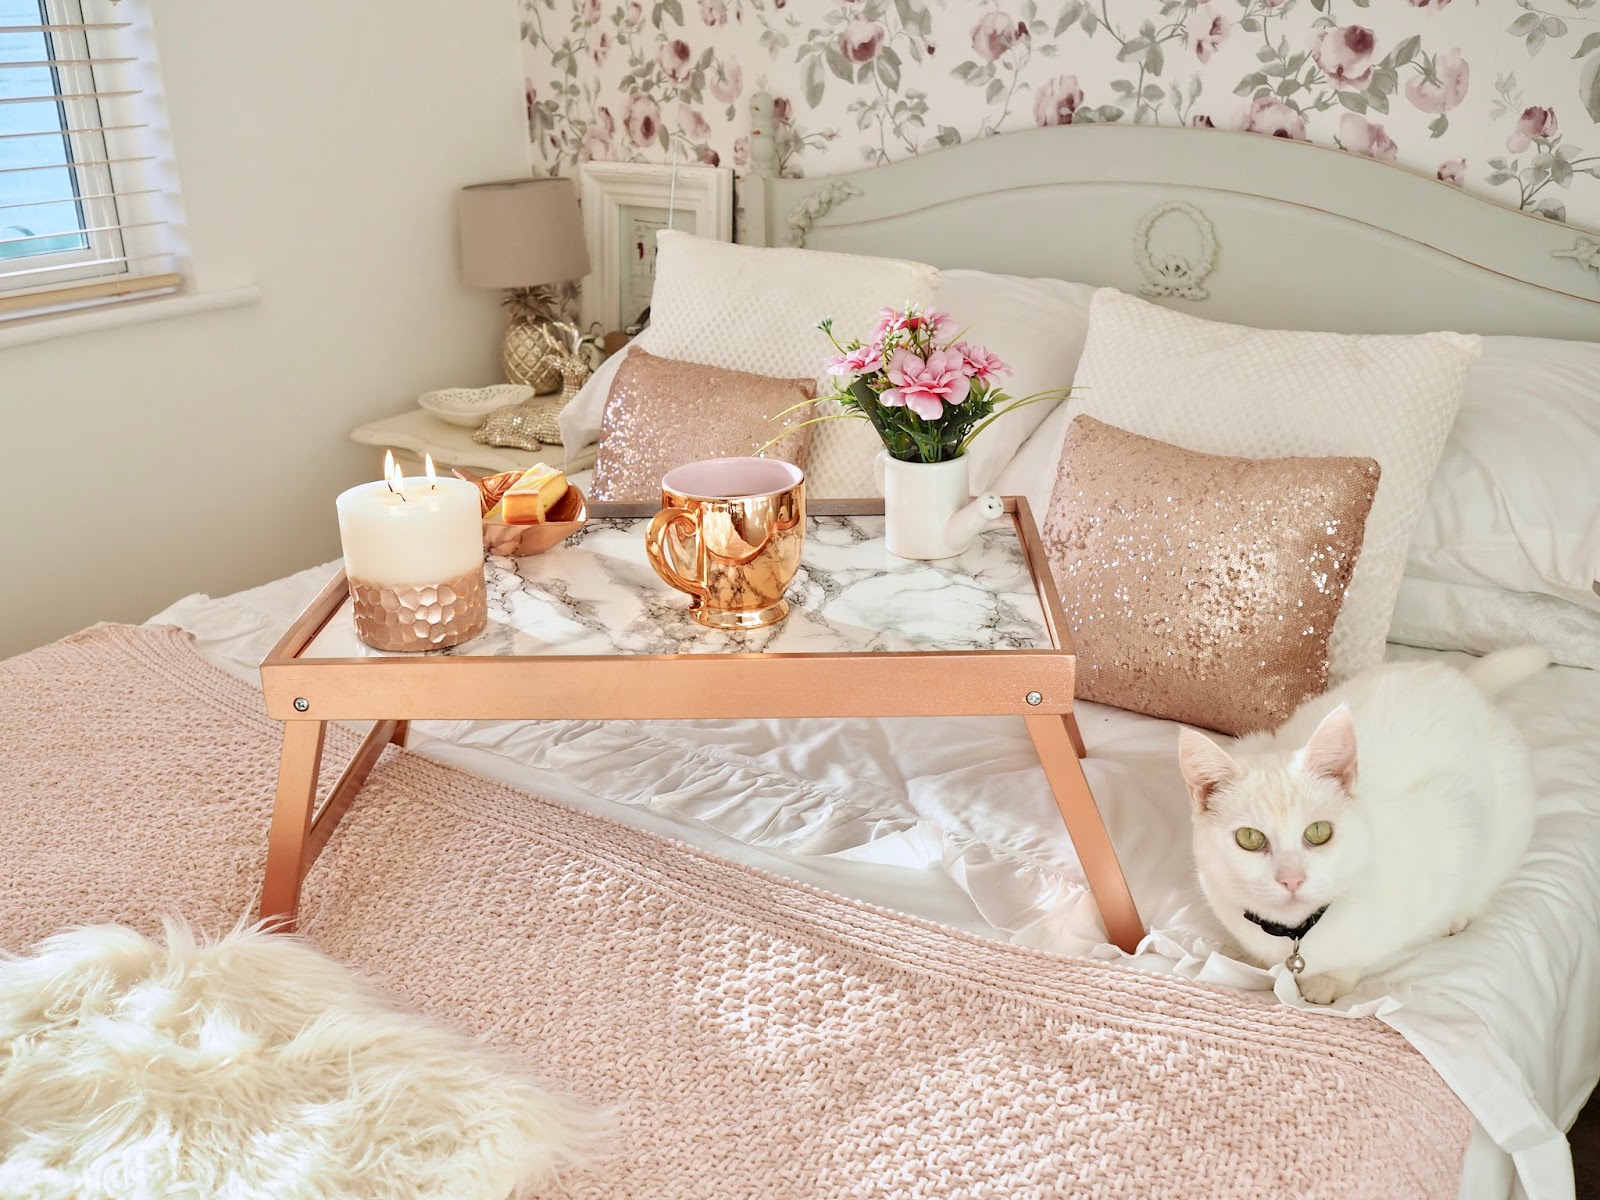
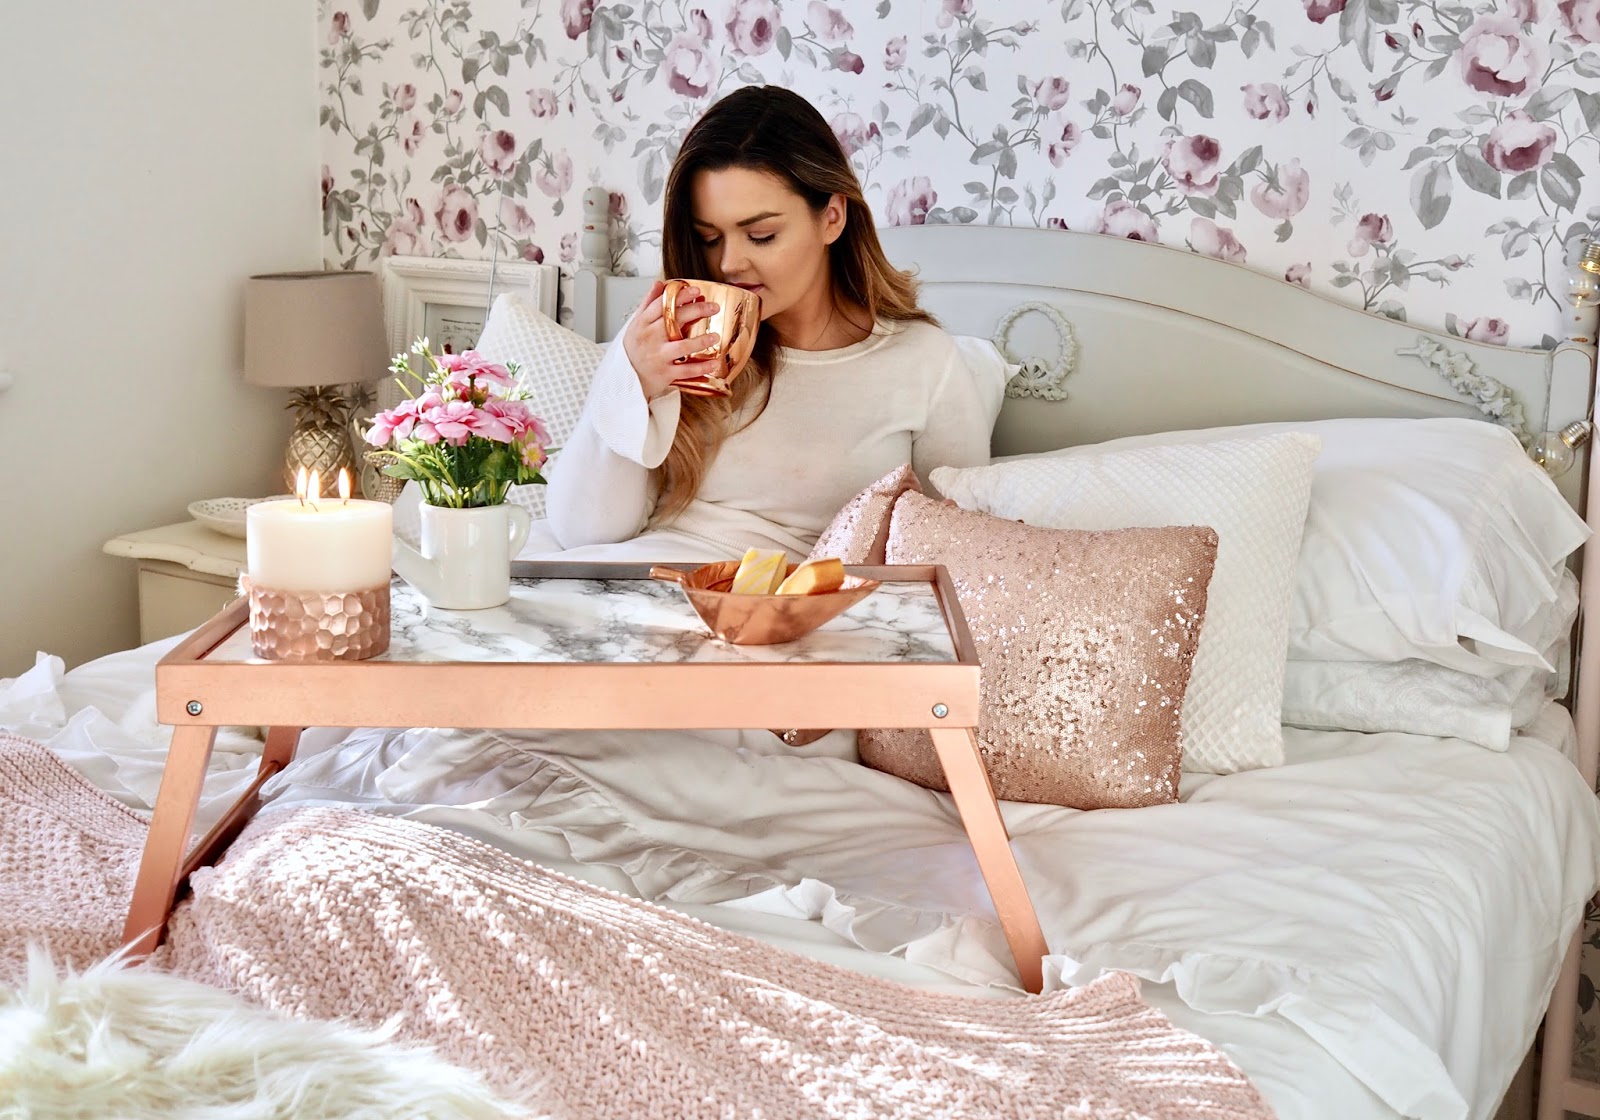
I have a little guilty pleasure and it is marble and copper. Now, I know this is a bit cliche, another blogger loving a marble table top but, it is my guilty pleasure. I love the combination of the two together. It was also my first time to use contact paper. I have to say it was a really easy and fun DIY to do. I had an old breakfast tray table that I got in Dunnes Stores earlier in the year and I had a pet feeding table that I picked up in Tk Maxx and I was able to make matching tables for myself and Blondie.
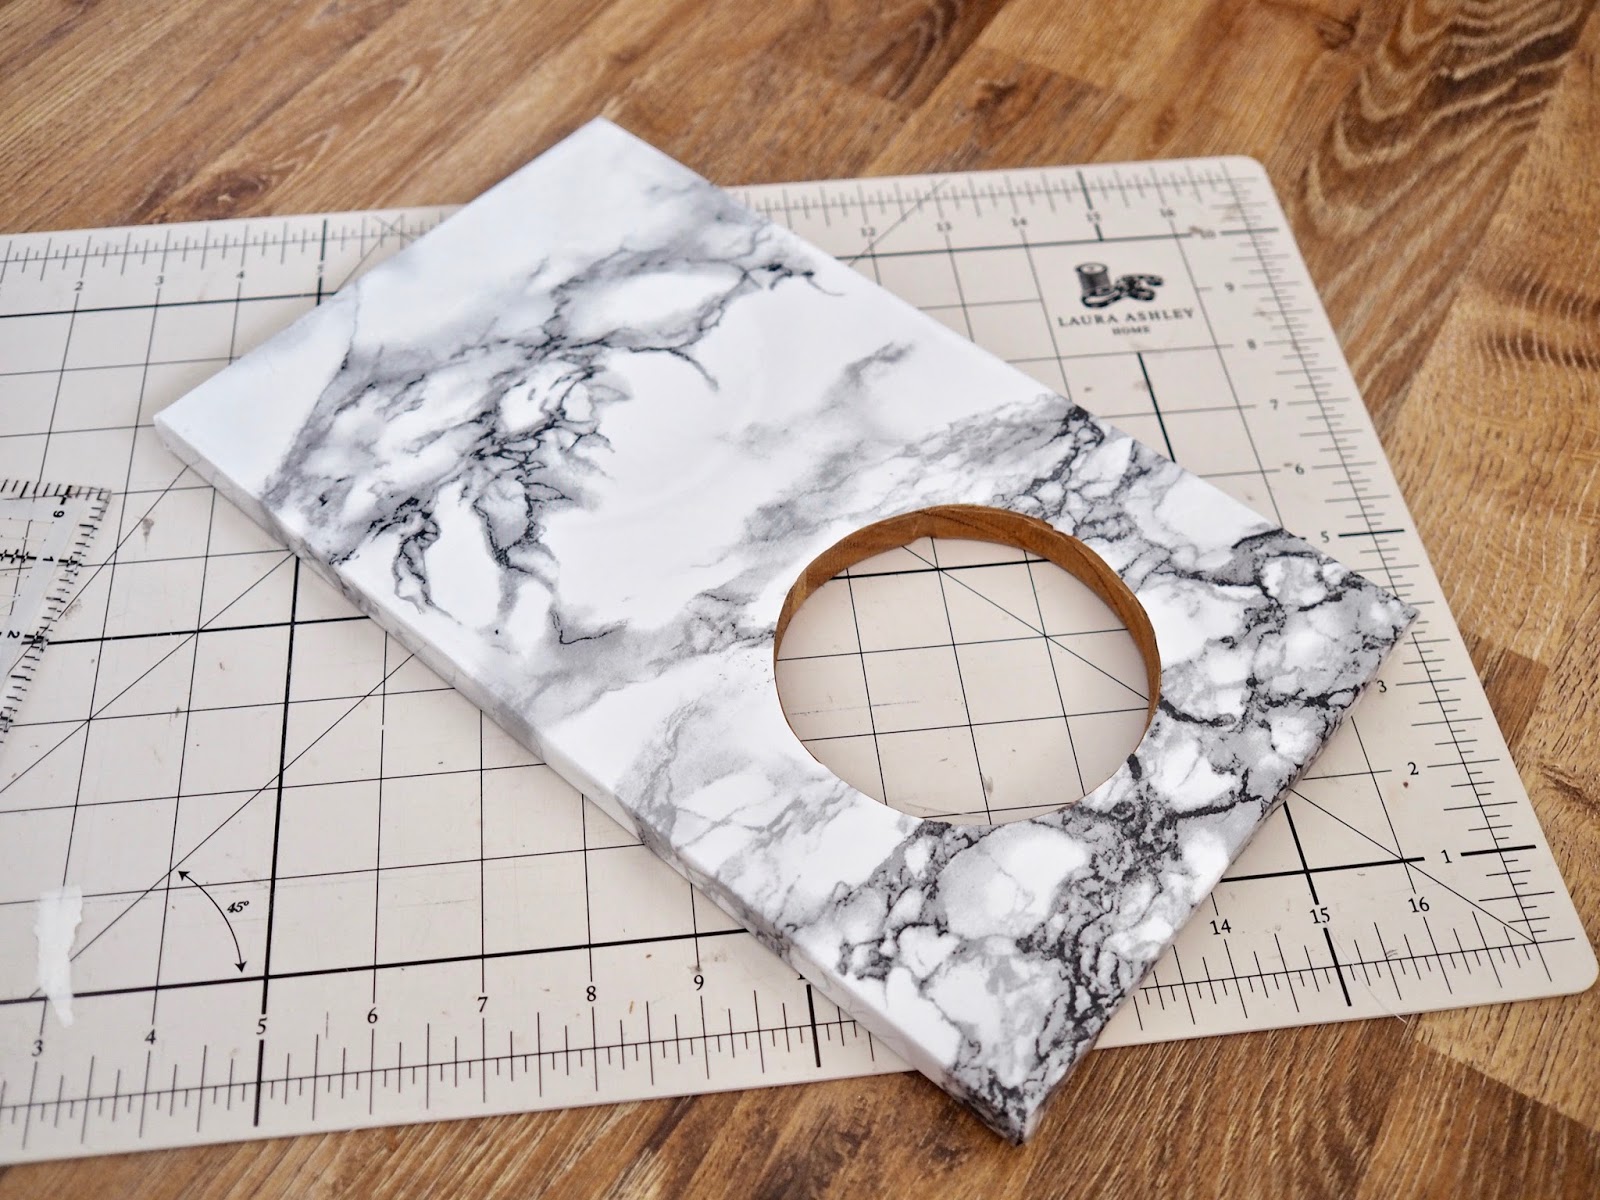
The marble contact paper
So, remember when you were younger and your Mam would make you cover your school books with that sticky wrapping paper to protect them. Well, contact paper is kind of like that, however, it has definitely improved over the years. It is like a sticky wrapping paper and you can use it to cover almost any surface. I know people who have used it to cover appliances, fridges and even their kitchen cabinets. I got my marble effect contact paper from my local Woodies, I got a large roll for €6.99 however, they did have a smaller roll for €4.99 which would have been plenty for today’s project.
To apply the paper I cleaned the surface. I cut the paper roughly to size. I started at a corner and slowly peeled it back and used a credit card to smooth out any bubbles and then I trimmed the excess to give it a polished finish. Once applied your contact paper is wipeable and it is also food safe which was great for Blondies food table. You can watch my Youtube video to get a better idea of how I applied the contact paper.
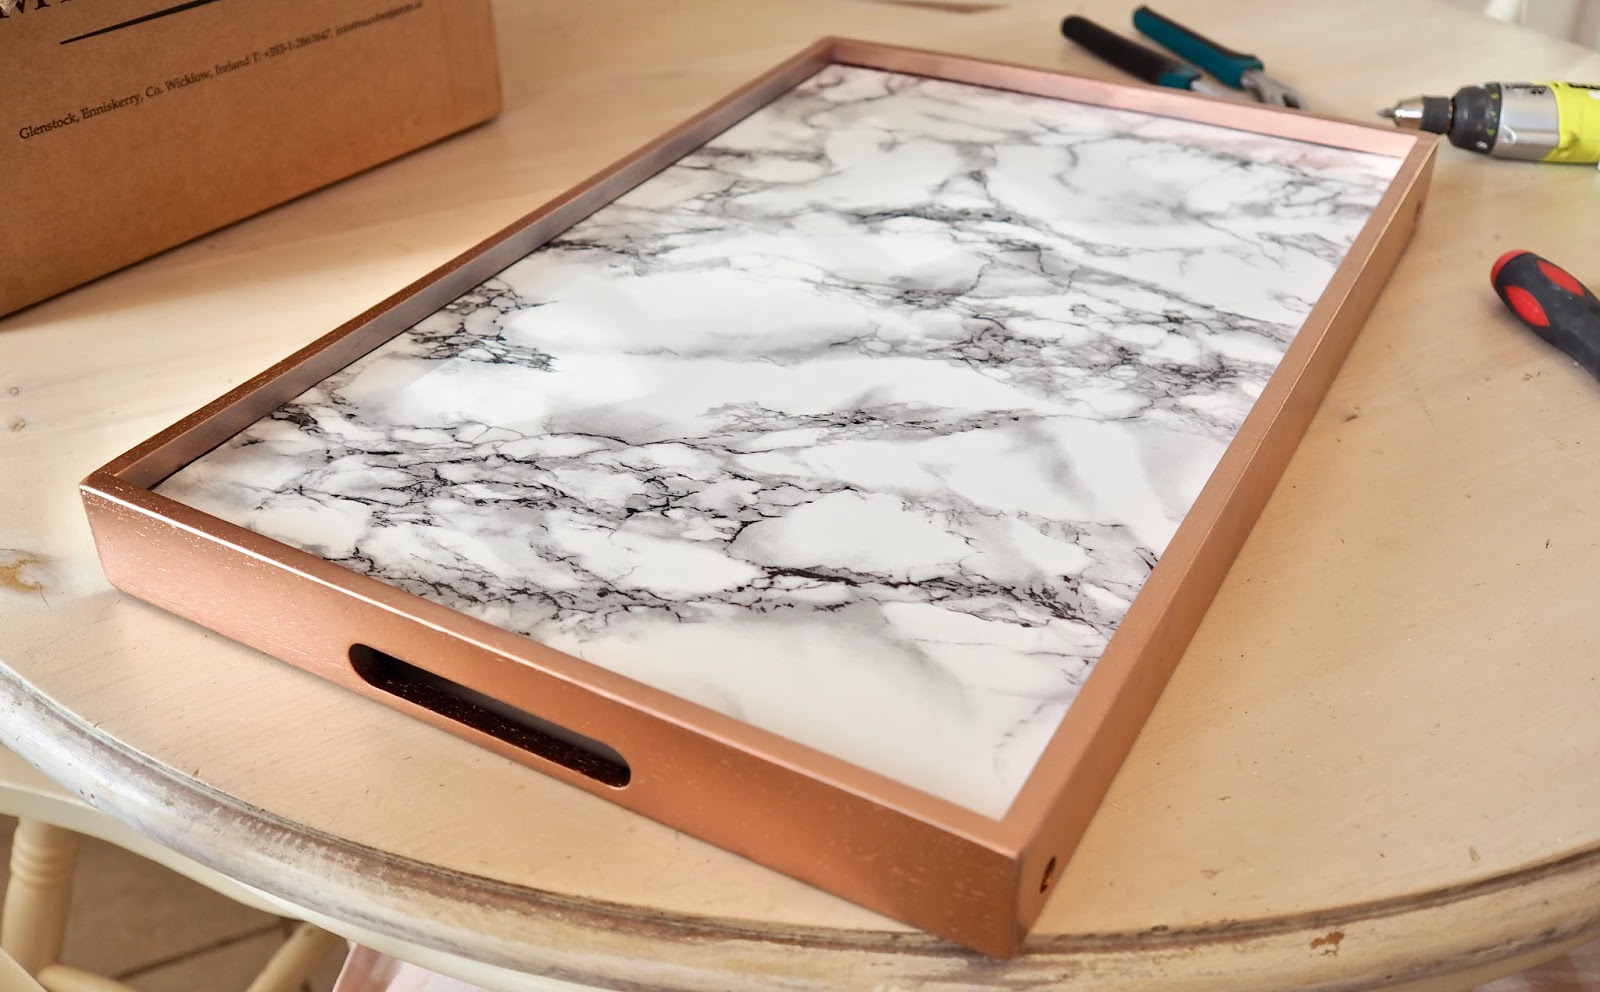
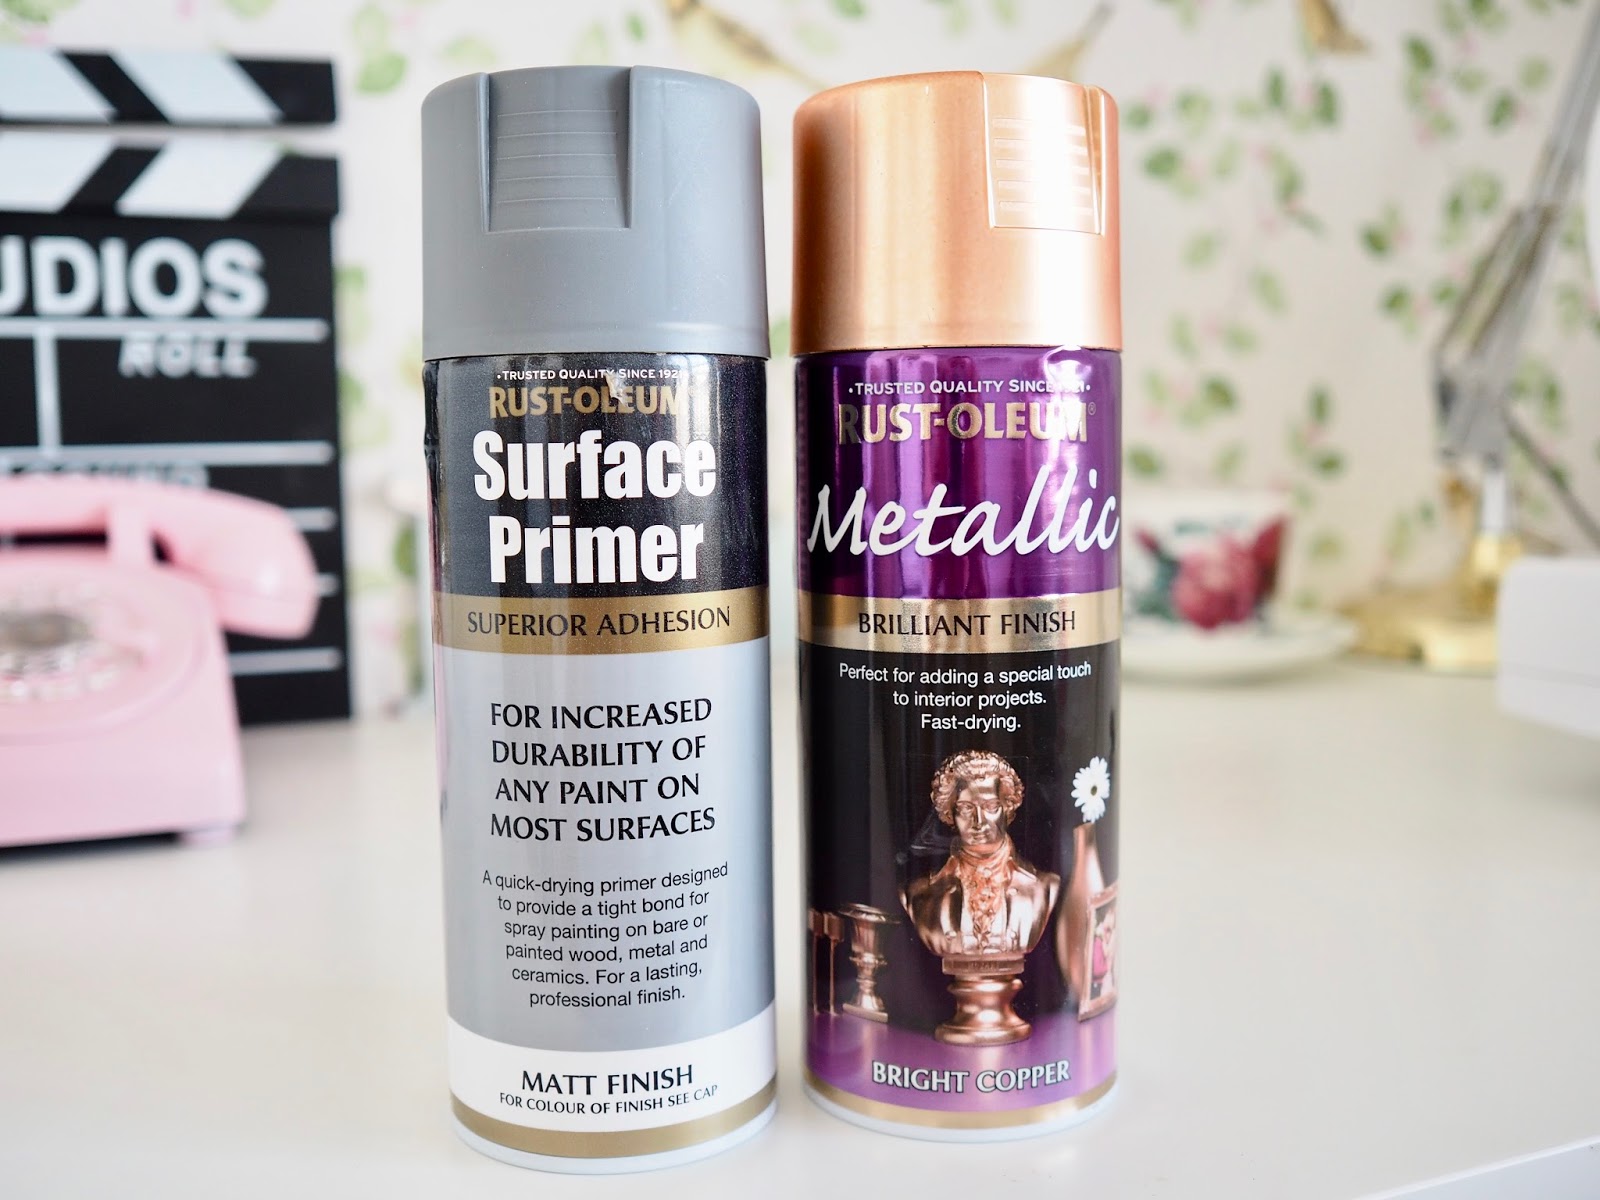
The Copper Spray Paint
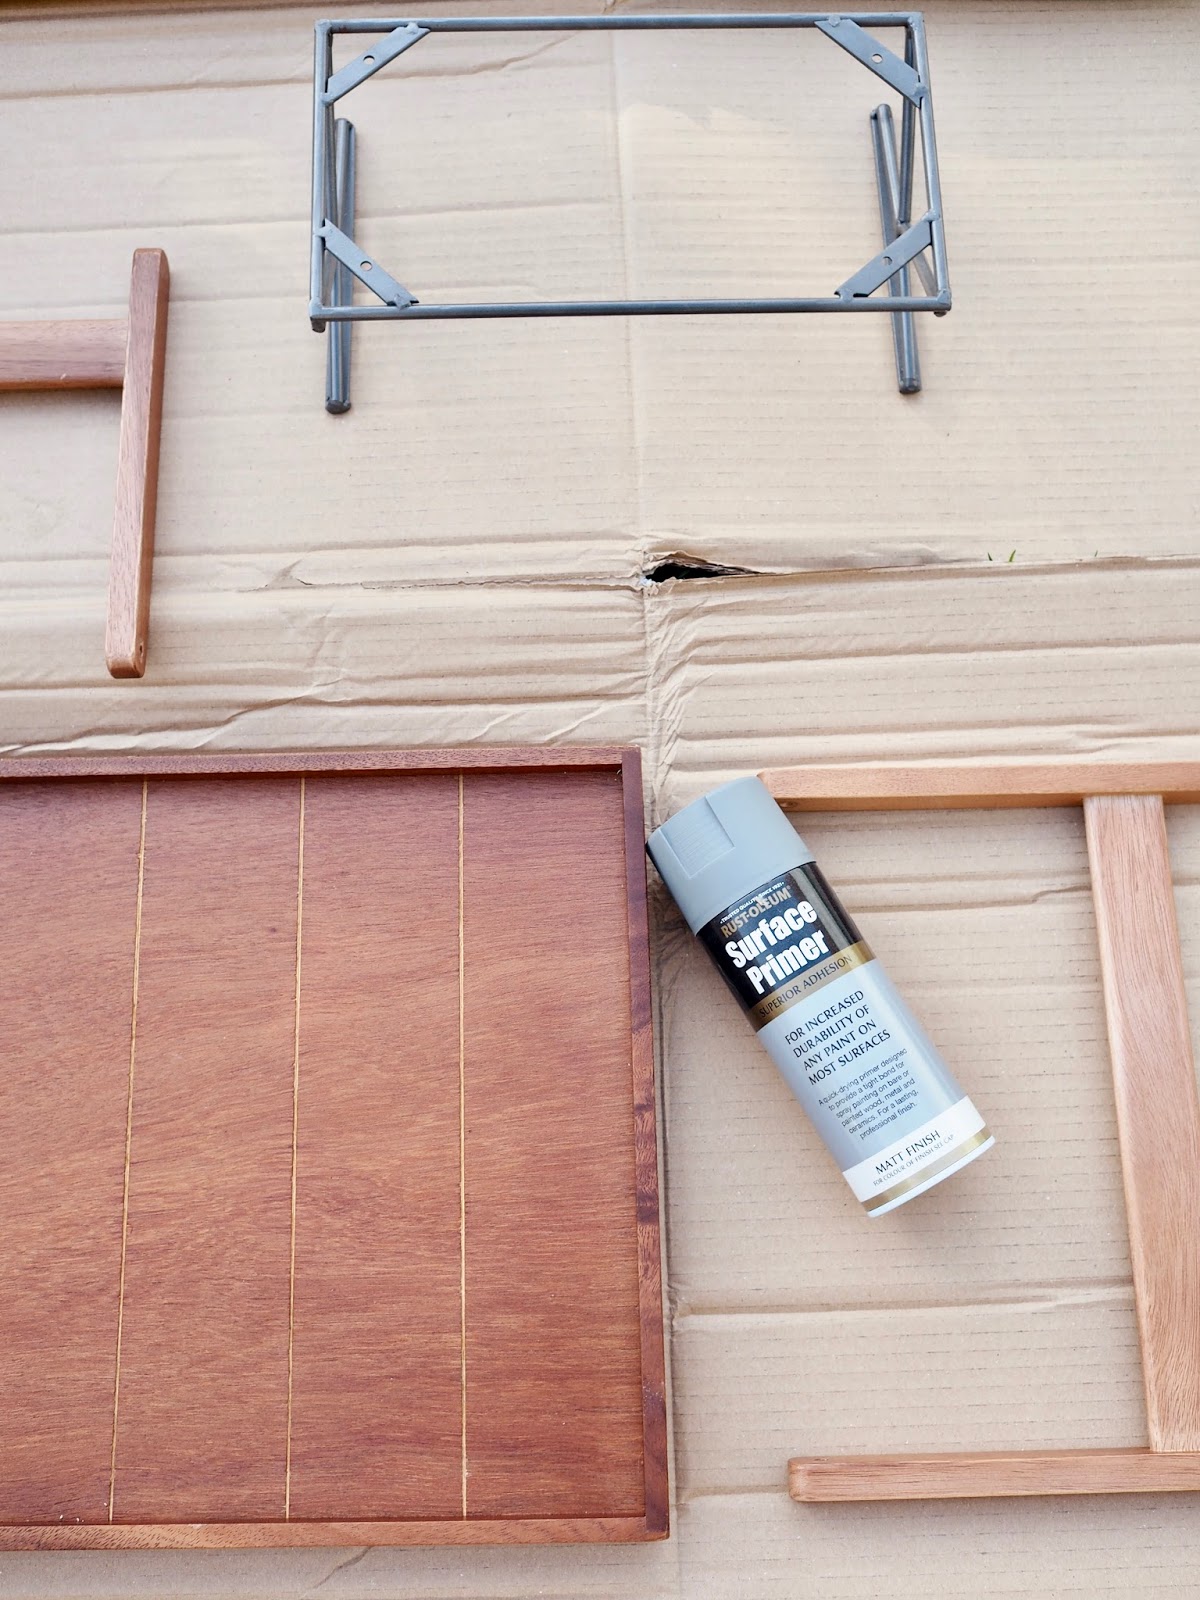
You might remember my Copper Spray paint DIY from earlier this year. I got the spray paint back out of my kit and used it again for this DIY. Just like in the last DIY, I used the surface primer with the copper paint. To get a professional finish, I unscrewed and removed the legs of both tables and sprayed them with one coat of surface primer. Once fully dry, I then applied one coat of the copper spray paint. One coat was enough and it gave great coverage. Make sure to follow the instructions on the back of the can and always follow the safety instructions and use it outside and wear protective gloves. I got my spray paint from Woodies also and you can check the Rustoleum website for stockists near you.
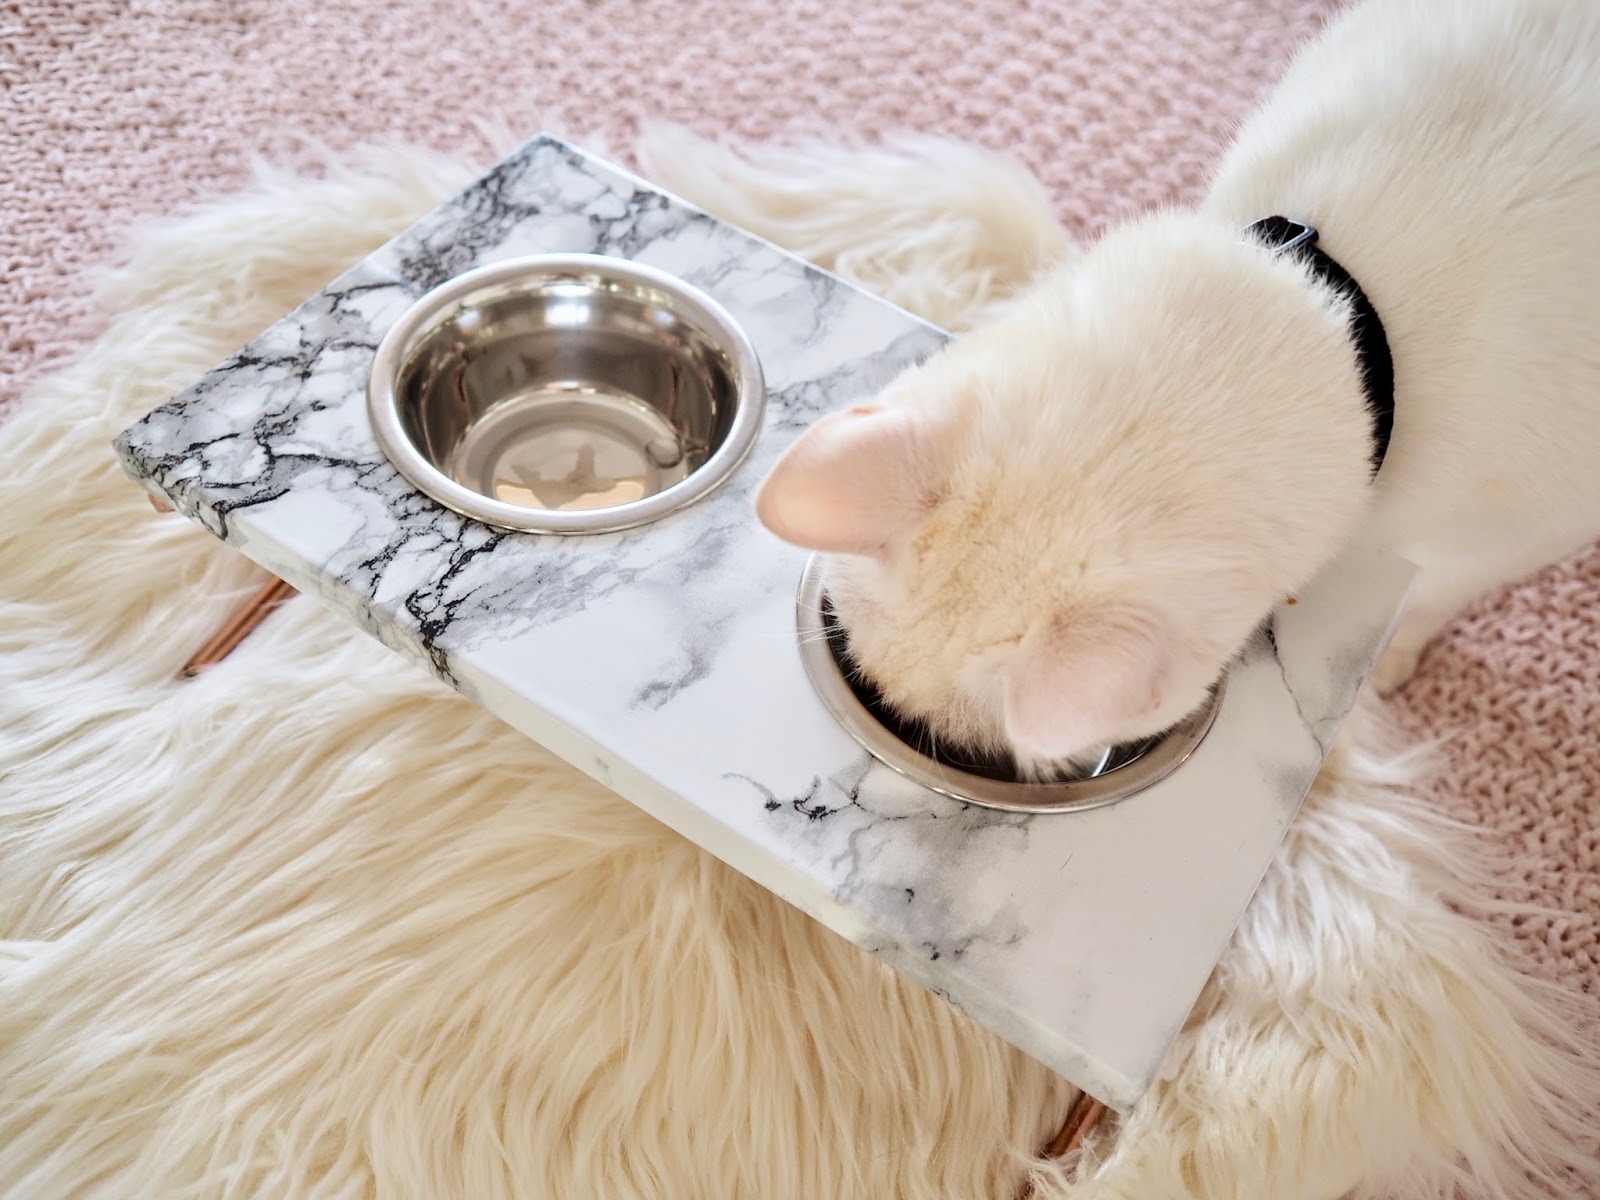

Once all of the paint was fully dry I assembled the tables back together. I was so pleased with how they turned out. I also have loads of contact paper left on my roll, so, plenty more things will be getting the marble treatment. I love how you can transform something that is boring into something more your style and do it really cheaply.

Have you tried using contact paper? Tag me in your pictures over on Instagram, my handle is @daintydressdiaries, I would love to see. Also, please pin the below image to your Pinterest boards to help my post.
Thanks for reading,
Chat soon,
Catherine.
Please Pin this image to your Pinterest boards

SaveSaveSaveSave