
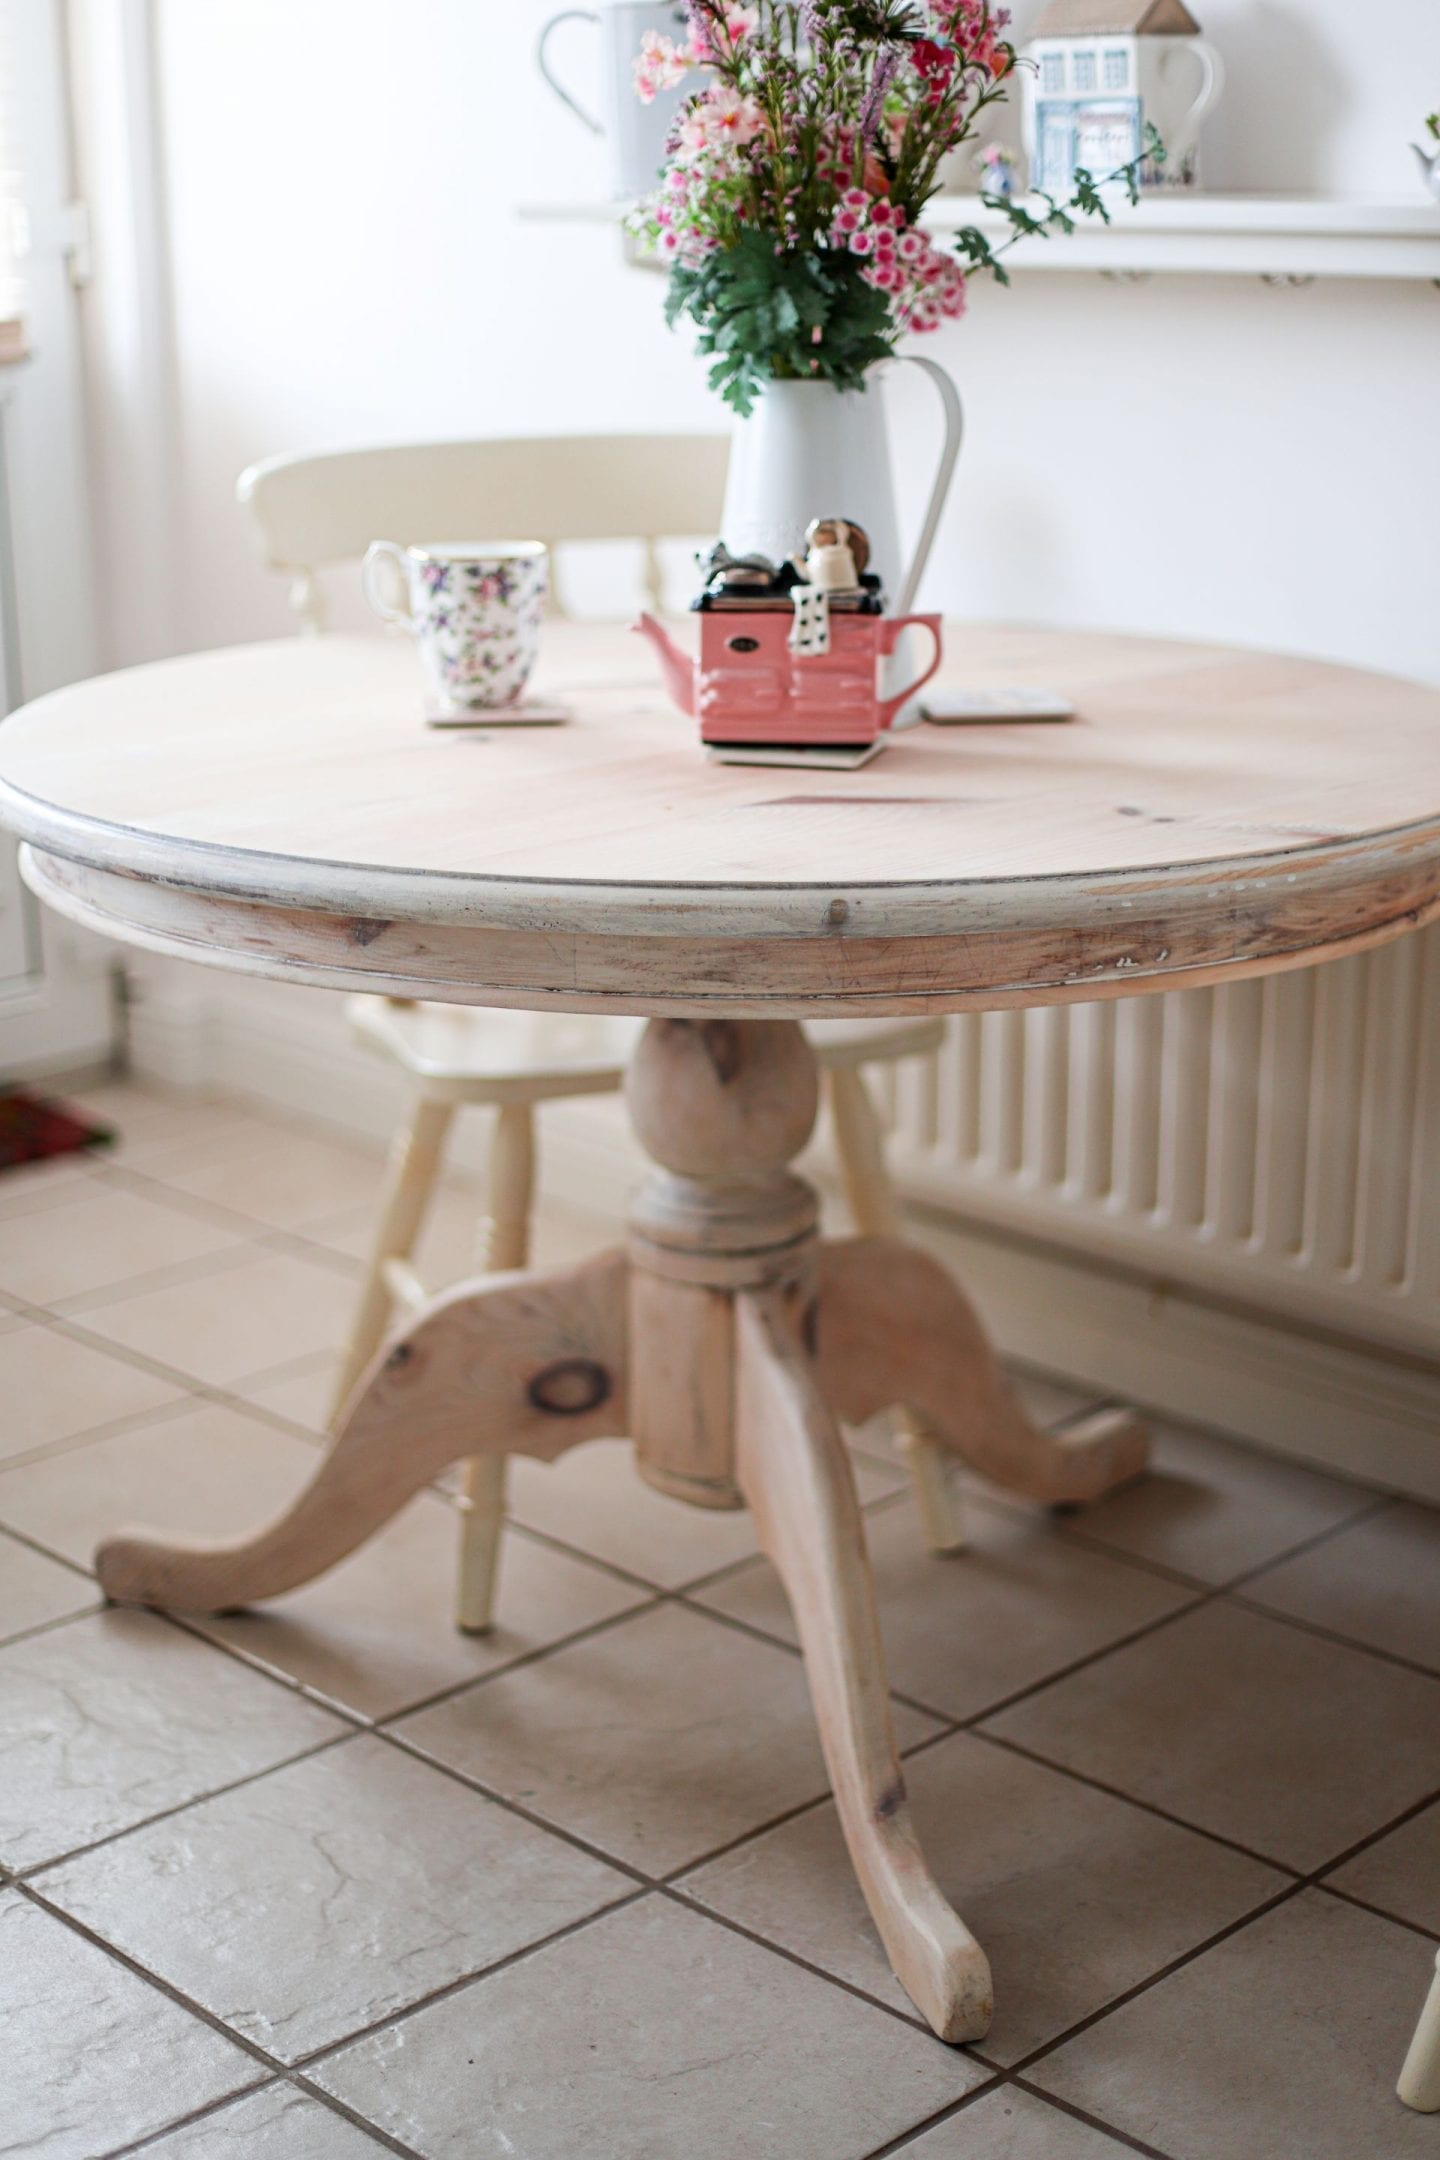
My thrifted kitchen table makeover! My kitchen table has taken quite a bashing over the past few years. I originally thrifted this table over five years ago. I purchased my table and four chairs for €50 from adverts.ie. A few years ago I painted it cream and gave it a white-wash effect on top. Unfortunately, the paint didn’t wear well and my tabletop had taken a bashing from all my DIY projects. So, I wanted to breathe life back into my table and I decided to strip it back and give it a makeover.
Stripping the paint
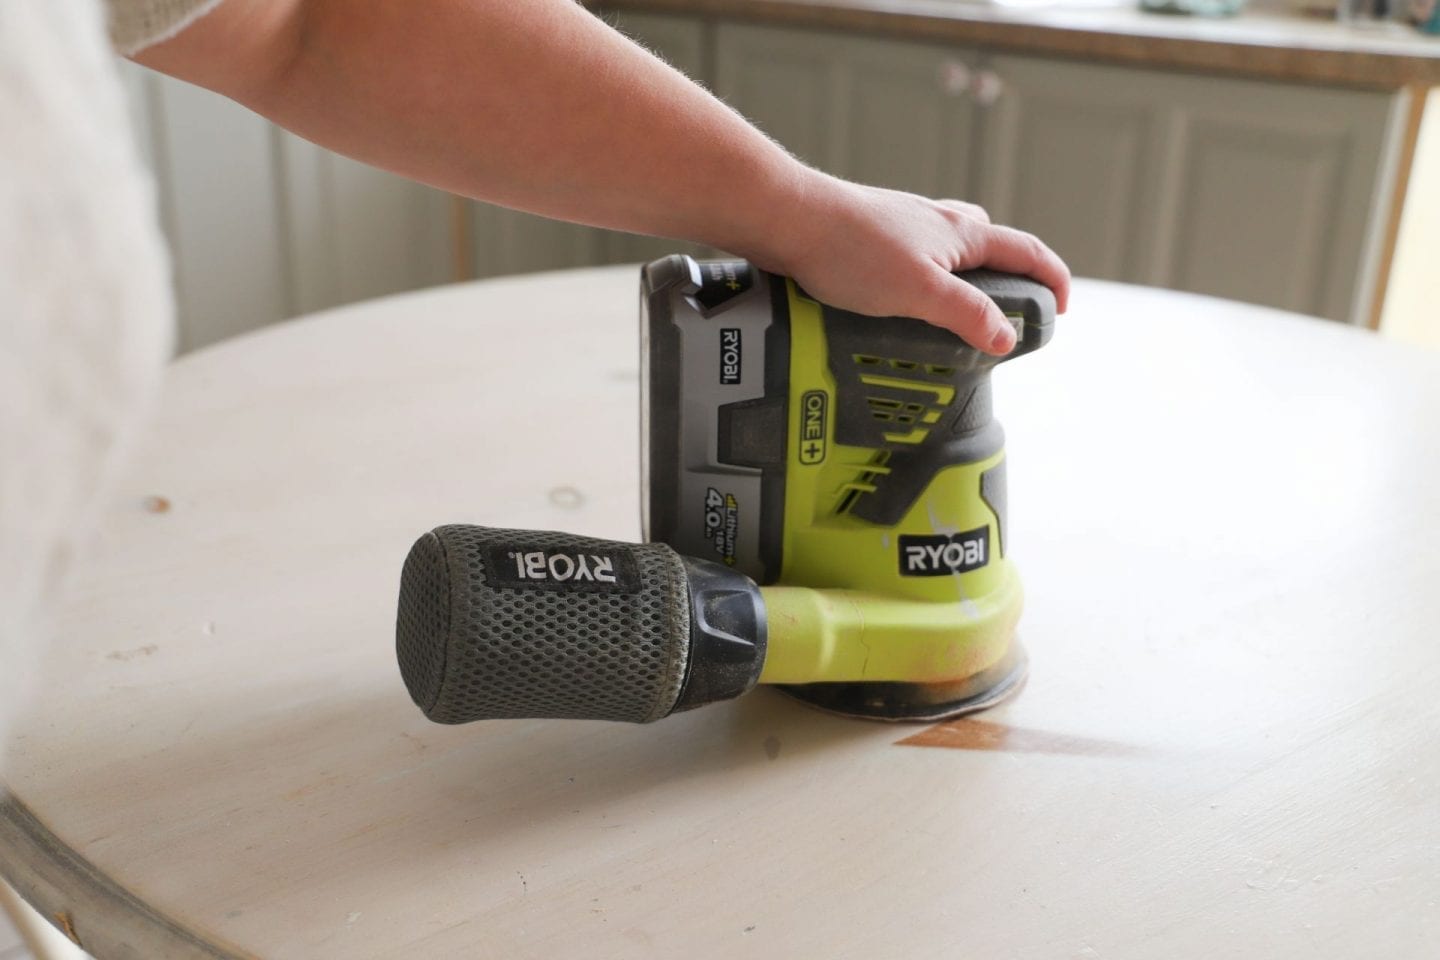
I used Dulux Satinwood in Antique White to paint my table a few years ago. This paint did not last well compared to other brands I used. It chipped easily within a few months and the colour went yellow over time. I decided to strip off all of the old paint to reveal the wood underneath. I try to avoid harsh chemical paint strippers. I did test out some eco-friendly paint stripper but it went like chewing gum and it was hard to remove. So, I went back to the old trusted method of my heat gun, scraper and sander.
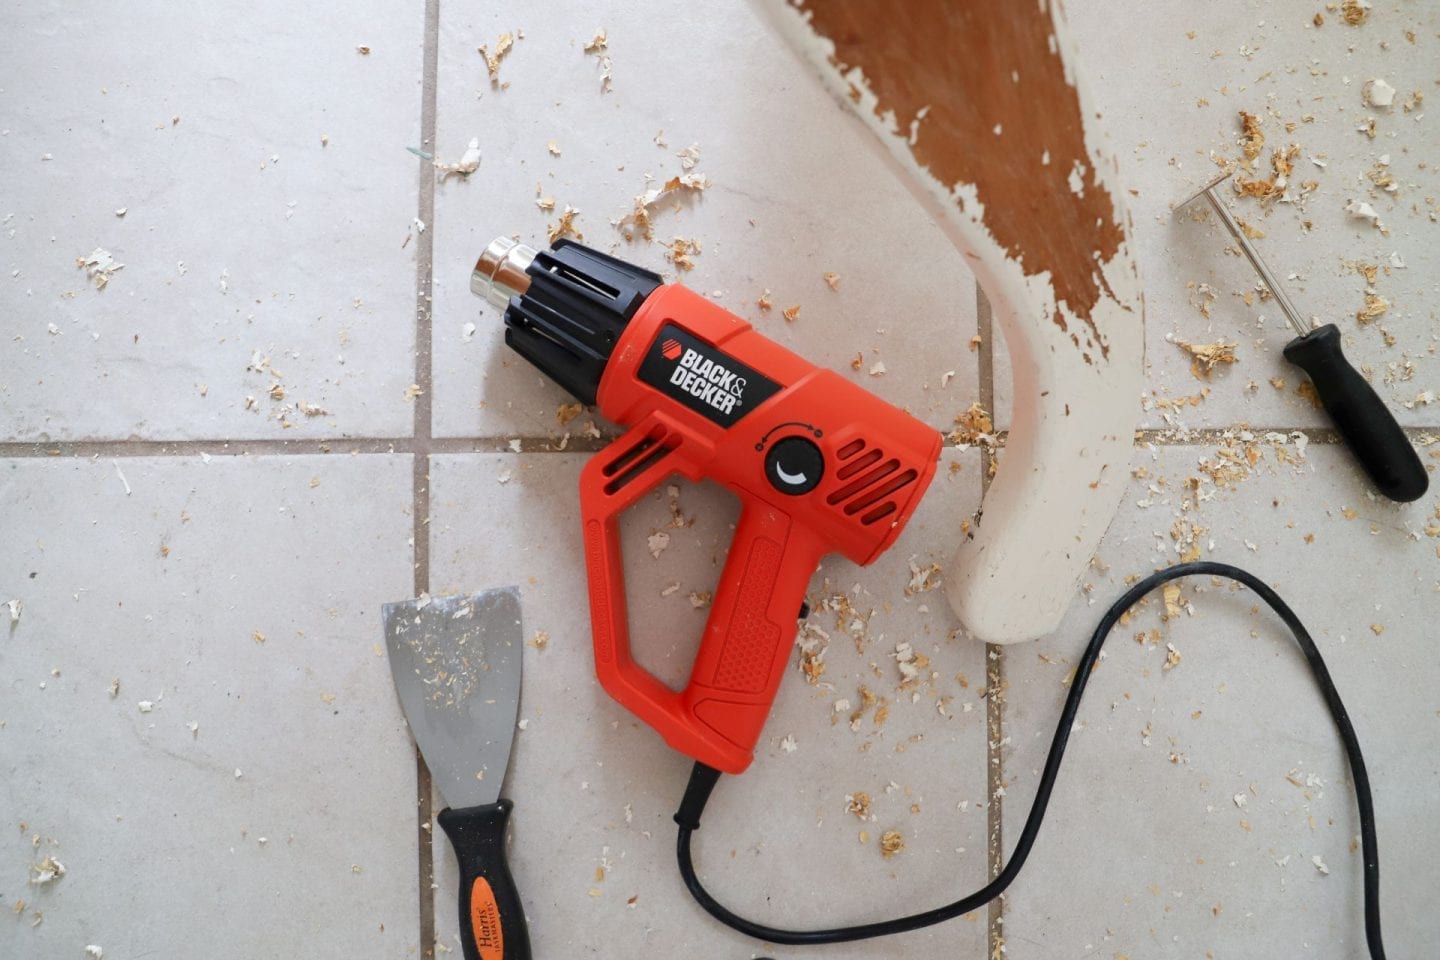
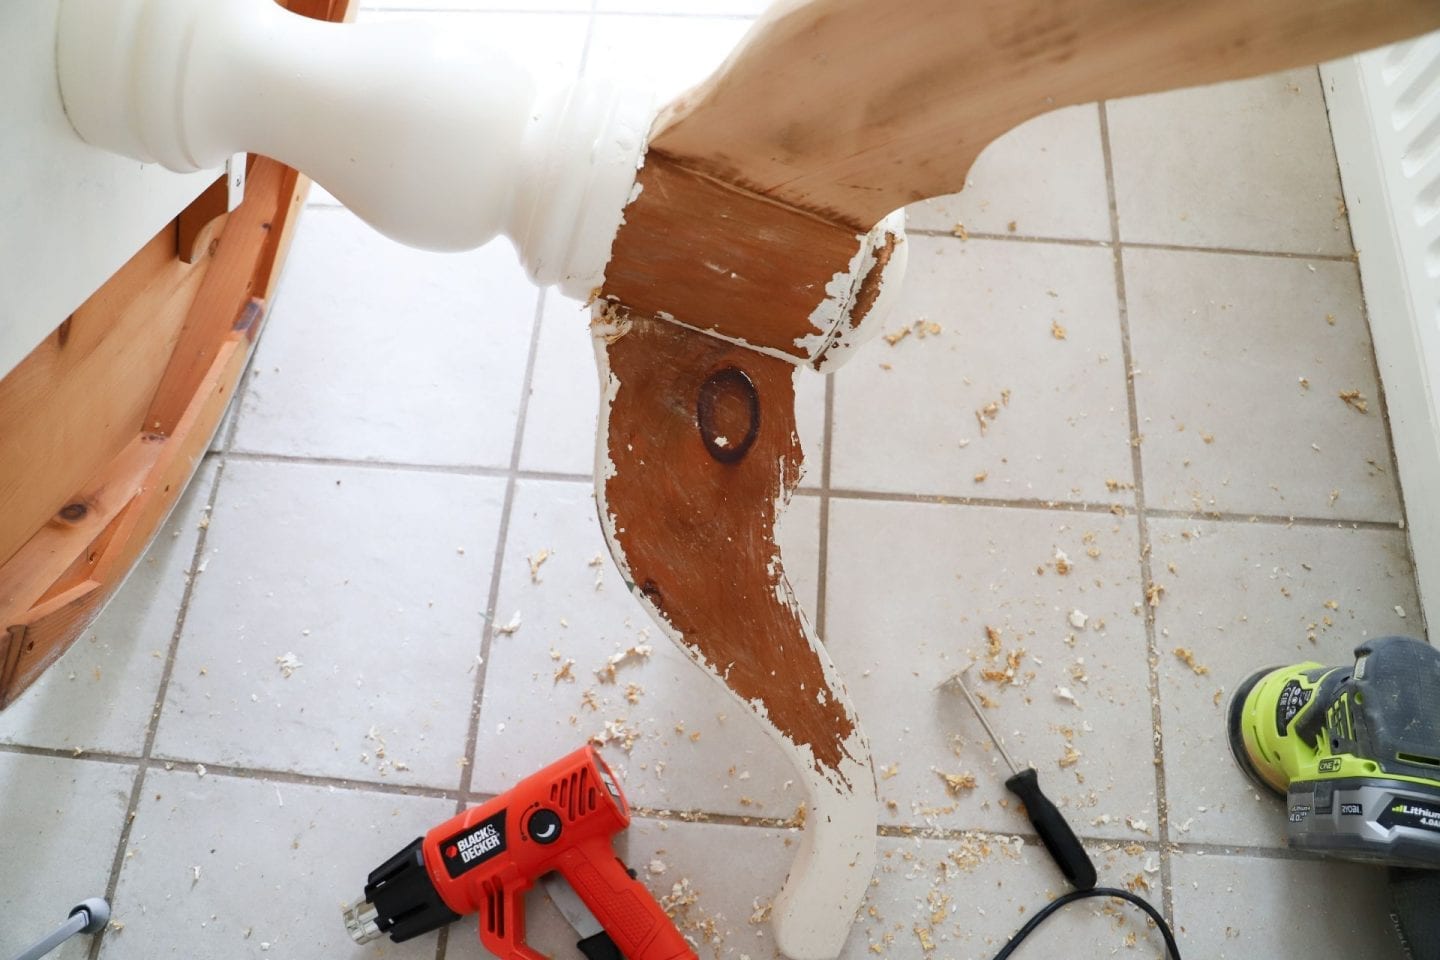

Before I got started with my heat gun I made sure to use a protective mask so I wouldn’t breathe in any fumes from the paint. I also had a sharp scraper to hand. Using the heat gun was simple. It is basically like a super hot hairdryer. I followed the instructions that came with my gun. I went around the table section by section and I held the gun on the paint until it started to blister. I then scraped away the paint using the scrapper and the paint fell off. Stripping the paint was time-consuming as my table had curved angles which made it harder to scrape off. It took me roughly three hours to strip and sand back my table.
Repairing Damage
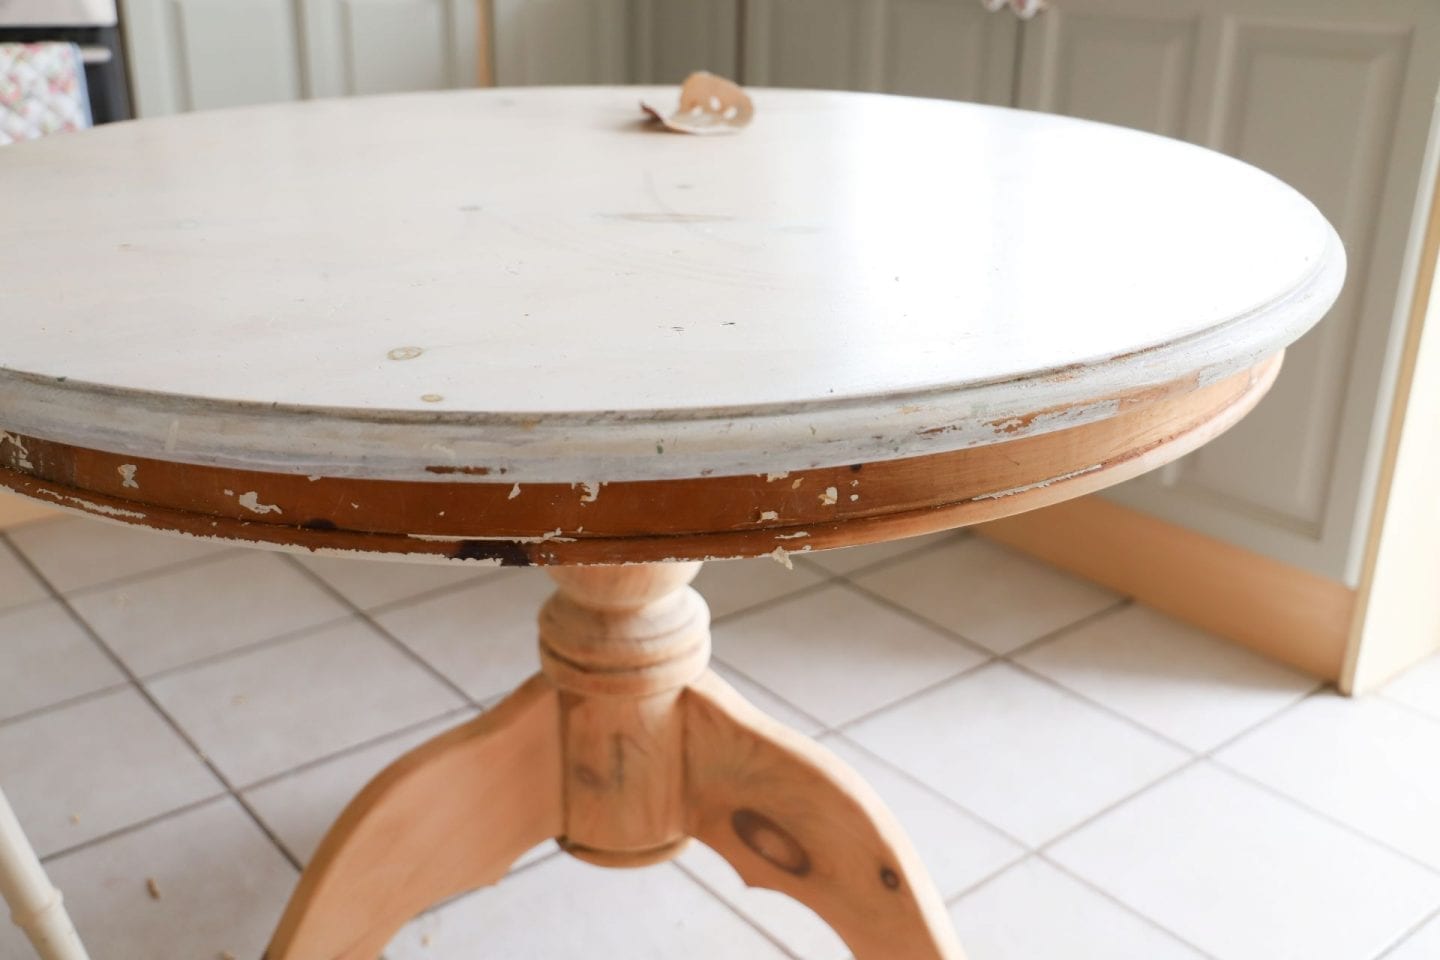
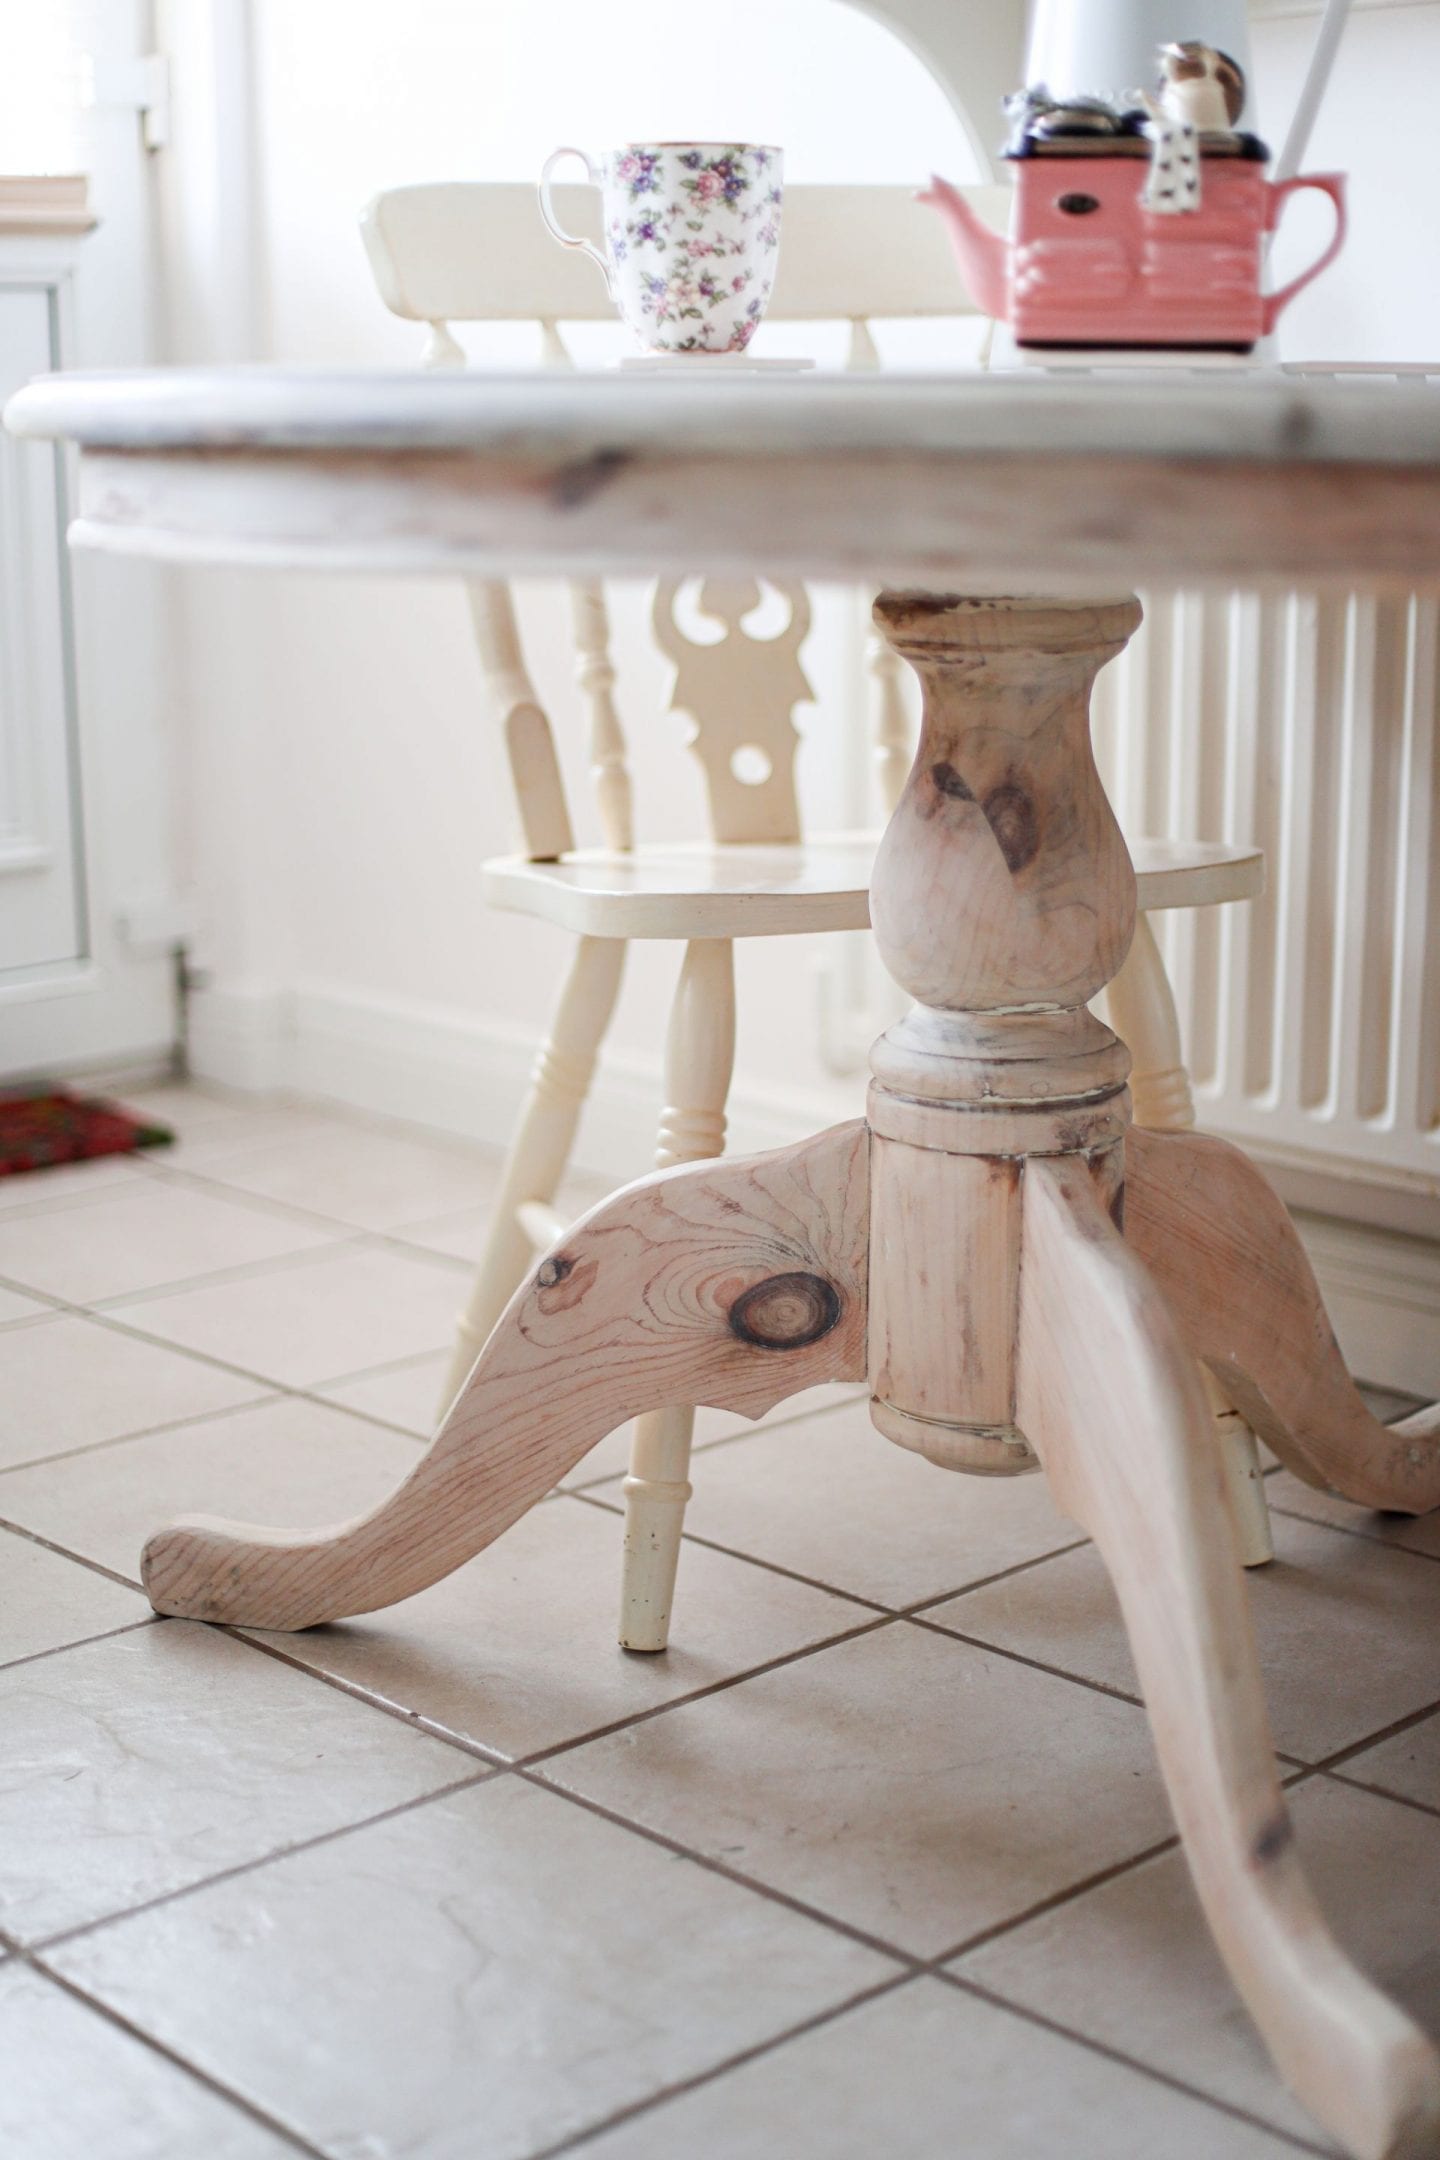
I had paint, chips and stains on my tabletop and best way to remove these was with my sander. I used my Ryobi cordless sander to sand back my tabletop until all the areas of damage were smoothed out. I started with coarse sandpaper on my sander and finished off with a finer-grit paper to make it extra smooth. I then sanded back the table to remove the dark varnish that was underneath the paint.
Whitewashing With Wax
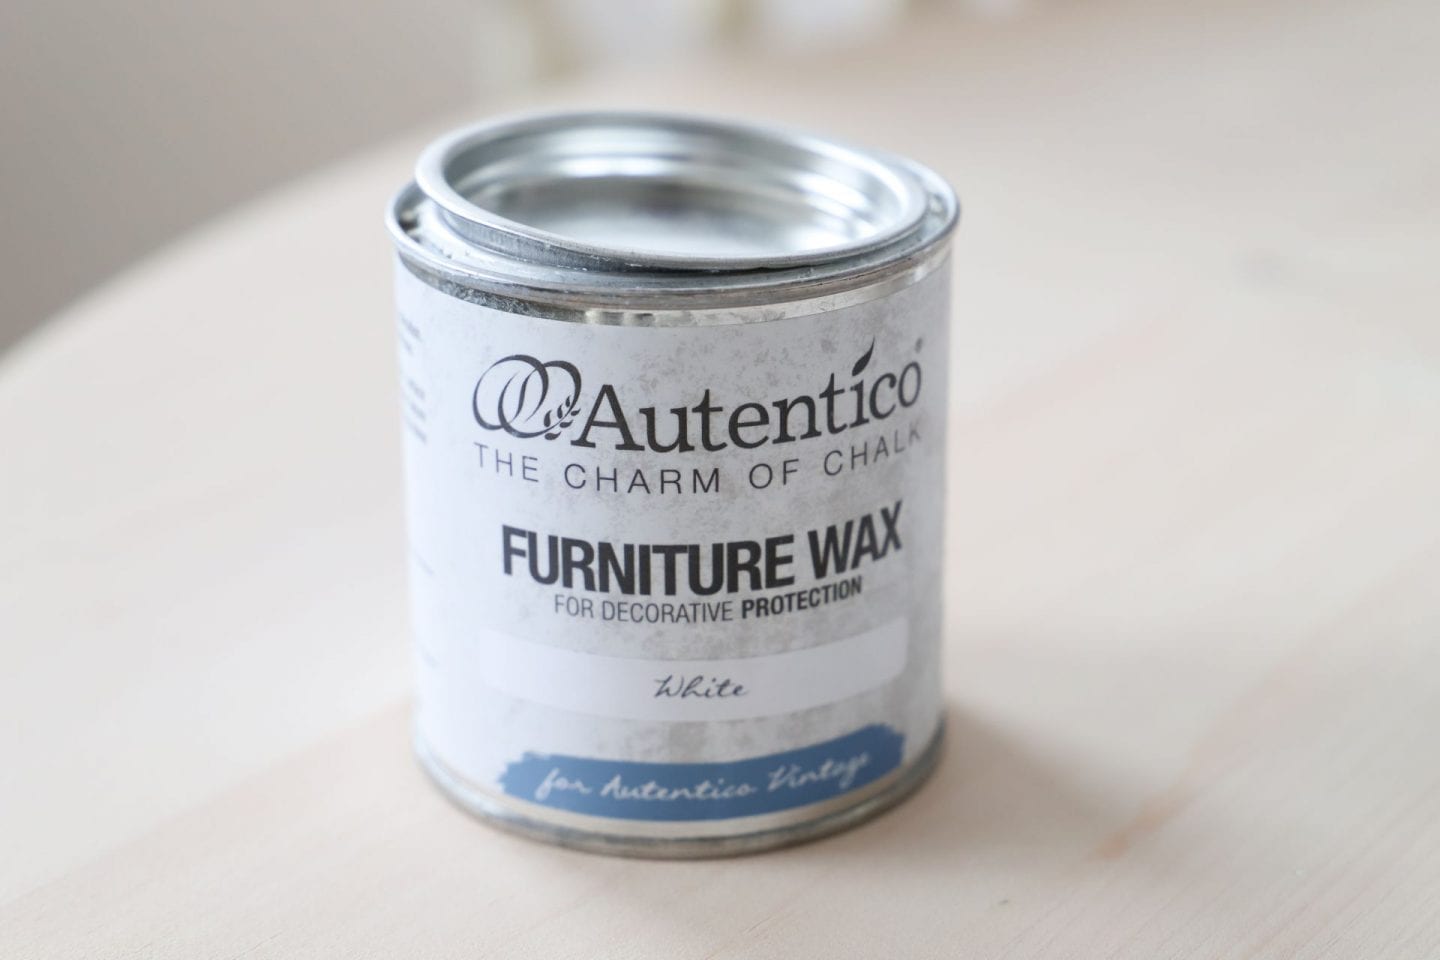
You might have seen me whitewashing pieces of furniture before. I whitewashed this blanket box last year. However, this time I used a different technique to get the whitewashed effect. I used Autentico wax in the shade “white”. I applied two coats of wax to my table. I applied the wax and allowed it to settle for roughly twenty-minutes before buffing. The wax seals the wood giving it protection. I love how the wax brought out the details of the grain in the wood.
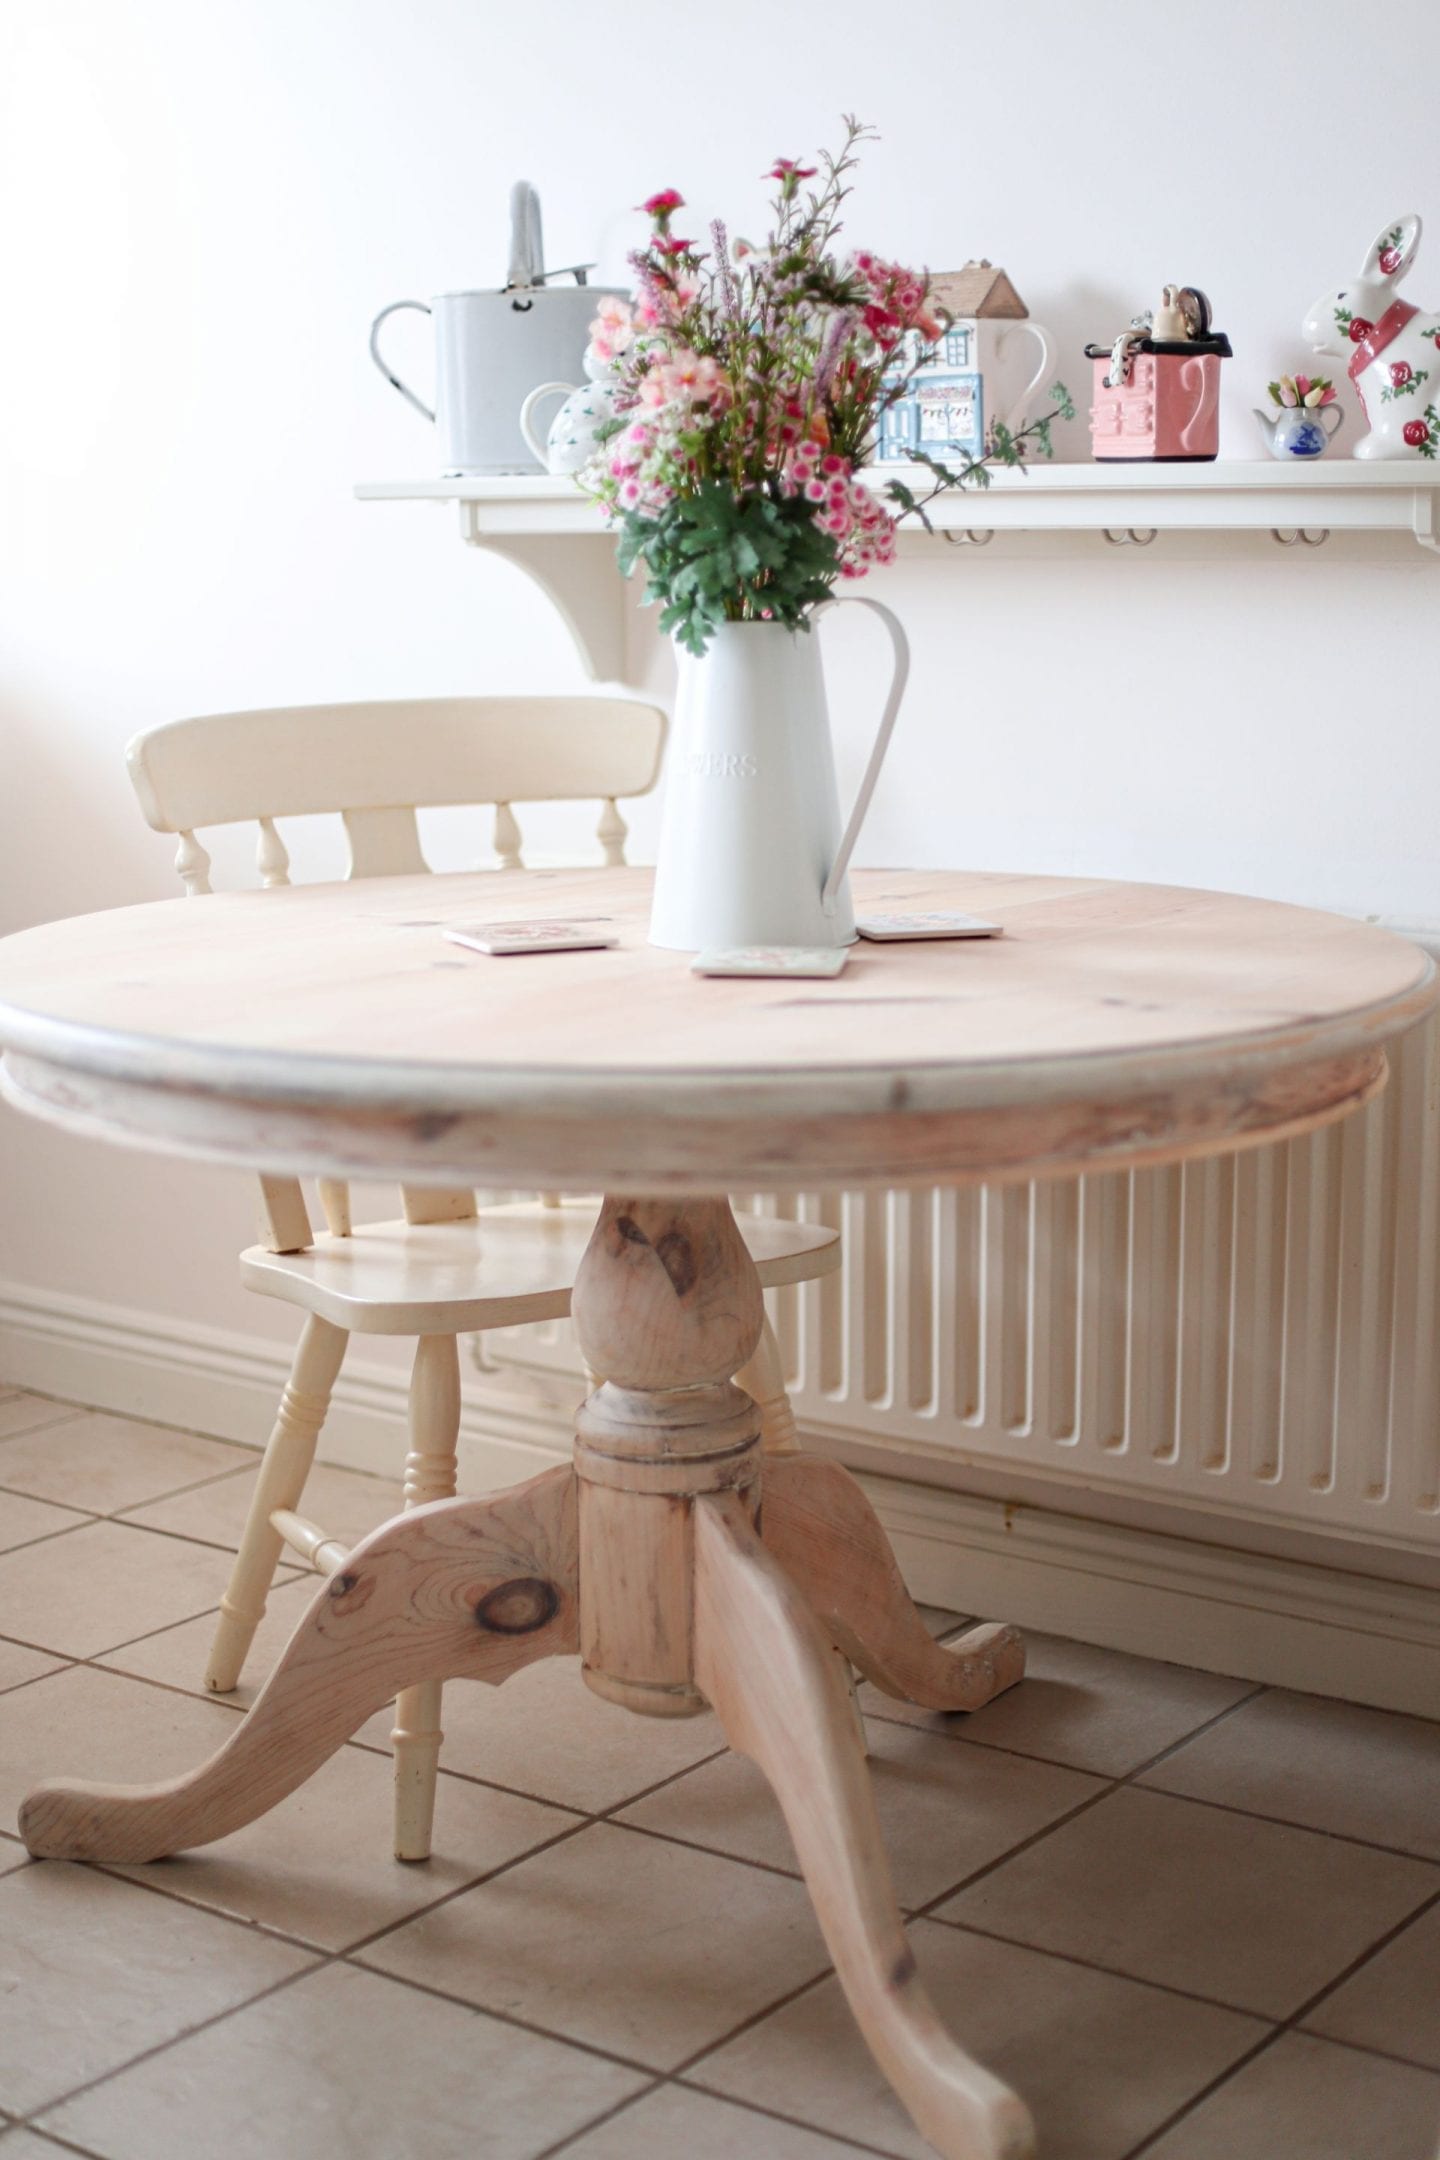
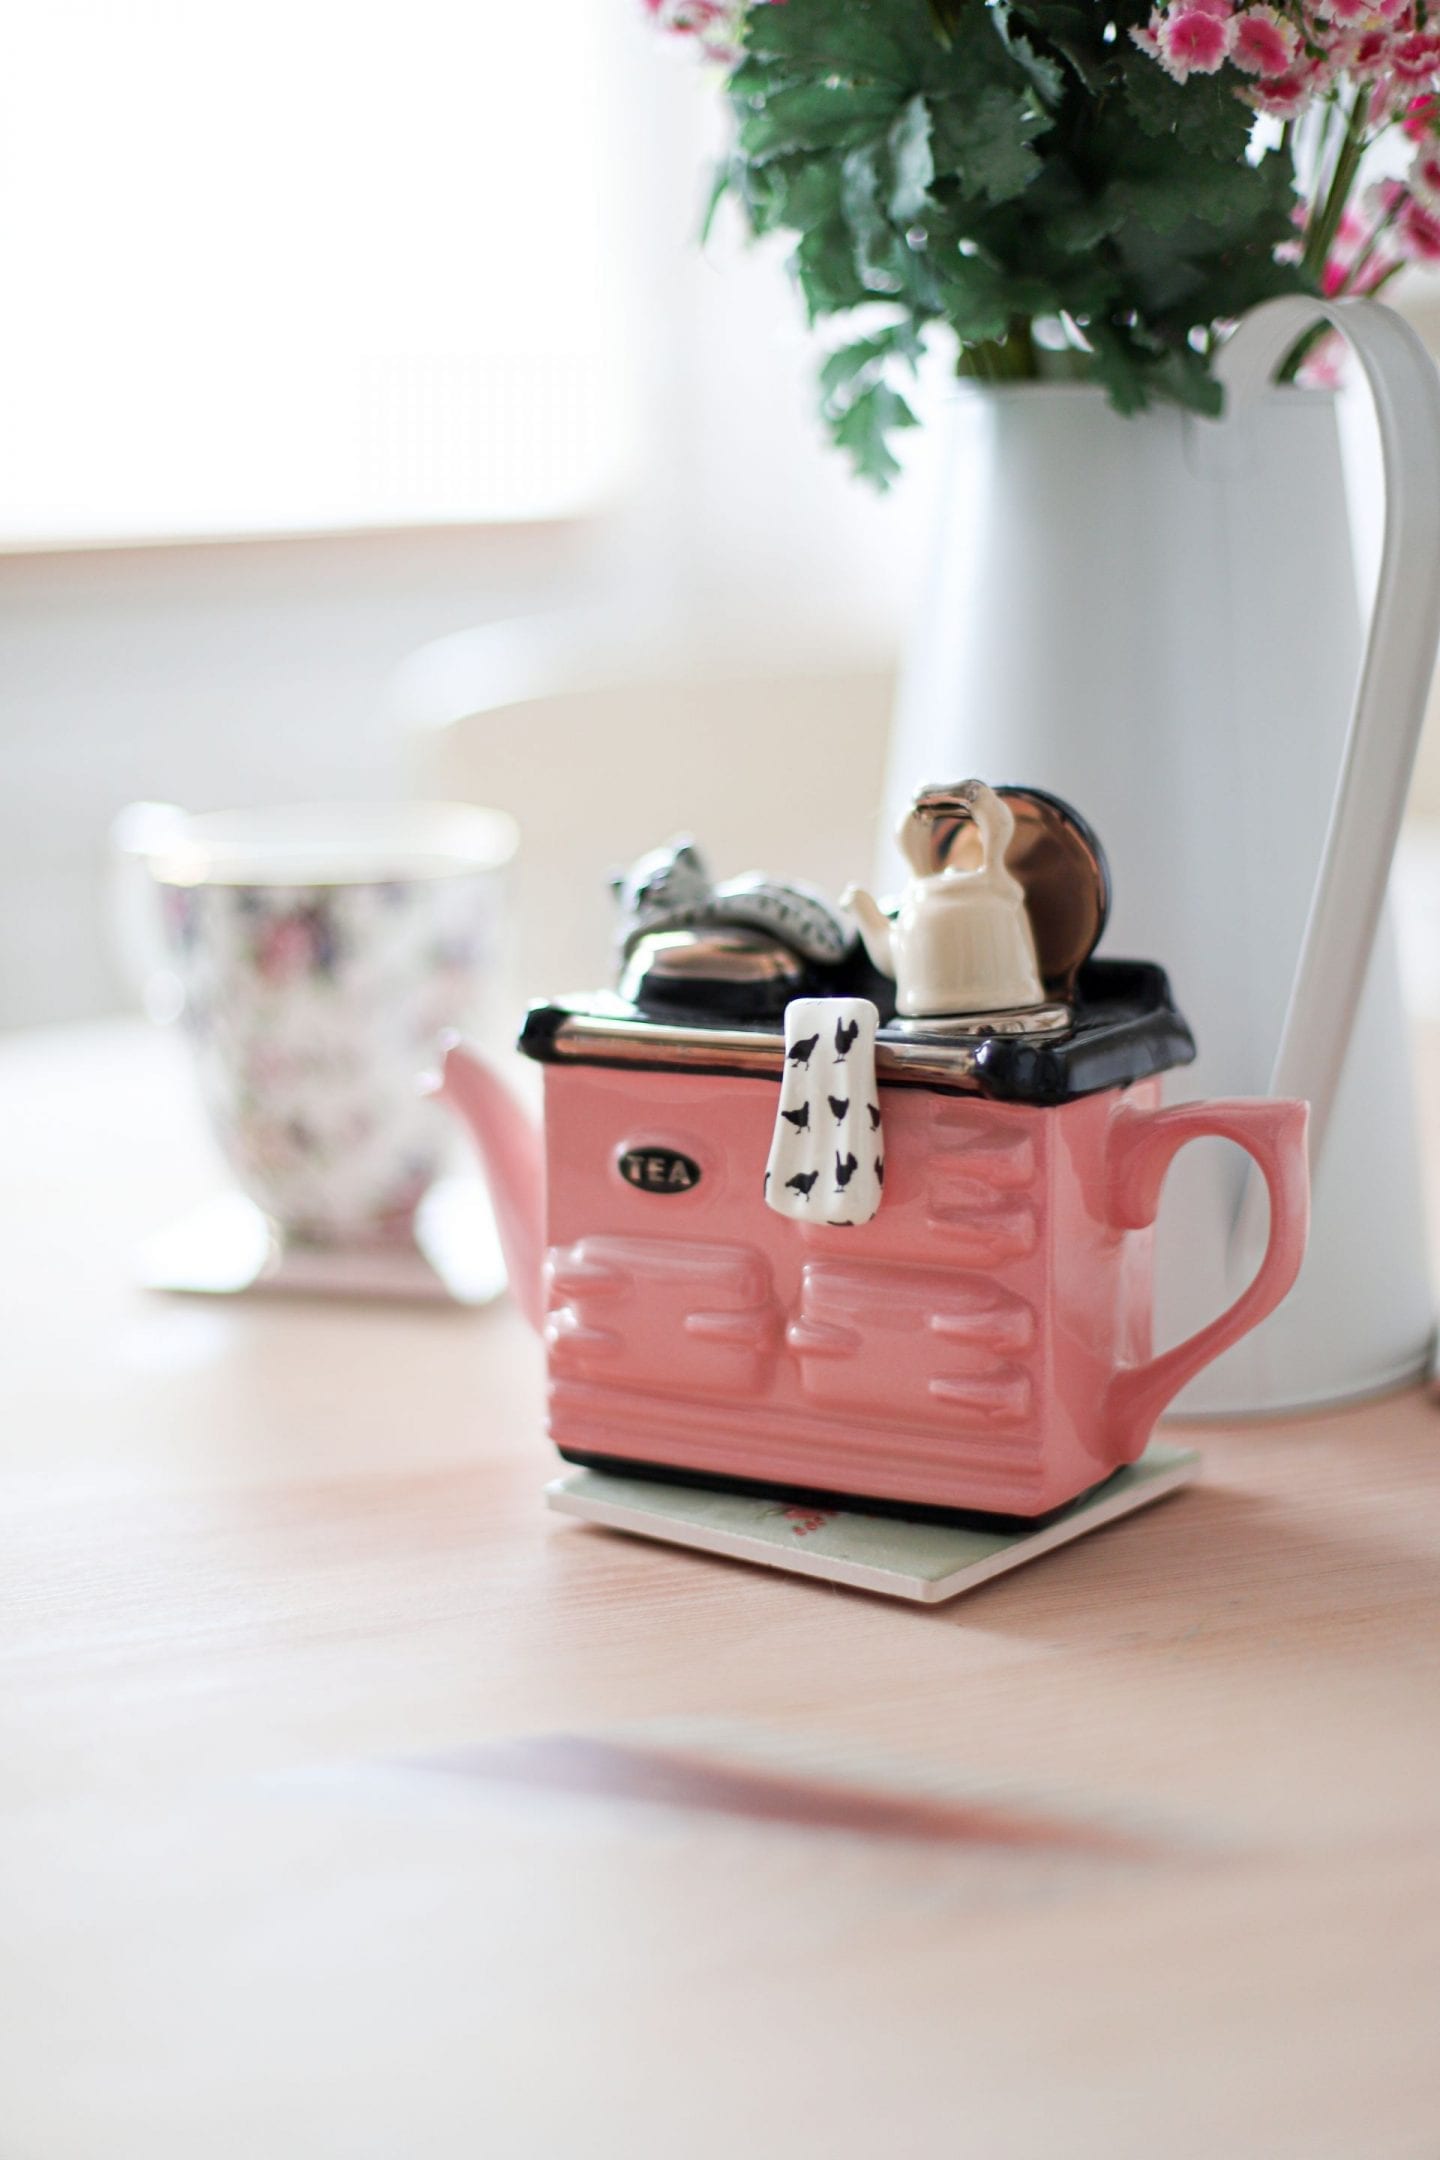
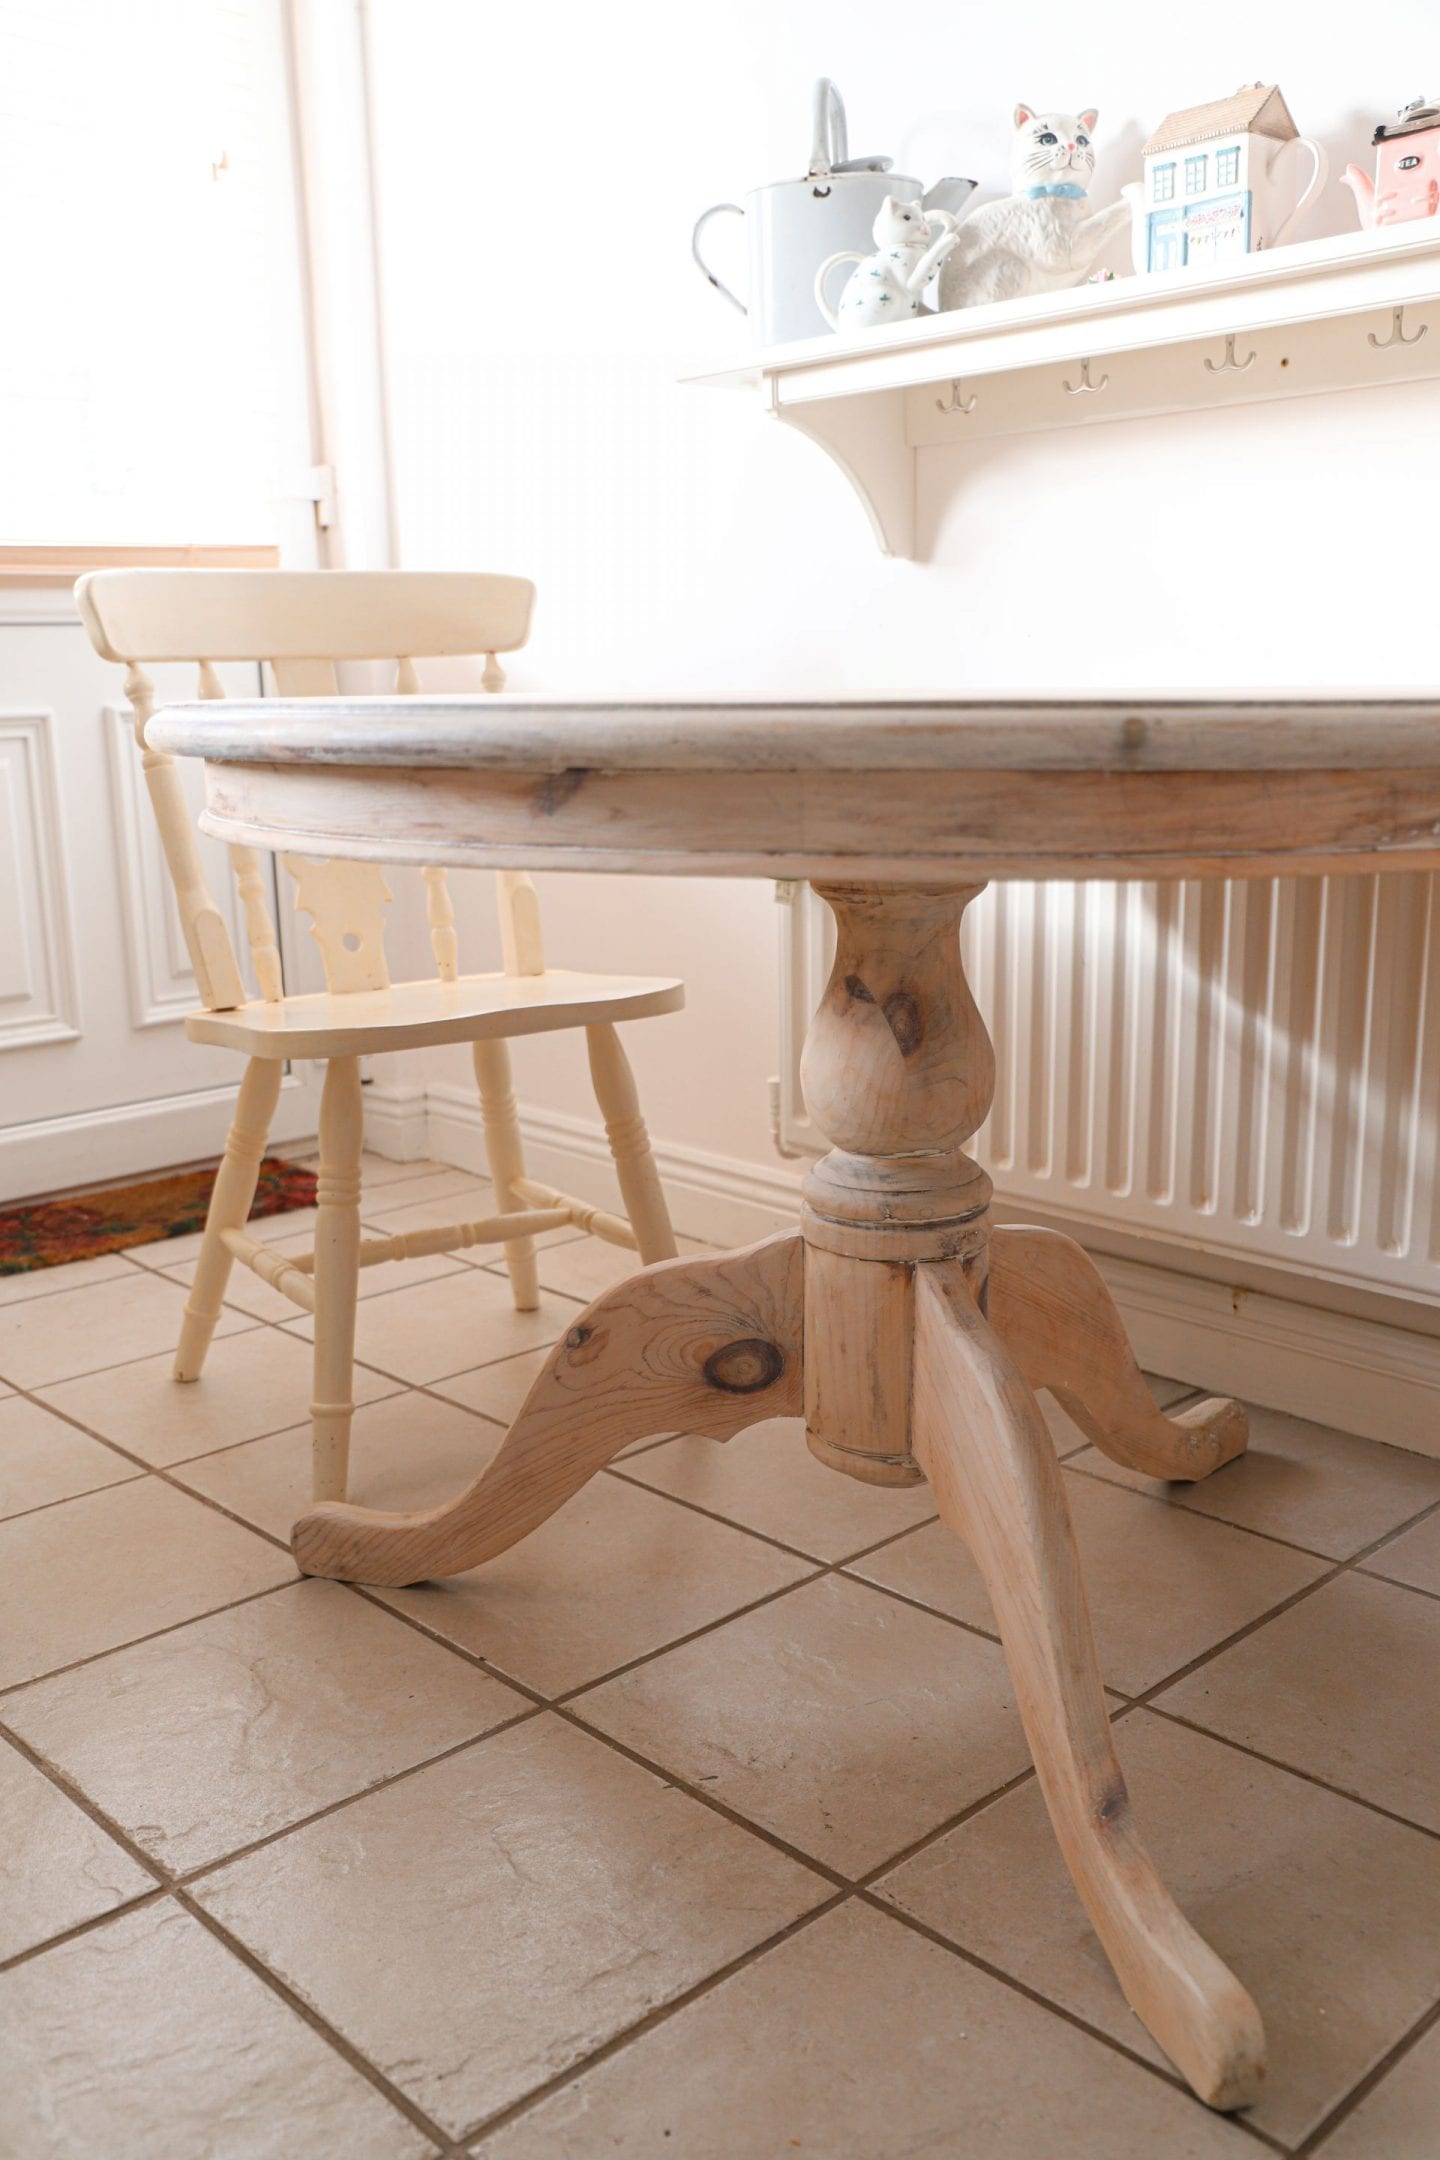
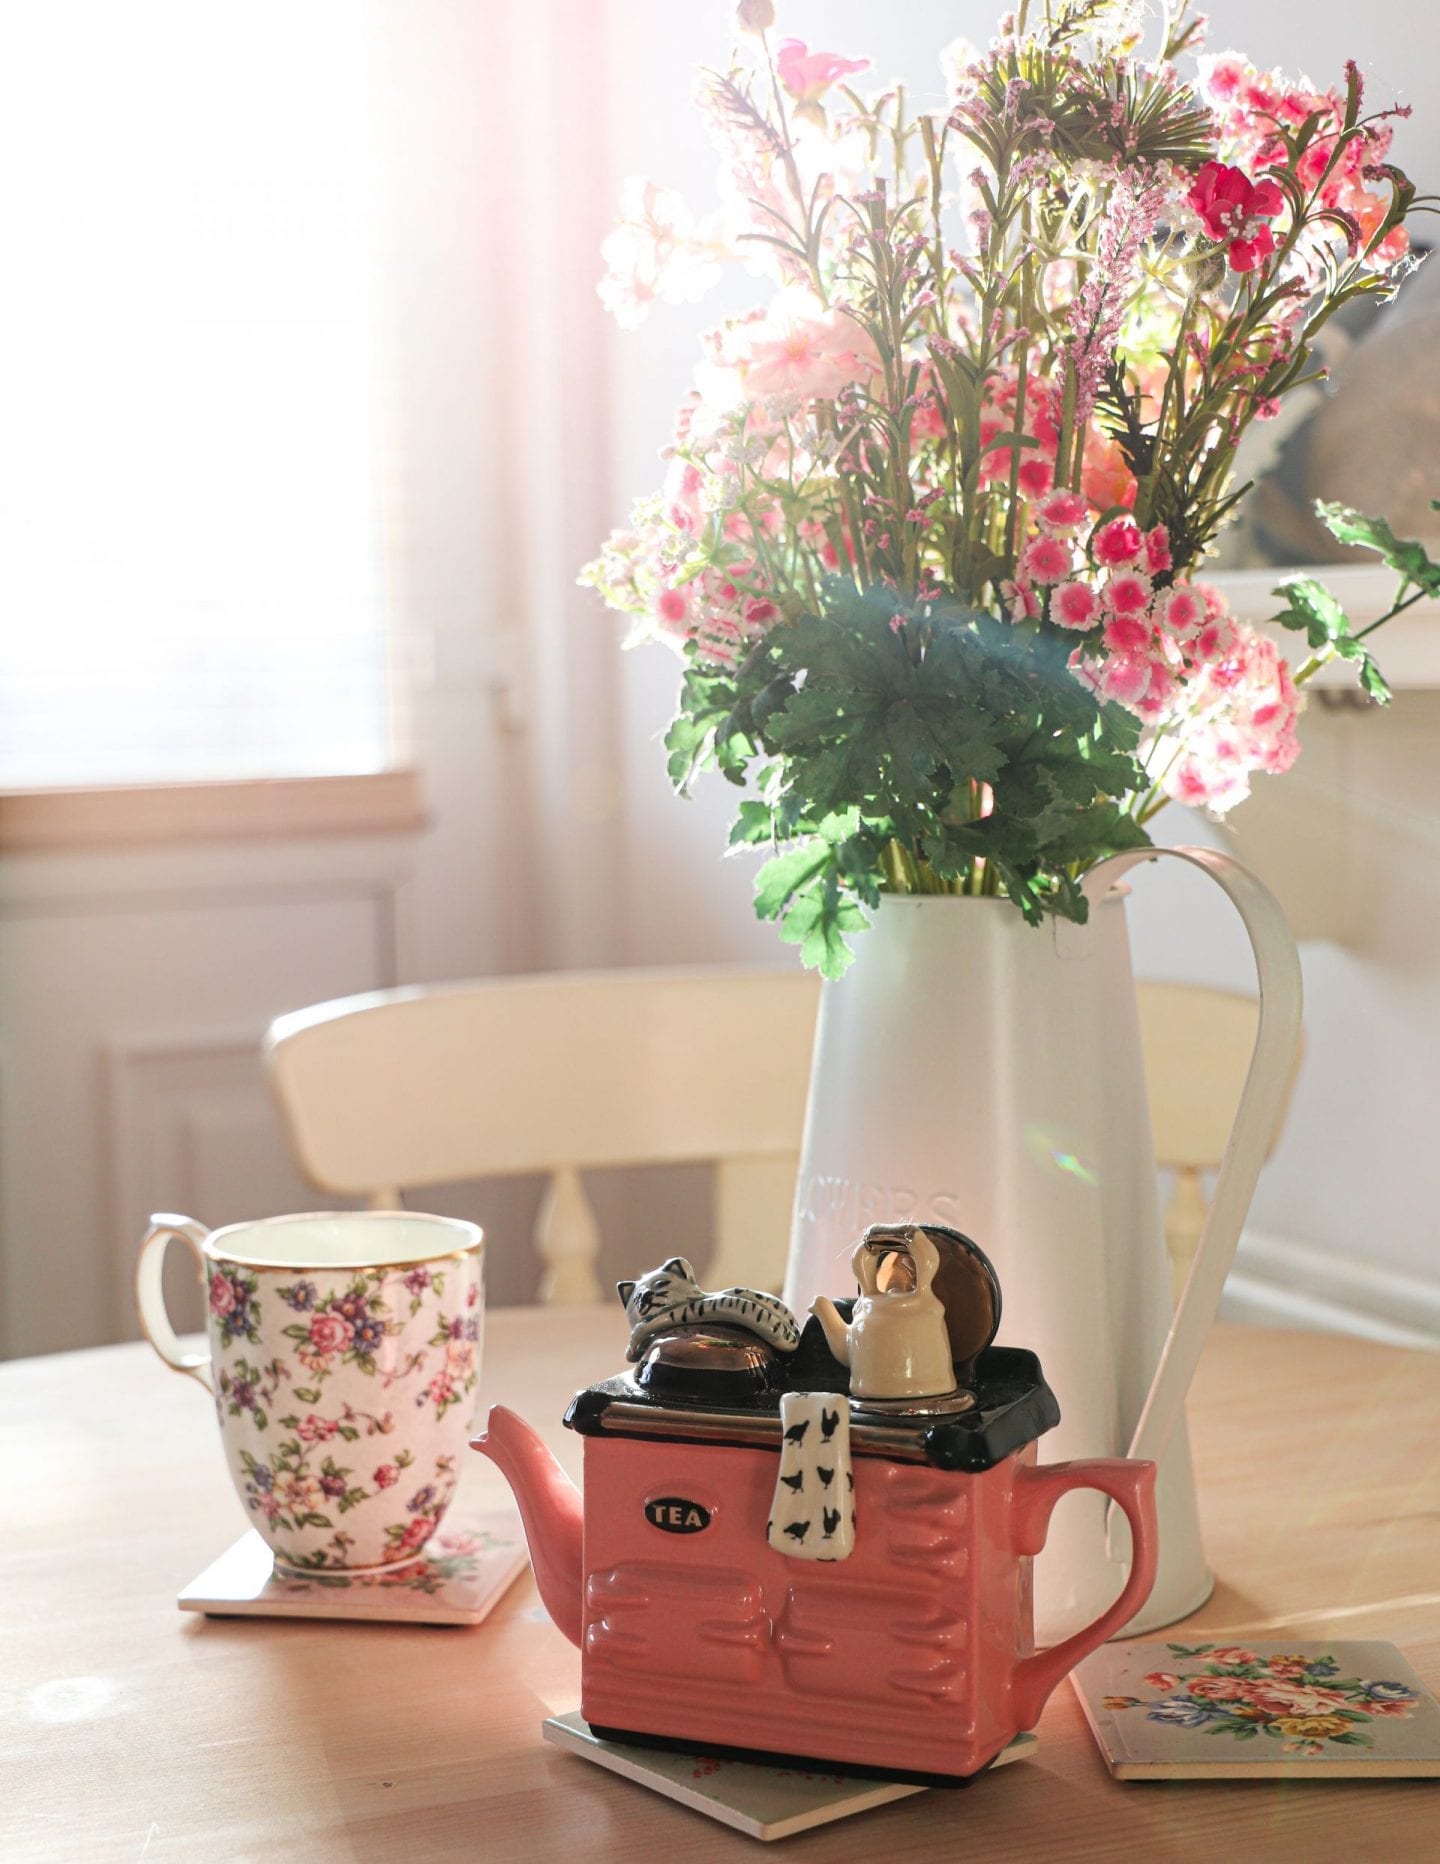
I love farmhouse style tables which is why I went for the bare wood look. You can find my inspiration over on Pinterest. I now need to tackle my chipped chairs! I think I am going to repaint them in a light pink shade, let me know what colour you think? Check out this week’s video to get a better look at my new table, don’t forget to subscribe to my channel if you enjoyed the video.
Thanks for reading,
Chat soon,
Catherine.


A lot of time consuming work. but when you stand back and look at the finished item, you cannot help but be impressed . It looks stunning. I LOVE it. How about painting each chair a different pastel colour. You can then bring out different accessories to match each colour chair , which will then make the kitchen look different on a cheap budget.