
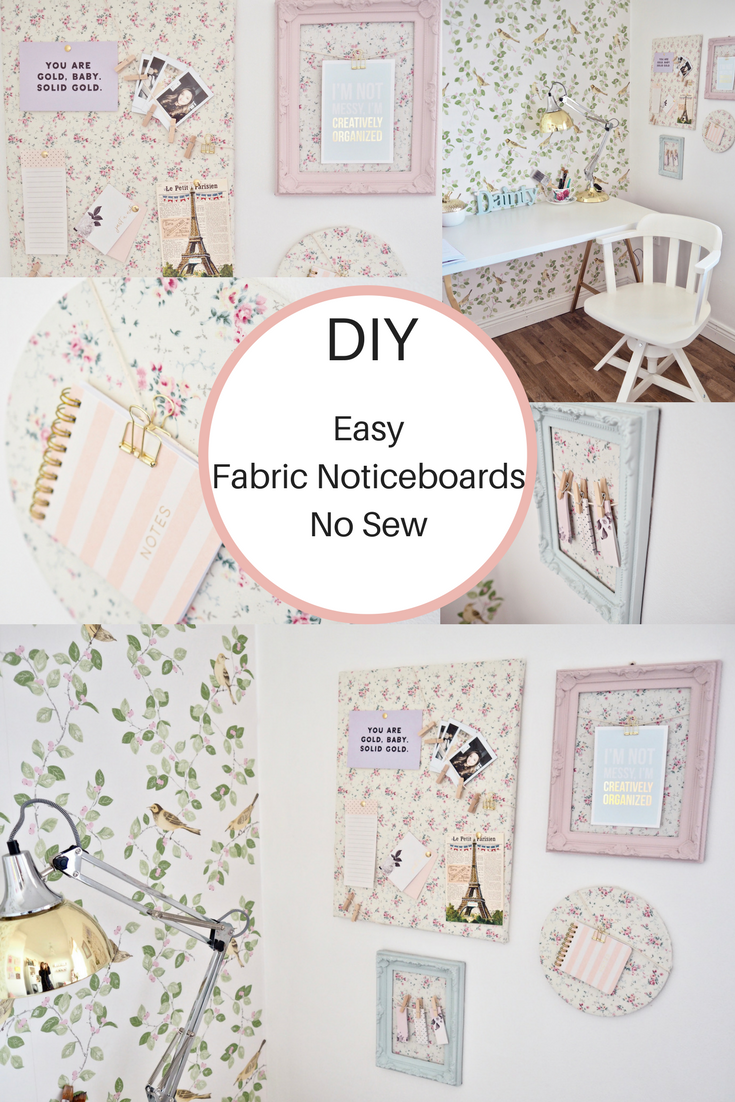
Easy fabric noticeboard DIY
Today I have a really easy and fun DIY that anyone can do. I had some fabric in my stash that I love and I wanted to use it to make some noticeboards. I had a look online and I stumbled across some noticeboard DIYs on Pinterest. So, I decided to give it a try myself. The great thing about this DIY is that all you need is fabric and glue, you do not need to sew your fabric noticeboards. I used three different items in today’s DIY to show you how to use different items for pin boards and brighten up your workspace. I also put together a Youtube video showing you how I achieved this look.

What you will need
– Fabric, I used a polycotton on today’s project.
– A Glue gun.
– Fabric scissors.
– A canvas, a cake base and an old frame.


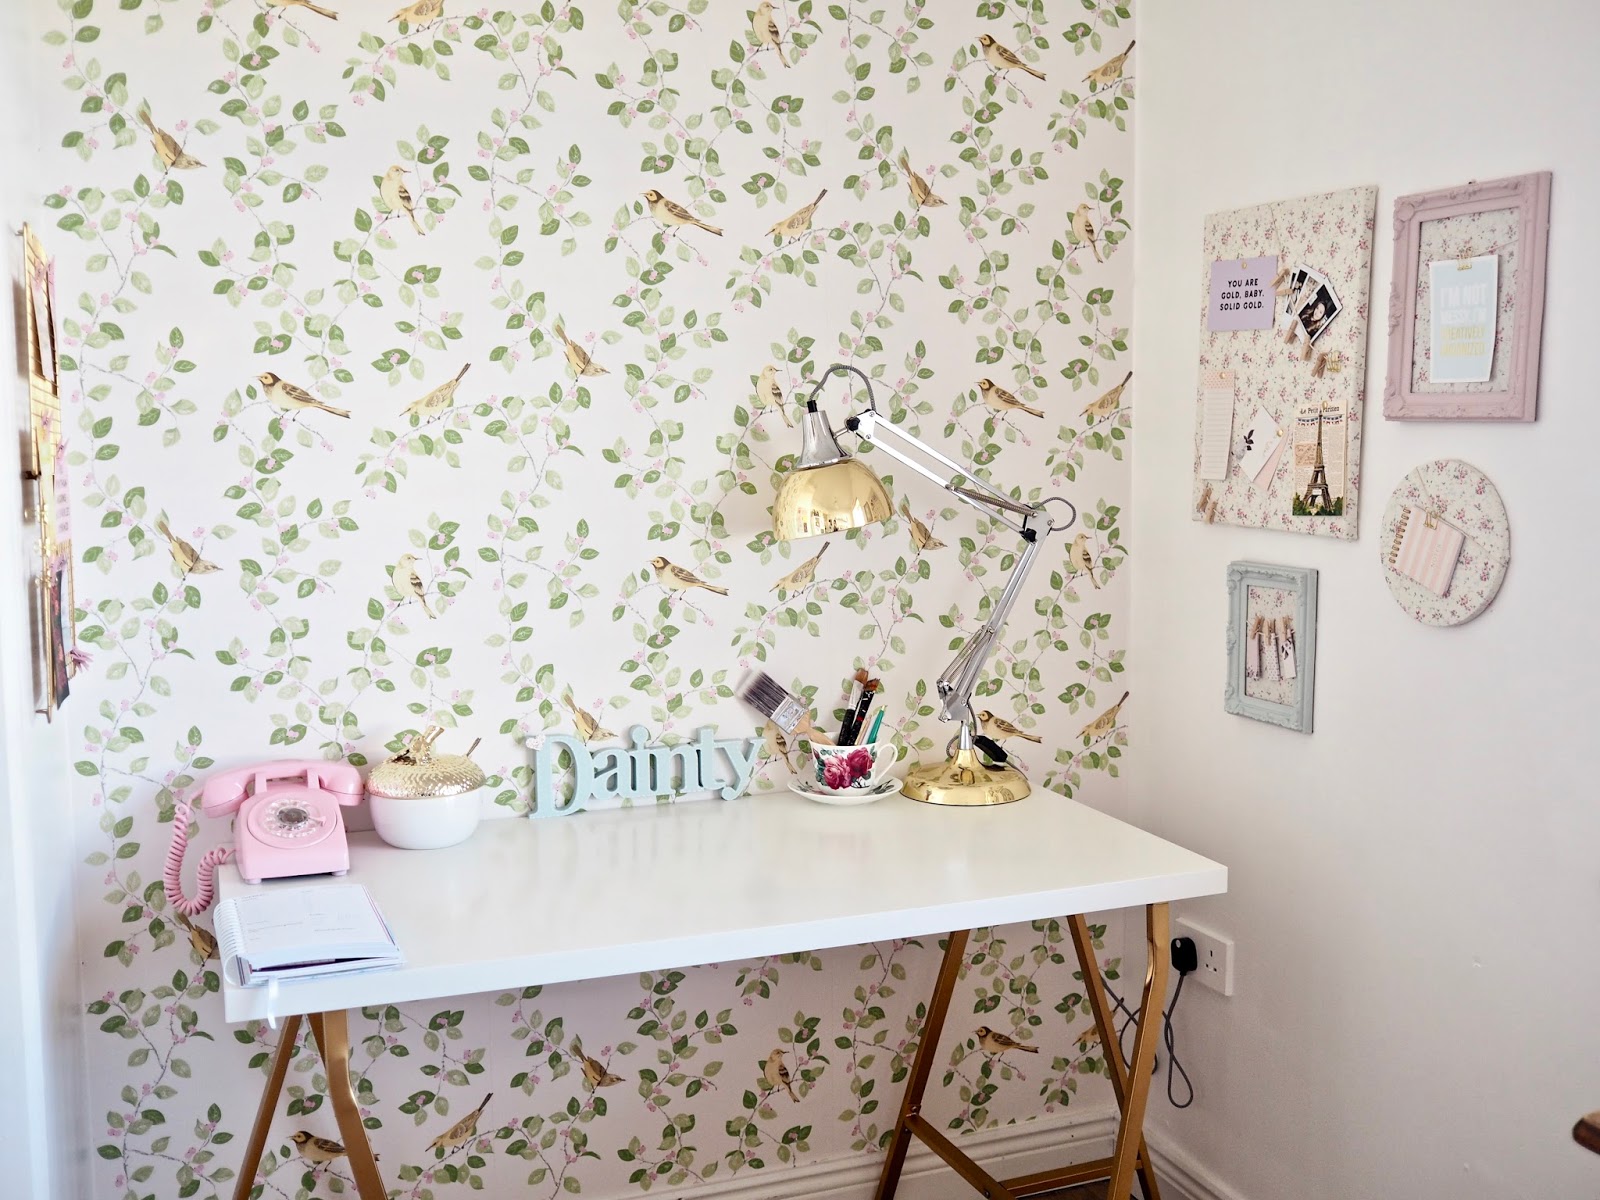
The Canvas and Cake base
To attach the fabric to the canvas and the cake base I simply cut the fabric roughly to size. I then used a hot glue gun to stick the fabric to the canvas. I started on one side and I pulled it really tight and then applied glue to the other side. I then glued the remaining corners all whilst making sure the fabric was pulled tight. You don’t want the fabric to be loose or wrinkly. I also recommend ironing your fabric before sticking to your canvas.
I loved the idea of using a cake base. I applied the fabric the same way I did with the canvas. Making sure it was pulled tight. Once I was happy with the fabric and the glue had dried I then trimmed off the excess fabric on the back. I would recommend using a glue gun for this project as it instantly grips the fabric. I did try it with another glue but it wasn’t as quick to dry, so, if you can use a glue gun. You can pick one up cheaply enough in your local craft shop or online.
If you scroll below to the bottom of this post I have a Youtube video showing you how I achieved this, sometimes its easier to show in a video.

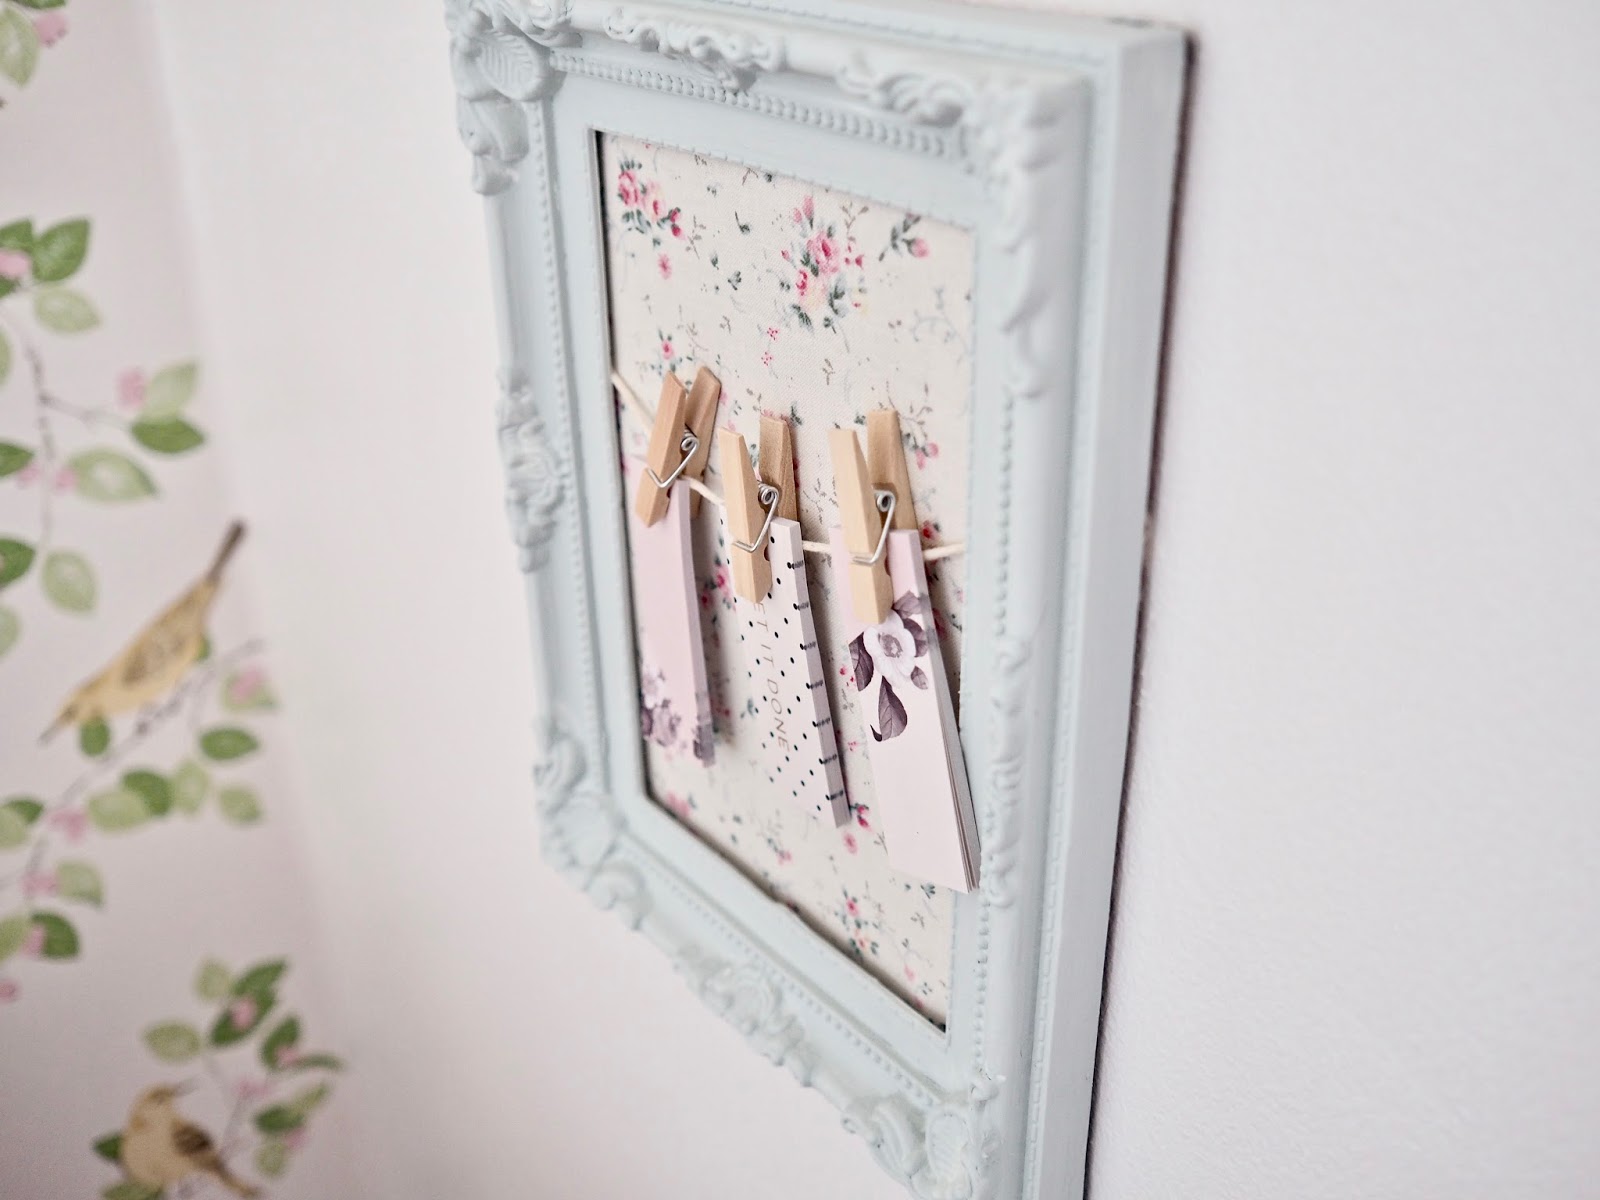
The €1.49 Frame
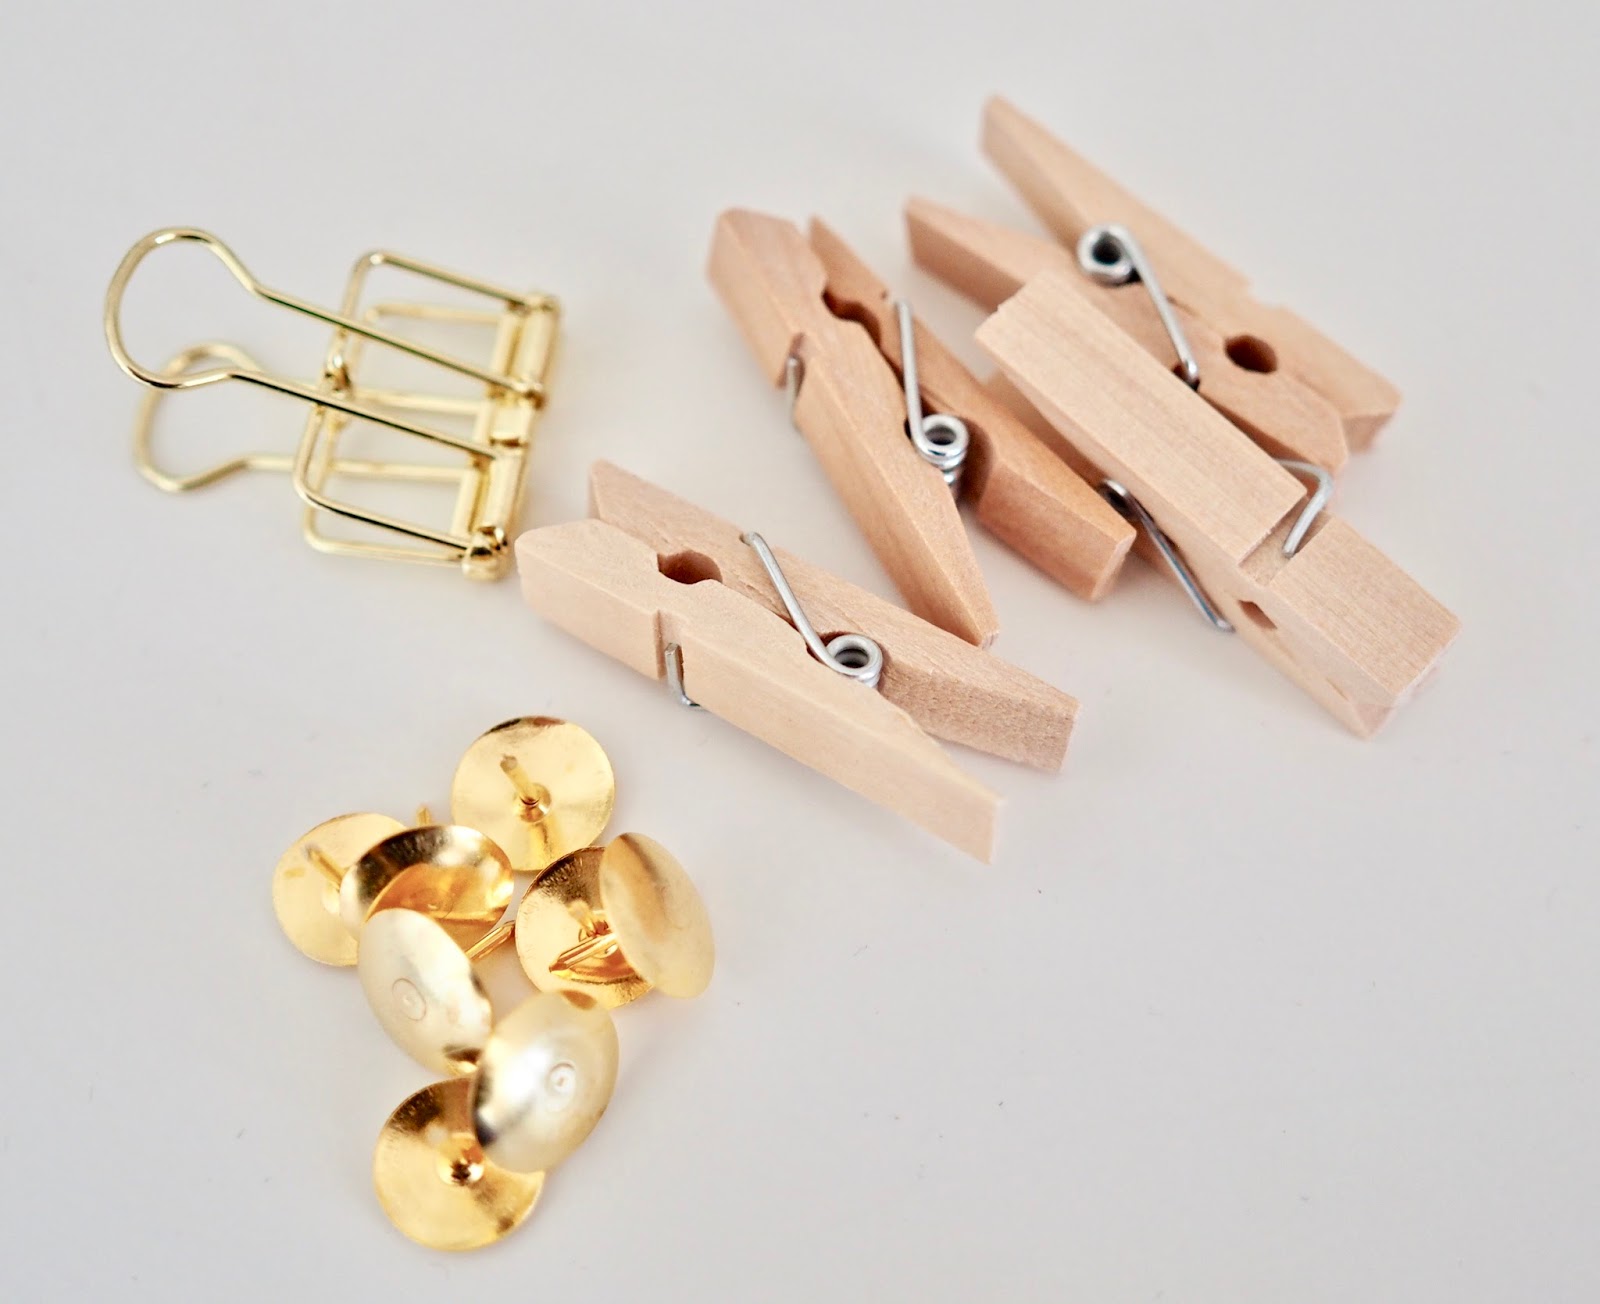
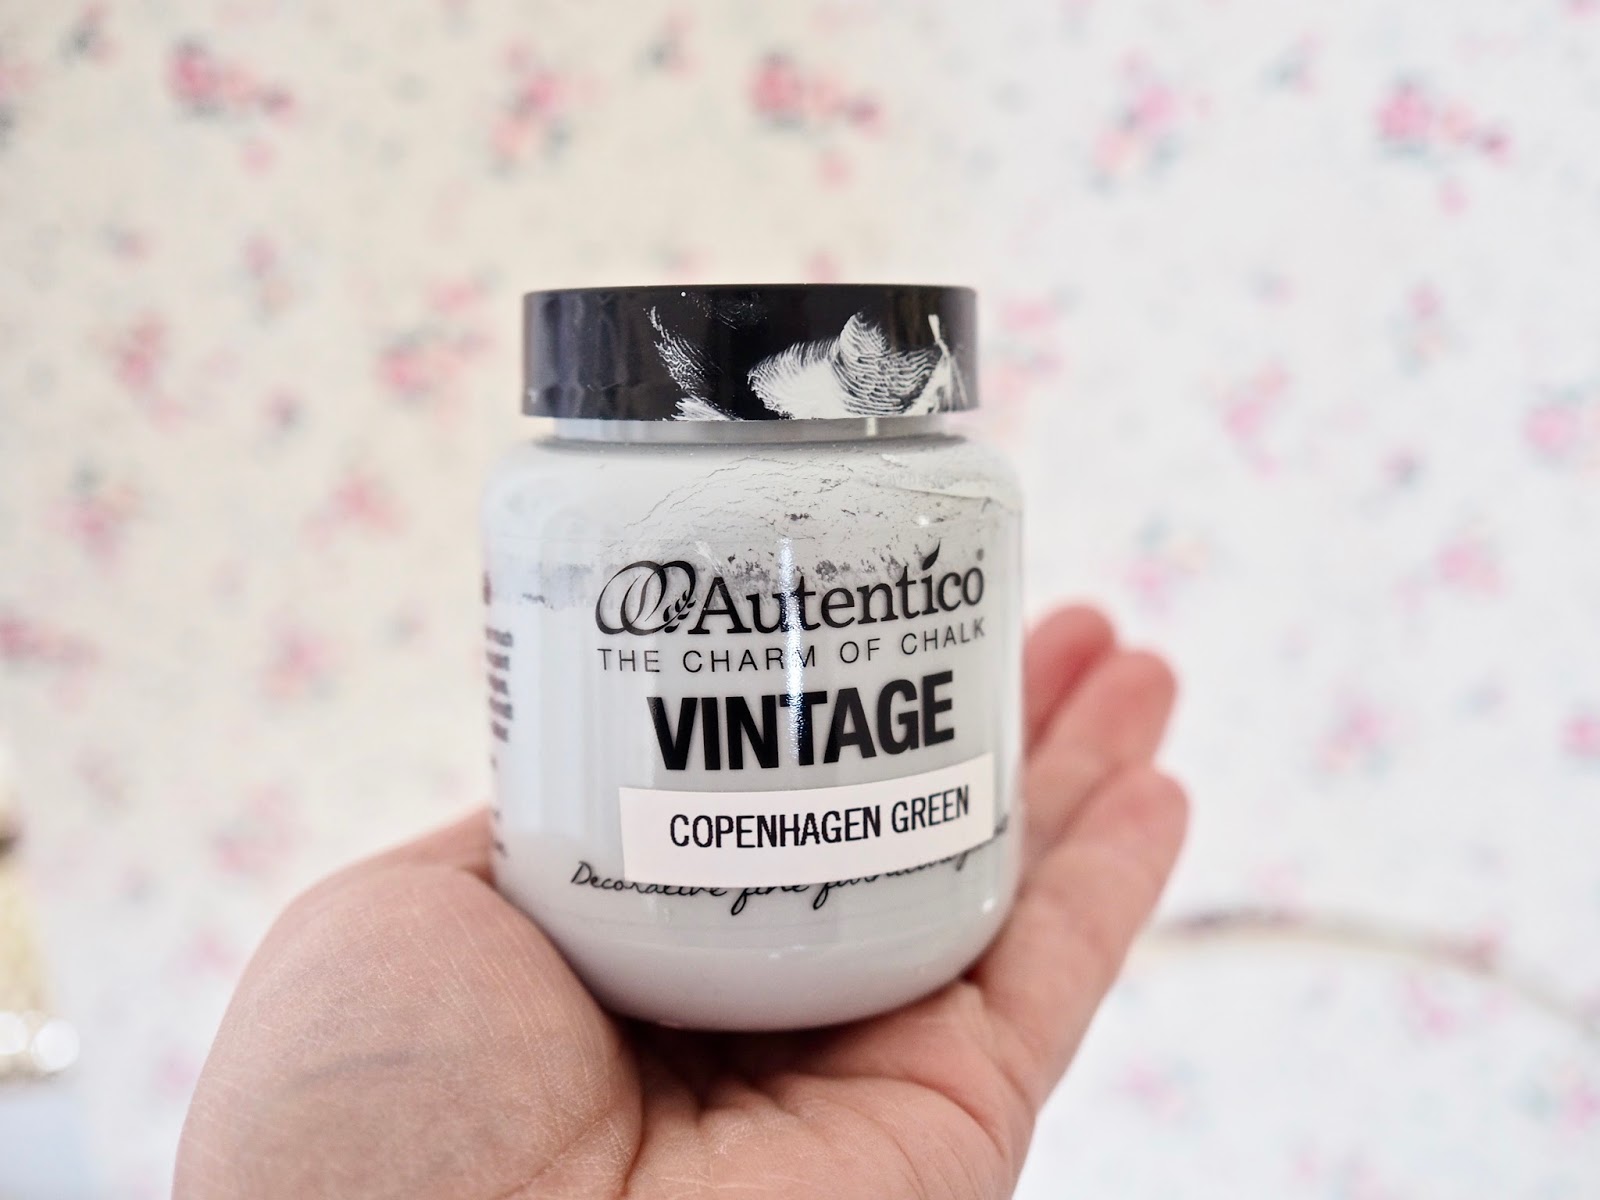
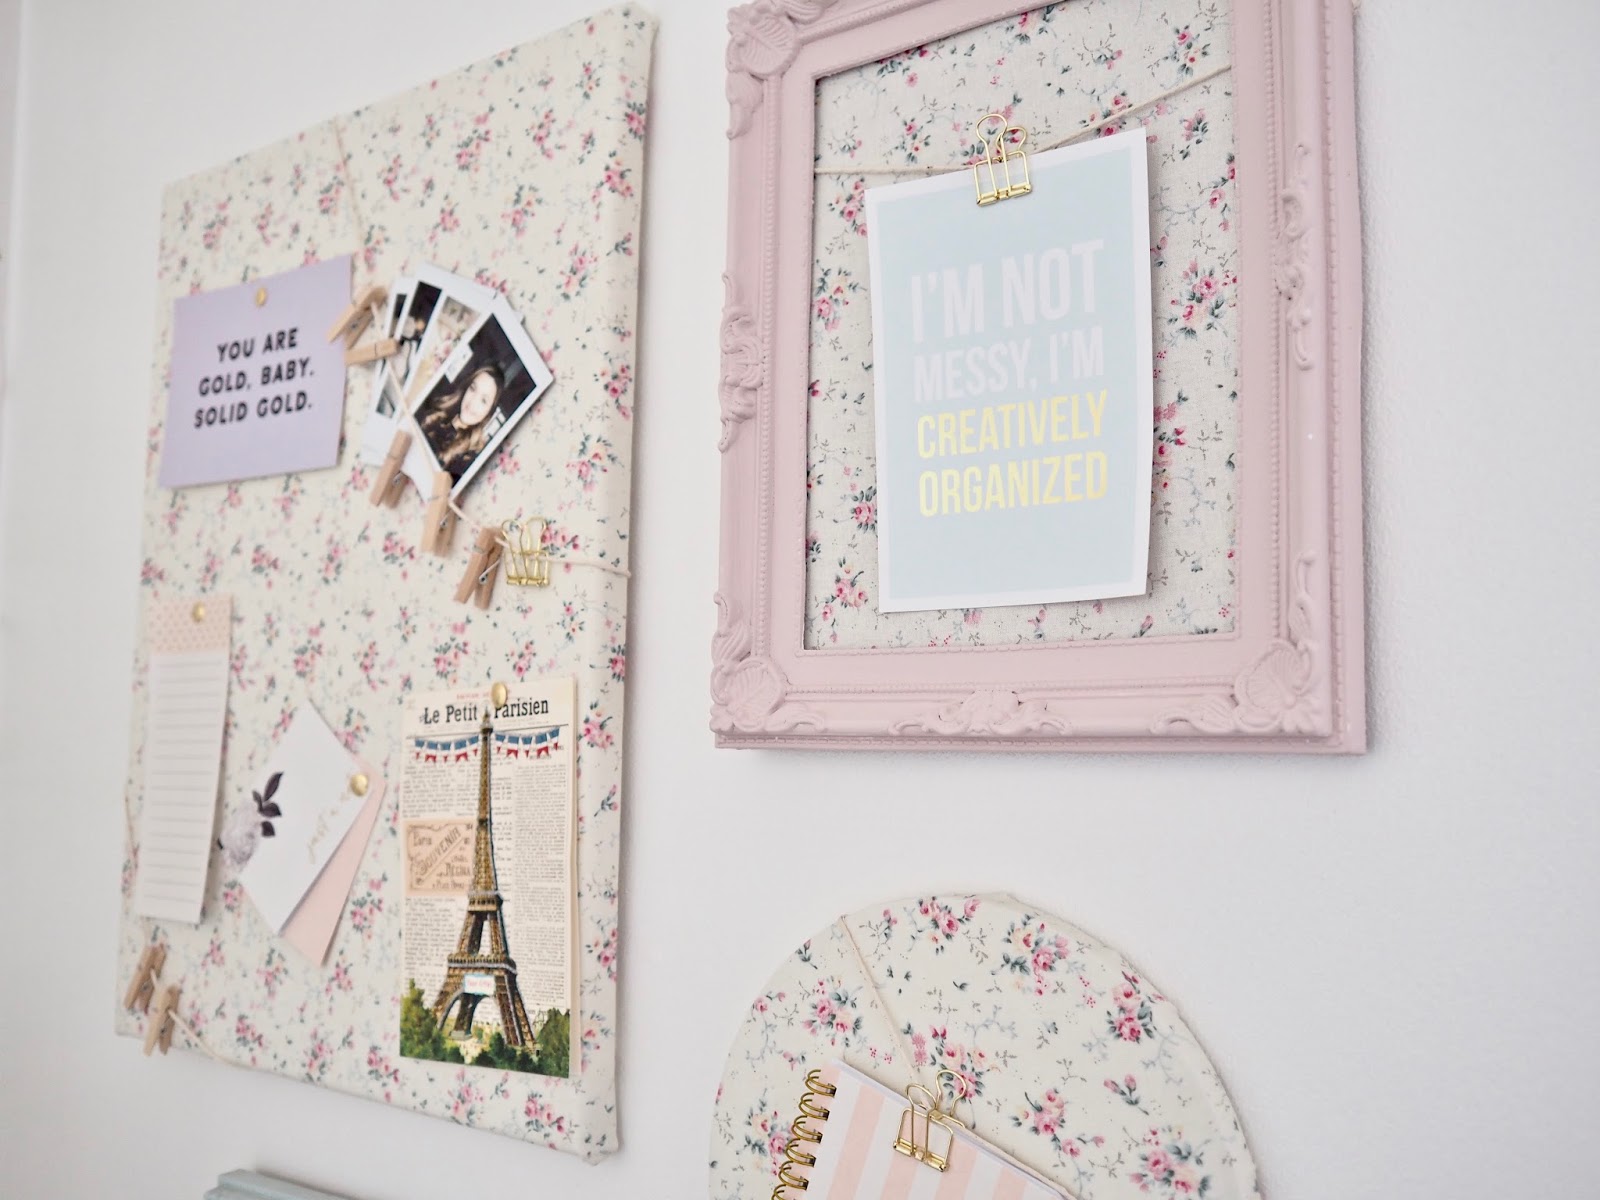
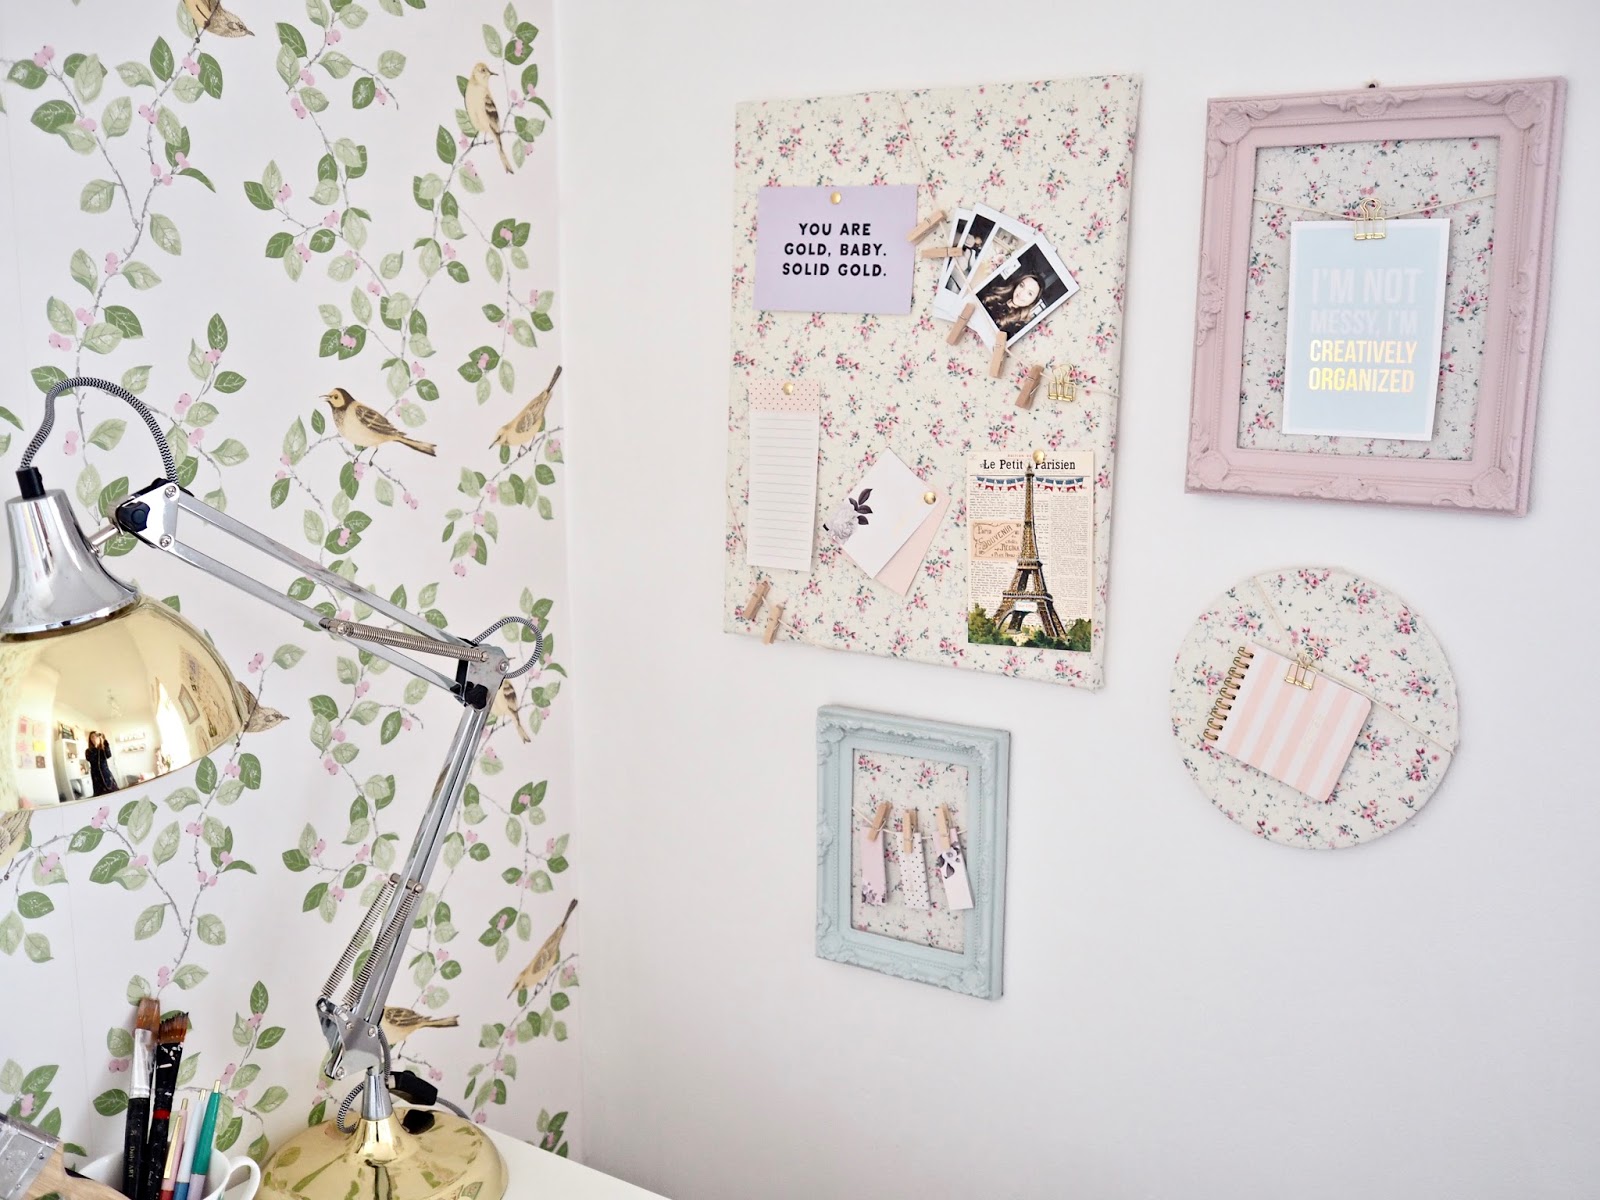
I picked up this ornate plastic frames from Dealz. It had been sitting in my craft stash for ages. I decided to turn them into a mini noticeboard to sit alongside the other ones I had made. I gave them two coats of Autentico chalk paint in the shade Rose and Copenhagen Green. I then lightly distressed and sealed it with some wax. I applied the fabric to the backing of the frame using some glue. Making sure it was pulled tight. You can use some twine and pegs as well to hang your to-do lists off.


Styling your noticeboards
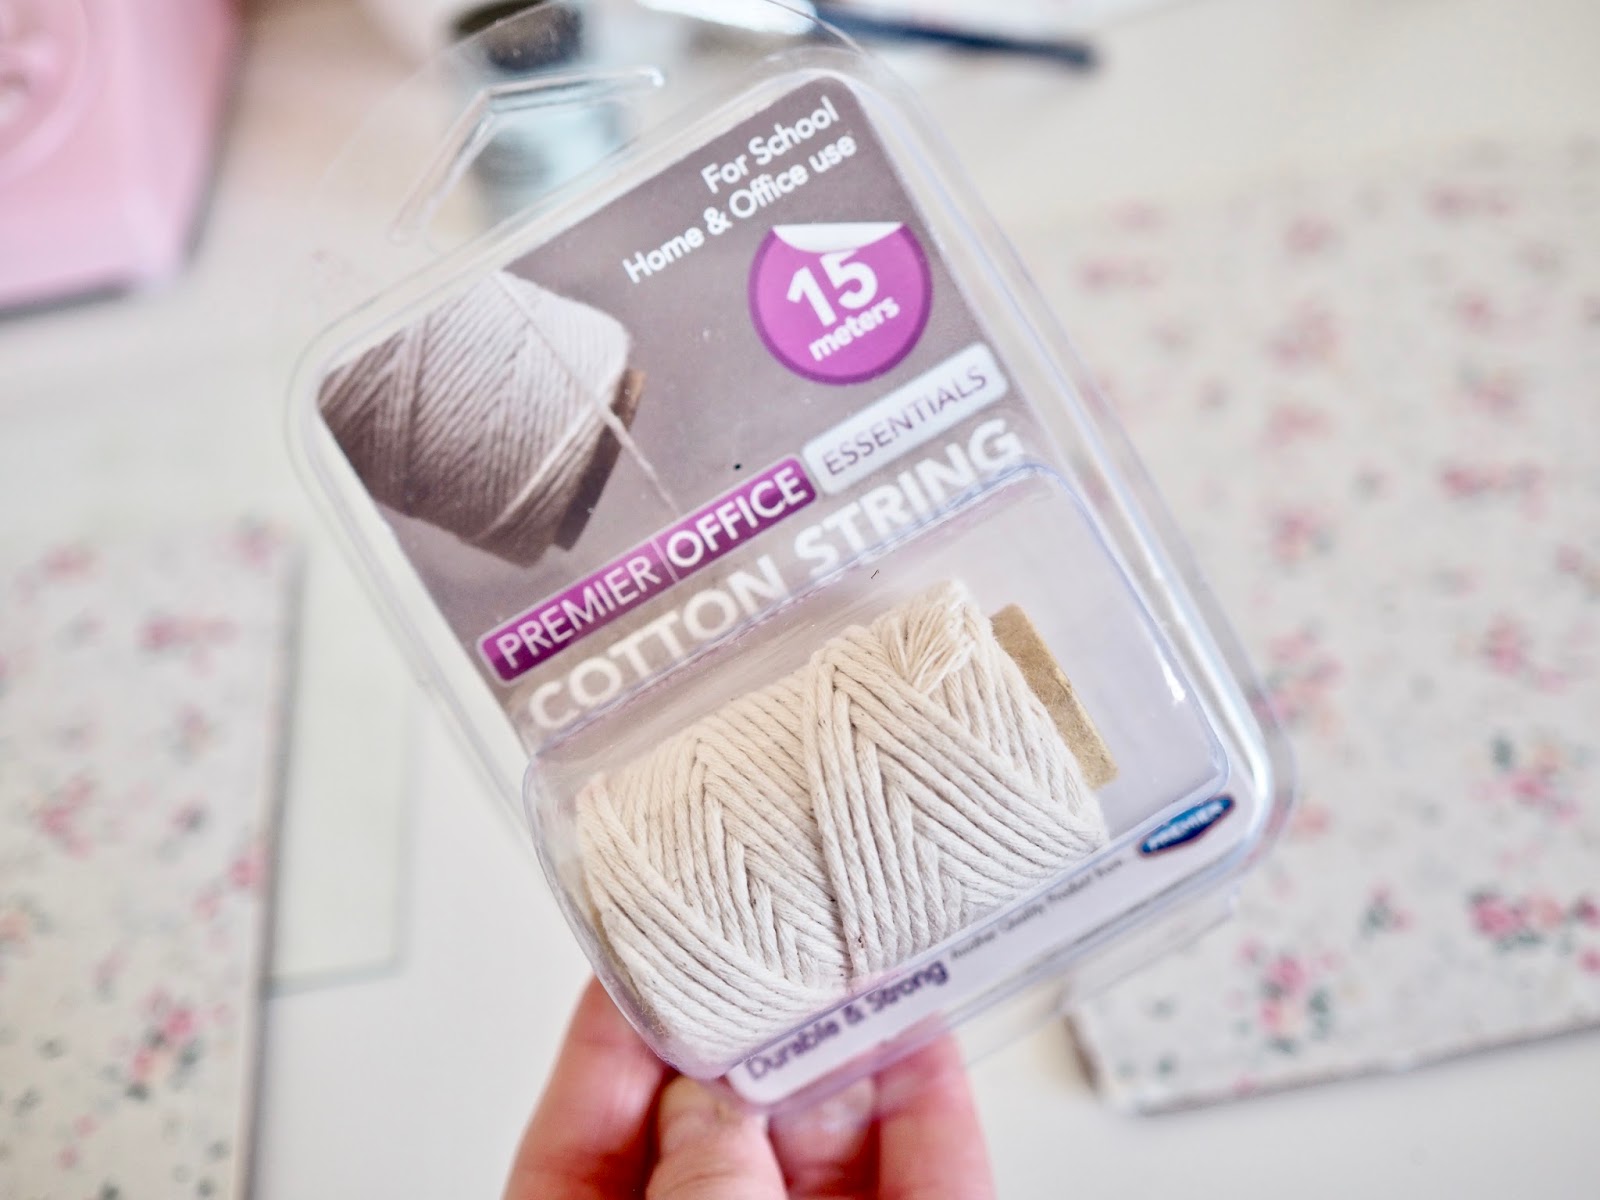
You can use ribbon, twine and push pins to decorate your noticeboards. I got some gold thumb tacks from the pound shop. I also got some string to use for hanging items off with mini pegs. Recently for my birthday, I got an Instax! So I plan on taking lots of pics with it and pinning them to my board. To hang them on the wall you can use some adhesive strips or a small tacking nail. The canvas, cake base and frame are really light and are easy to hang.


I hope you enjoyed today’s DIY. Let me know if you give it a try and make sure to tag me in your pictures over on Instagram. I am going to use mine as a vision board in the office. Make sure to check out my Youtube video below and hit that subscribe button and give it a thumbs up if you enjoyed it.
Chat soon,
Catherine
Please Pin This Image Below


Thanks so much for reading Laura x
These look so cute, I love it xo http://www.laurajaneatelier.com