Editing your camera phone pics.
Hi everyone!,
So today I have a fun post and one that I think a lot of you might find useful especially if you love a good snap and are an Instagram addict like myself.
** I now use my Olympus Pen epl7 to take my Instagram photos, I purchased this back in February for my birthday but I still edit them on my phone the same was as I did when I used to use my camera phone to take Instagram pics.
If you use a camera phone to take you insta pics then this is a post for you.
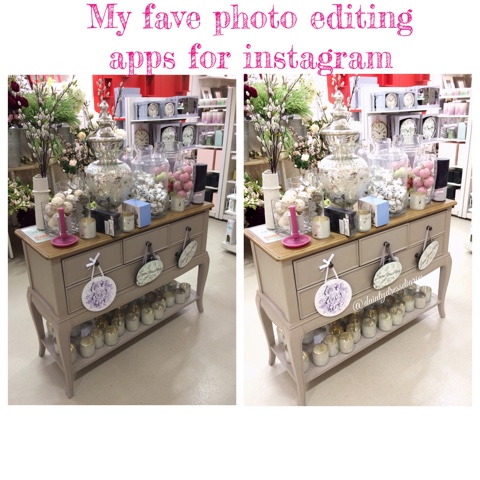
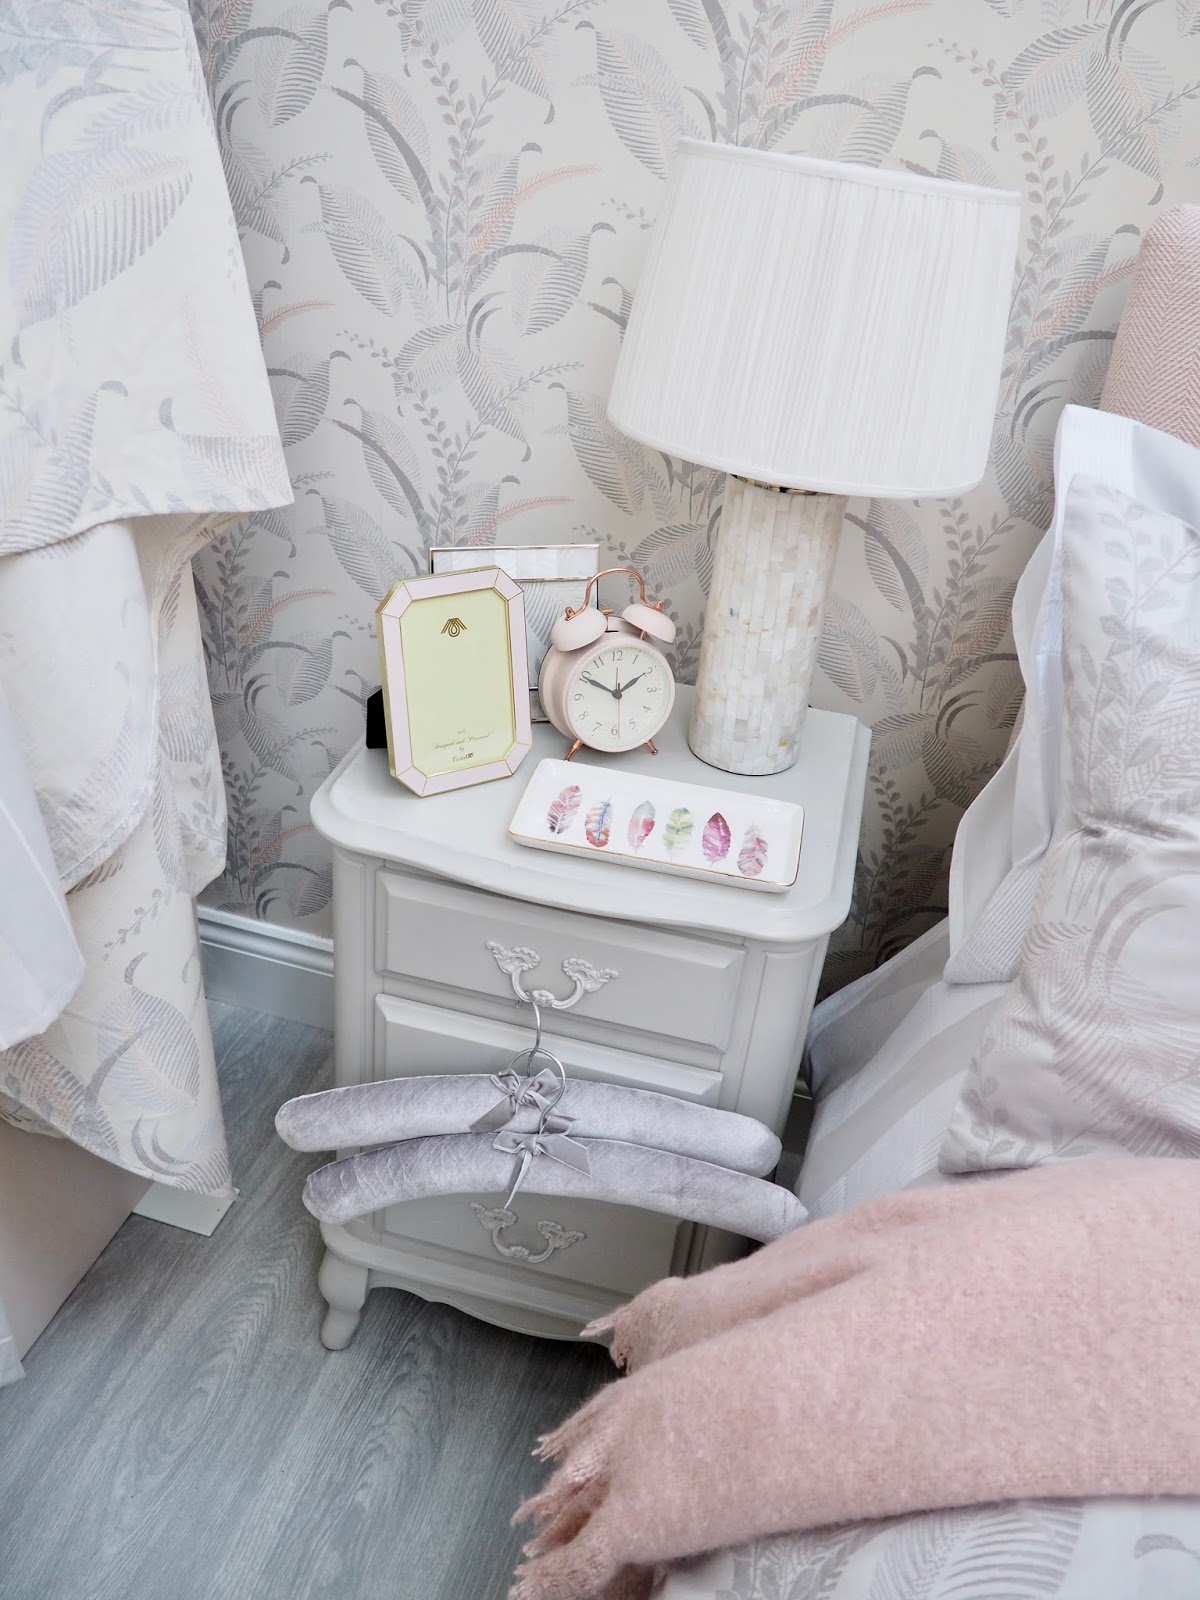
The pic below was taken using my Olympus so you can see the difference in quality of the image on the blog.
For Instagram camera photos are great but for your blog I would recommend getting a decent camera especially if your visual like me and love taking pretty pictures.
One of the convenient and handy things about having a phone is that you can snap some pics when ever you like and share your memories on your fave social media sites. Its not always convenient to be carrying a bulky dslr camera in your pocket so here I will share my fave tips and apps for making your camera phone pics pop.
Even though I love snapping on my phone I find the picture quality quite flat and poor on my Iphone so I make sure I use these three apps to help make my pictures look more professional on Instagram.
Now don’t get me wrong, for getting the best pics for your blog and Instagram then it is worth investing in a good camera but if your a newbie blogger and all you have is your camera phone then this is how you can get your picks sparkling to their best.
Social media sites like Instagram and Pinterest I find are all about the picture quality and are visually strong and I notice when I posted a poorly lit picture compared to an nice clean edited one that I got more likes and interaction on the edited pic.
Enlight.
My first and my number one app is Enlight, this is not a free app but it is well worth the 3.99 in the app store.
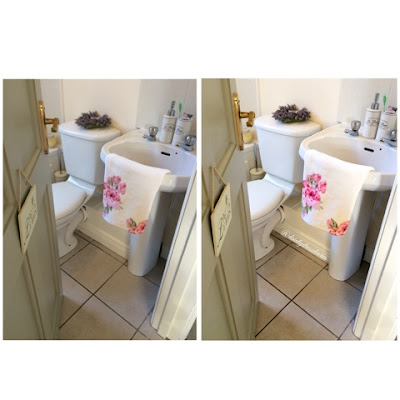
I edit the lighting first, I find by adjusting the contrast and the blackness that it adds some dept to the picture and gets rid of the grey sheen off the original pic.
Then I adjust the brightness and exposure and sharpen the image too.
Now at first I found this app overwhelming and full of options and hard to navigate but once I did I loved it and this is my first go to editing app on my phone.
This app also has filters, special effects and I use this app to watermark my images and to add glitter effects.
I don’t use the filters in this app, they are fab filters but I find I mainly just adjust the lighting on my pics.
You can also blur your back ground in your image to get the effect that you would get from using a DSLR camera with a lense, This blurred background can look great for fashion pics.
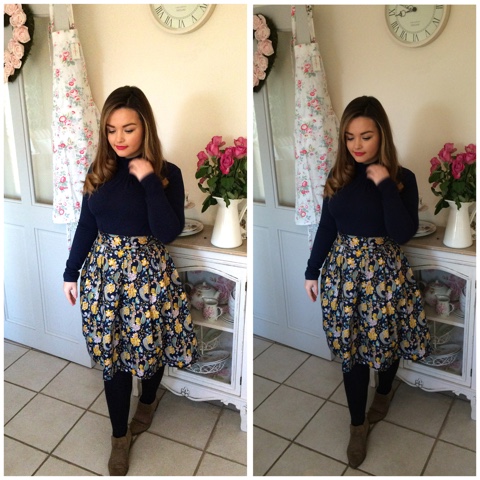
As you can see in the pictures above, the edited image looks more appealing and has more color and dept compared to the flatter more dull image from the camera phone.
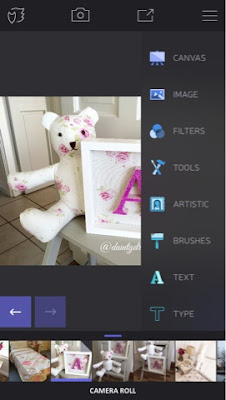
In the image below I used the brush effect to add the glitter, there is lots of different effects you can add to your pics, I find the glitter is my fave.
I also used this app to make this little poster for a recent Instagram giveaway, I used the text function to write up the poster and changed the color and size of the writing, you can also change the font on the writing.
My top tip for editing the lighting is to go lightly with your editing especially if it is a craft item you are selling as you will notice that the color may look different from the original picture so don’t over edit the picture.
Facetune.
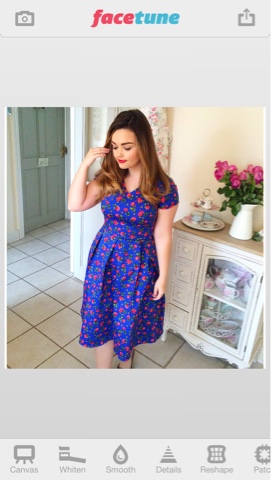
This app is also not free but also 3.99 in the app store, If you are a selfie queen then this is the app for you, I use this app more for my outfit pics and selfies. There is some really nice filters in this app too, my fave filter on this is Orchid.
Ever see a picture on Instagram and wonder how their skin looks so smooth? There is a smooth option on this and you use your finger to blur out any stray hairs, wrinkles or any imperfections in your skin. Now I will warn you to go easy with the smooth options as I have also seen some pics where the smooth button has been abused and then the person in the picture looks over edited and not real so just keep it to blurring the wrinkles and not the whole face.
Another thing that is great about this app is the reshape option, so ever take a picture and love it but you got caught at a bag angle and got a fatty arm or leg, well you could edit it and use the re shape feature, hey if the likes of Beyonce can photoshop her self slim then so can we.
Ssshhh is can be our little secret.
Instasize.
Now this one is a free one and this app also has great filters and options to adjust the lighting and exposure however I use this app to re size my pictures so they don’t loss their quality when uploading to Instagram and Facebook.
Ever notice you edited your pic or you have a large size DSLR camera pic and it goes blurry when you upload it to social media sites? This is normally because the picture file size is too big, so by using this app it re sizes it for Instagram and you don’t lose your picture quality when you upload it to Instagram.
I have only recently gone back to using this app and I notice the pictures are more sharper and have better clarity when I upload.
Now I know I shared apps that you have to pay for but these are the apps I use on a daily basis, I have tried many free photo editing apps but found them to be mainly crap and I just delete them.
There is also good editing options on the Instagram app and you can adjust the brightness, contrast and sharpness and have a huge choice of filters but I find I mainly edit using the three apps above.
Top tips.
Daylight! I always take my pictures in natural daylight as I hate the yellow hue you get when taking pictures in the evening with artificial light. This can be a pain in the Winter months so I tend to take loads of pics and bank a couple to use then to upload to Instagram in the evenings.
I also always take pics of my craft items in the day light too.
Get a tripod, if you are a budding fashion blogger then I highly recommend investing in a tripod so you don’t have to hound people to take your out fit pics. You can also get a remote shutter for your camera phone cheap enough off Amazon.
Let me know what your fave app is and your fave filters for your pics and share your tips too. Just comment below in the comments section and don’t forget to leave the link to your blog or Instagram in the comments section.
Chat soon,
Catherine.







Great tips as always Catherine. Will definitely install these apps and use them to enhance my Style By Anna pics! x
Aw thanks so much Anna for stopping by and reading xxx
I would love to have such an ap. I use my camera, and I am on a Mac. And have always found it difficult, to get such aps which work, on a Mac.So I guess I have to stick to the "fixing" I can do, with my iPhoto ap, on my computer.Also, it seems as if IG "filters" do a lot of changing, to pics. I usually go with the first one… The one which is supposed to be "regular, normal or whatever"… I'm not techy and am confused by the IG "filters". I admit! -grin- They certainly can make a single photo, look very, very different!Gentle hugs, from across the pond…
hiya hunny x yes I try not to use the instagram filters, I find they blur the pictures and make them blurry x Do you have an iphone? If you do then these apps are available in the app store. Thanks for reading, Hope you have a lovely weekend.
I always wonder what picture editing apps people use! I tend to use the one that comes with Instagram because I'm so confused by all the others! Thank you for sharing, will definitely go check those out xx@mrs_rhi_bowler xx
Enlight and VSCO are my favorite!-Tiahttp://retouchingblog.com
Thanks so much for stopping by and reading X look forward to seeing your sparkly insta pics X
Hi Tia X thanks so much for reading, I must have a peep at the Vsco X Il also have a read of your blog on my lunch xx
Facetune, as well as other similar applications, aimed at masking minor defects image. However, it is the application for the iPhone designed to improve the individual personally. I, personally, do all editing with PC tools like that https://macphun.com/intensify
Hi Madeline, Thanks for taking the time to read the post. I agree photos are best edited online but I wrote this post on mind for people who blog and upload to Instagram while on the go. What's your favourite editing tool for pc?
Hey dear, you look awesome, and the tips are fantastic with the beautiful edits. I myself use PicsArt mobile photo editor to edit my photos on the go. It has a lot of features and filters, you can create double exposures and surreal edits that will prove to be very artistic and interesting. Try it yourself and follow the blog of the photo editor to get tips on editing techniques.
Thanks for your excellent post. It,s Great tips for photo editing. photo editing service/offshore clipping path
Thanks for sharing this post. It's very useful tips for photo editing.https://play.google.com/store/apps/details?id=com.formationapps.pipphotoeditor
New Year Eve 2017 Wishes, Status, Messages Greetings for Twitter
Pacquiao vs Vargas Live StreamVargas vs Pacquiao Live Fight Time, Tickets and PPV Coverage GuidePacquiao vs Vargas Live Fight Time, Tickets and PPV Coverage GuideManny Pacquiao vs Jessie Vargas LiveFREE Manny Pacquiao vs Jessie Vargas LiveManny Pacquiao Latest News: Jessie Vargas Fights Like Erik Morales, Pacquiao Be Worried?Manny Pacquiao vs Jessie Vargas Live Filipino Wants to Become Champion AgainJessie Vargas vs Manny Pacquiao Televised Undercard to Feature Three Title FightsTHANKS
Thanks for republishing this after I asked on Instagram – because your feed is so beautiful! Really helpful advice. Looking forward to trying out these apps.Helen x
So very helpful ~ Thank you for sharing these tips! Especially the Facetune one.
Im the one of user of this photo editing apps. In colorclipping lab, from few month we use this, and get the great results.
Need any help like-Image masking servicebackground remove service
This post is really so nice.Surely i'm going to use these apps for my instagram photos.Thanks a lot