
Sentimental sewing
In this post, I am showing you how to turn an old shirt into a memory cushion. I used to make these for people a few years ago but I am no longer able to make these so I decided to share a video and show you how you can make your very own memory cushion.
These make amazing presents for people and I used to love seeing peoples reaction when they would get a memory cushion that I had made. You can use clothing from loved ones that have passed or simply recycle old clothes to make a cushion.
You might remember my previous easy cushion making blog post, you can catch it here. I am following the same steps and this will be an easy sew with no zips.
You can also check out my video here to get a better idea of how I made the cushion.

What you will need to create your memory cushion
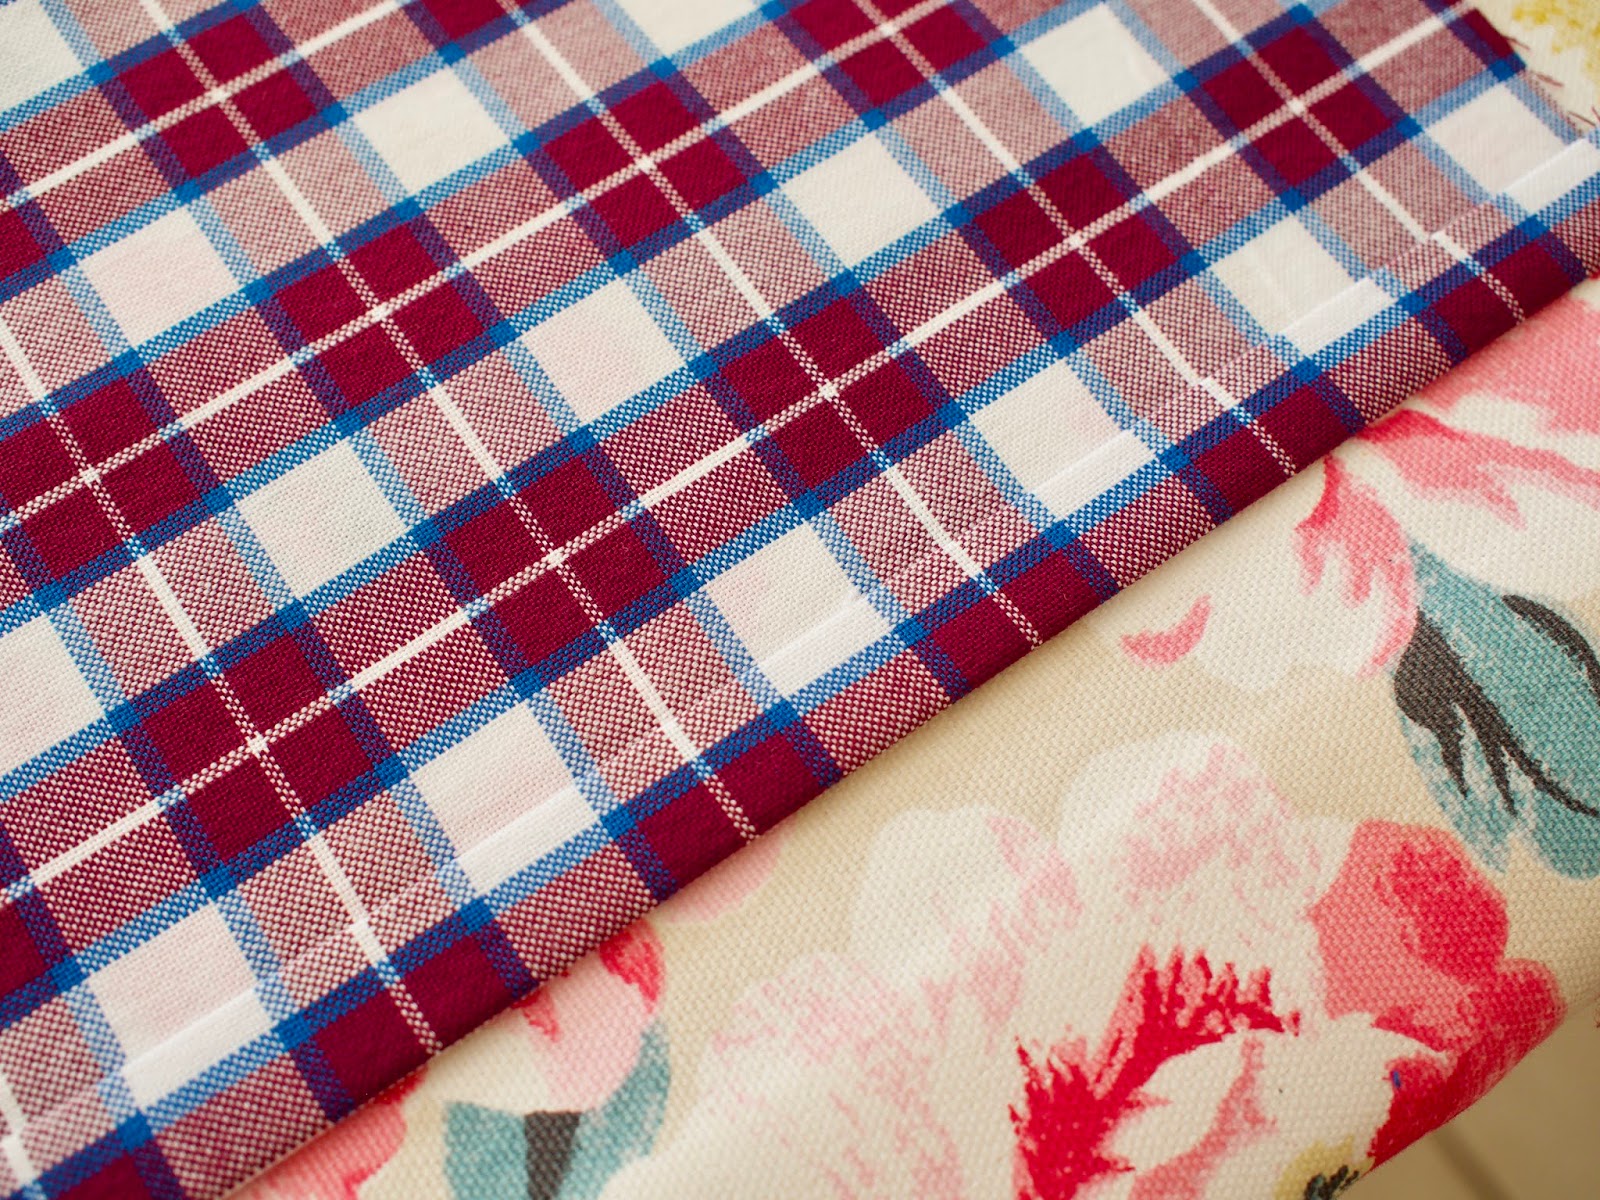
If you are a beginner then I recommend starting with cotton/poly shirts. These have less stretch and are easier to start with. If you want to use a knit or stretch fabric then you can iron on some interfacing to stop it from stretching.
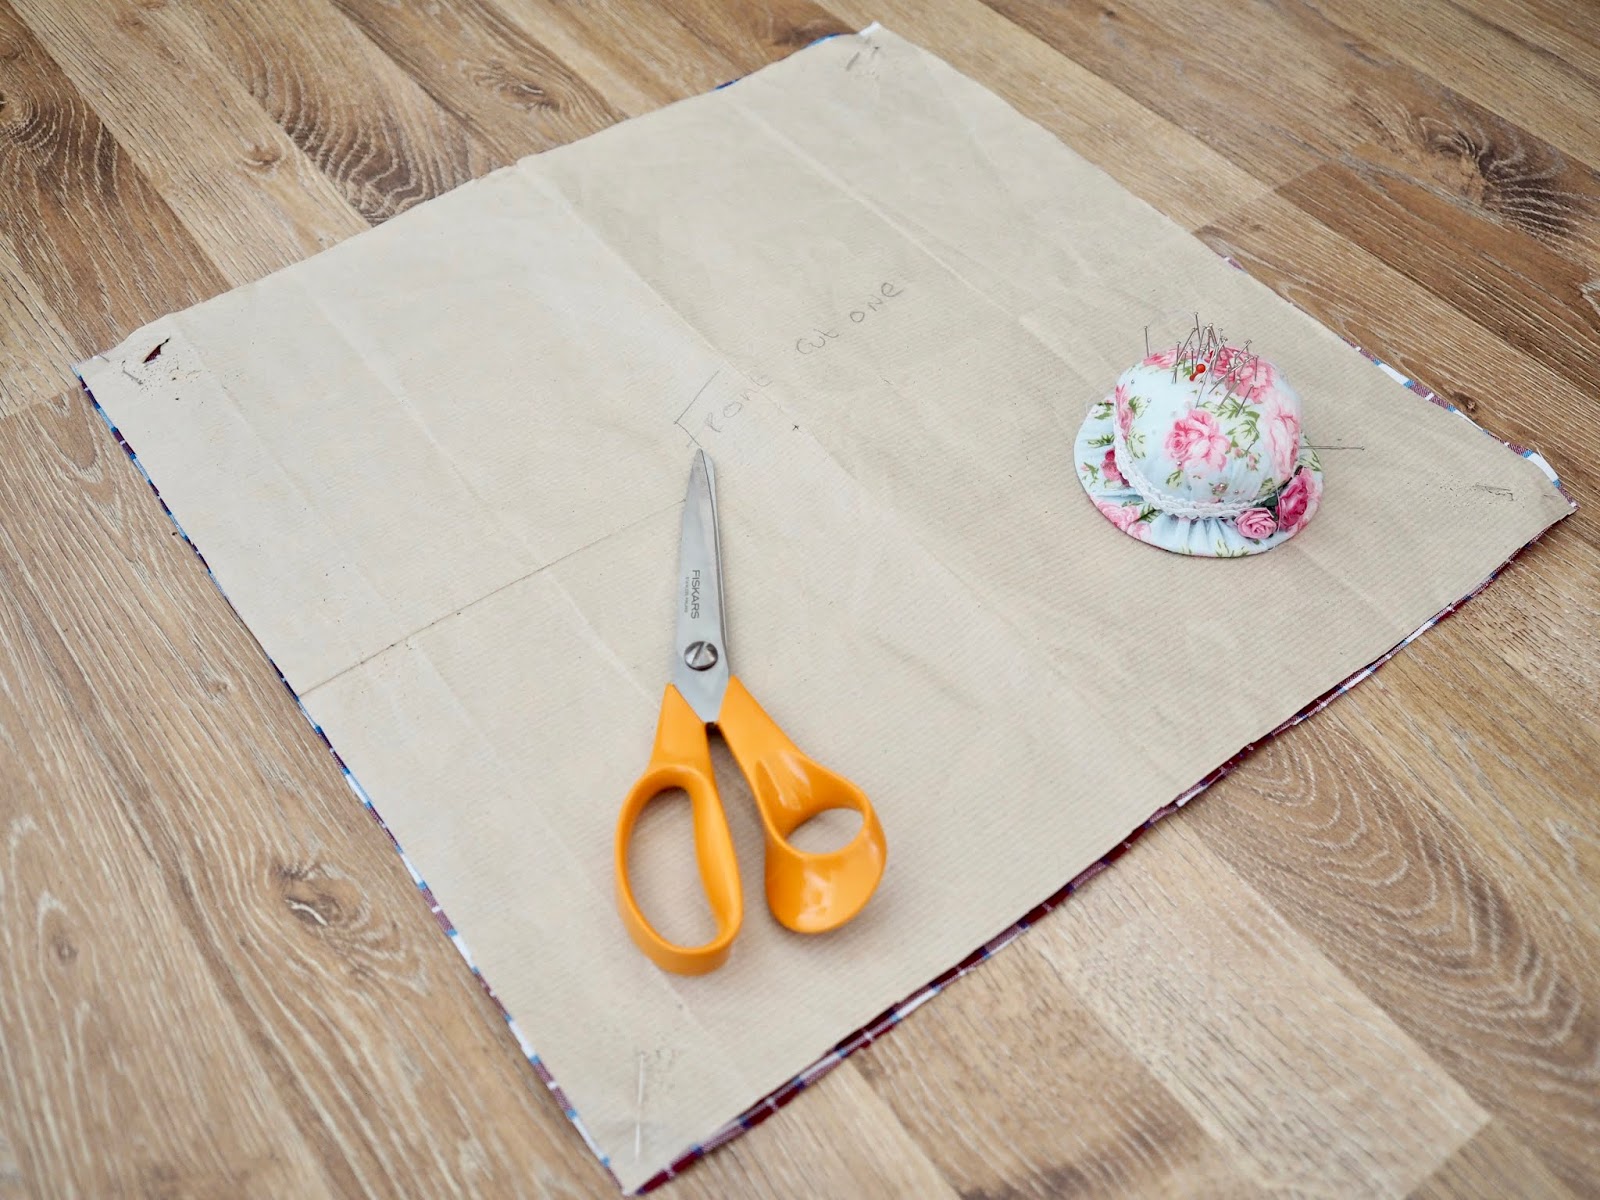
– Fabric scissors
– Pins
– Thread in a matching colour to your fabric
– Paper to make a template/pattern
– Cushion pad in the size you want to make
– A good iron

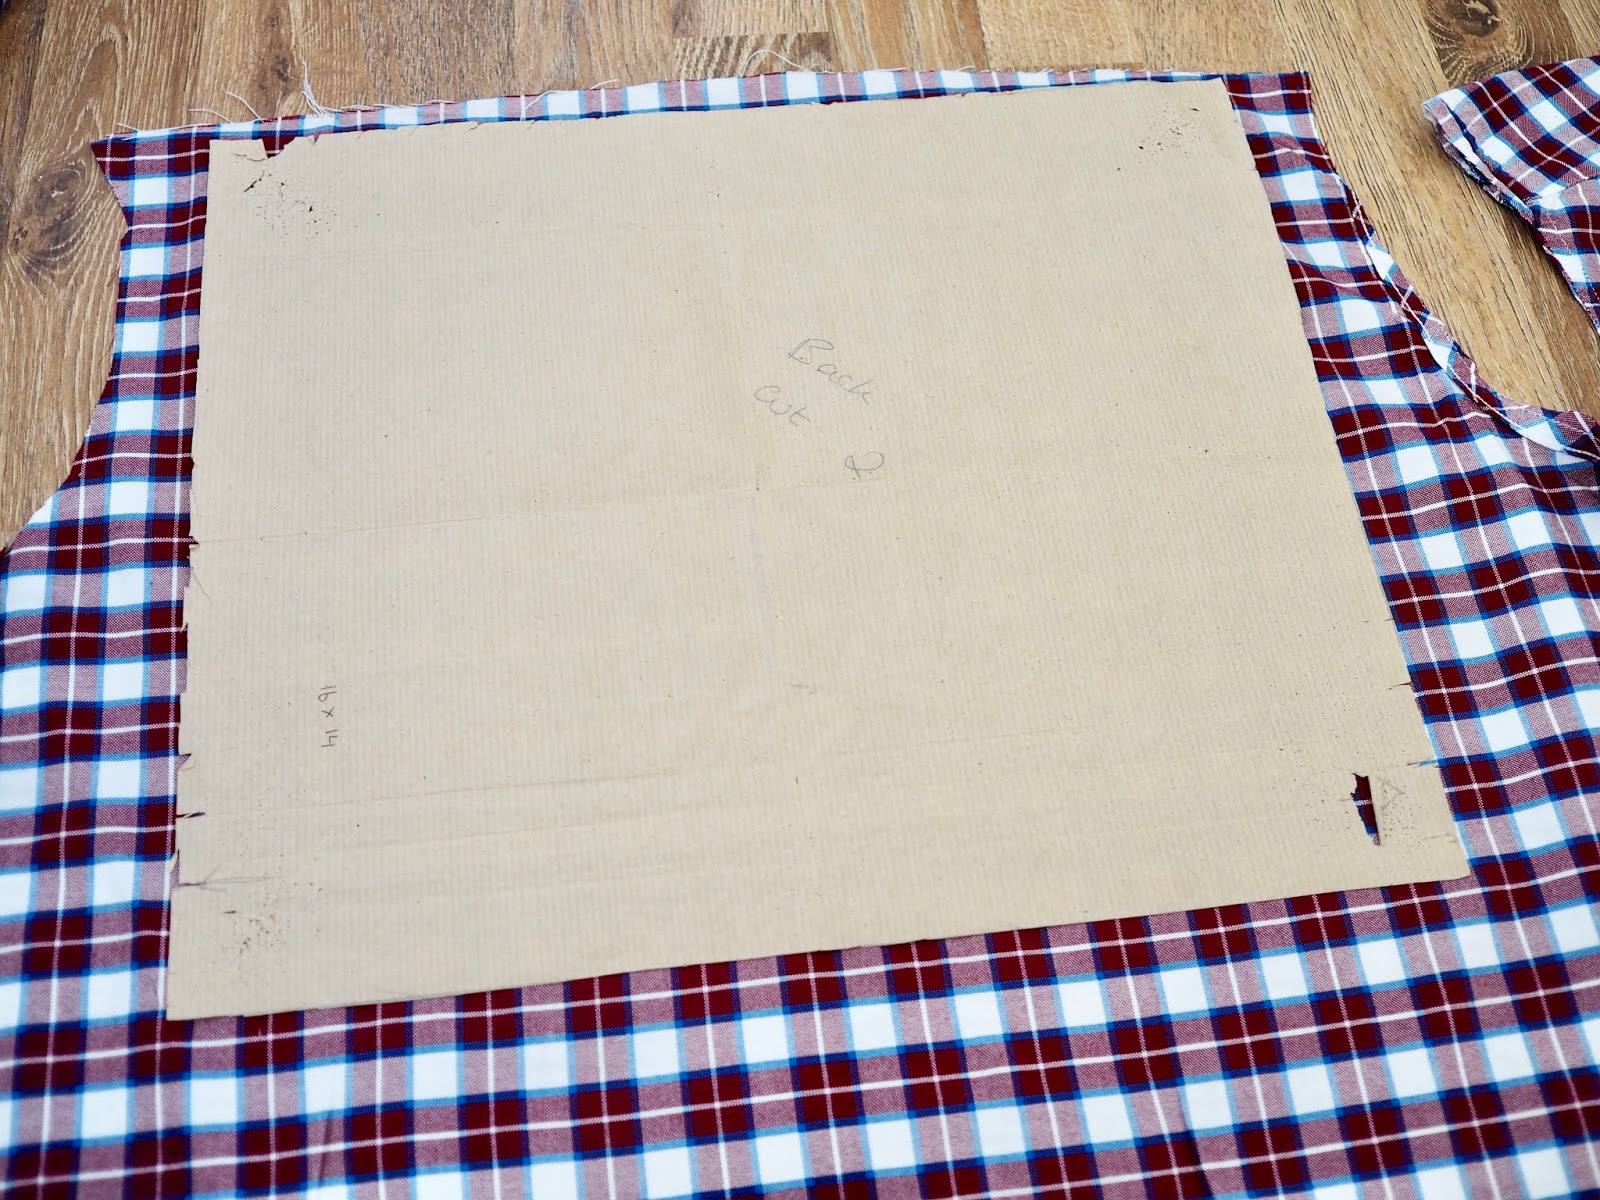
Make a template
I find it easier to make myself a template. In today’s post, I made a 16×16 inch cushion. If you make yourself a template then you can easily take it out whenever you want to make some cushions. It also makes it easier when you are making a few cushions at one time.
Depending on the amount of fabric that you have you can adjust your pattern to make it smaller or larger. You will have a front and a back template for this project.
For the front of the cushion, you will need to make a 16×16 inch template. However, you need to allow for a 1inch seam allowance so you will need to measure out 17×17 inches on your paper. For the back template, you will need to measure out 17 x14 inches. You can adjust the measurements accordingly.
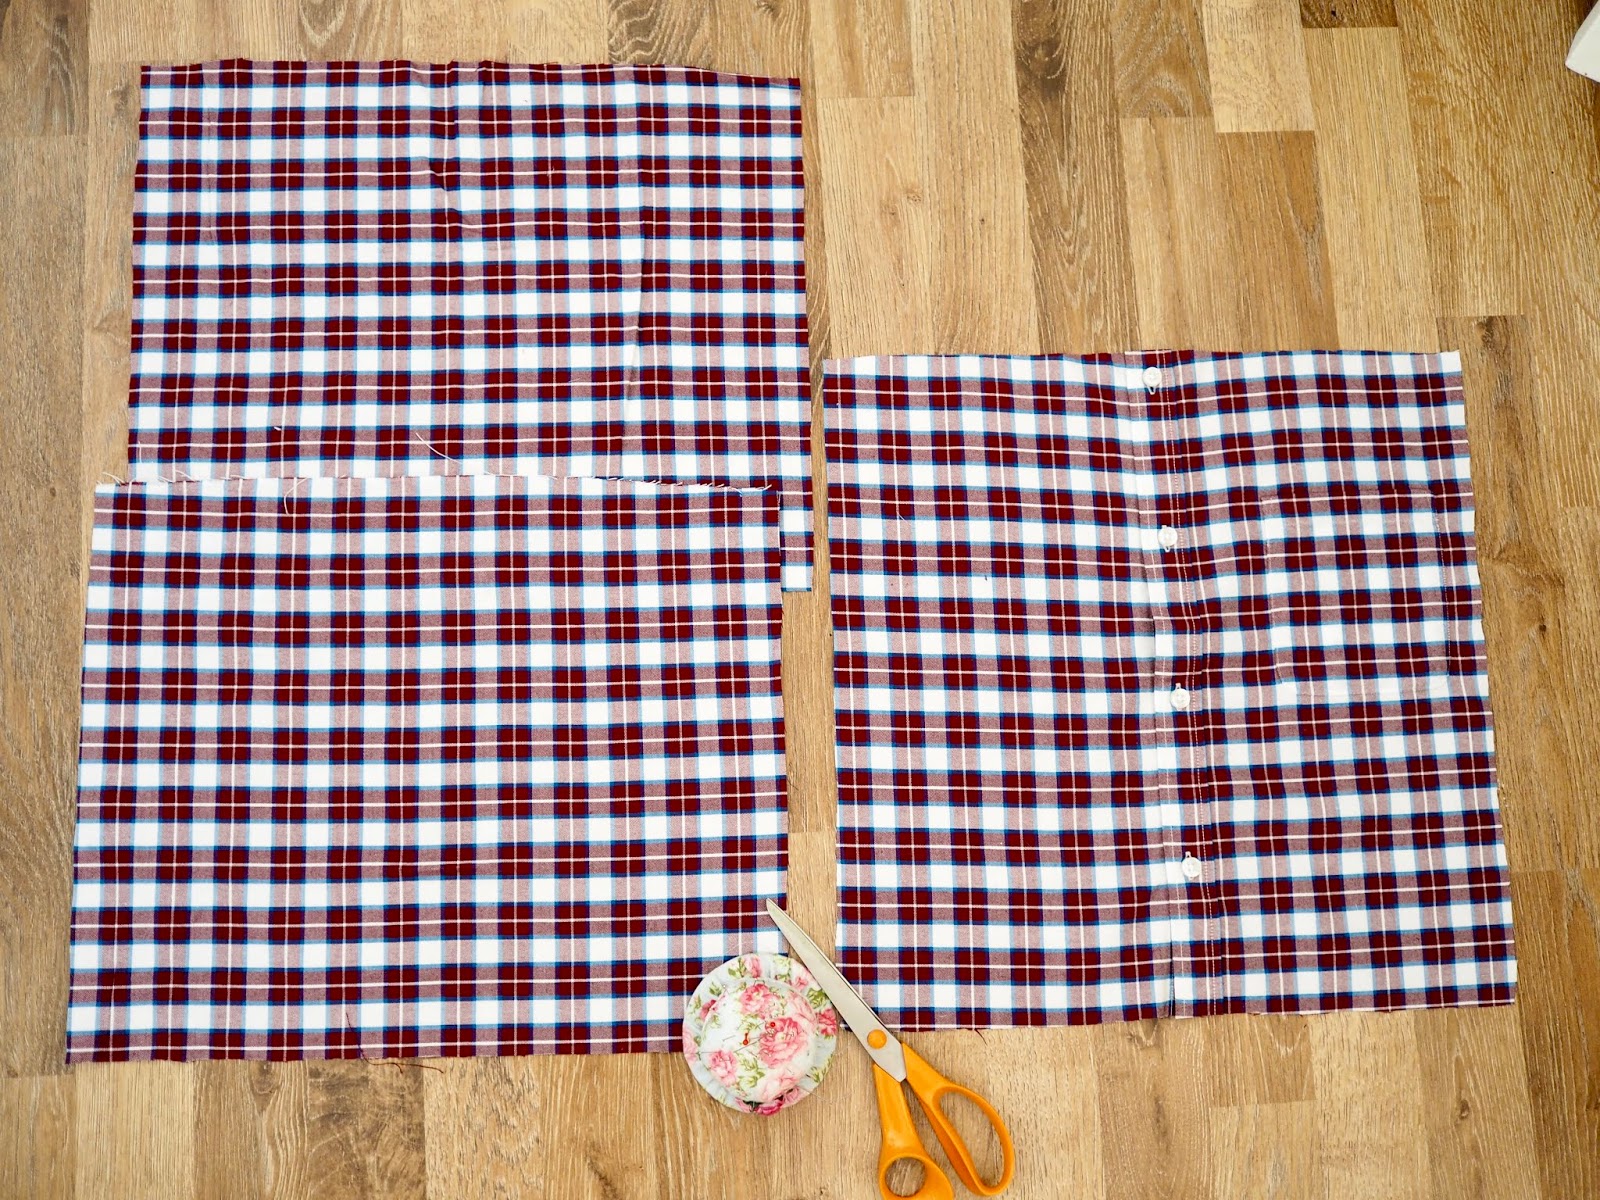
Cutting your fabric
Cutting your fabric is just as important as sewing your fabric so please take your time. With old clothing, I cut along the seams and I separate the front panels from the back panels. Iron your fabric before cutting it, having crease-free fabric will make it easier to cut out your template.
Pin your template to your fabric.
You will cut one piece for your front and then two pieces for the back. Your back has two pieces as they overlap giving the envelope shape to your cushion. You want to cut the fabric as straight as you can to make it easier for you when you are sewing.
Sew a hem onto your two back panels and add a stitch to the front
You are now going to sew a 1-inch hem onto your two back pieces. These two pieces need a hem so the fabric won’t fray on you. Using your iron, fold over half an inch and press.
You can use your measuring tape as a guide. Once you have ironed your half an inch you are then going to fold it over again and press. Depending on the fabric you may need to secure it with some pins.
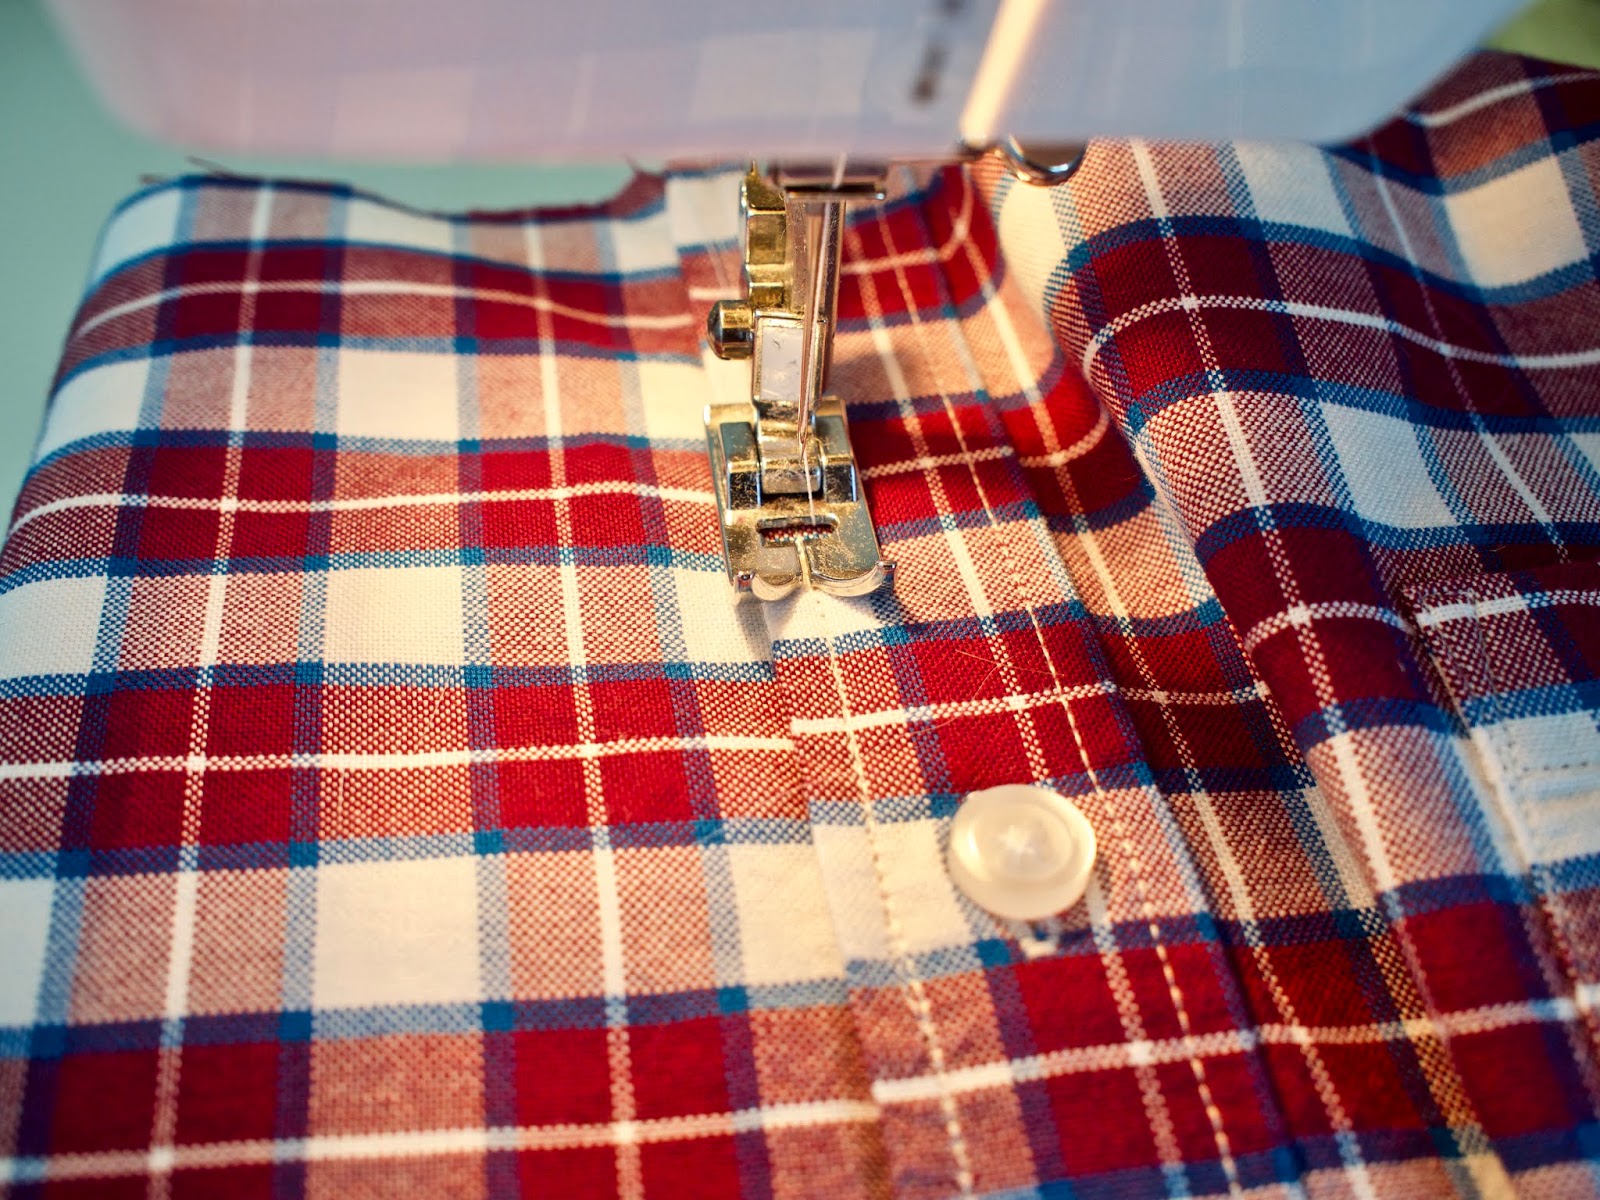
Using your sewing machine you will then sew a straight stitch down the hem of your fabric. Start with a reverse stitch to secure your stitch and stop it from coming loose. I have put together a Youtube video which I will link below if you want to have a look at how I did this.
I added a stitch down the front of the shirt panel to stop it from gapping. If you skip this step your shirt cushion will pull open when you insert your cushion pad. Sewing a stitch down the existing hem will make sure your cushion holds its shape.

Put your cushion together
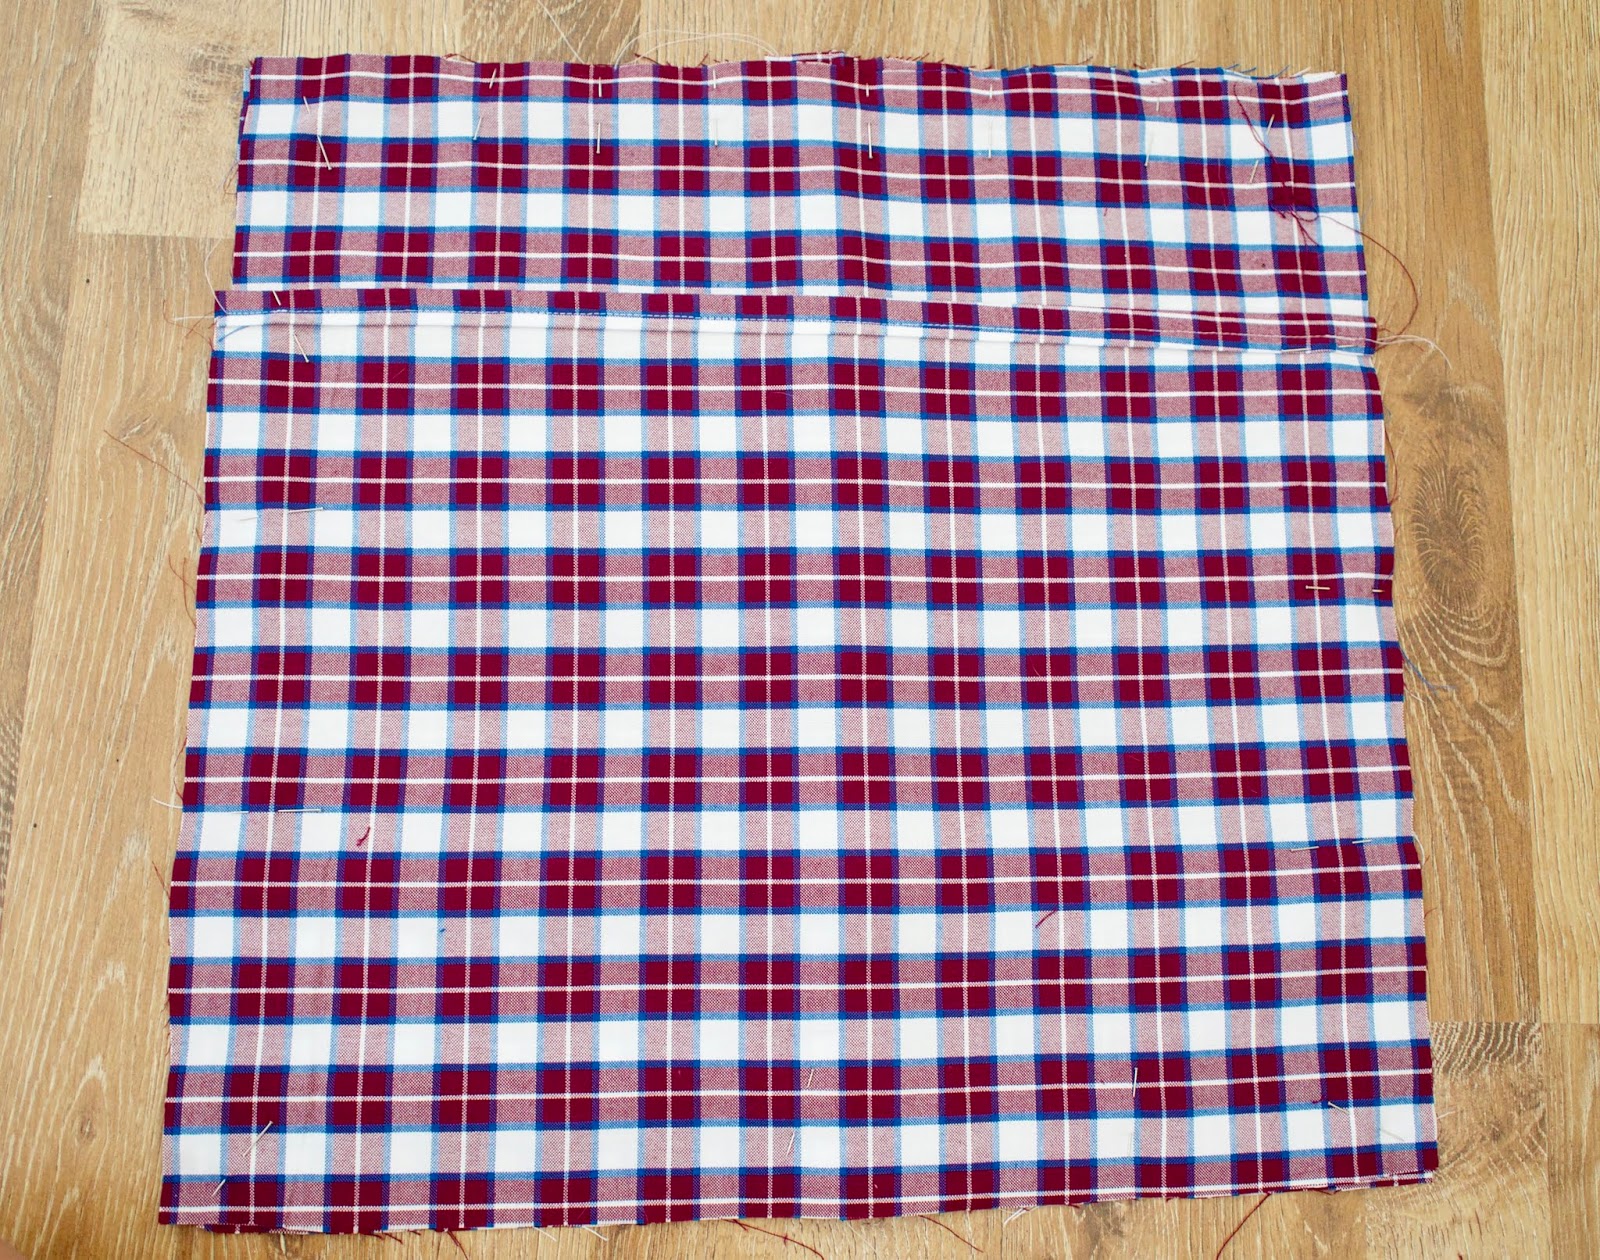
You are now going to sew all three of your pieces together and form your cushion. The most important thing here is to make sure you face the right sides of your fabric face together.
I place my front piece down on the patterned side of the fabric facing me. I then lay a back piece of fabric to the front making sure the two patterned sides are facing each other. I then add the third piece and I pin the fabric together. I use a lot of pins to make sure the fabric stays in place when I am sewing.
Place your pins facing outwards as this means you can sew over them. Allow for a 1-inch seam allowance and sew all around your cushion on your machine and use a reverse stitch to keep your stitches in place.
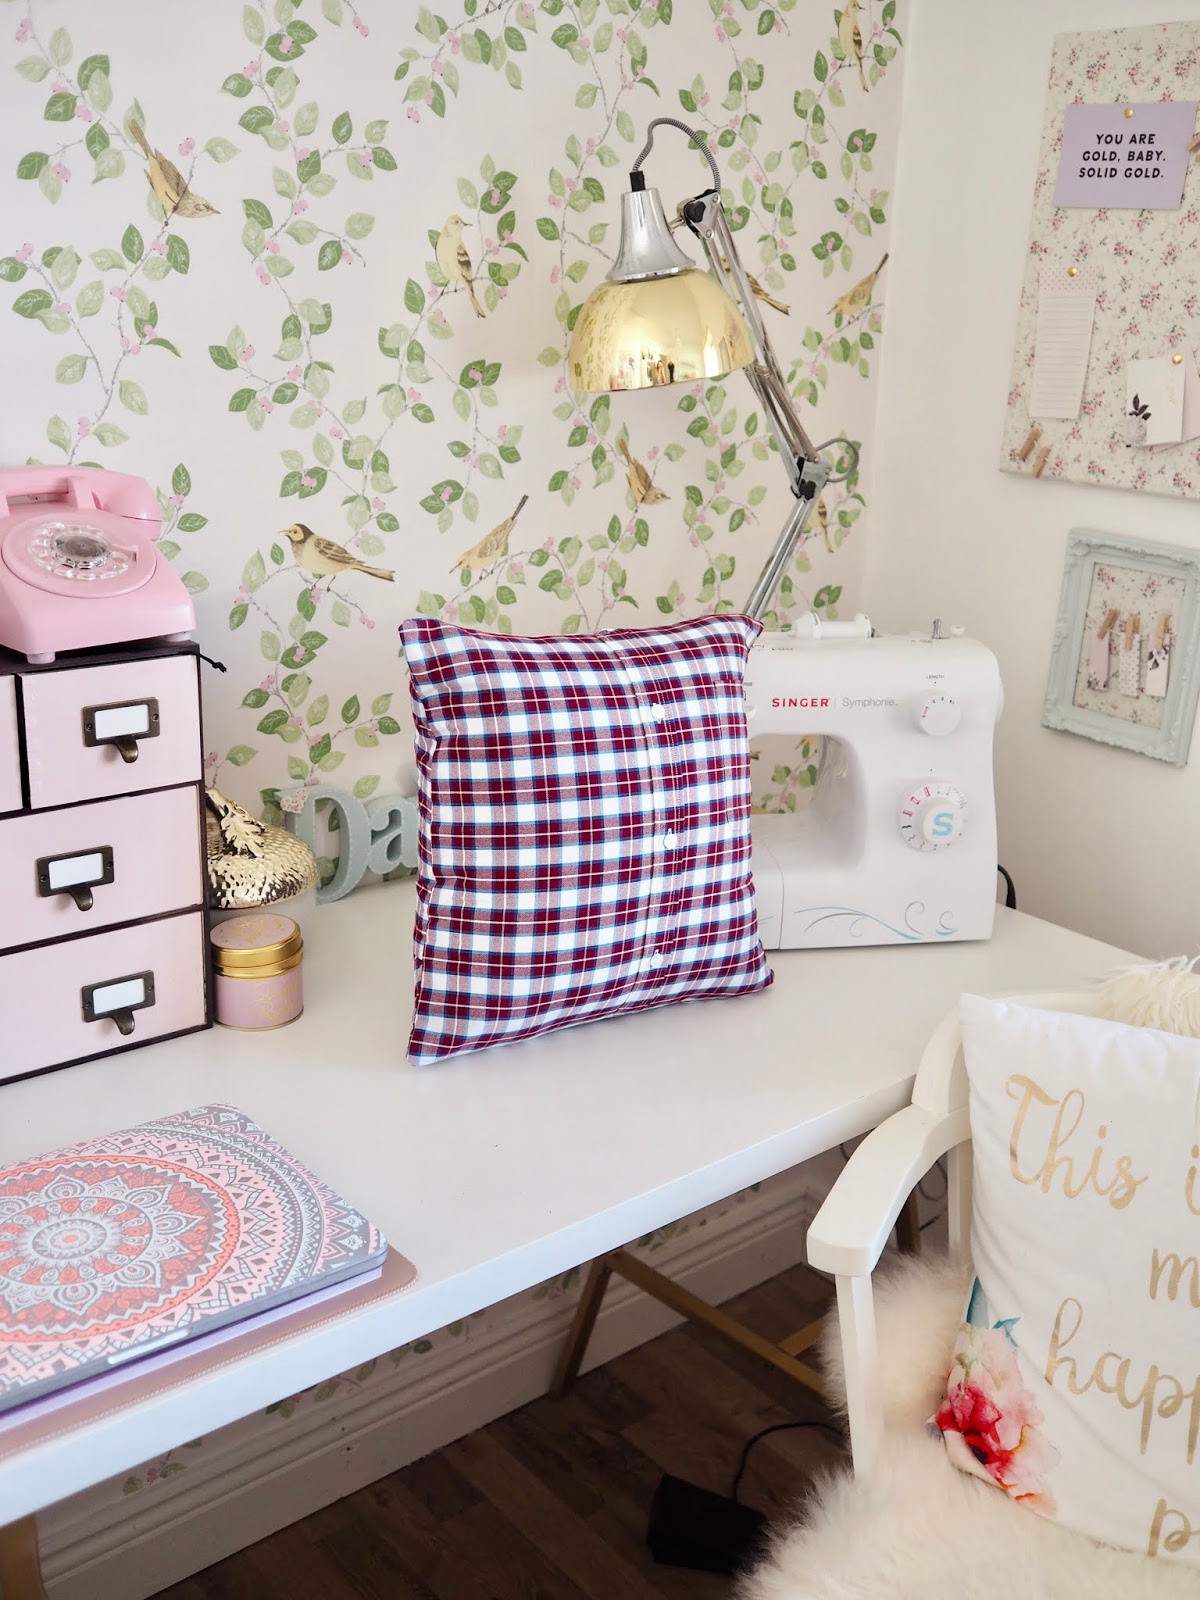
Once your cushion is sewn together you can clip the corners and turn it right side out. You can give it a final iron and insert a cushion pad. Your cushion is now ready to give as a present or to keep for yourself and style in your home.

If you are nervous about trying to make one of these cushions then check out Etsy, I found some sellers below that make these to order.

I hope you enjoyed today’s post. If you are new to sewing and nervous about cutting items of clothing that are sentimental then practise on some scrap fabric and build up your confidence. These are such a great item to make. You can also catch my hanging heart tutorial and make some hearts from the scrap pieces of fabric. If you don’t have enough fabric to make a sentimental cushion then why not make a hanging heart. Let me know if you have a go at making these and don’t forget to check out my video.
Thanks for reading,
Chat Soon,
Catherine.
Please pin the below image to your Pinterest boards

*Some of links in the blog post are reward style affiliate links. You will not pay any more for your purchase however, I will receive a small commission (€1-€5) if you decide to purchase. Affiliate links are a source of income that helps to keep my blog running. Thank you so much for your continued support.


Aw this is a really nice idea.
AW thanks! Thanks for reading x x
CUTE! I can not wait to try this DIY project.
Thank you for making it look so simple and do it fast instead of so slow. The ones I have made before took longer but I put the collar on also. Do you have a video of sewing one with the collar on it that is this simple?
Thank you