
* This post is sponsored by Hickeys homefocus.ie
Sewing a wrap skirt using Simplicity pattern 8606
I am buzzing as I type this blog post as I have made my very first wrap skirt. I have teamed up with the guys at Hickeys Fabrics to share how I made my skirts in today’s post. I am not a pro at sewing and I don’t have much experience with dressmaking but I was thrilled when I was able to put together a skirt by myself. Last year you might remember I made a dress with Angeline Murphy, You can catch that post here. I remembered some of the tips she had taught me and I used them when making my skirt. Dressmaking and reading patterns can be scary but honestly, when you break them down they are not. If I can make a skirt then you can too! All of the items I used in today’s post are from Hickeys Home focus. I got my Simplicity pattern from their store in Mary St Dublin. This project is perfect for beginners to but I would recommend you have basic sewing machine skills. If you are a complete beginner then why not check out my previous post with Hickeys on how to make an envelope cushion, you can find that here.
Picking a pattern
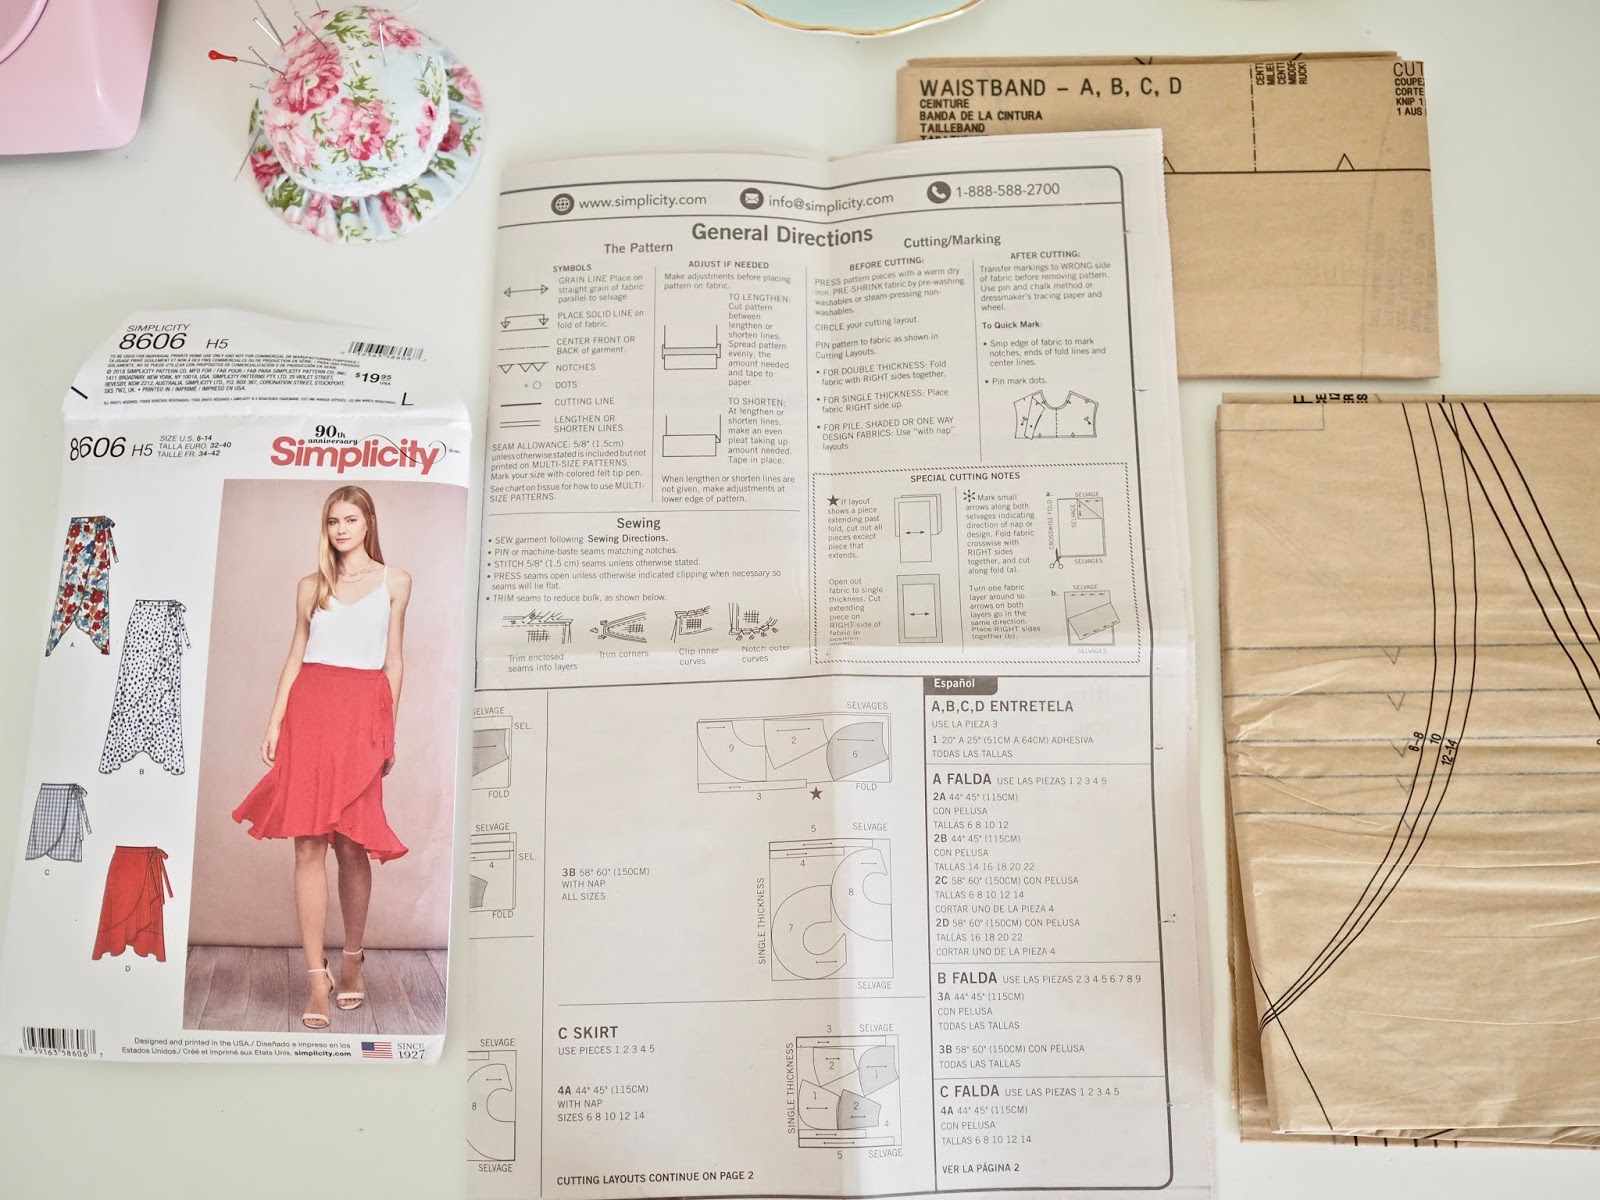
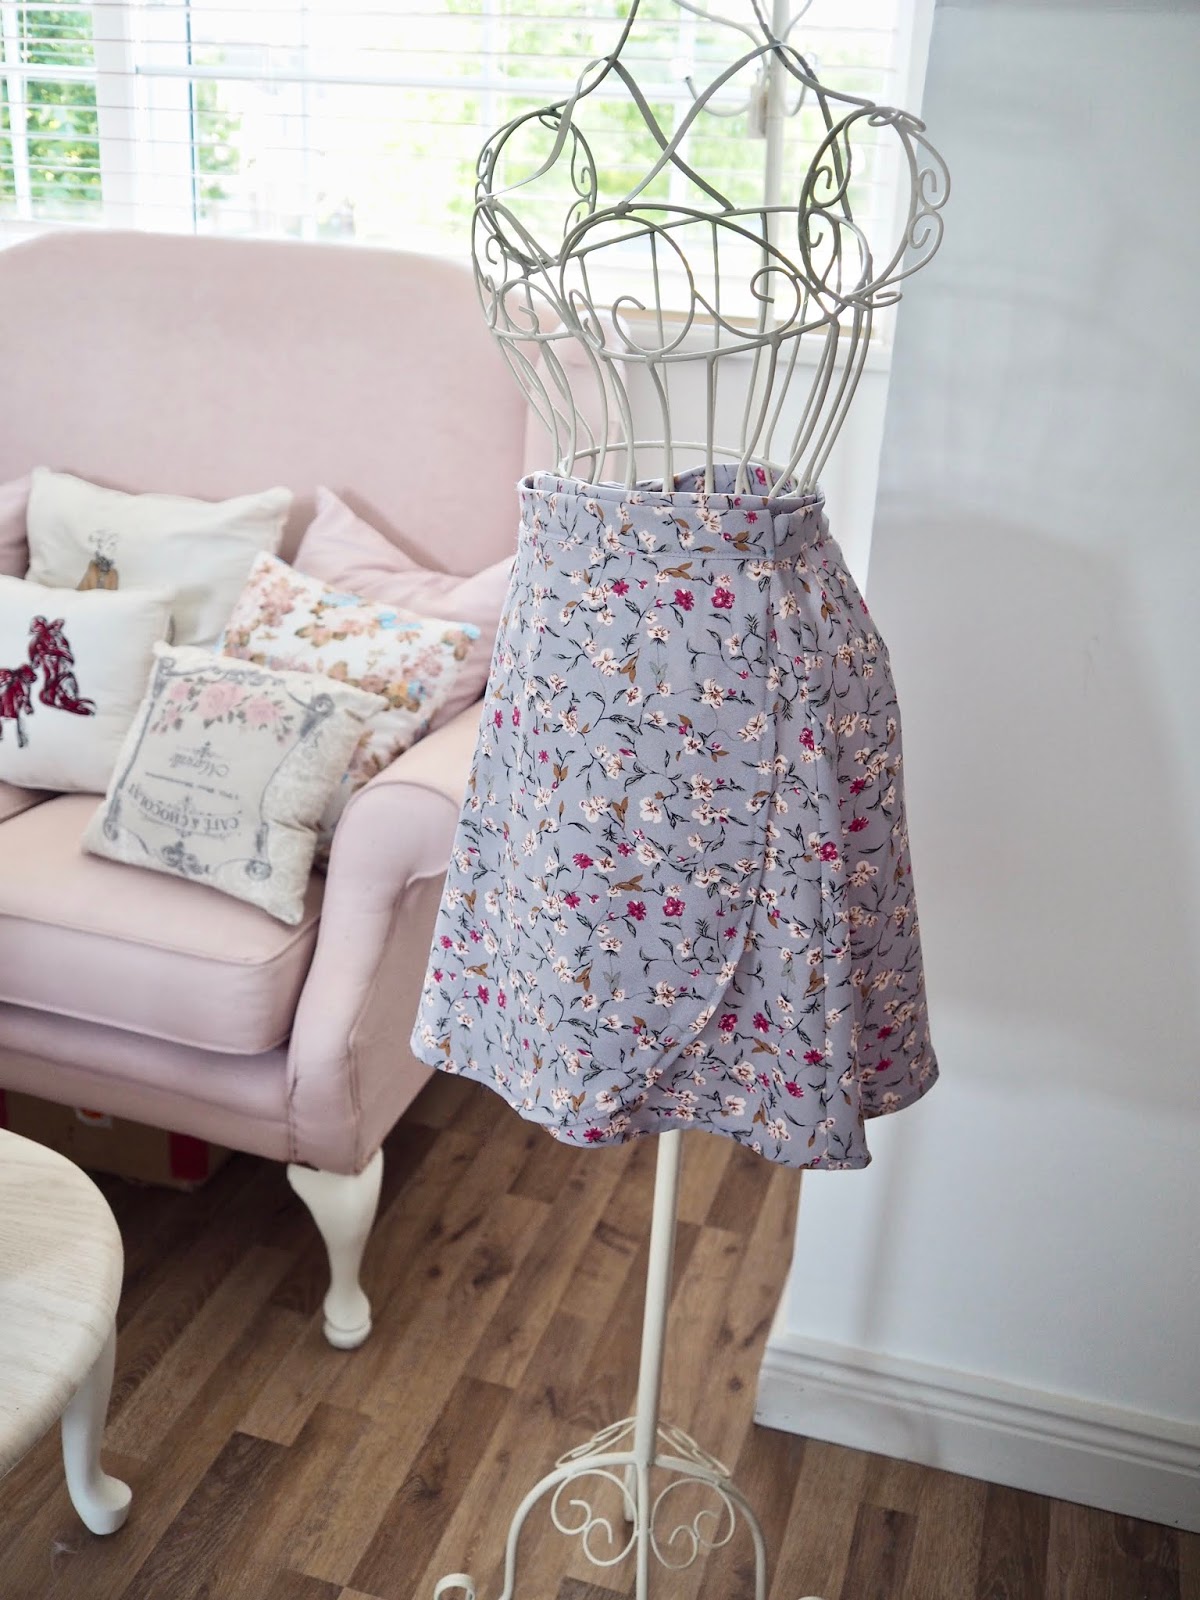
As I have yet to overcome my fear of zips I picked an easy wrap skirt pattern. I got the Simplicity pattern number 8606. This pattern has four skirt options inside. In this post, I am making option A and C. The other two options have a flounce but I wasn’t brave enough yet to try the flounce.
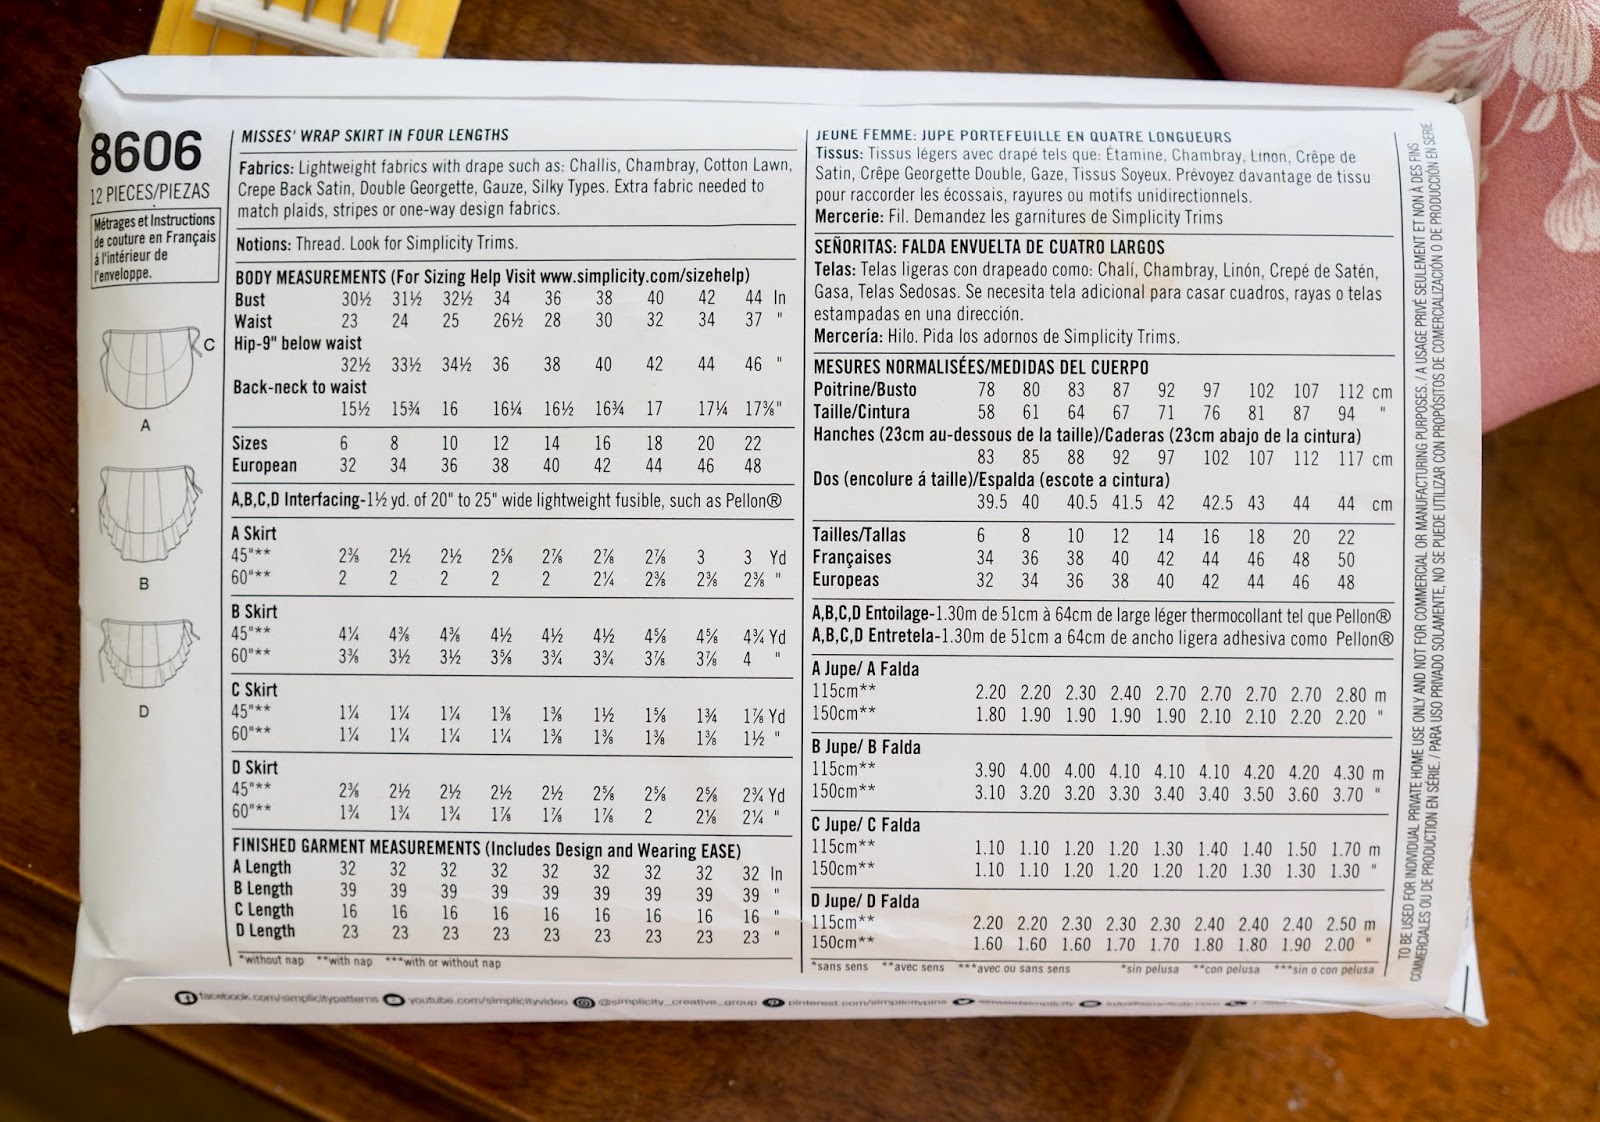
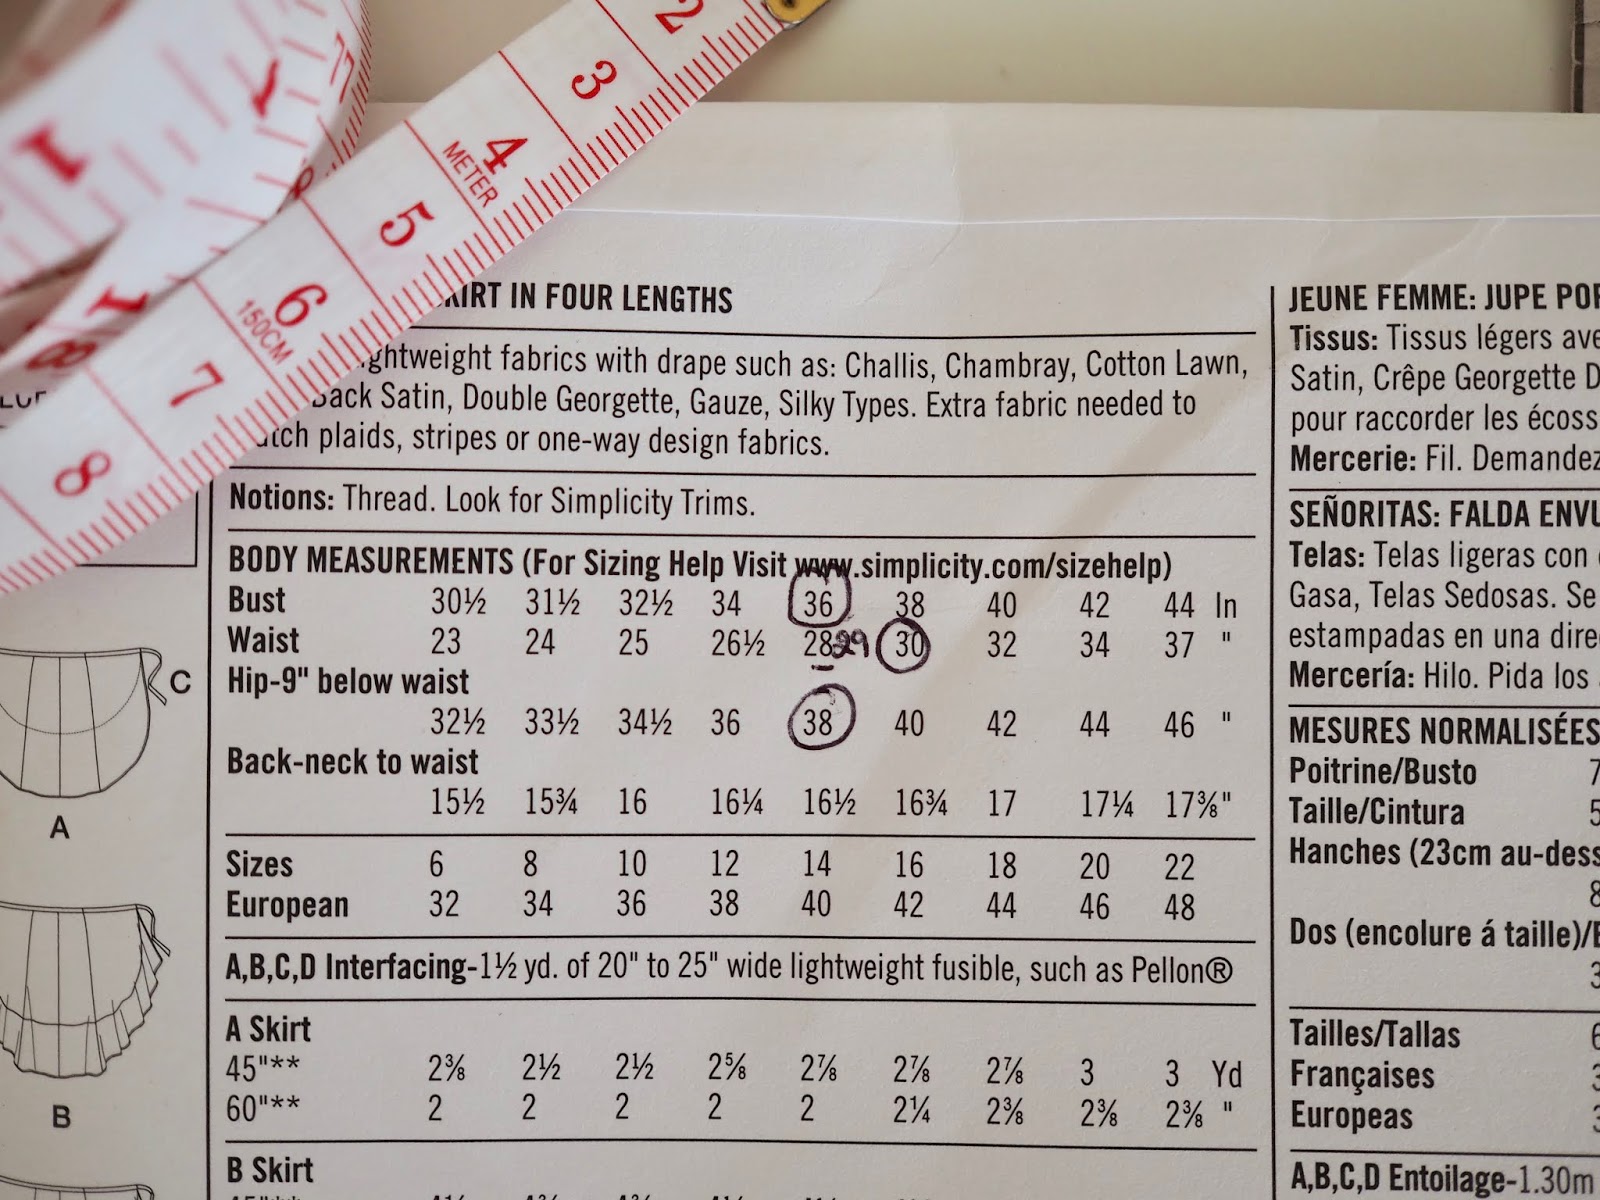
Your pattern can look scary when you first look at it. On the back of your pattern, you will see lots of numbers and jargon but don’t get scared. I will link to a video that is really good at breaking down the pattern and how to read it. You can find that video here. On the back of the pattern, it will tell you what items you need to make your skirt and how much fabric to buy.
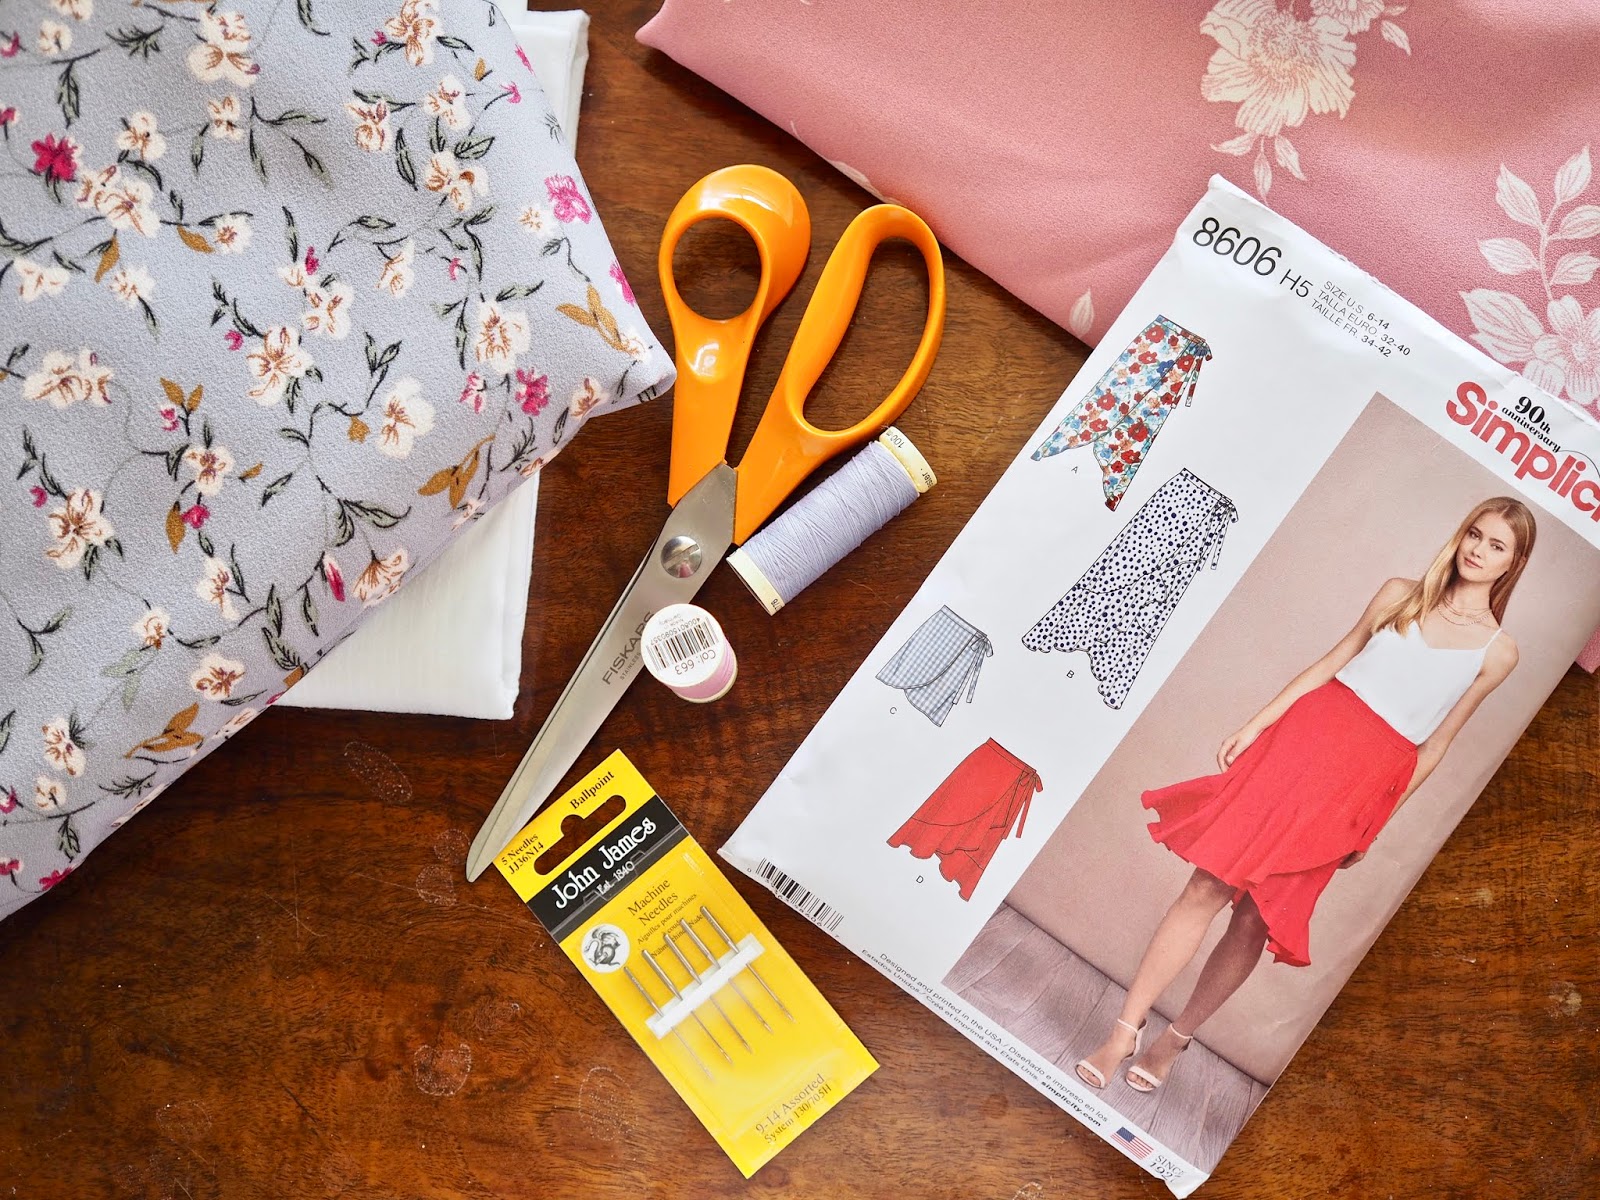
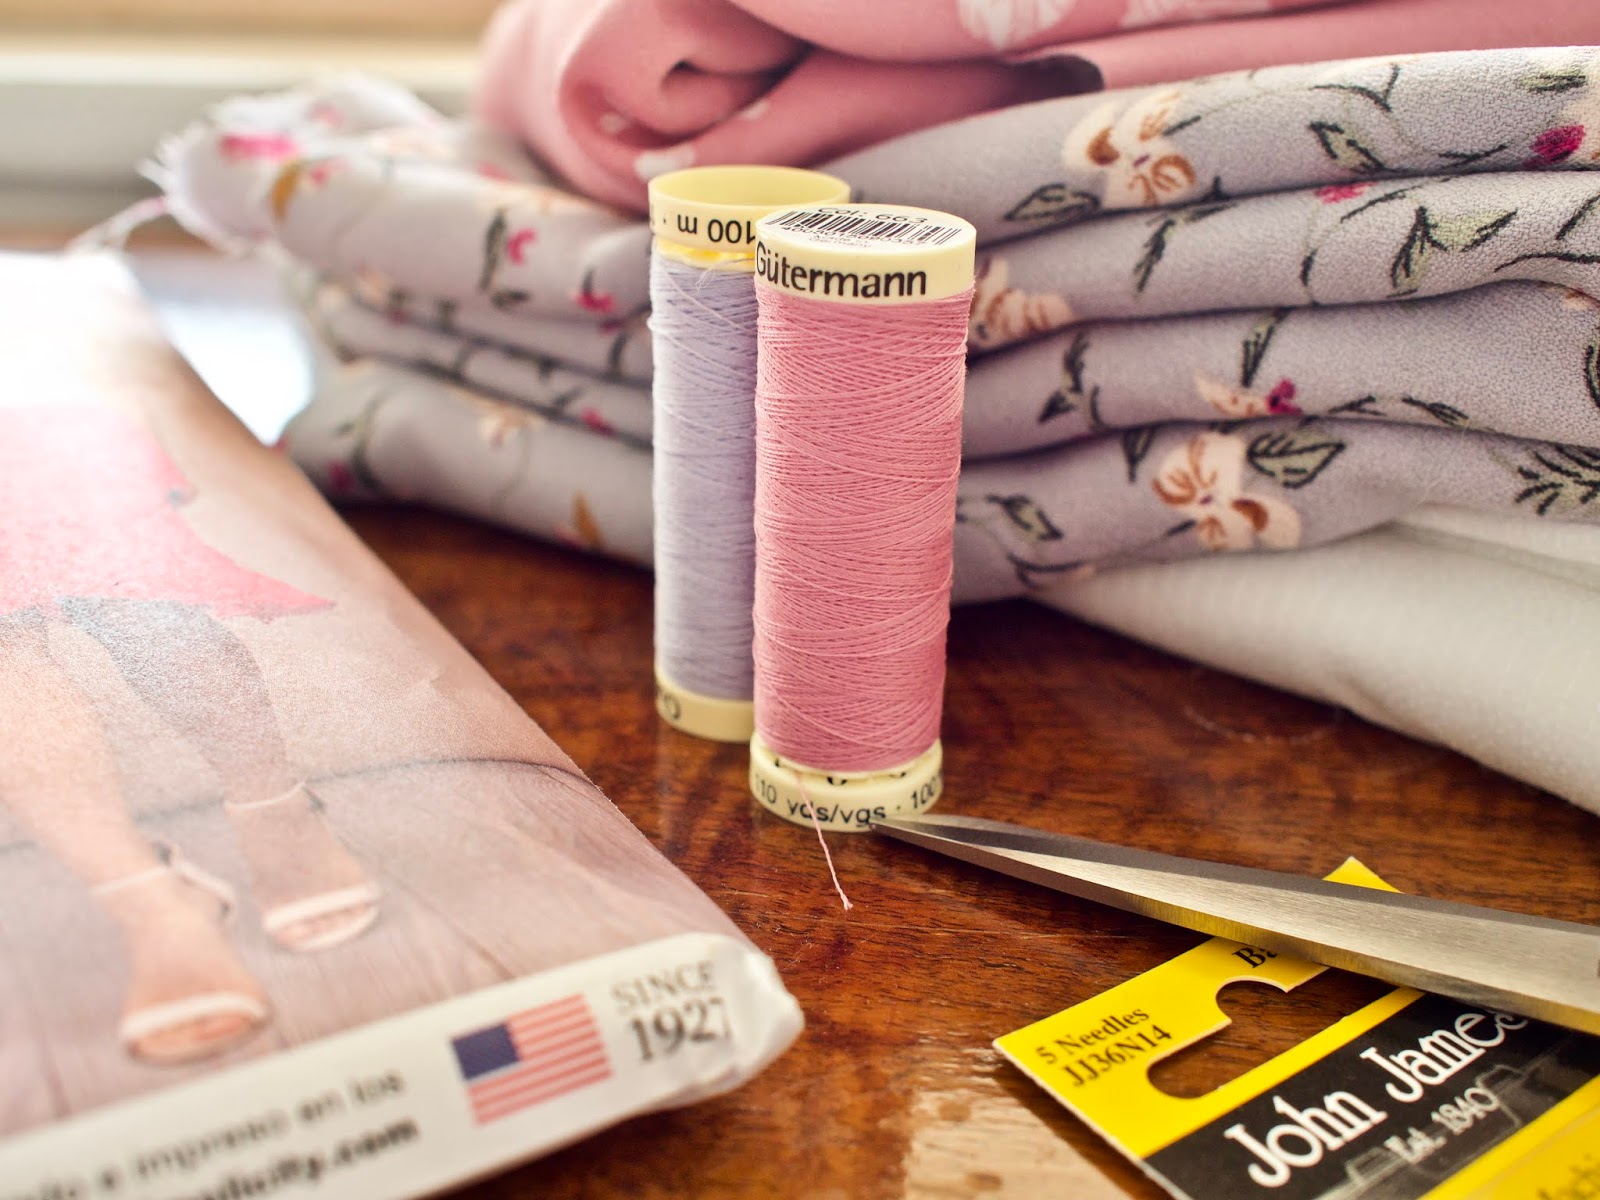
What you will need
– Fabric, For my size I got 1.5 metres of fabric.
– Interfacing, this was just for the waistband.
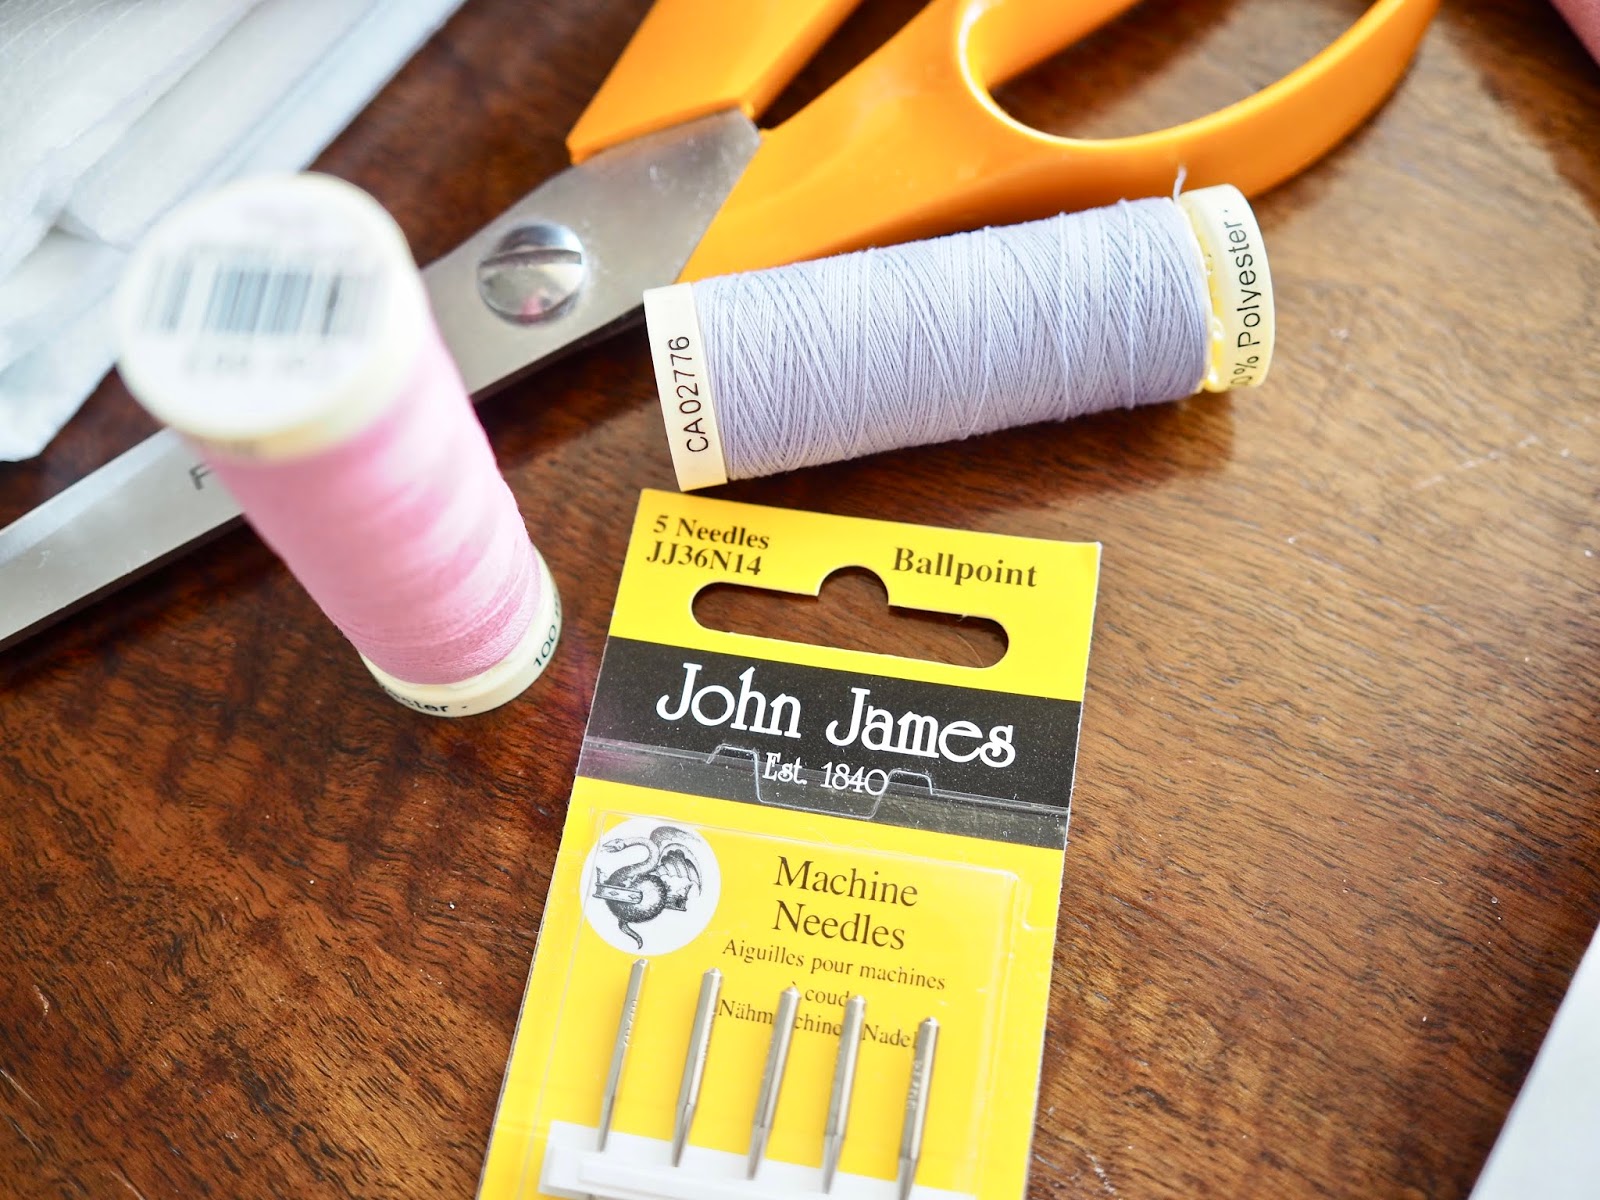
– Thread, I always recommend the Gutterman threads and get one in the nearest shade to your fabric.
– Measuring tape, fabric scissors, fabric marker, sewing pins and your machine.
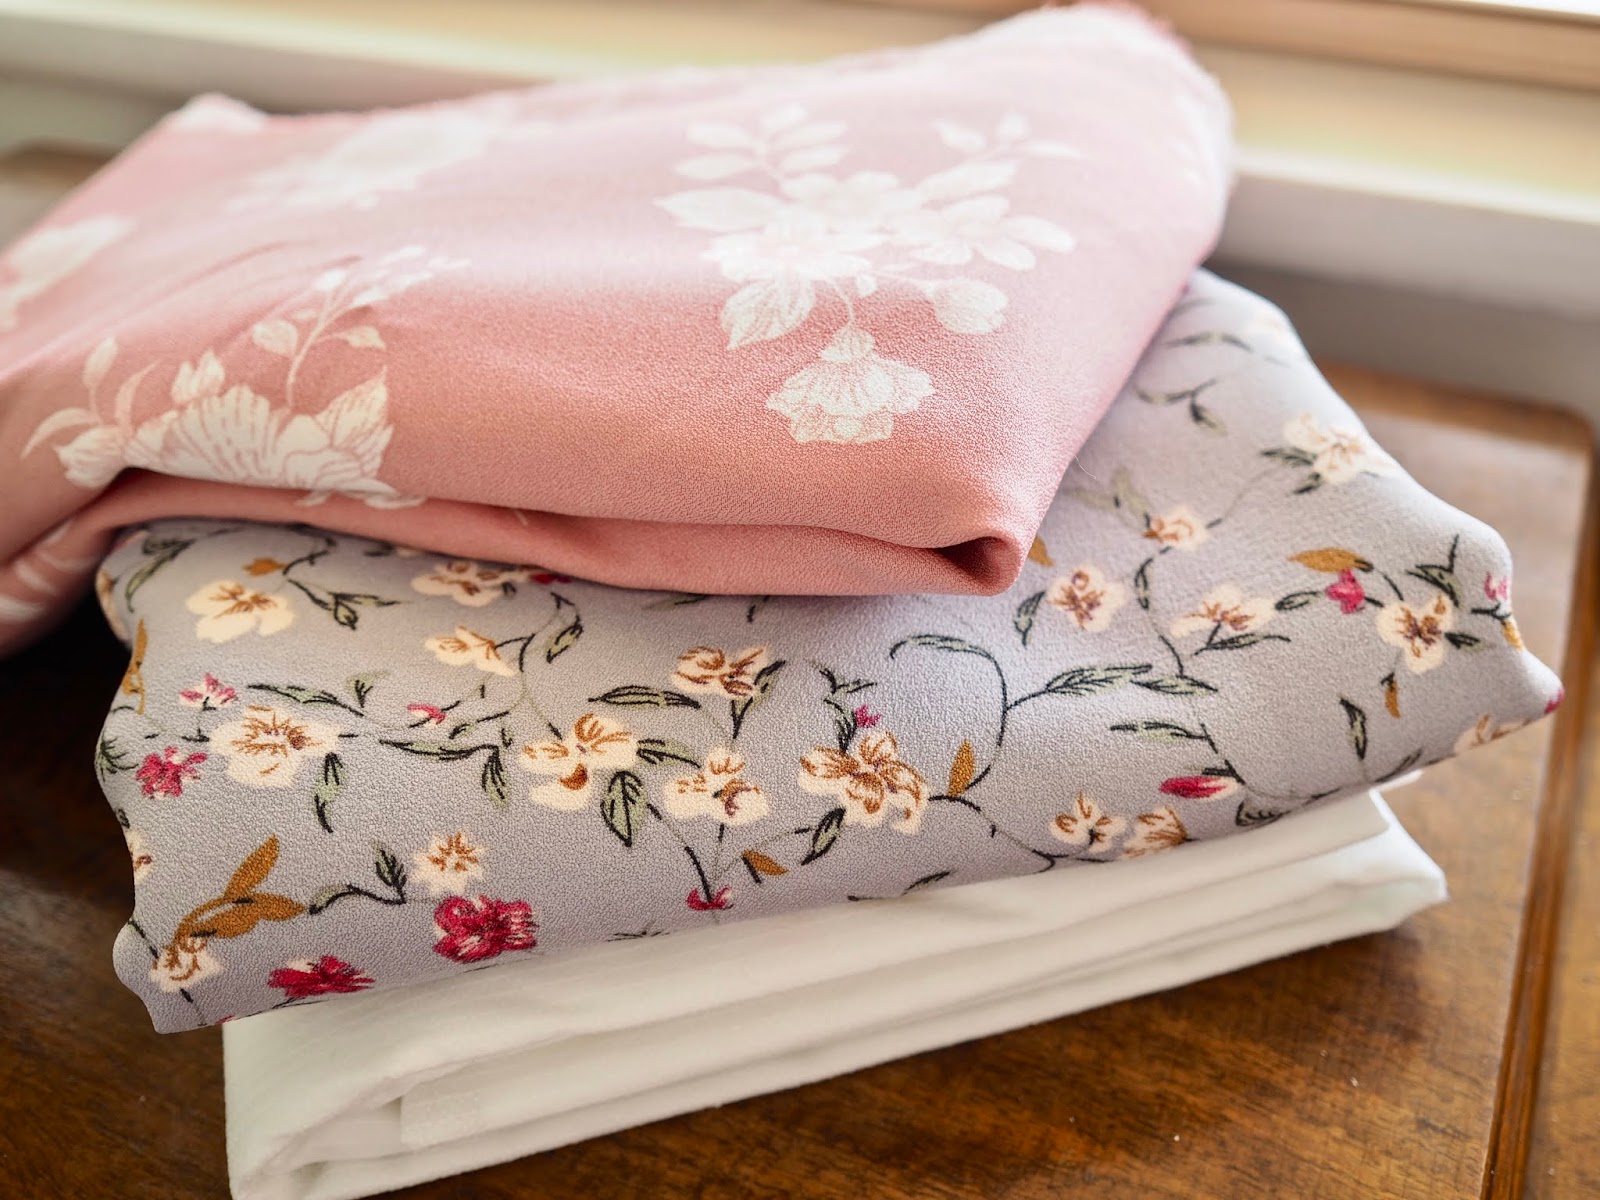
If you would like to use my fabric then click here for the pink floral fabric. It is called the Nancy print crepe in rose, so if you do pop into store just ask for that.
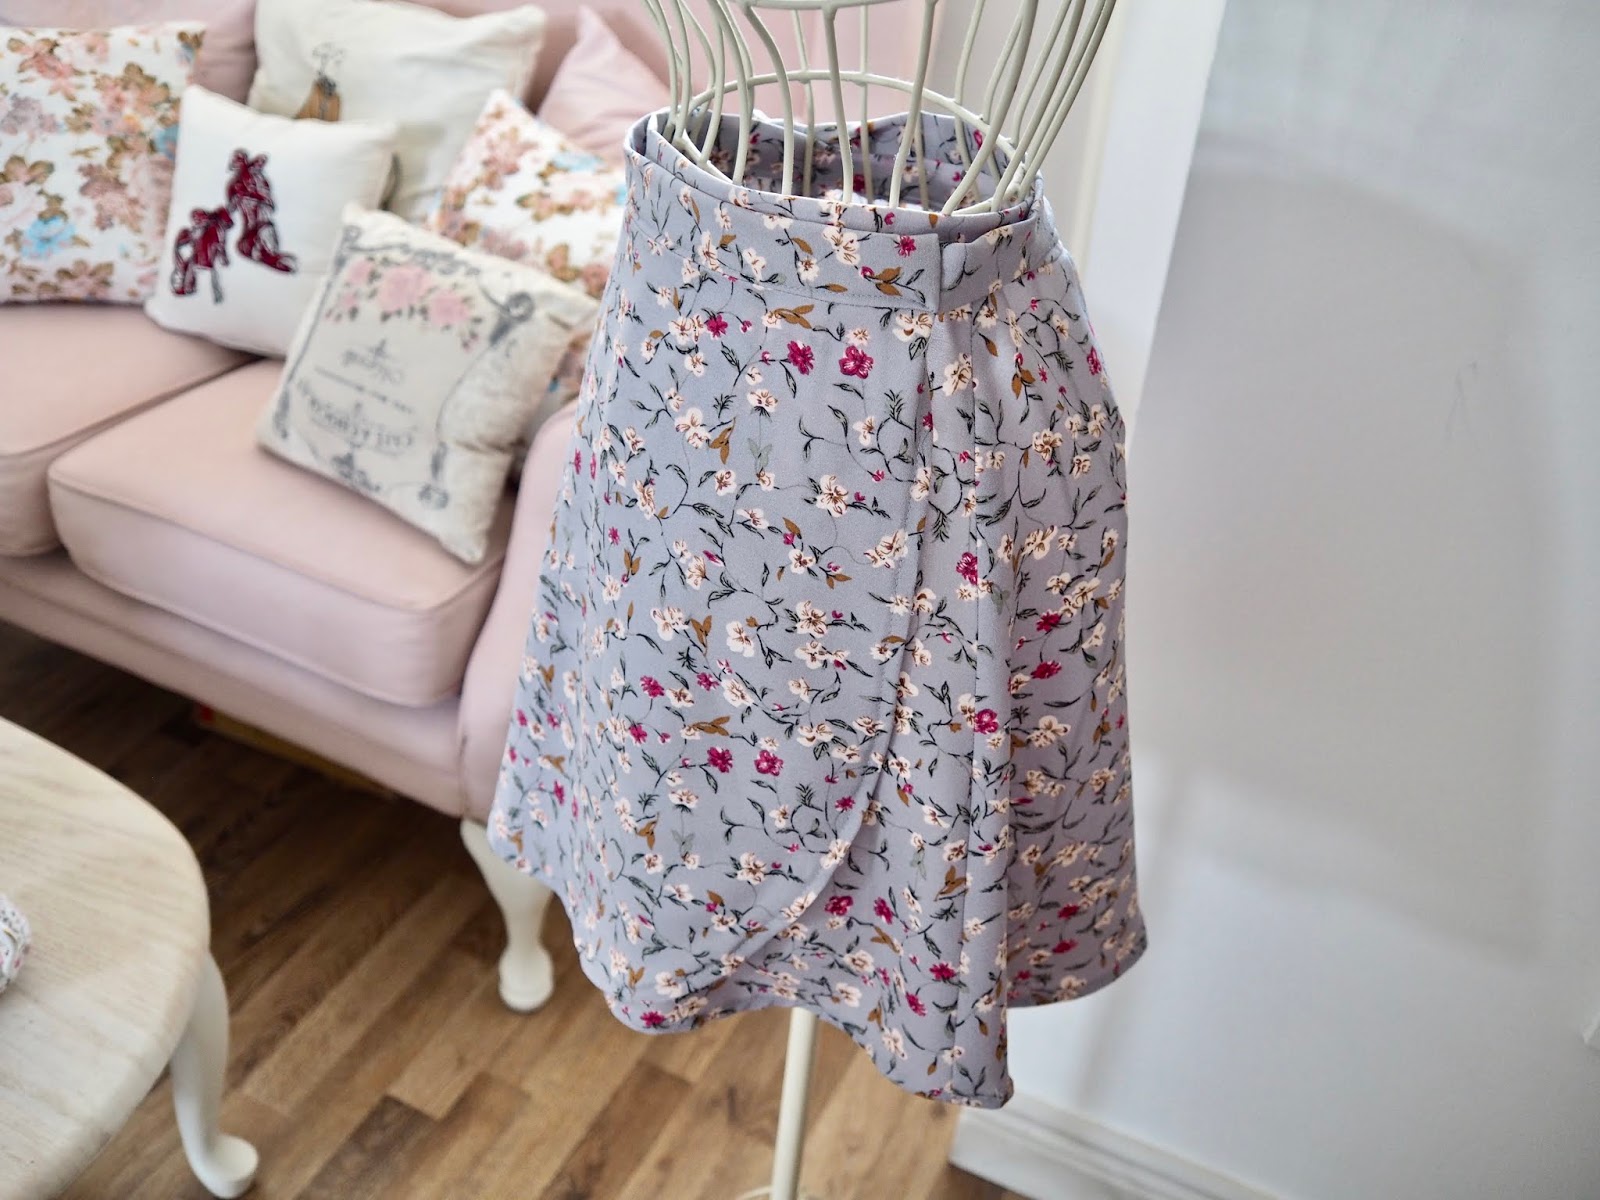
Click here for the mini floral print fabric I used to the shorter style skirt.
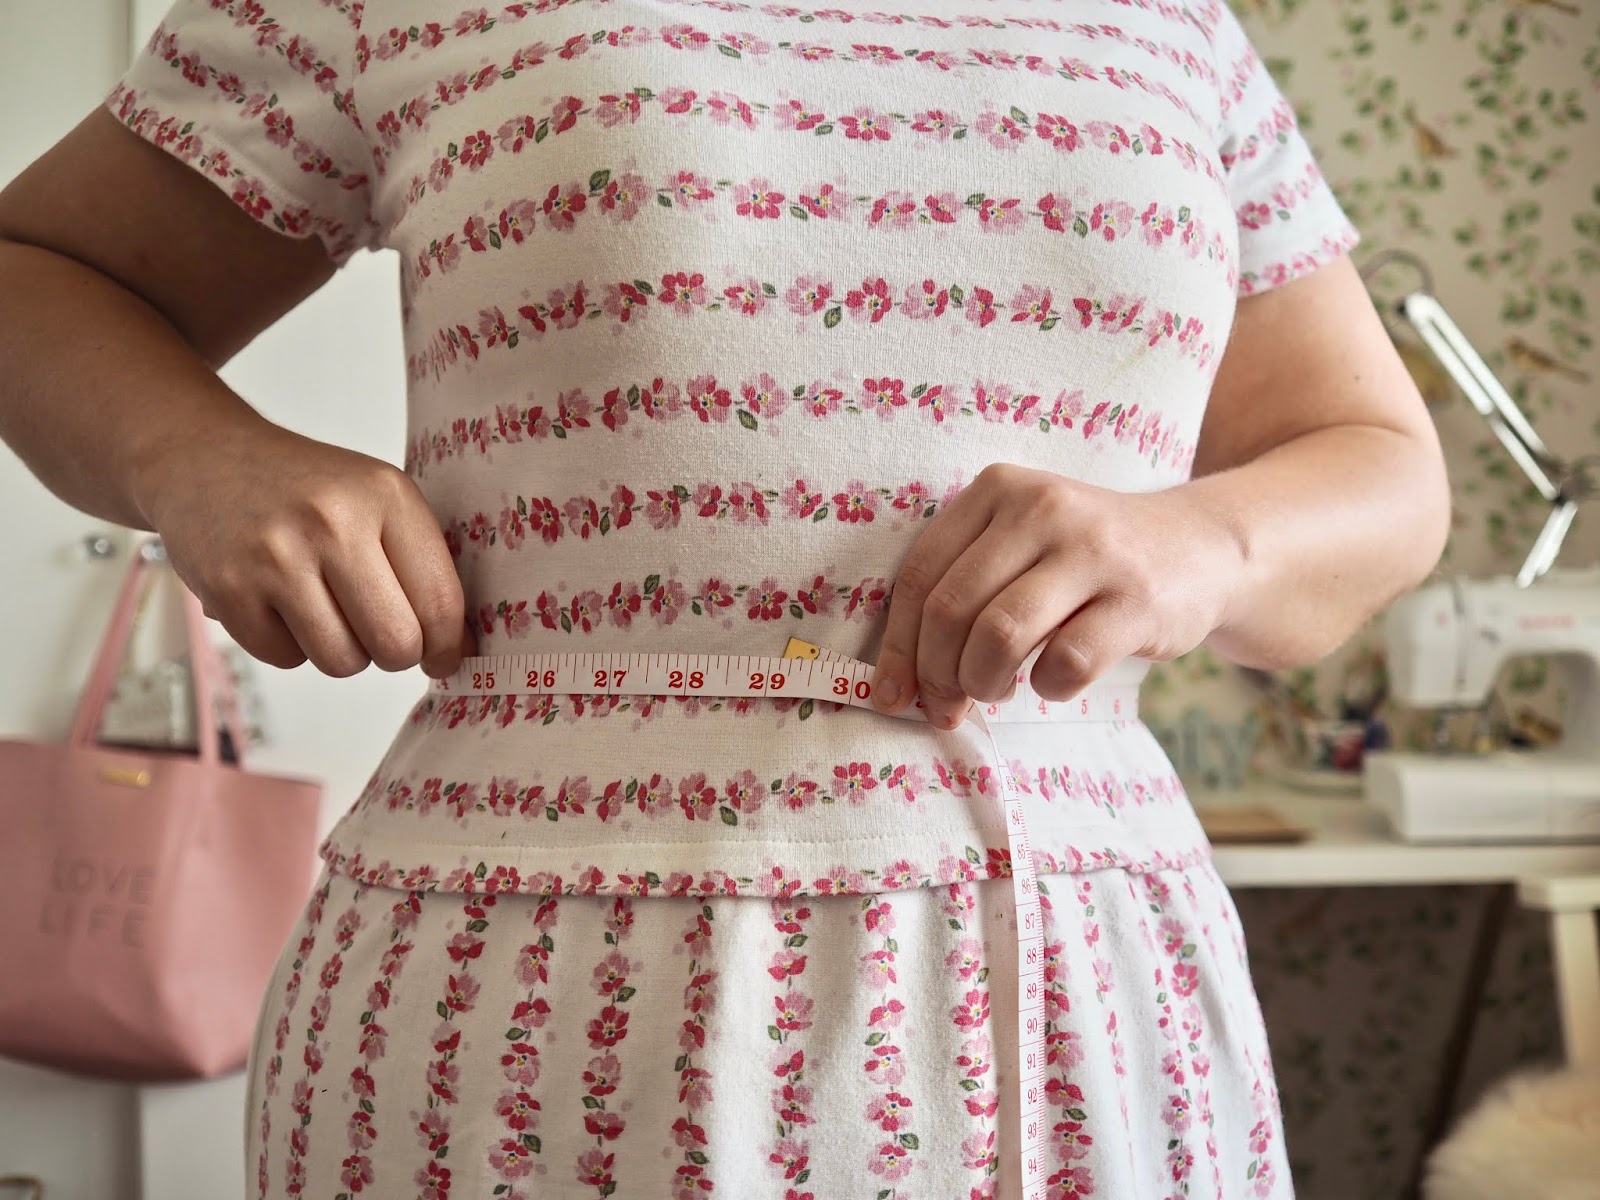
Measuring
Pattern sizes are different to retail sizes. So the size you are in a store will be different to the size you will be in your sewing pattern. In stores, I am on average a UK size 10 however I am a pattern size 14. I will link to a really good video by Simplicity that gives you more detail on how to measure correctly. You can find that here. Accurately measuring your bust, waist and hip will give you the correct size to use for your skirt.
Read through your pattern instructions
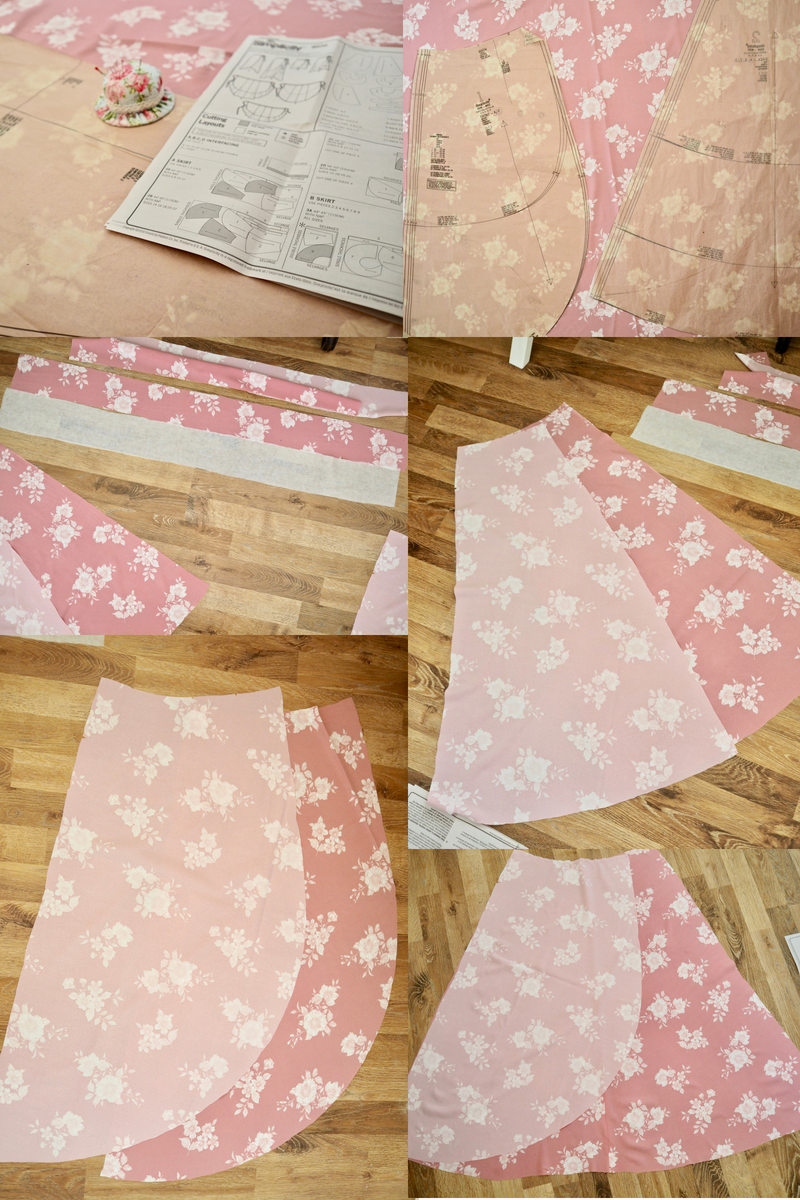
Inside your pattern pack, you will find an instruction sheet and your pattern pieces. Take a few minutes to sit and read through your general direction sheet. This has all the info you need to sew your skirt and you will follow this each step of the way. It even gives you a cutting layout and tells you how to place your pattern on the fabric to get the most out of your fabric. Don’t get scared when you first look at your instruction sheet, I know it can look overwhelming but when you break it down it isn’t as scary.
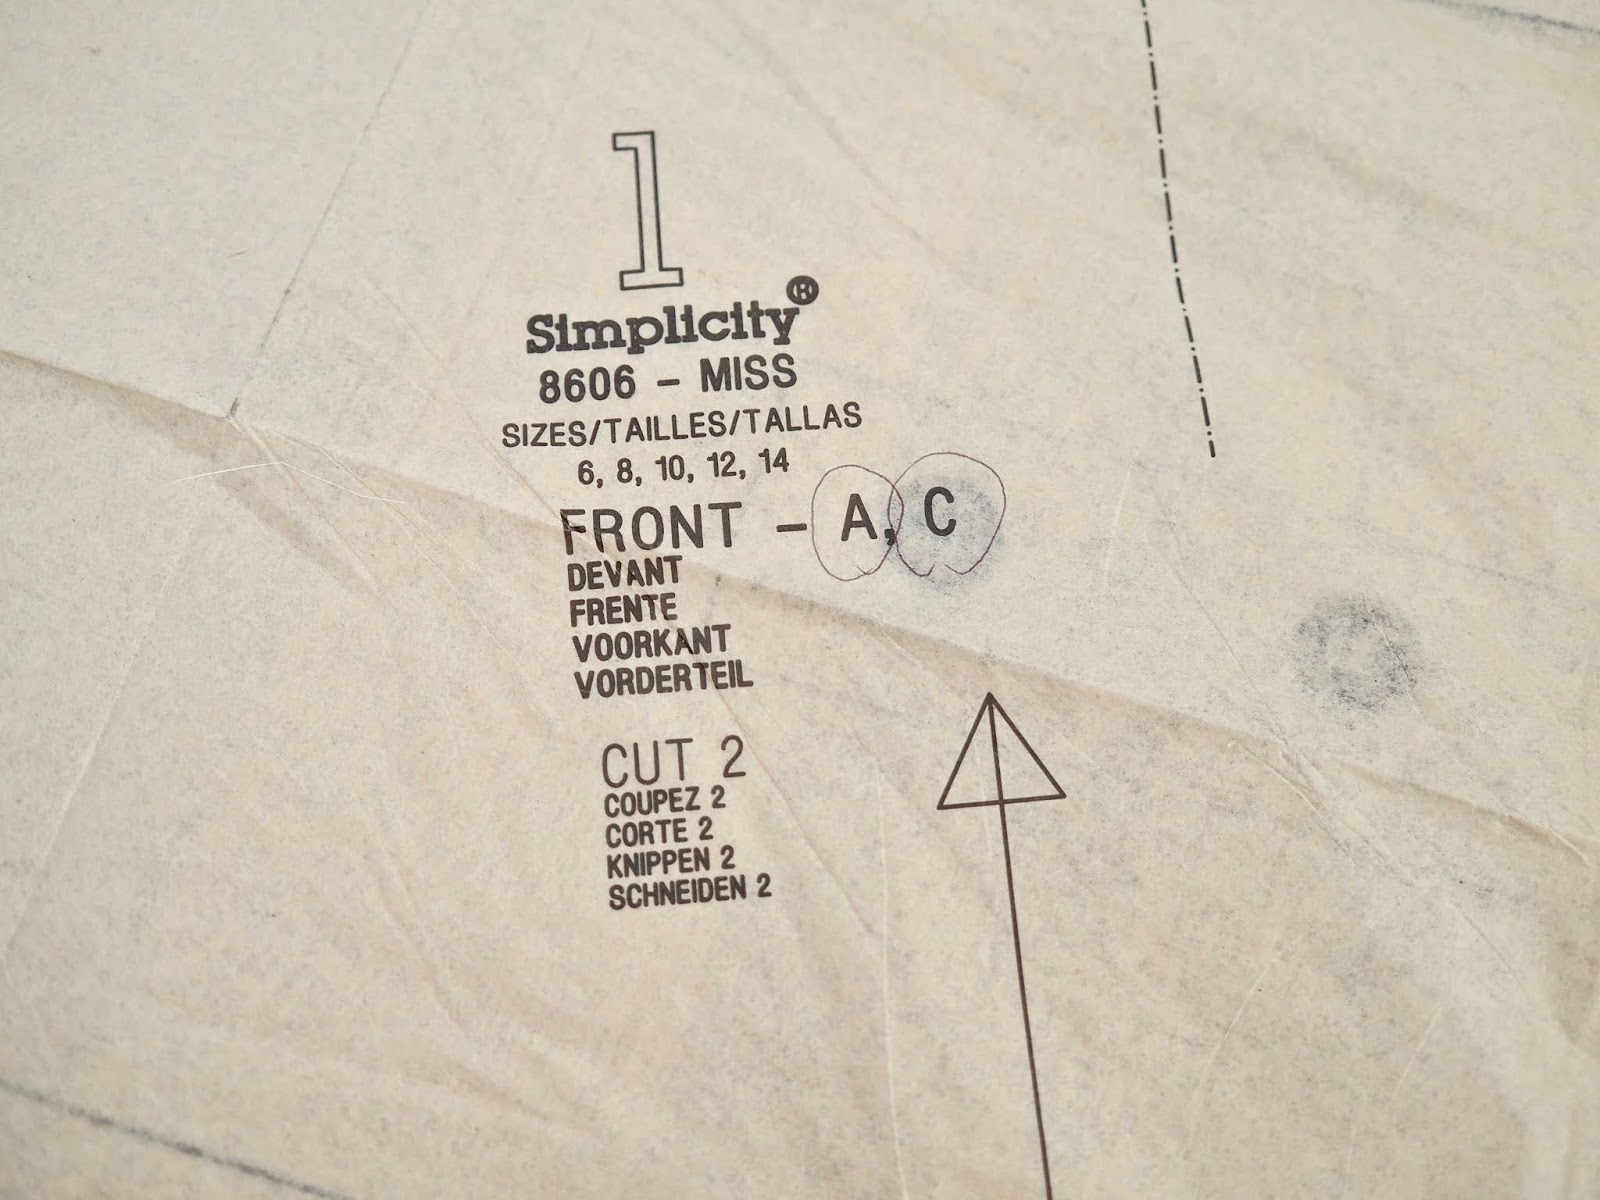
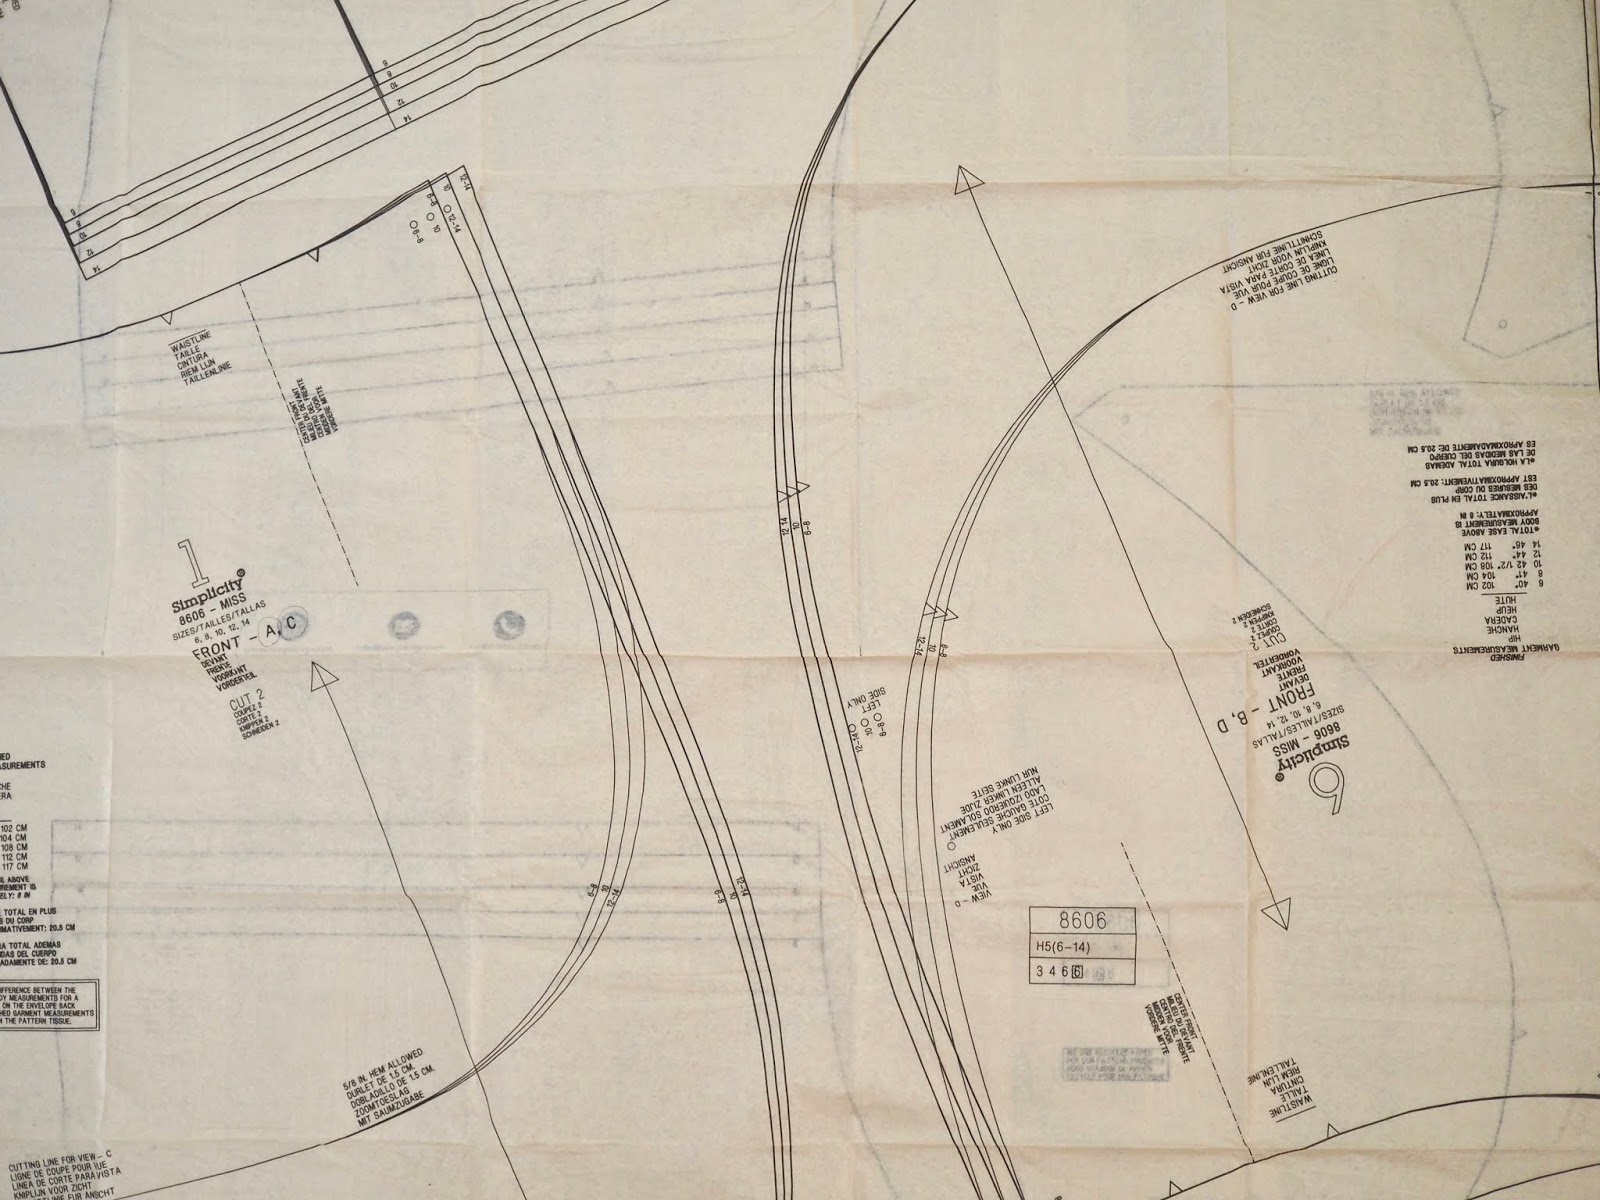
As I was making the option A skirt I cut out all of the pattern pieces for option A. I cut out the pieces for a size 14 as that was my pattern size. If you are a smaller or larger size then you will cut out your size on the pattern pieces. I had two front pieces, two back pieces, a waistband piece, a right tie and a left tie end. Each pattern piece has a letter and a number on it telling you which piece to cut out. Take care when cutting the pattern pieces and cut neatly. make sure to use normal scissors and not your good fabric scissors when cutting the paper. I gave my pattern pieces a quick iron after I cut them out so they weren’t wrinkled.
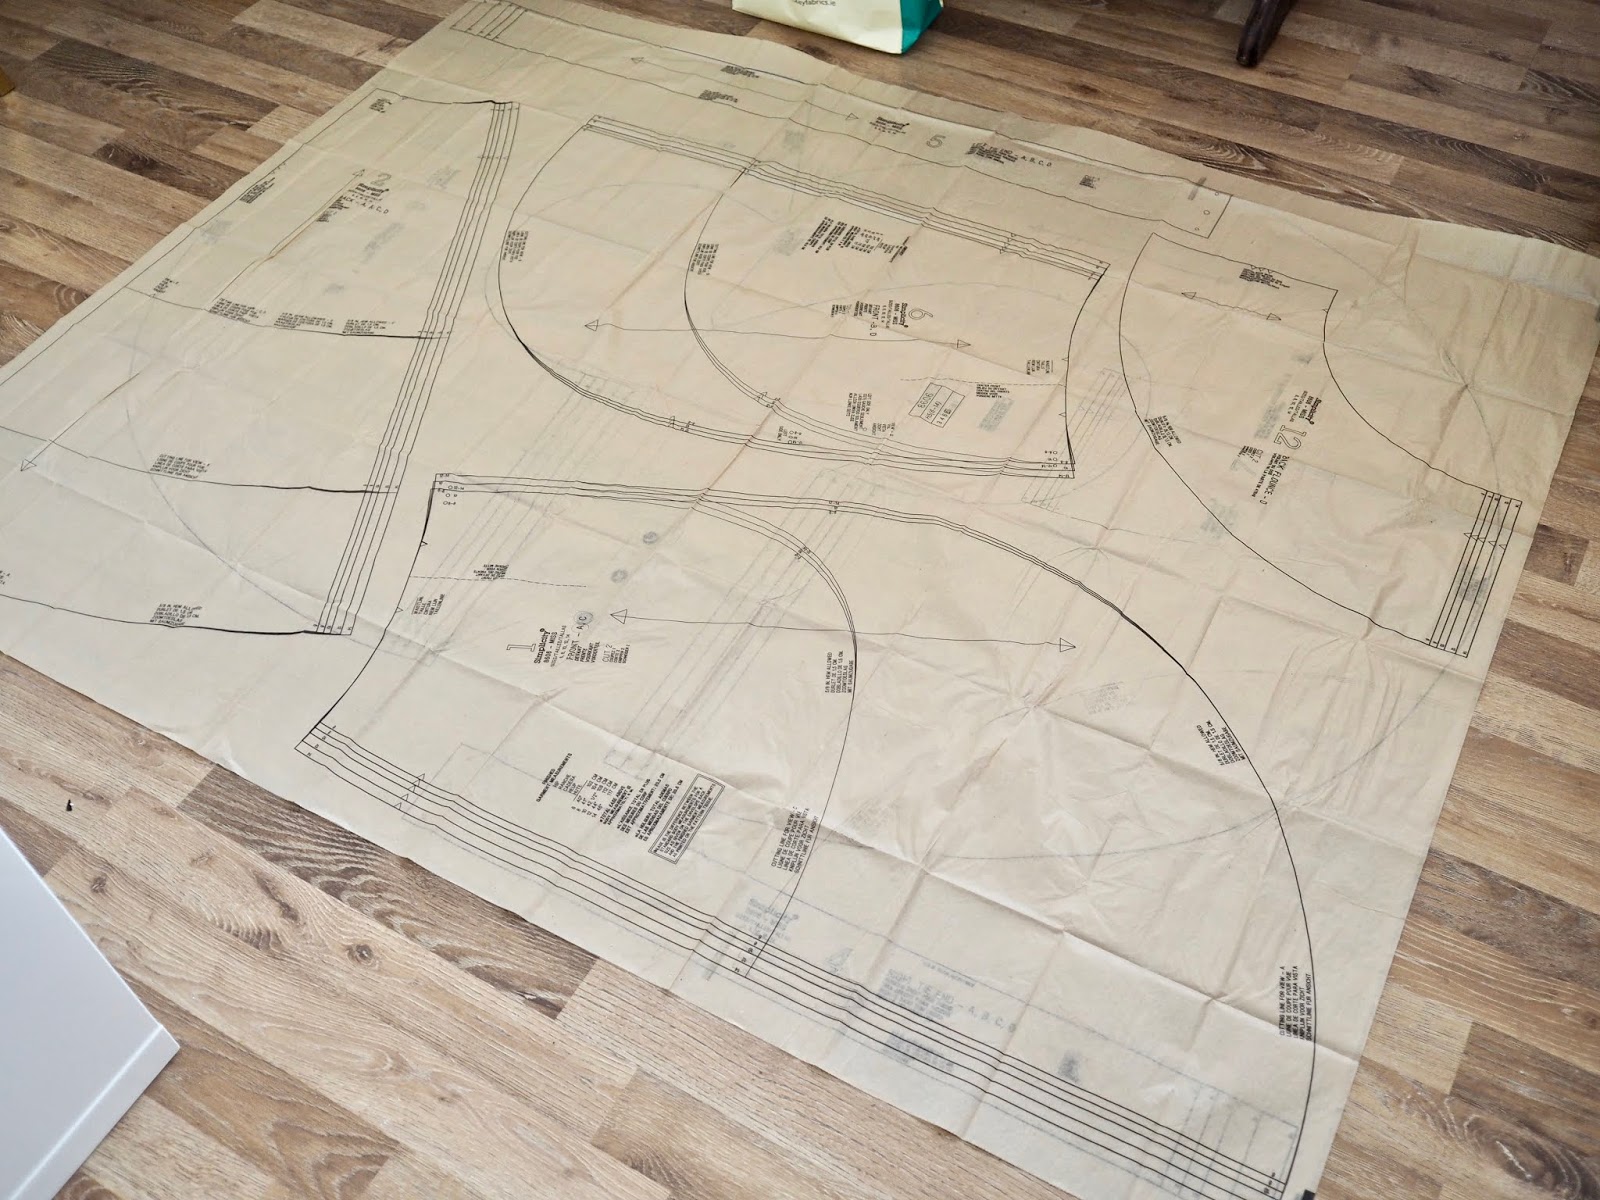
Iron your fabric before cutting and then lay your fabric out as per the cutting layout in your instructions. Pin your pattern pieces to your fabric. As my fabric has a bit of stretch to it I used more pins than normal. Take your time when cutting, I find cutting is as important as the actual machine sewing. If you cut your fabric wonky then your seams will be wonky. When it comes to sewing don’t cut corners, take your time at each step. On your pattern piece, it will tell you how many you need to cut. It will say cut 1 or cut 2 etc, follow the instructions. Don’t forget to cut out your piece of interfacing for the waistband.
Notches and dots
You will notice on your pattern that you will have some little triangles, These are notches and are really important. They act like little puzzle pieces and mark up to each other when you are pinning your pieces together. I used a fabric marker to draw the dots too. Don’t forget to cut out the notches when cutting your fabric.
Sewing instructions
Once you have your pieces cut you can then go to the sewing directions section of your instructions and go to step one. I found the sewing instructions really easy to follow. The pattern is also marked to show which side of the fabric is facing in each step. In step one, it asks you to put a line of stay stitching on the upper edge of pieces 1 and 2. Stay stitching helps prevent stretching on the curved edges and you won’t see this stitch when the garment is complete.
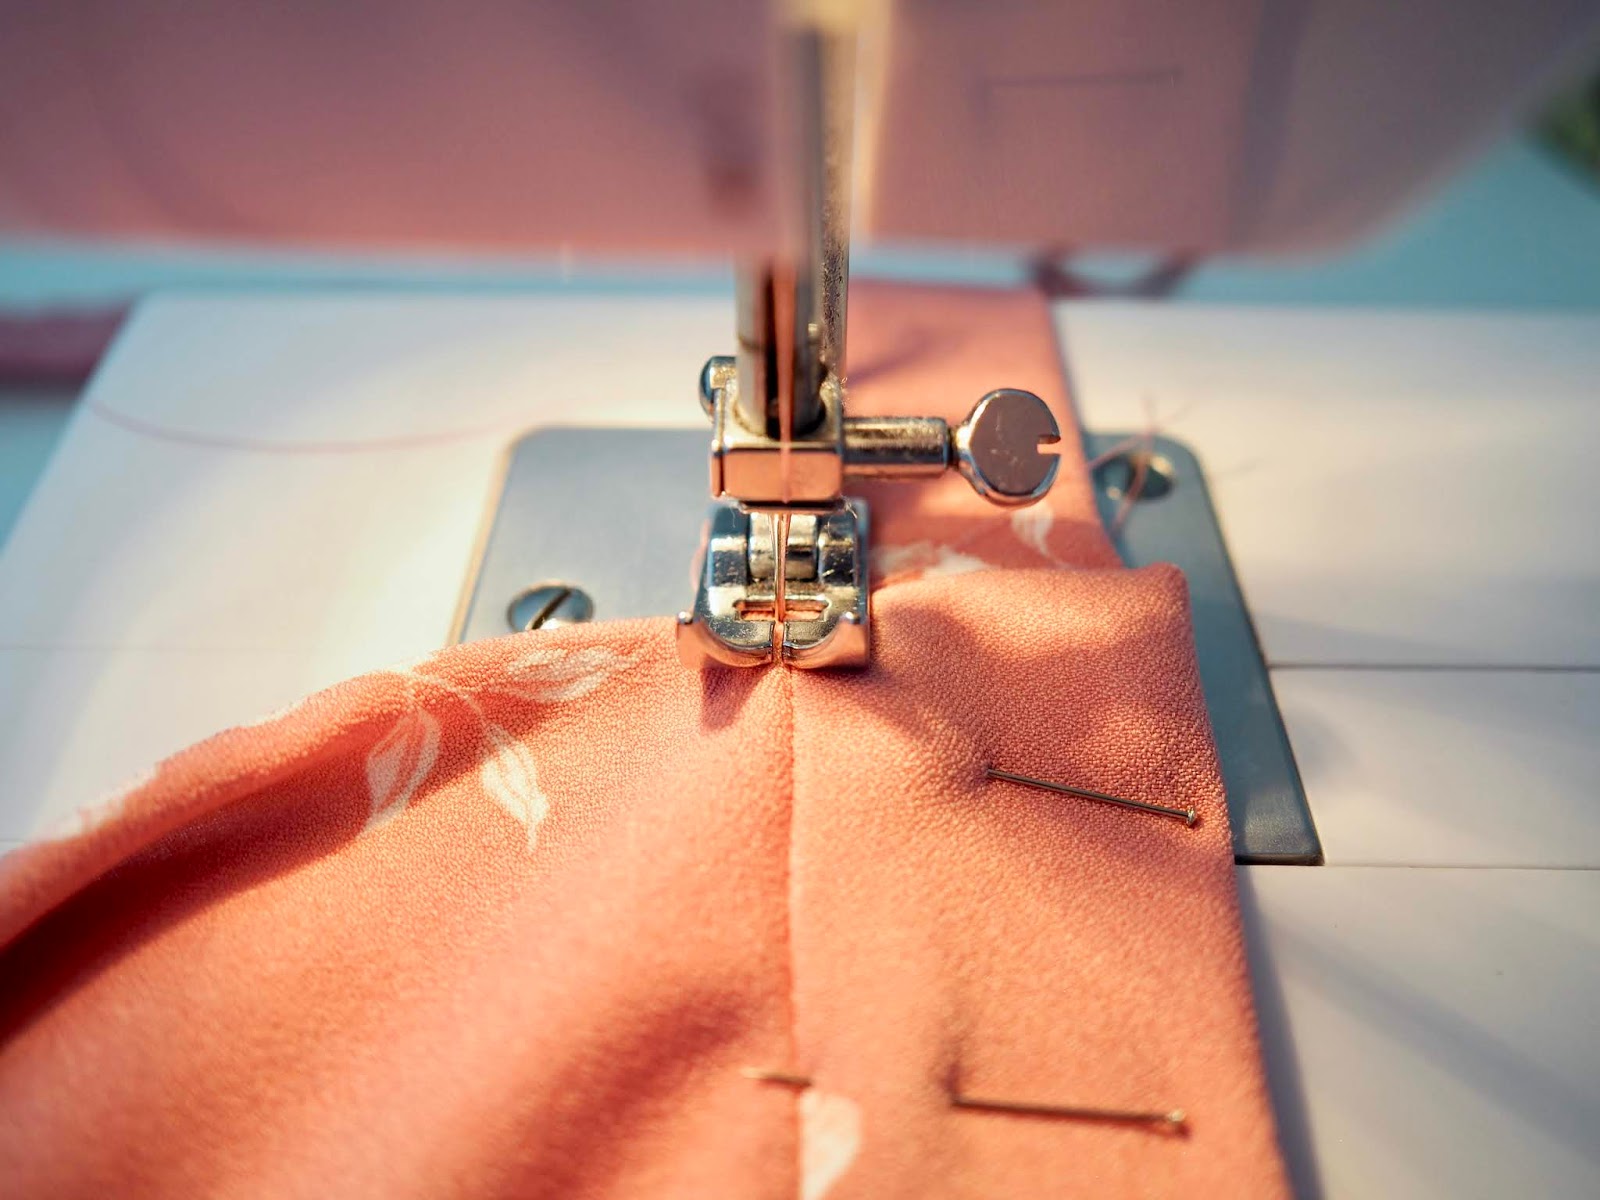
In step two you will stitch your two back panels together and stitch your centre back seam. Once you stitch your seam make sure to iron your seams out. It is really important to iron out your seams. If you look at your clothes you are wearing now you will see the seams neatly ironed out or overlocked. You are then going to add your front panels to your back by following the illustration in your instructions. You can find your seam allowance in your instructions.
In step three you will add your hem. This was the longest part of making my skirt. Take your time making your hem as you will see this at the front of the skirt. The instructions say to machine-baste the edges 5/8” from the raw edge. I won’t lie! I had to google what machine basting was. Basically, it is a temporary stitch and it made it really easy for me to form the hem. I set the stitch length on my machine to the longest and made my lasting stitch. I then ironed my raw edge and rolled it under to give it a small hem. I used lots of pins to keep it in place before taking it to the machine to sew. Take your time sewing your hem. Once it is sewn you can then remove your basting stitch and give it an iron. The basing stitch really helped when forming a neat hem, don’t skip this step.
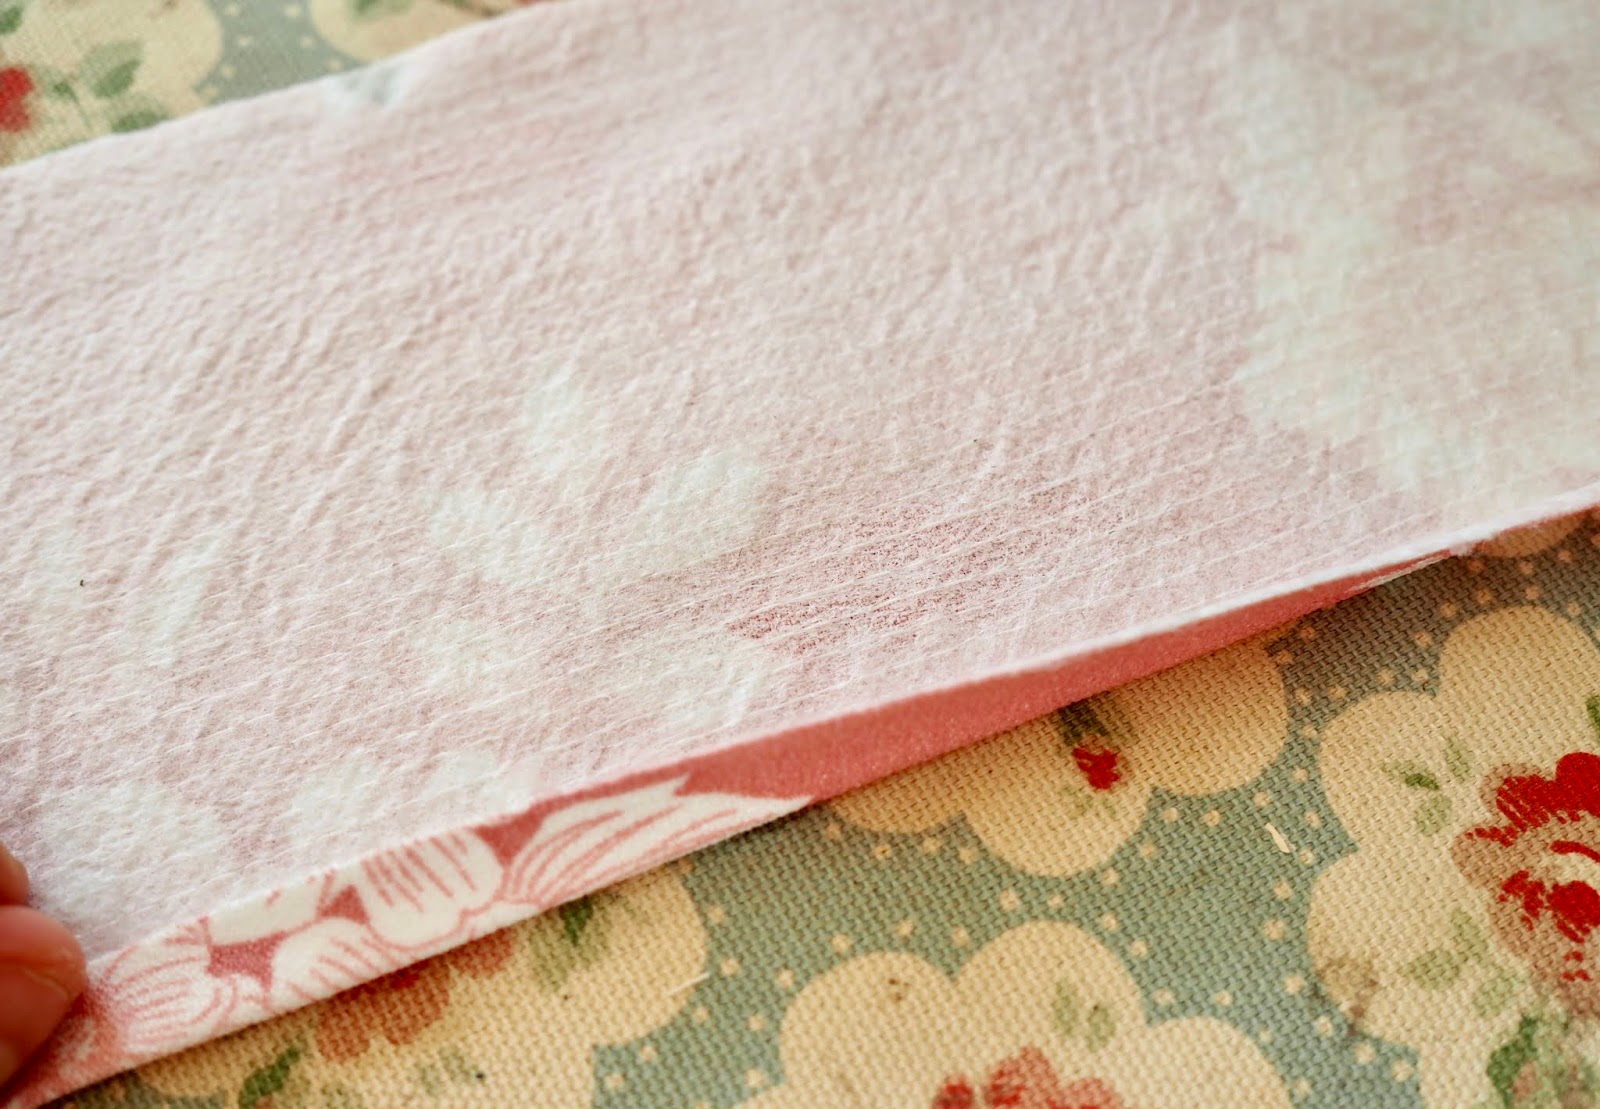
For step four and five, you are going to be working on your waistband. You will iron on your fusible interfacing to the wrong side of your waistband. Then fold the unnotched side over by 1/2” and press. You are then going to work on adding your waistband to your skirt. This is where your notches come in handy as they act as a guide when pinning the fabric together. With the right sides together pin the skirt to the waistband. Place the sides seams at the inner small dots, matching the centre notches and remaining dots. Pin all the way around and sew.


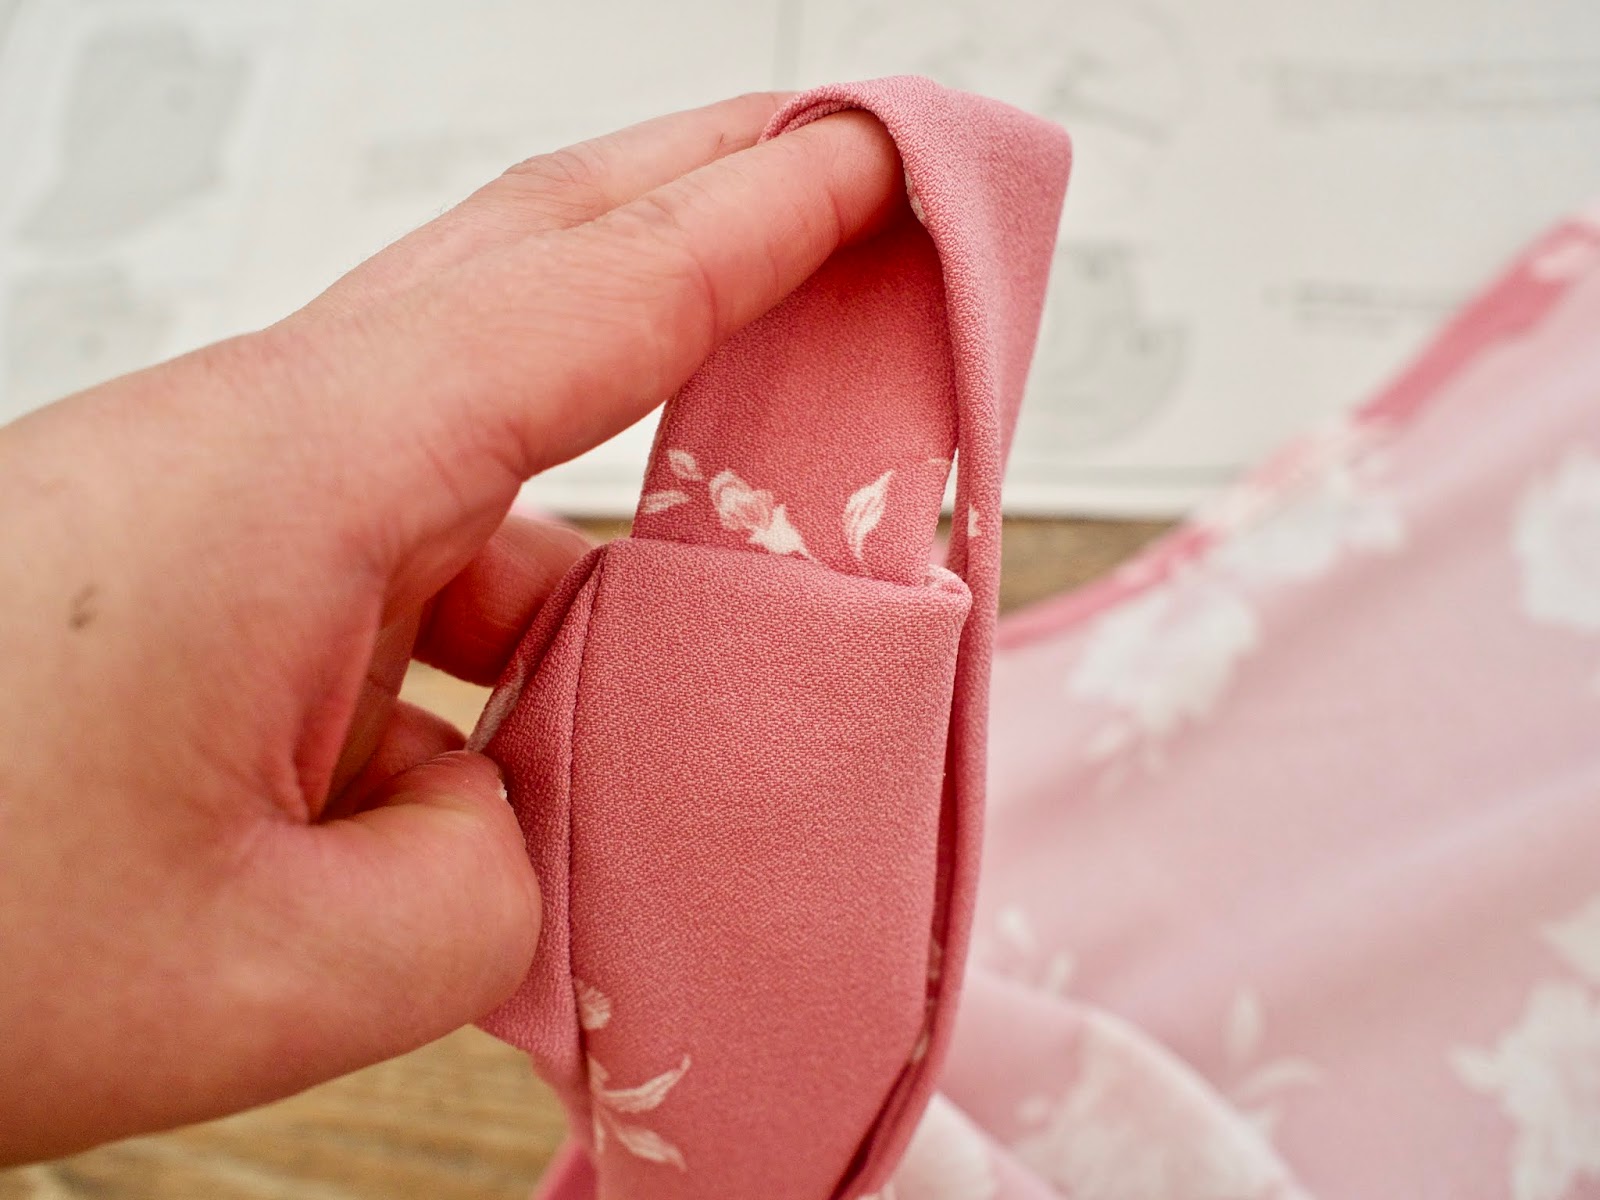
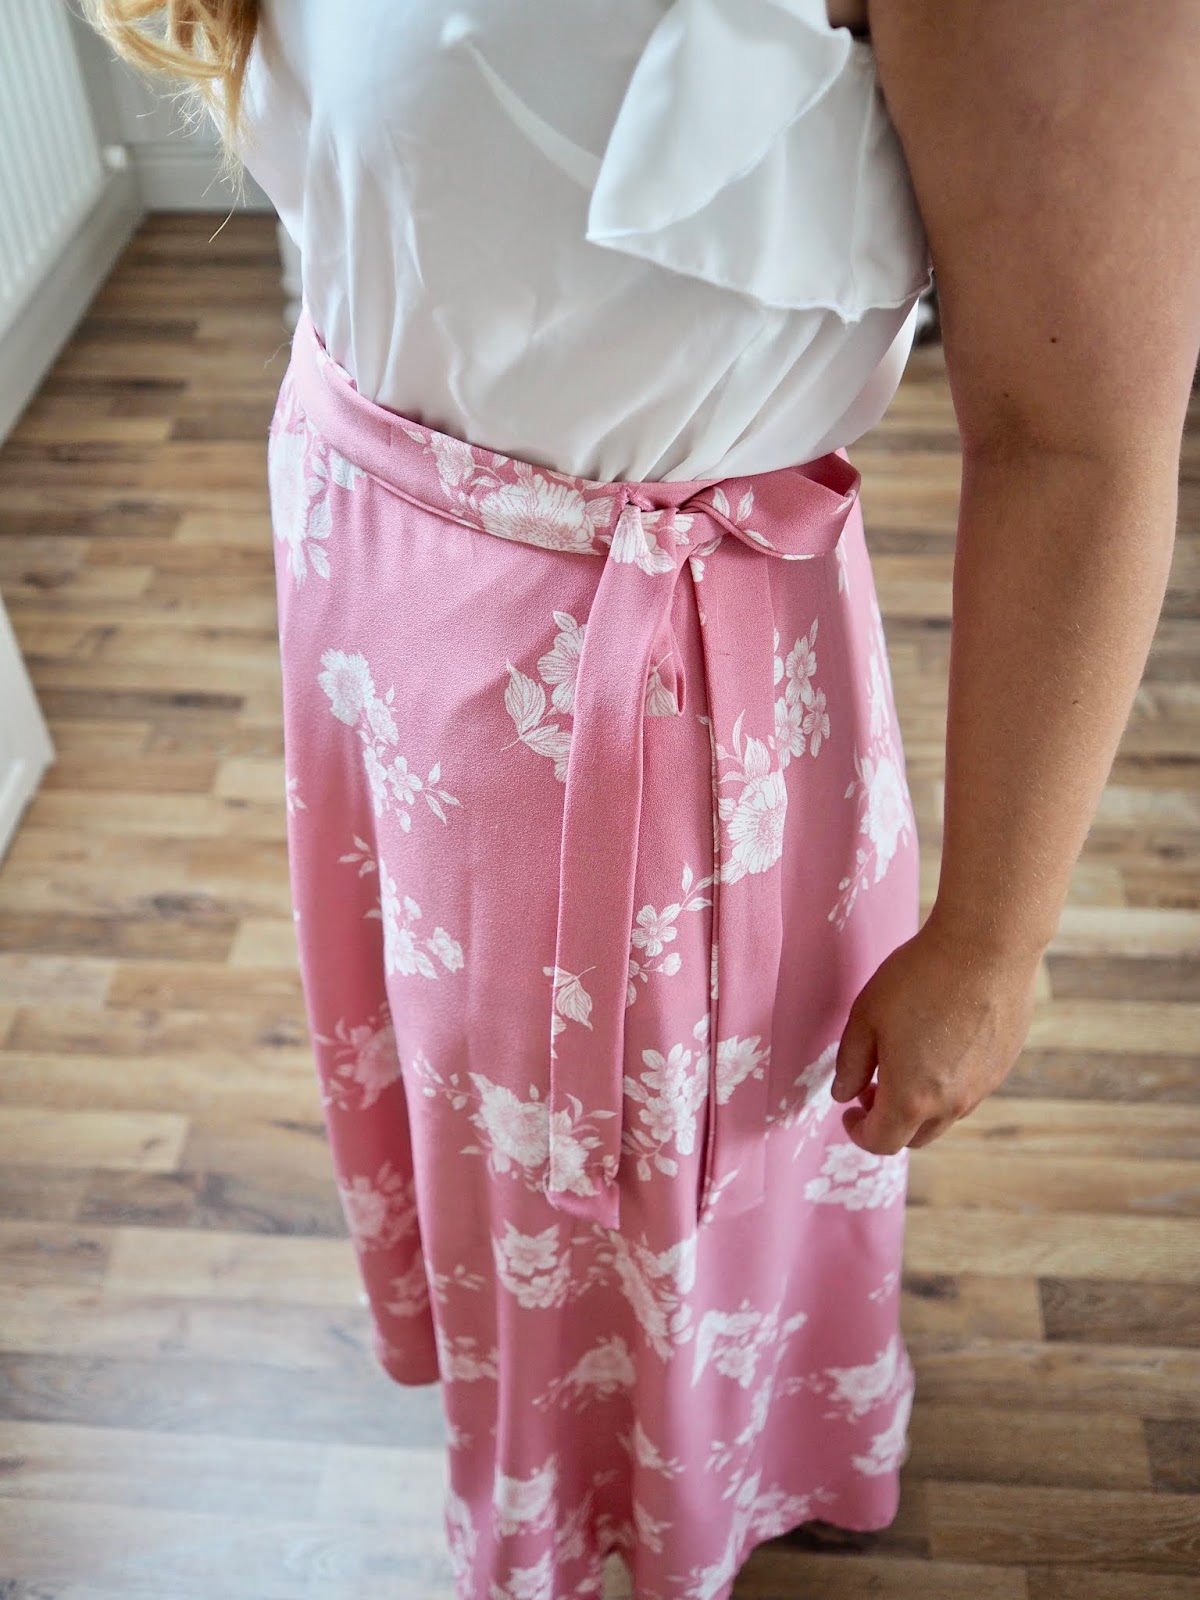
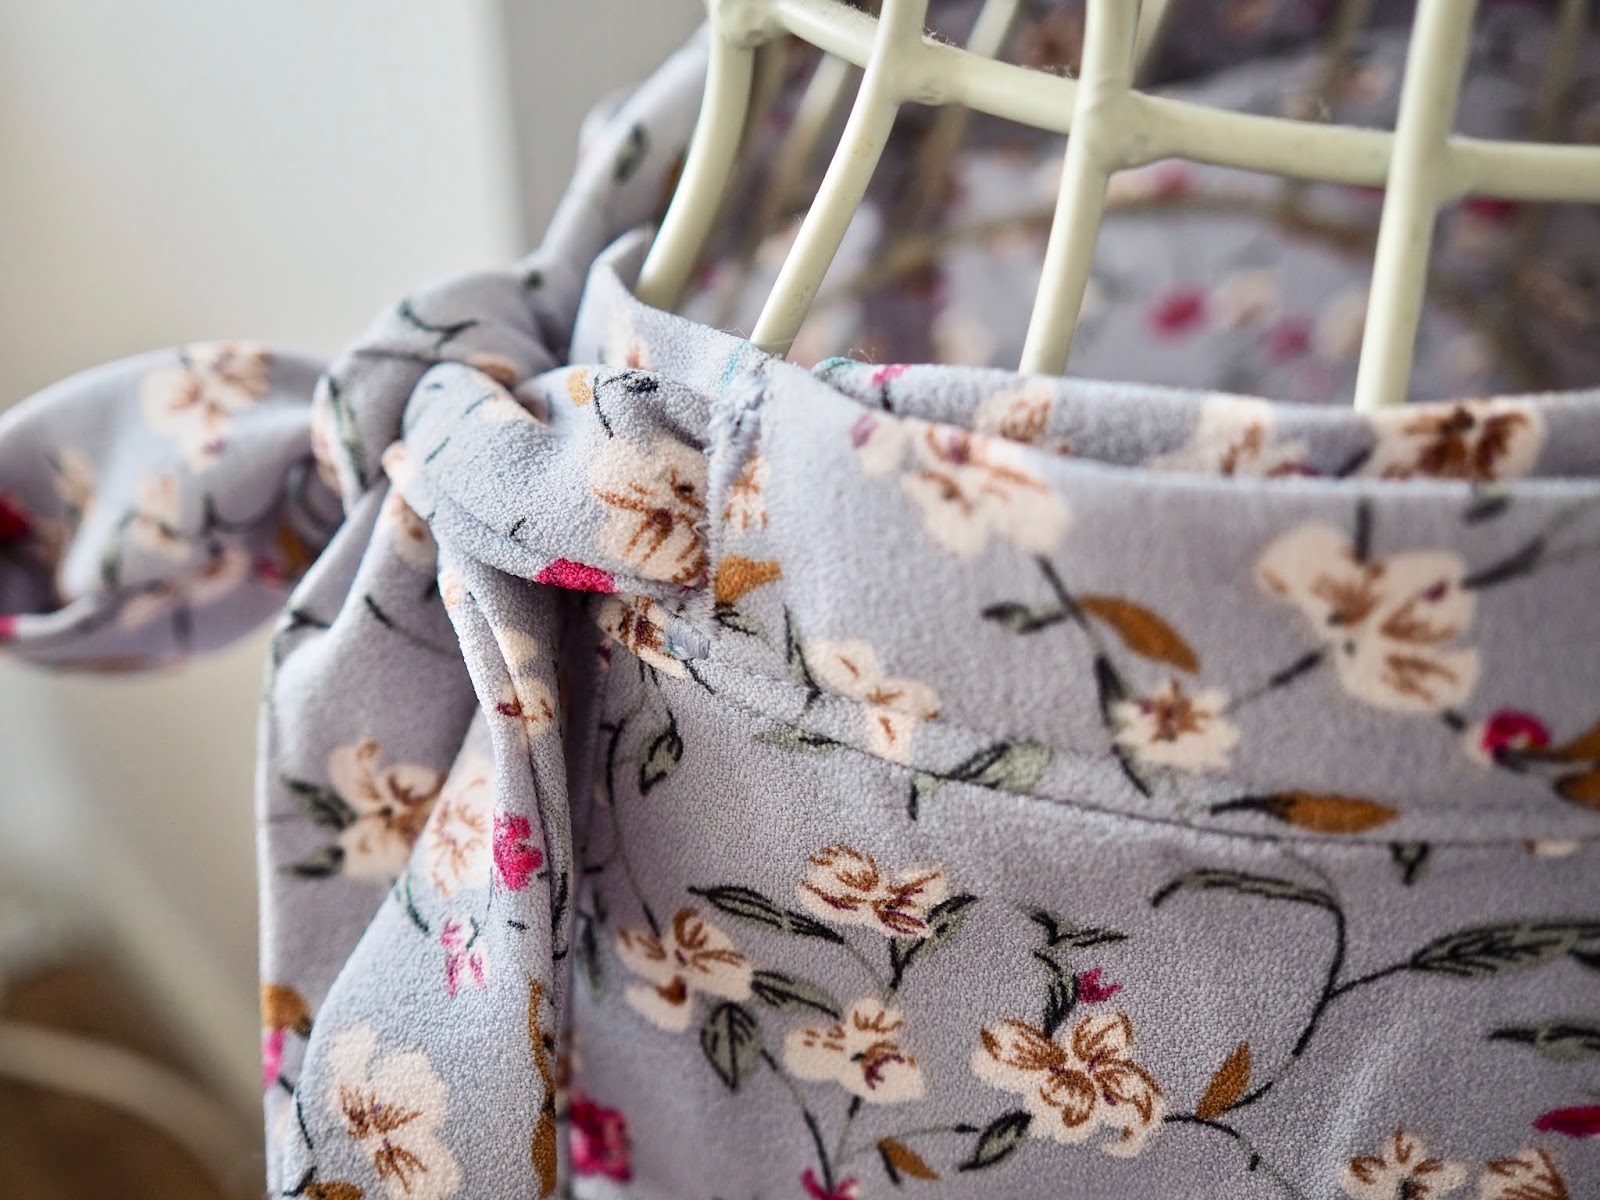
For steps six and seven you are going to work on your ties. You have a right and left tie. Fold the pieces in half lengthwise and sew a 3/8” seam, leave the short end with the dots open. Once sewn you will pull these right side out and give them a good press. Then follow the instructions in your pattern for steps seven, eight and nine as these will show you how to add your ties to your waistband. I also have a Youtube video showing you how I made my skirt and you can reference this as well.

For step ten you are going to finish off your waistband and “stitch in the ditch”, take your time when pinning your waistband over and make sure to leave enough fabric on the inside so that you catch this in when sewing on the outside. On the outside of the skirt is where you will sew. If you don’t have enough fabric on the inside it won’t catch and your waistband won’t be correctly sewn.
Just like sewing the hem, I found this to be a tricky step. Take your time when “stitching in the ditch” as you will see the waistband when it is on you and you don’t want to see your stitches.
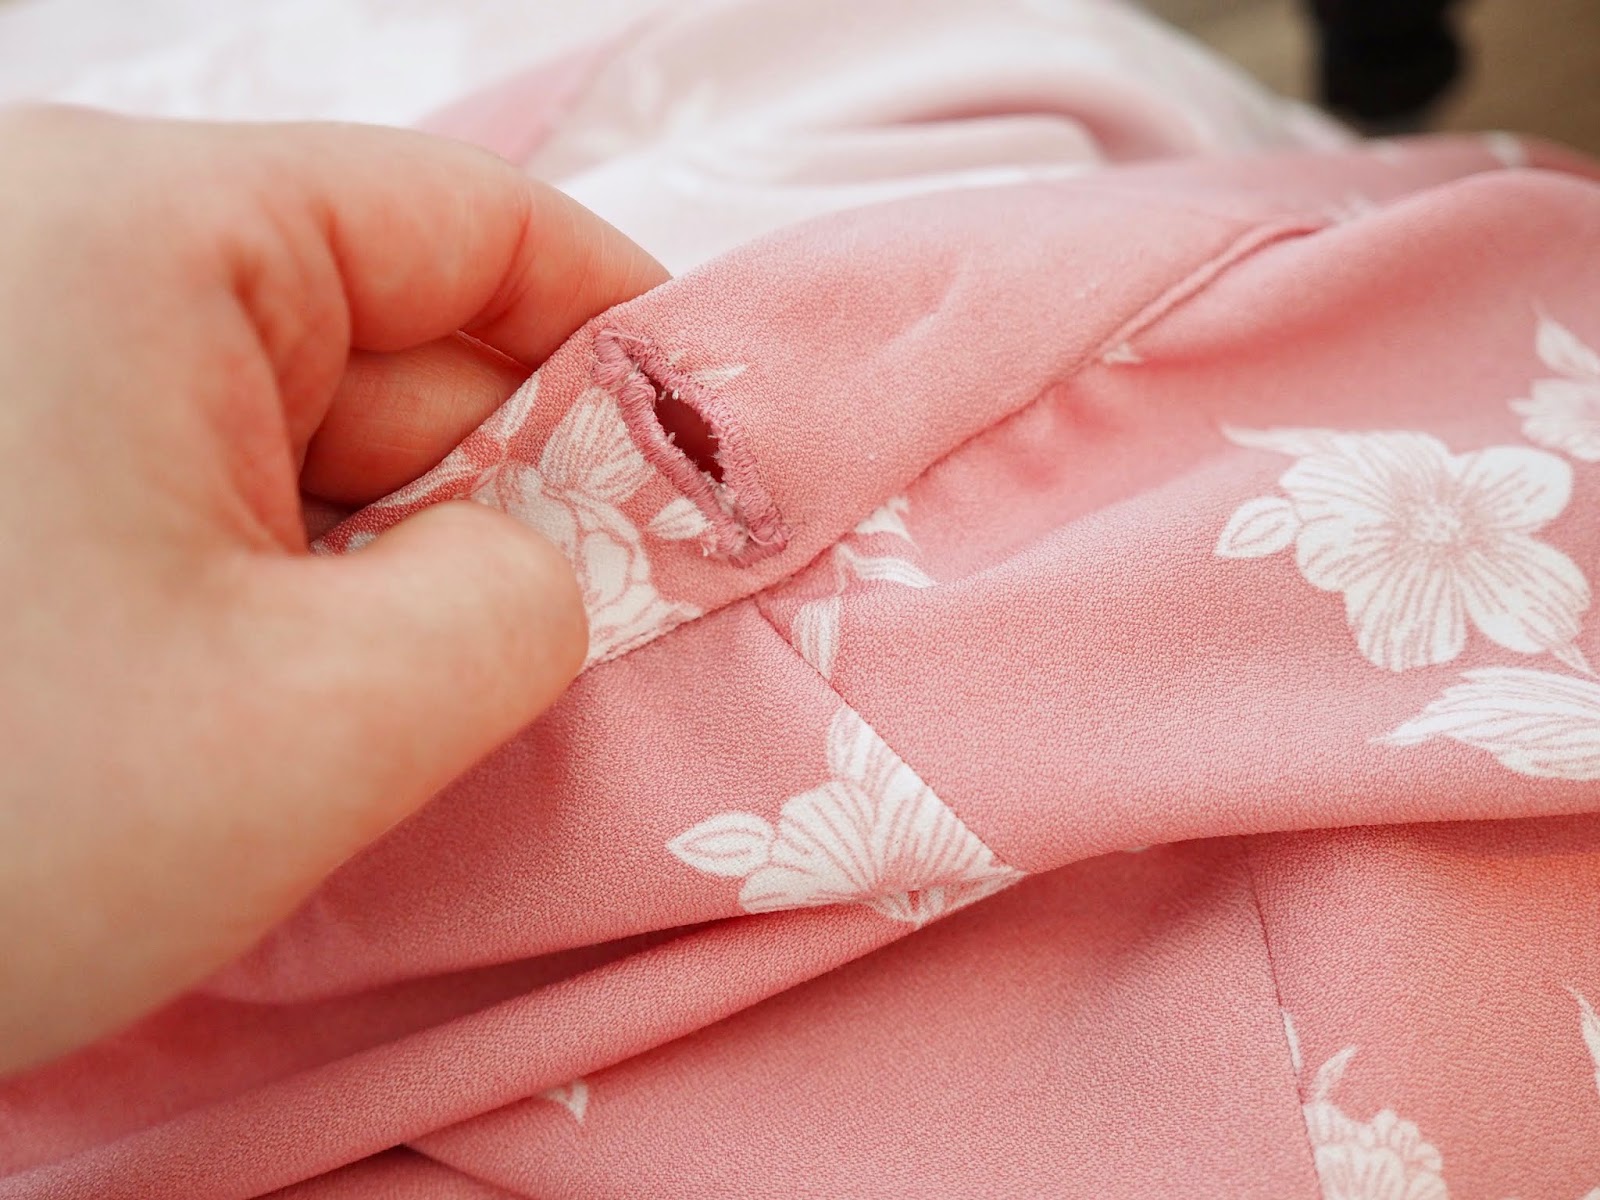
For step eleven you are going to make a buttonhole. I had never made a buttonhole before. At the marking on the waistband, I cut a slit. I then used the zig-zag setting on my machine and shortened the stitch length and I applied a zig-zag stitch to the hole and I created a buttonhole. this did the job for me but do have a search on Youtube for other ways to sew a buttonhole. Your machine might even have a buttonhole setting.
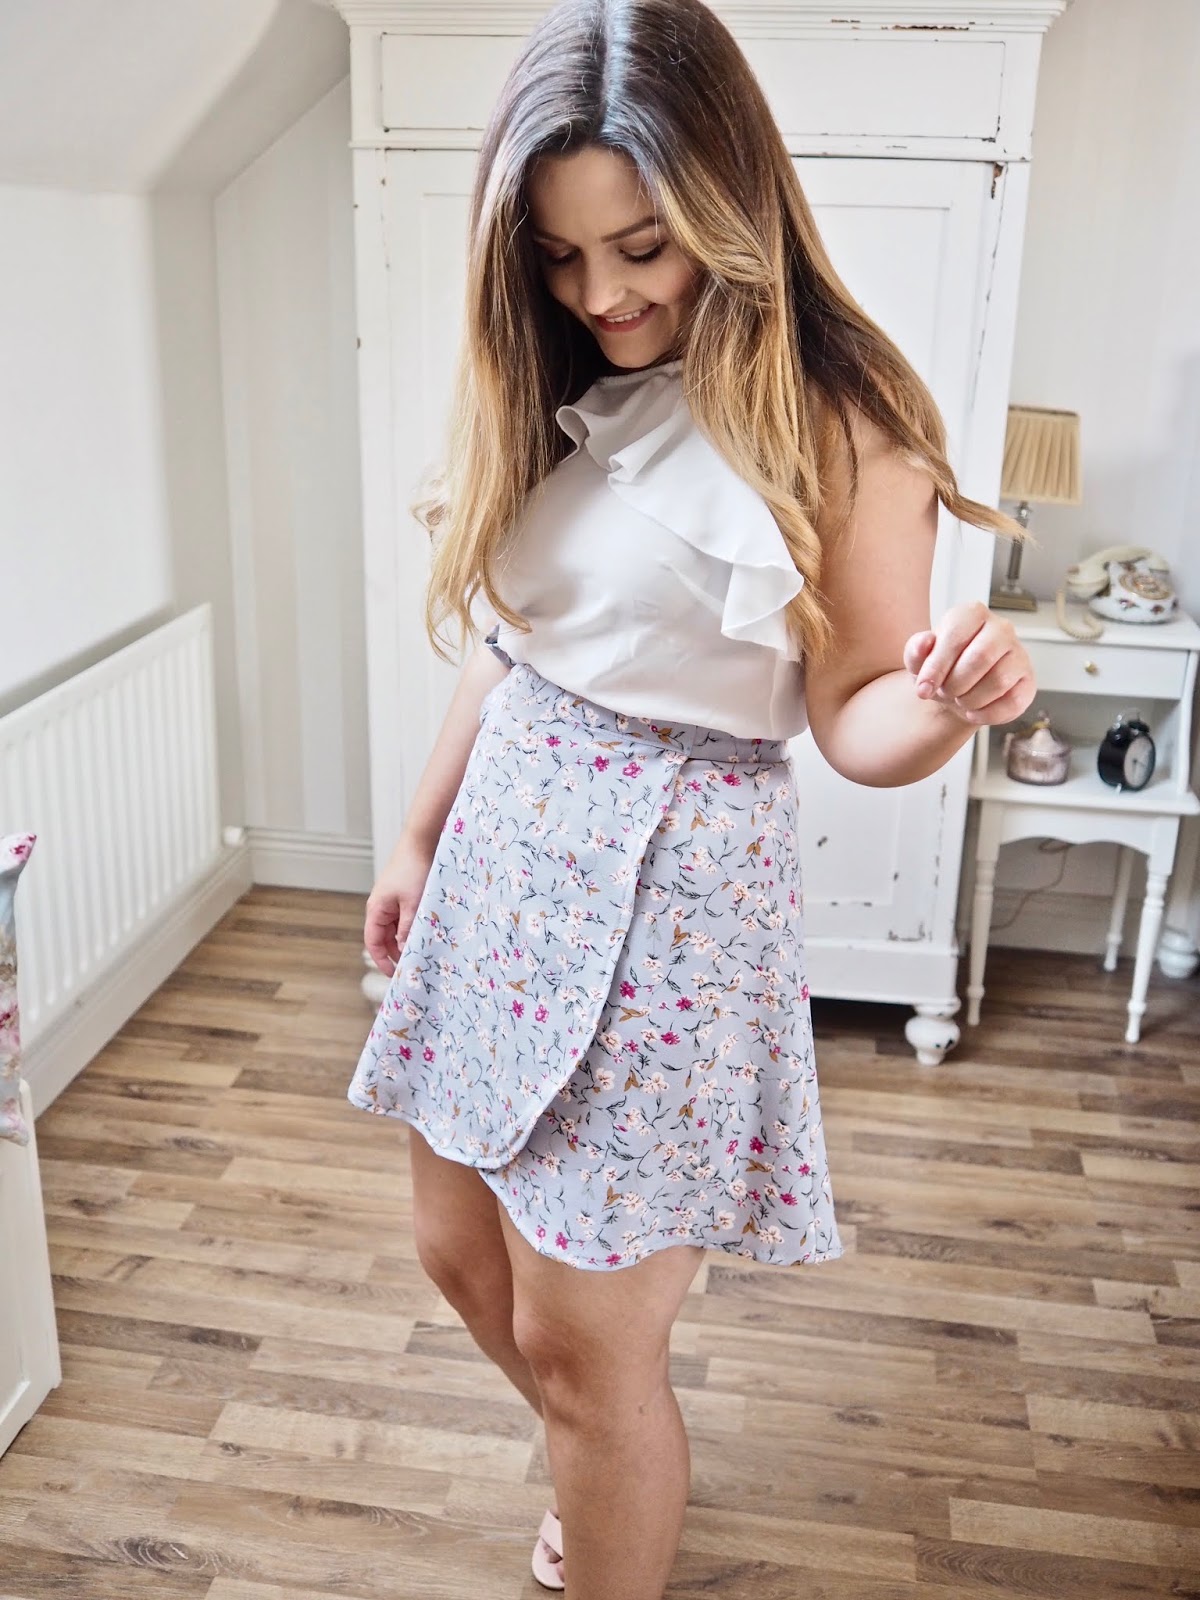
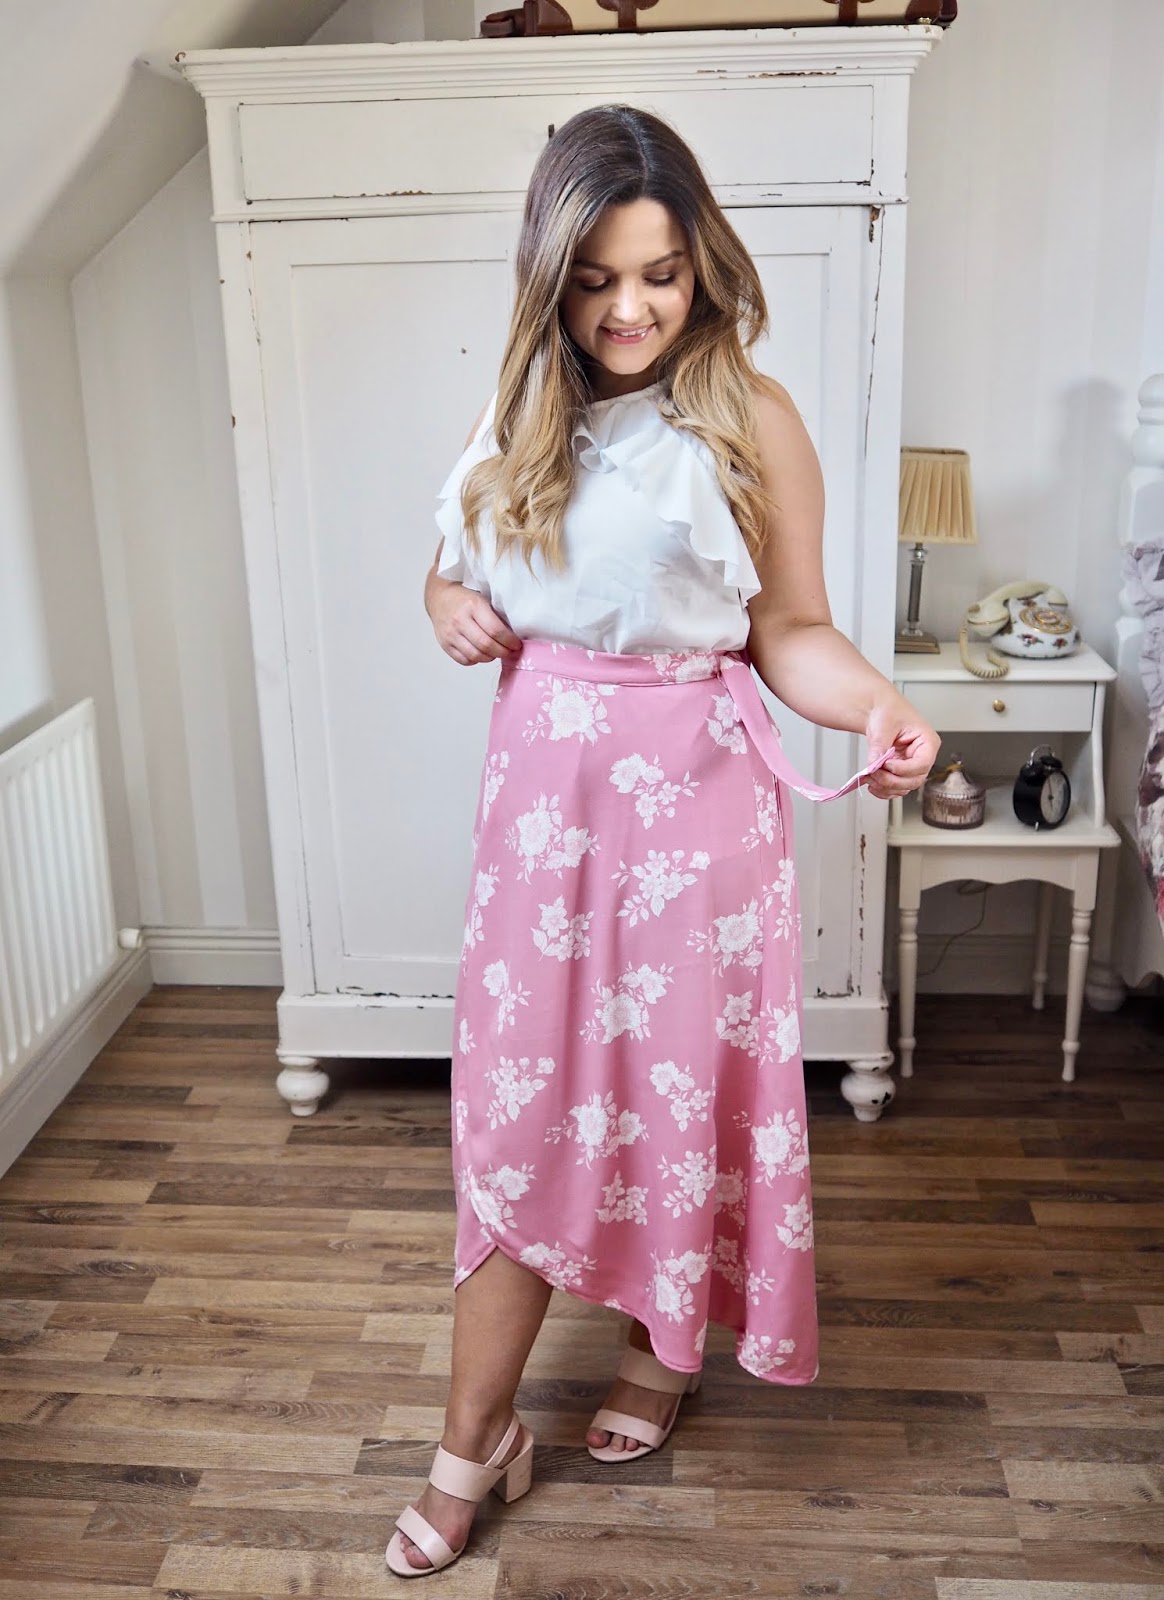
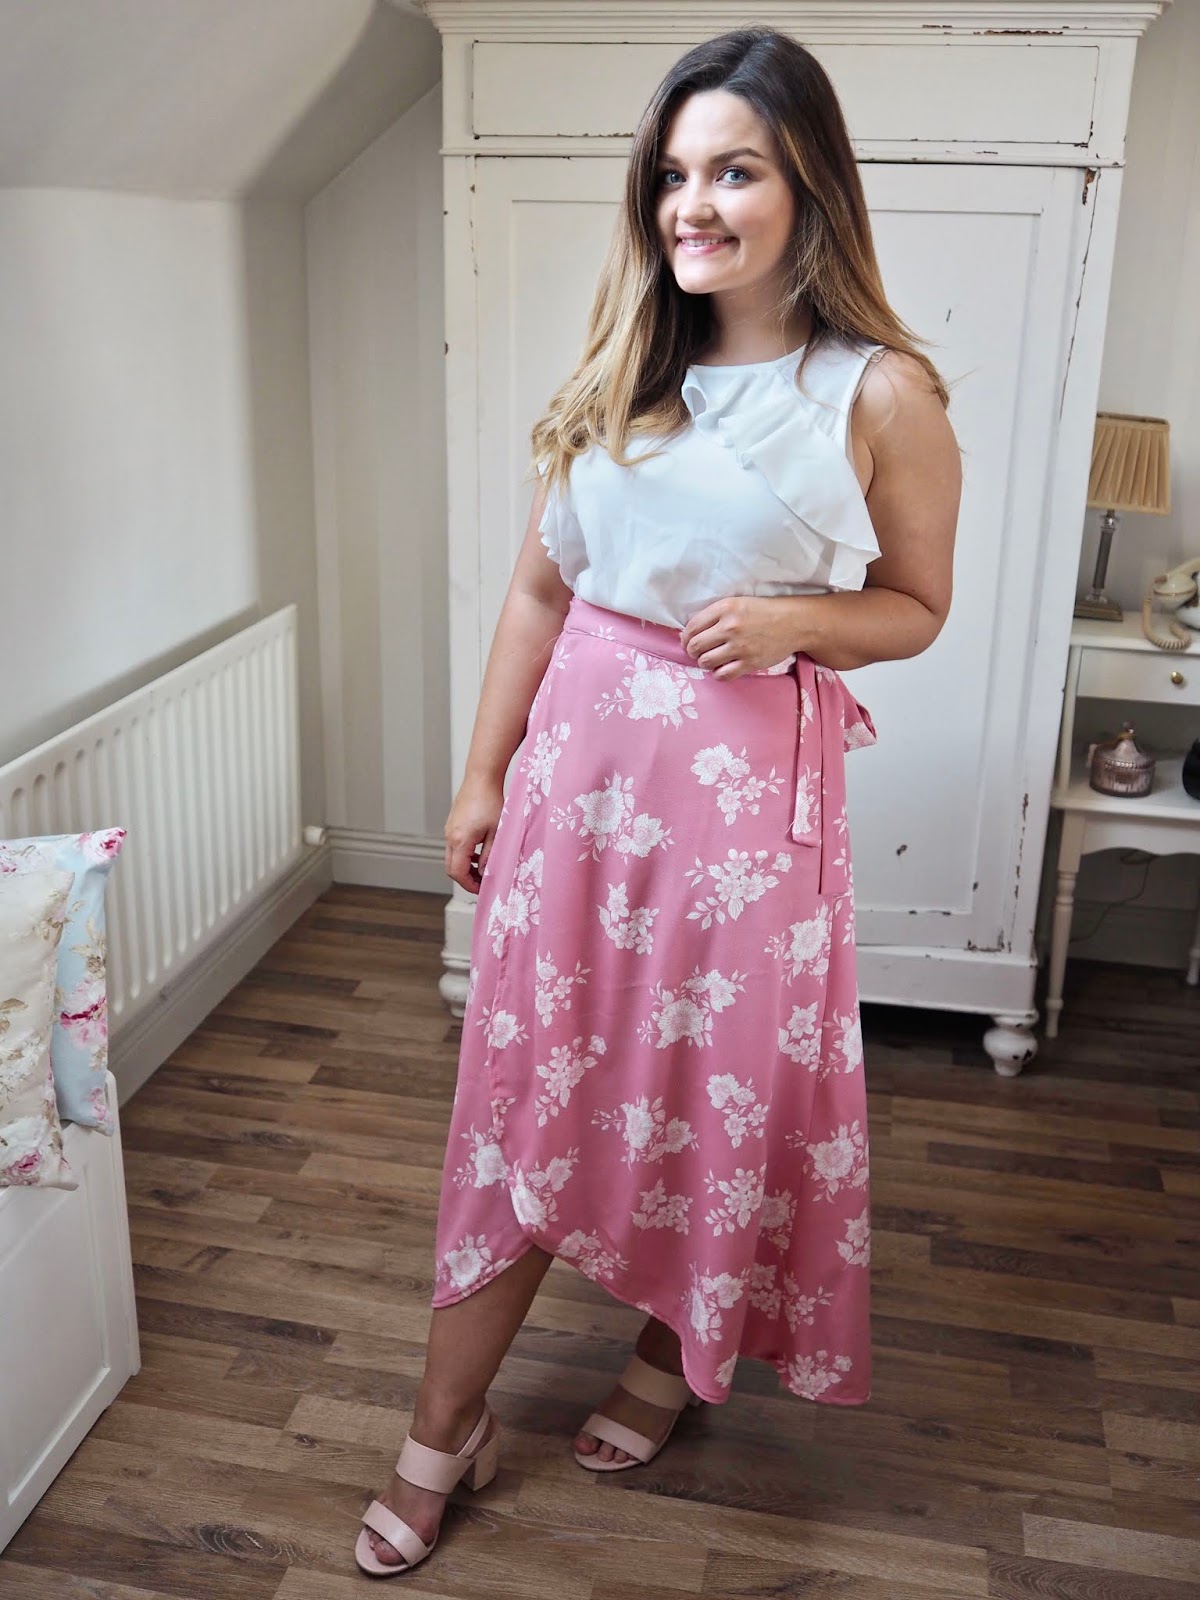
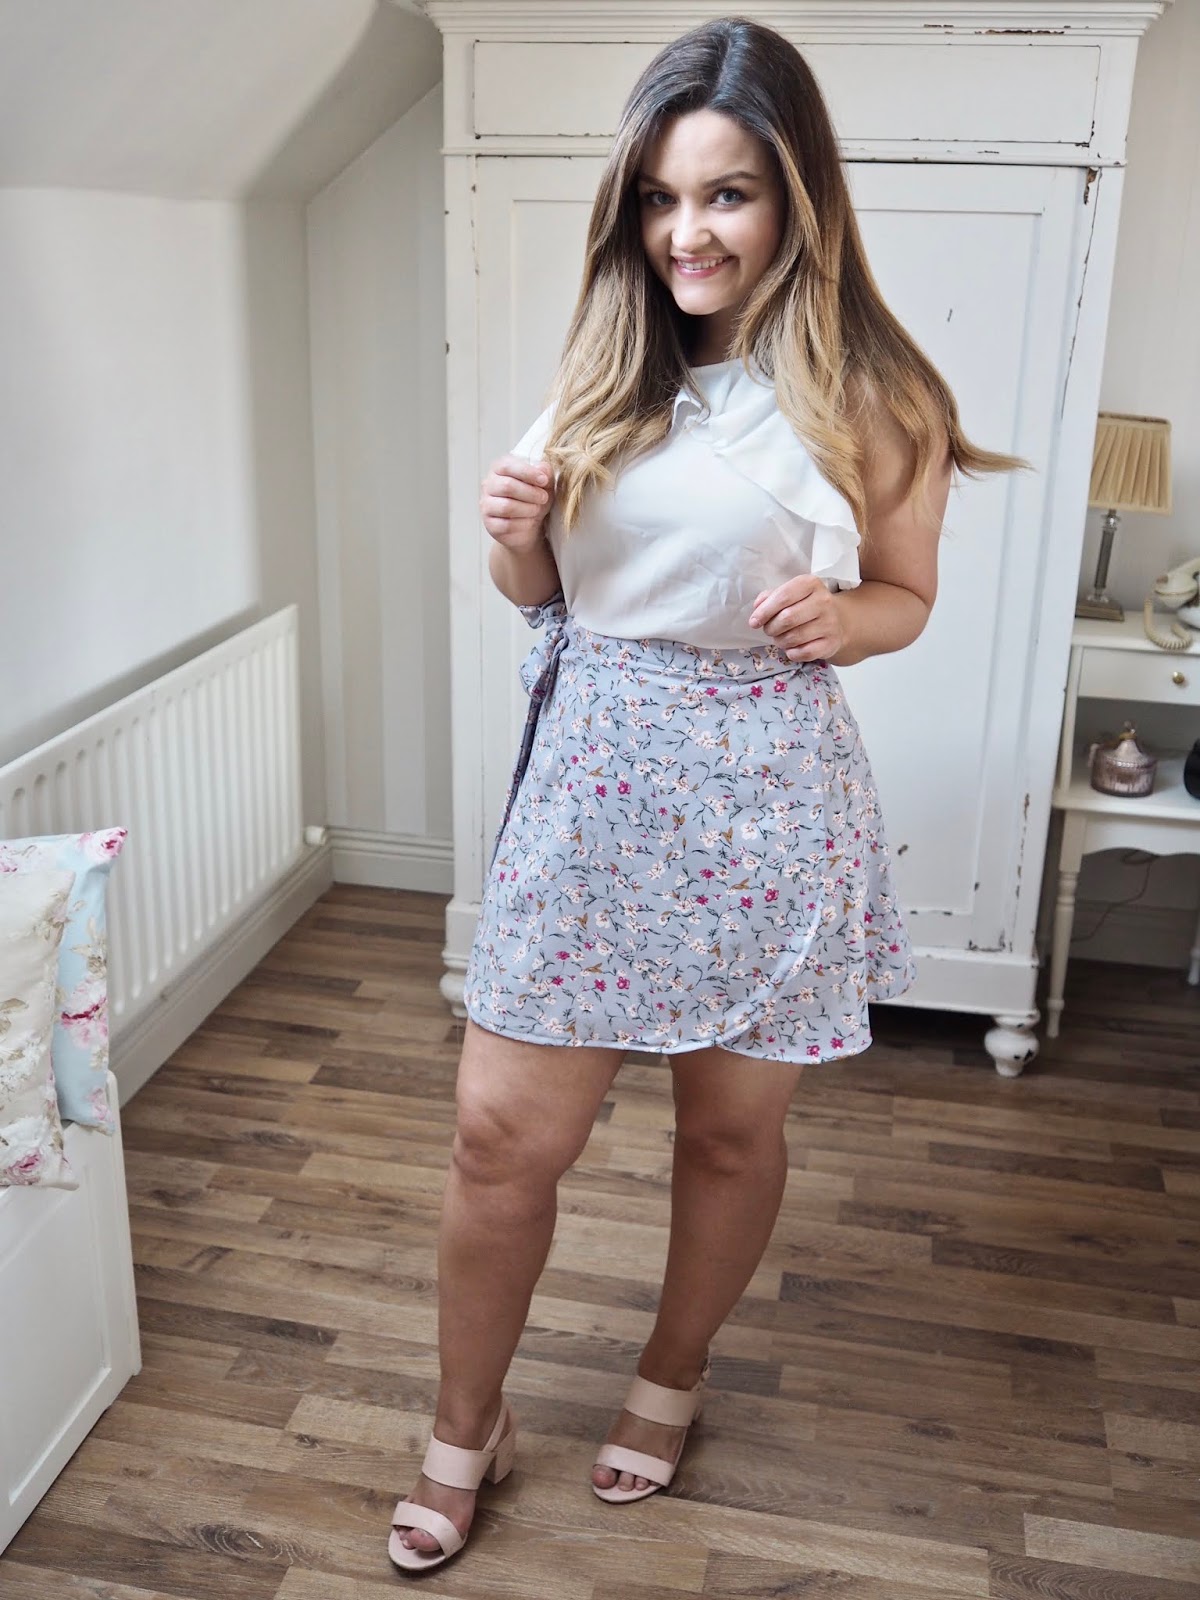
You can now try on your skirt and admire your hard work. I made two skirts and I actually can’t pick a favourite. I love the longer midi style as it is really popular right now. The shorter length is fun and perfect for a summers day, you could even style it up with a silky cami and heels for the evening. The great thing about sewing from a pattern is that you can reuse it. I keep my patterns in a folder in my craft room. This makes it easier to organise and find my patterns.


If you are inspired and want to check out some dress fabrics then click here to head over to the Hickeys Fabrics website. You can also pick up the other items I used in today’s post. Also a huge thank you to Hickeys for teaming up with me and collaborating on this post. Thanks for reading, Do check out my Youtube video which I will leave below and tag me in your makes over on Instagram.
Chat soon,
Catherine.


Well done your skirts are beautiful. I couldn't pick a favourite. You looked lovely in them both. Xx
WOW – I can't believe you made those yourself! 😀 They are so cute (and so trendy for right now)! I think wrap skirts are perfect for the hot summer months, and I definitely need to add one to my closet (but I will probably buy one since I suck at sewing haha). -Jenna <3Follow me back? The Chic Cupcake
Thanks so much for reading Christine! You are so kind x
Aw thanks Jenna! Thanks so much for reading and commenting x
Just wanted to say you're really inspiring me to get on with some personal goals I have to start dressmaking. I have all the things I need but so far more excuses than motivation! But seeing this (and the stories the day you completed your first skirt- seriously I think I was as excited as you!) has really given me a bit of a kick. Well done lady!! Xx
Ok I've got to try this! These are so cute!!
I won the competition you did for this fabric and pattern. I was so delighted but as I was pregnant at the time I held off making it. I made it 2 weeks ago and I love it. I did the shorter skirt with ruffles and your blog was invaluable in helping me complete it. Thank you so much Dainty and Hickeys. I also have plenty of fabric left over and think I will try to make a matching camisole.
Author
Aw yay Niamh! I am soooo happy to hear that, have fun using up your scraps. You could make a little matching hairband or scrunchies.