
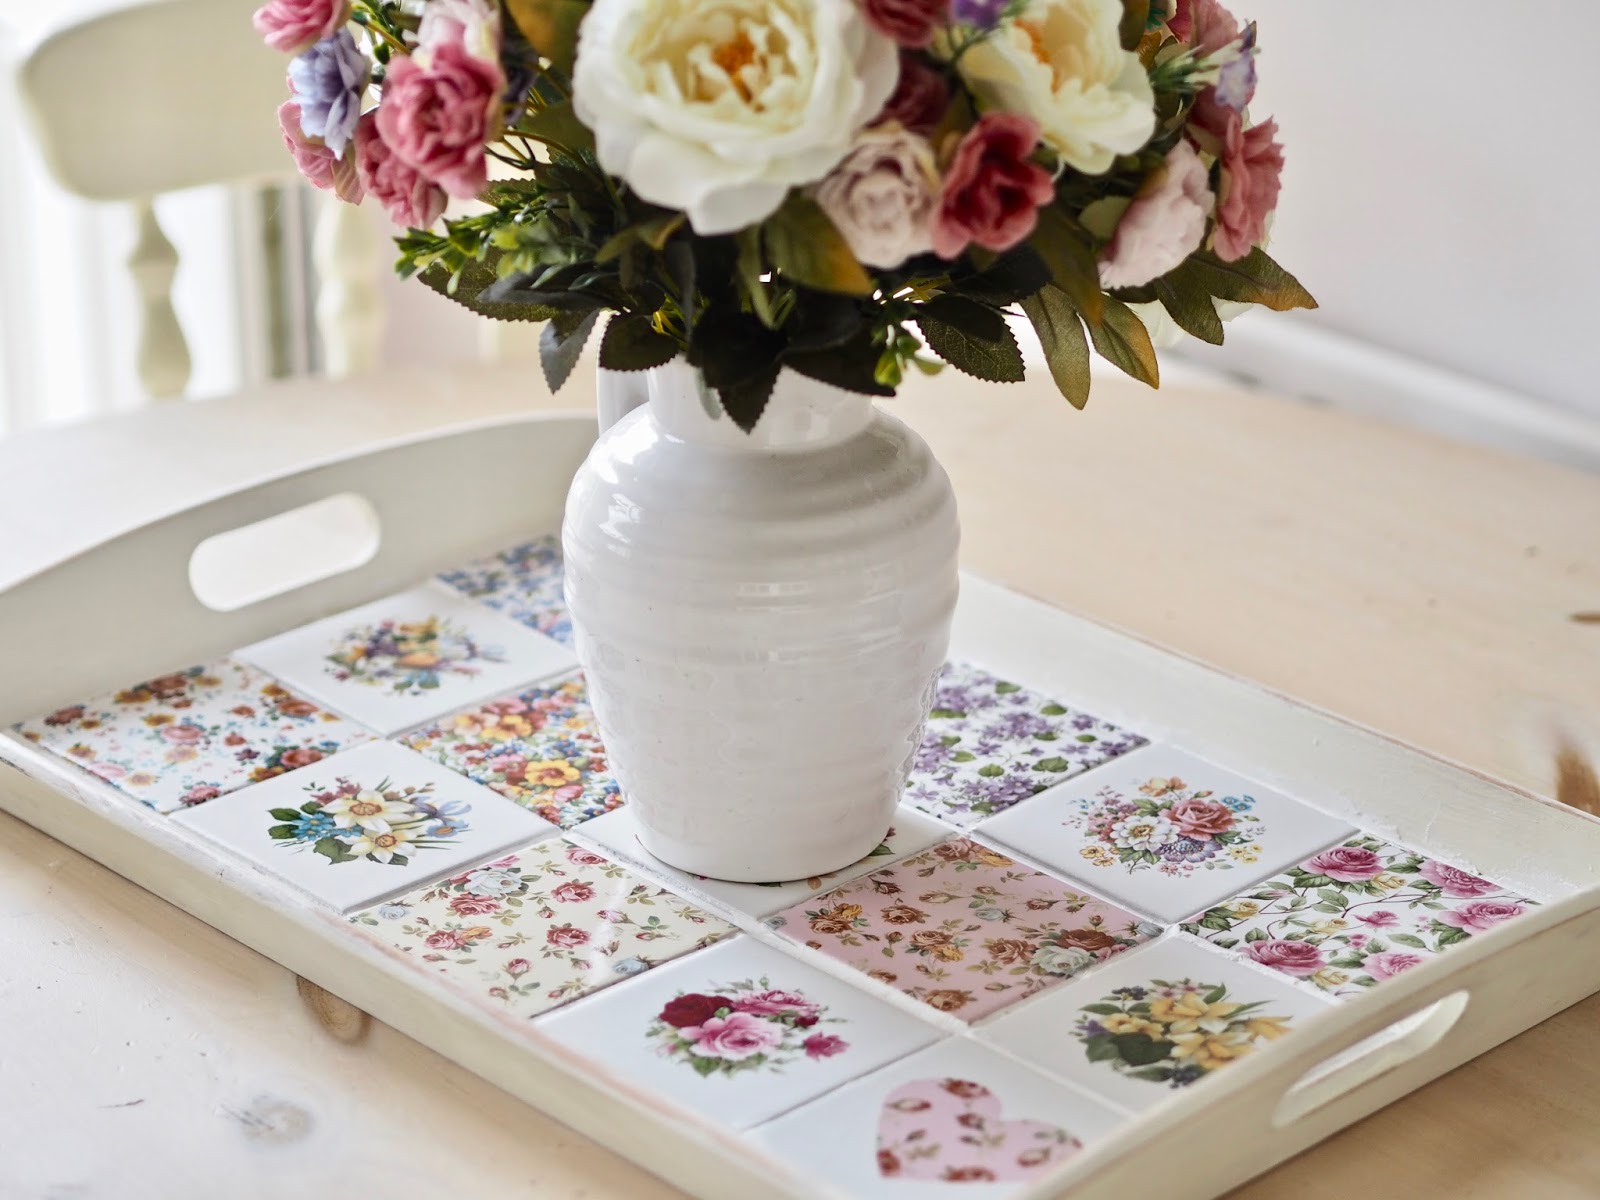
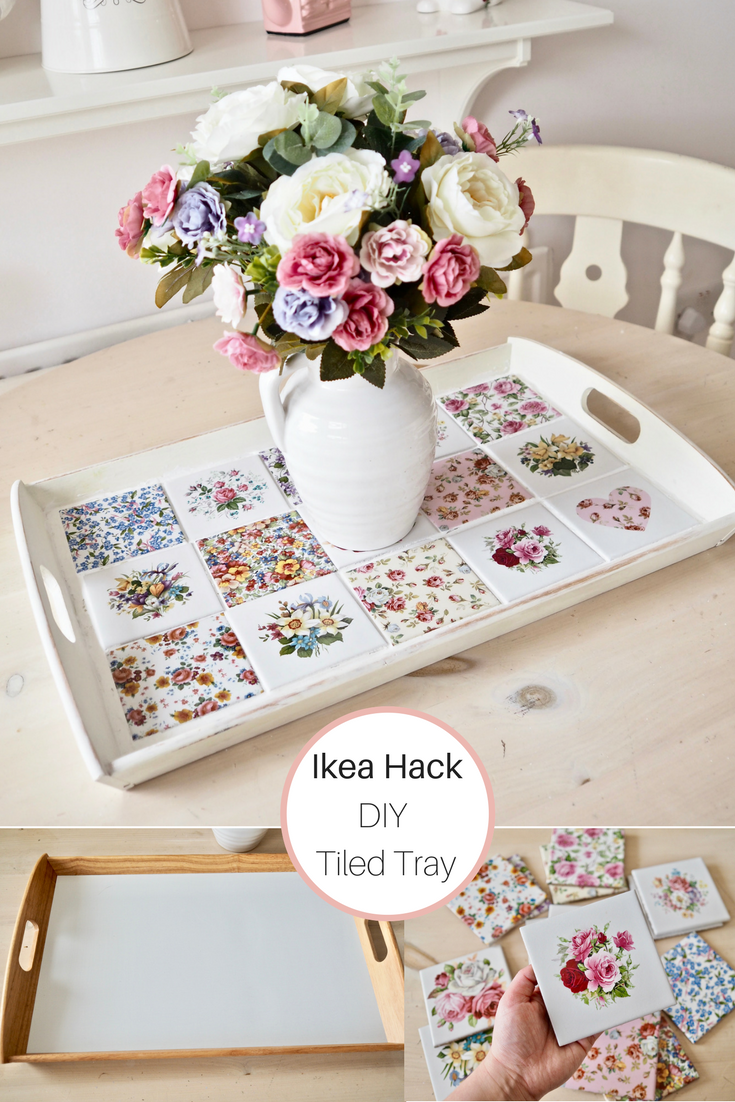
Easy DIY Tiled Tray
Hi everyone, Today I am turning a €5.25 Ikea Klack tray into something a little fancier. For ages, I have been wanting to use some pretty tiles in a DIY but I was unsure how to use them. I was scrolling through a magazine and I saw a tiled tray and that gave me the idea to make one for myself. This was my first time to use tiles in a project. It was also my first time to properly use grout which was messy and fun! It was nice to use new products that I have never used before and try something different. Just like my other projects on my blog, I have put together a Youtube video so you can watch to get a better idea of how I achieved the finished look. I will make sure to link it below.
What you will need
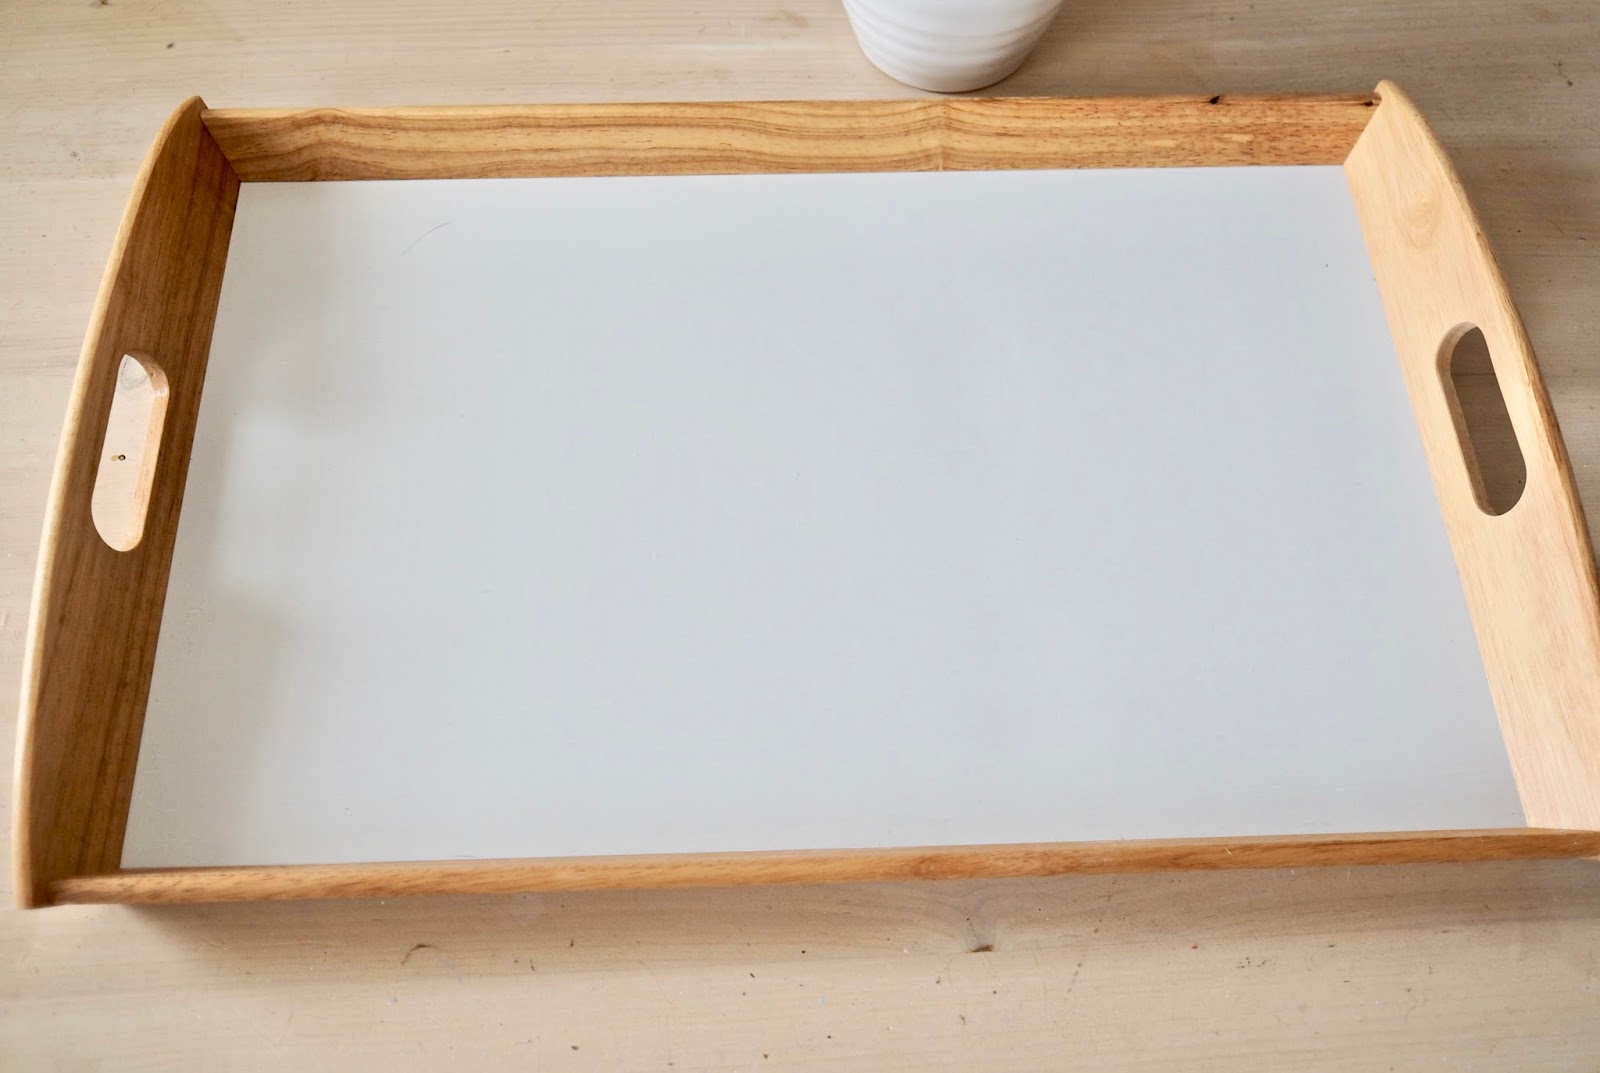
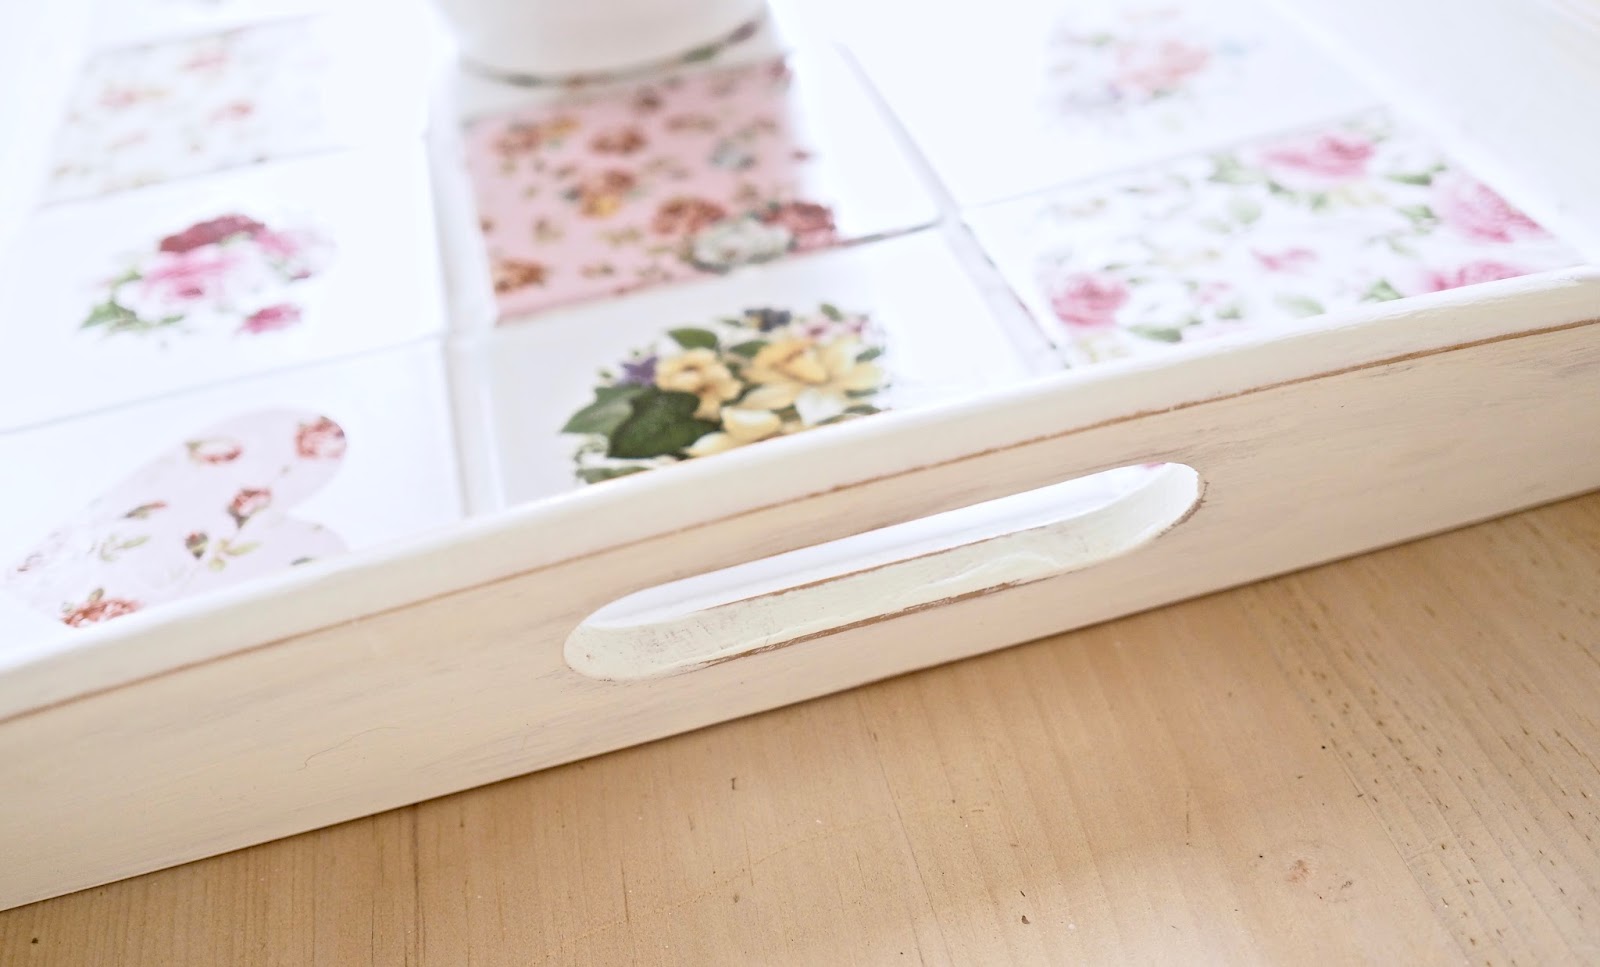
– Ikea Klack tray or any old tray that you might have lying around.
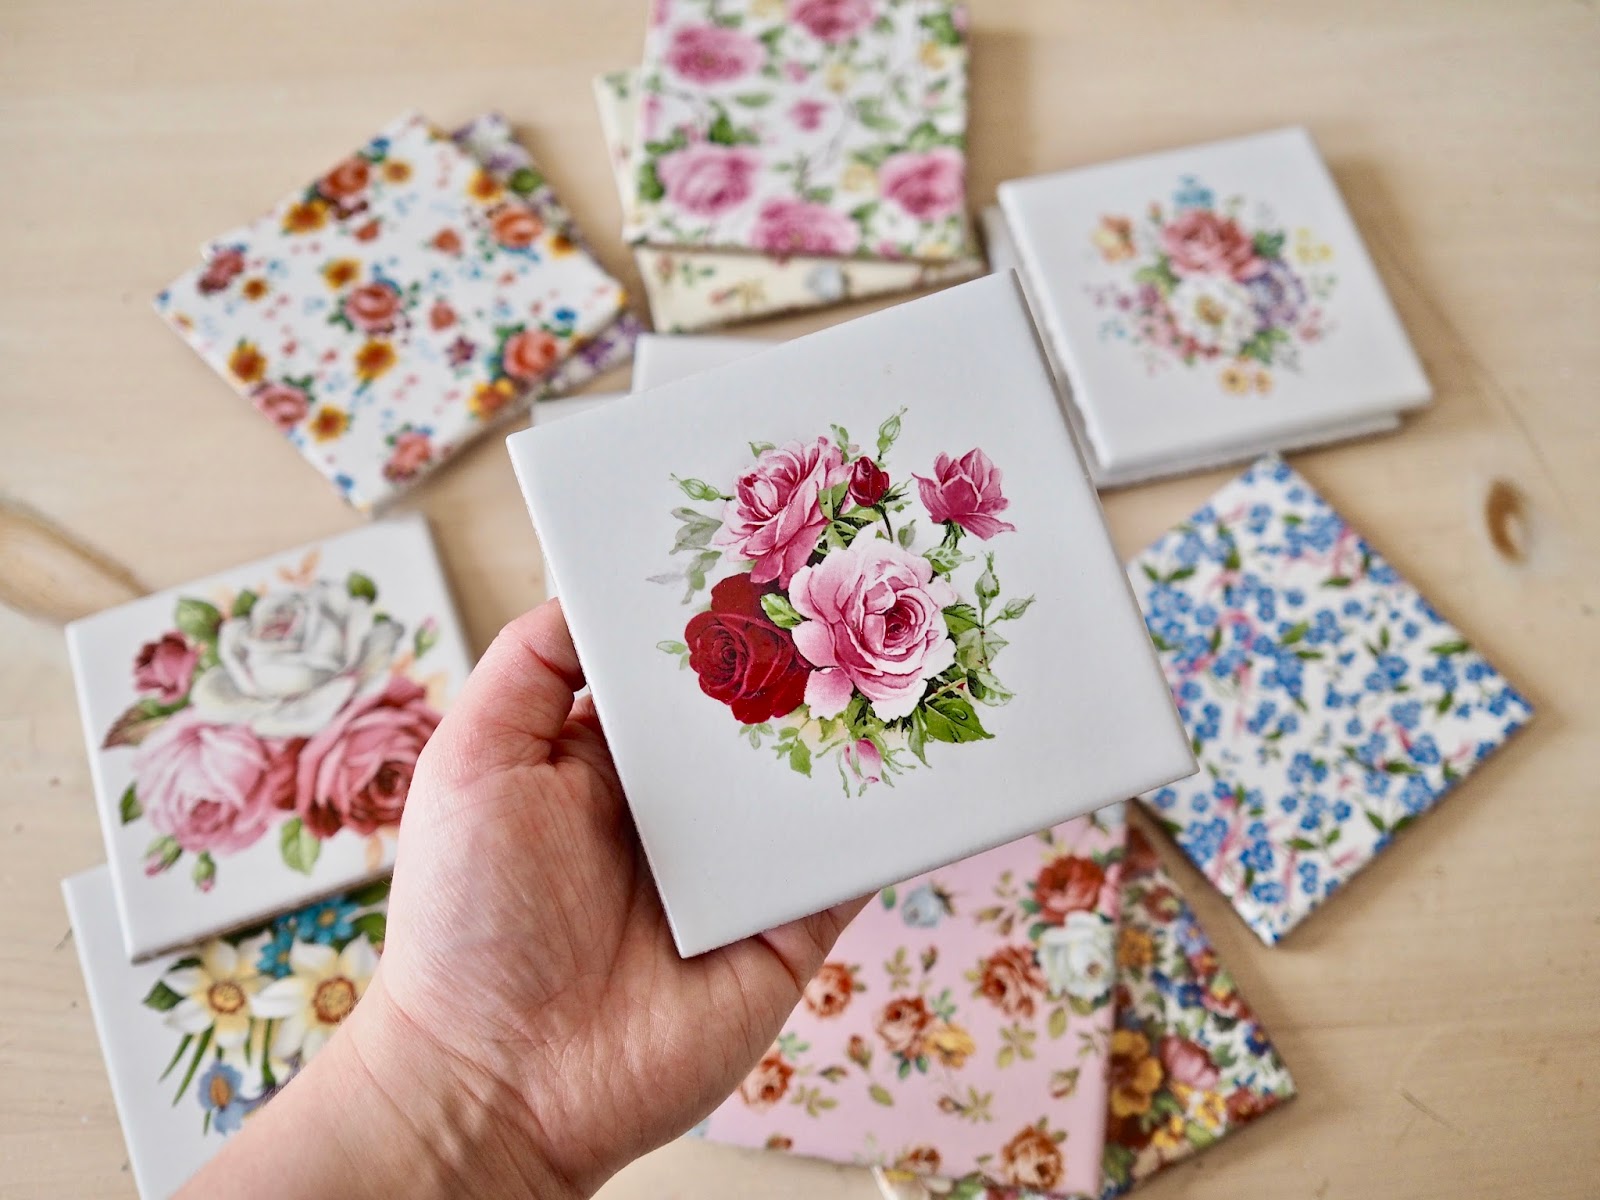
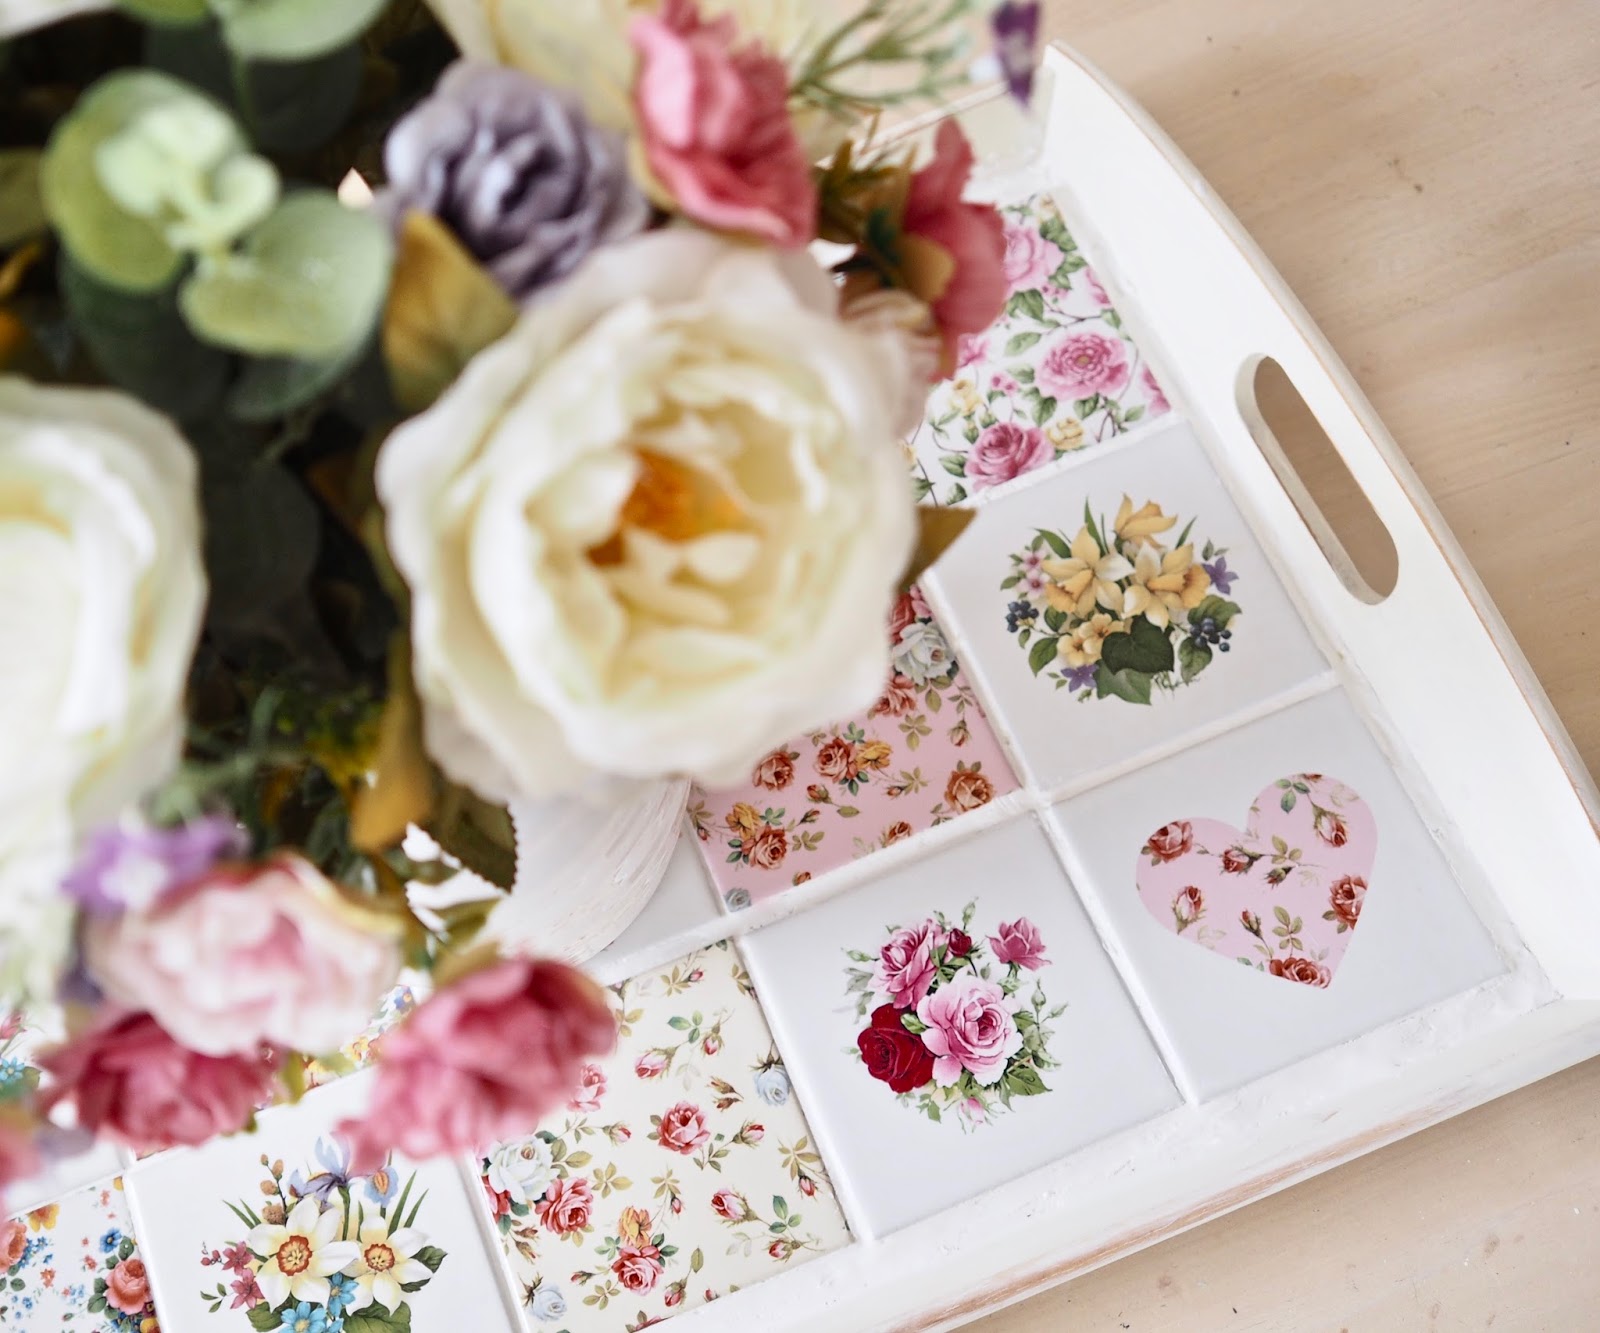
– Tiles, I bought my vintage style floral tiles from thedollytub.com and they were €3.50 each. I used 15 tiles on my tray.
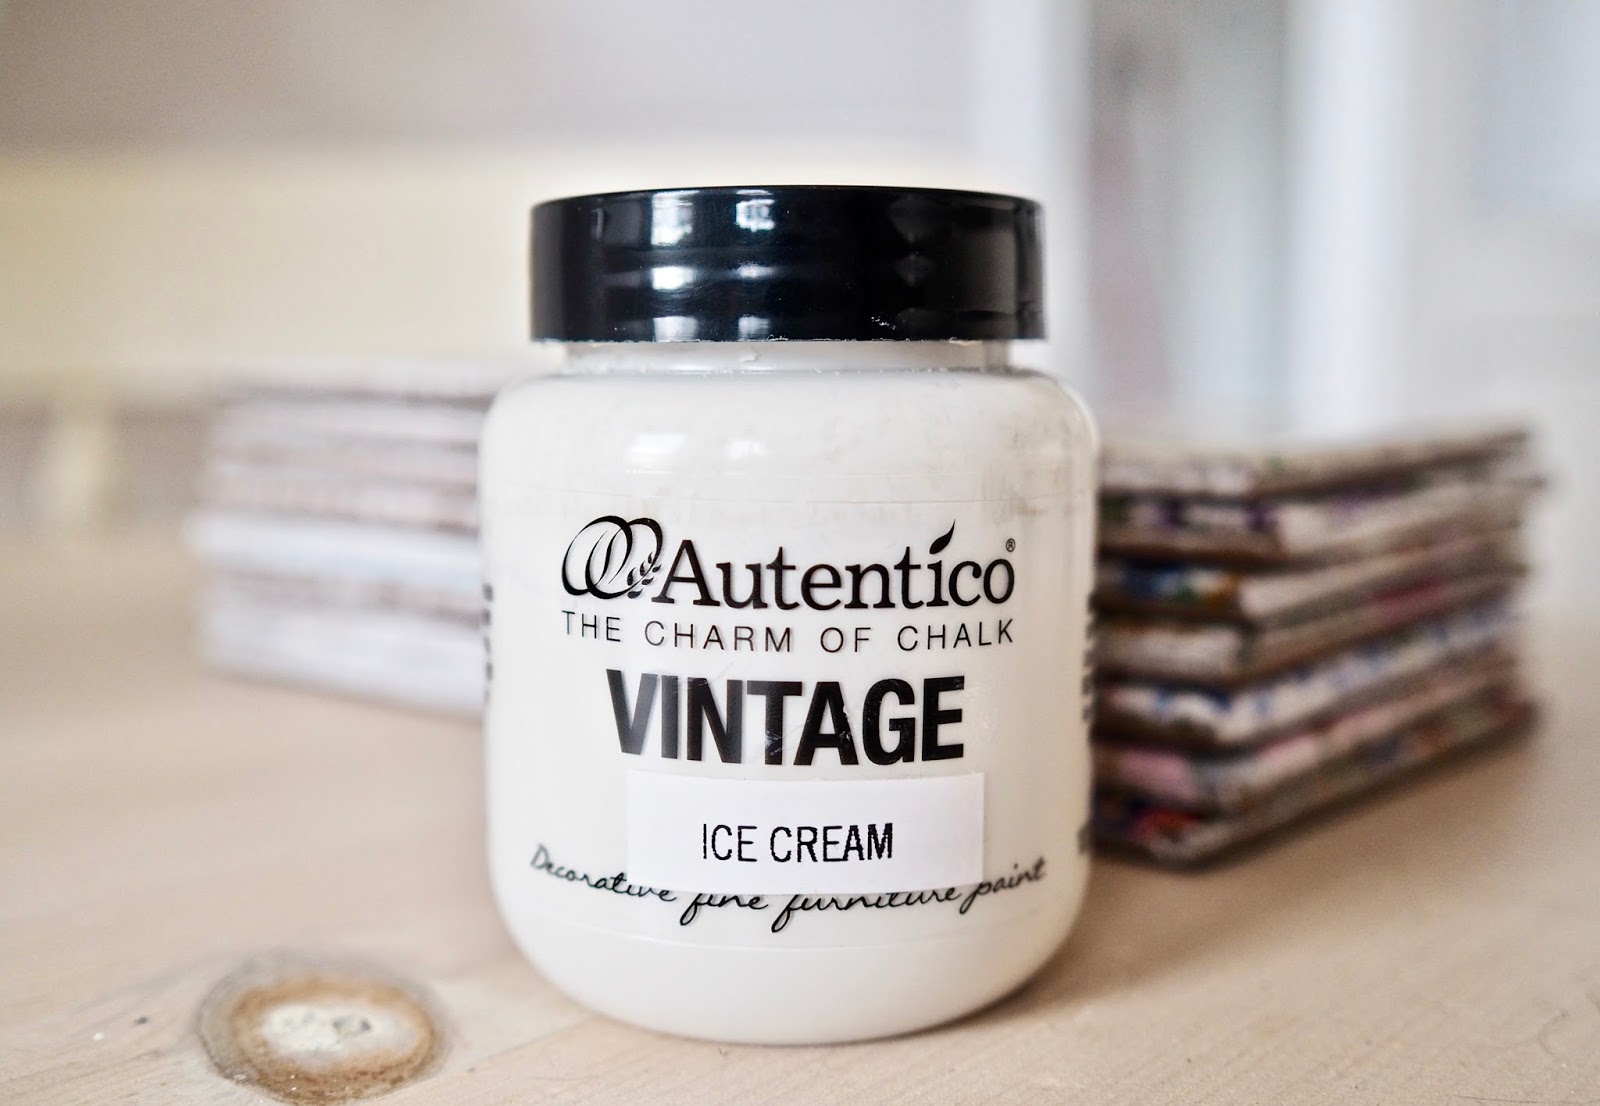
– A tester size pot of paint to paint your tray (optional) I used Autentico “Ice Cream” that I had left over from a previous project.
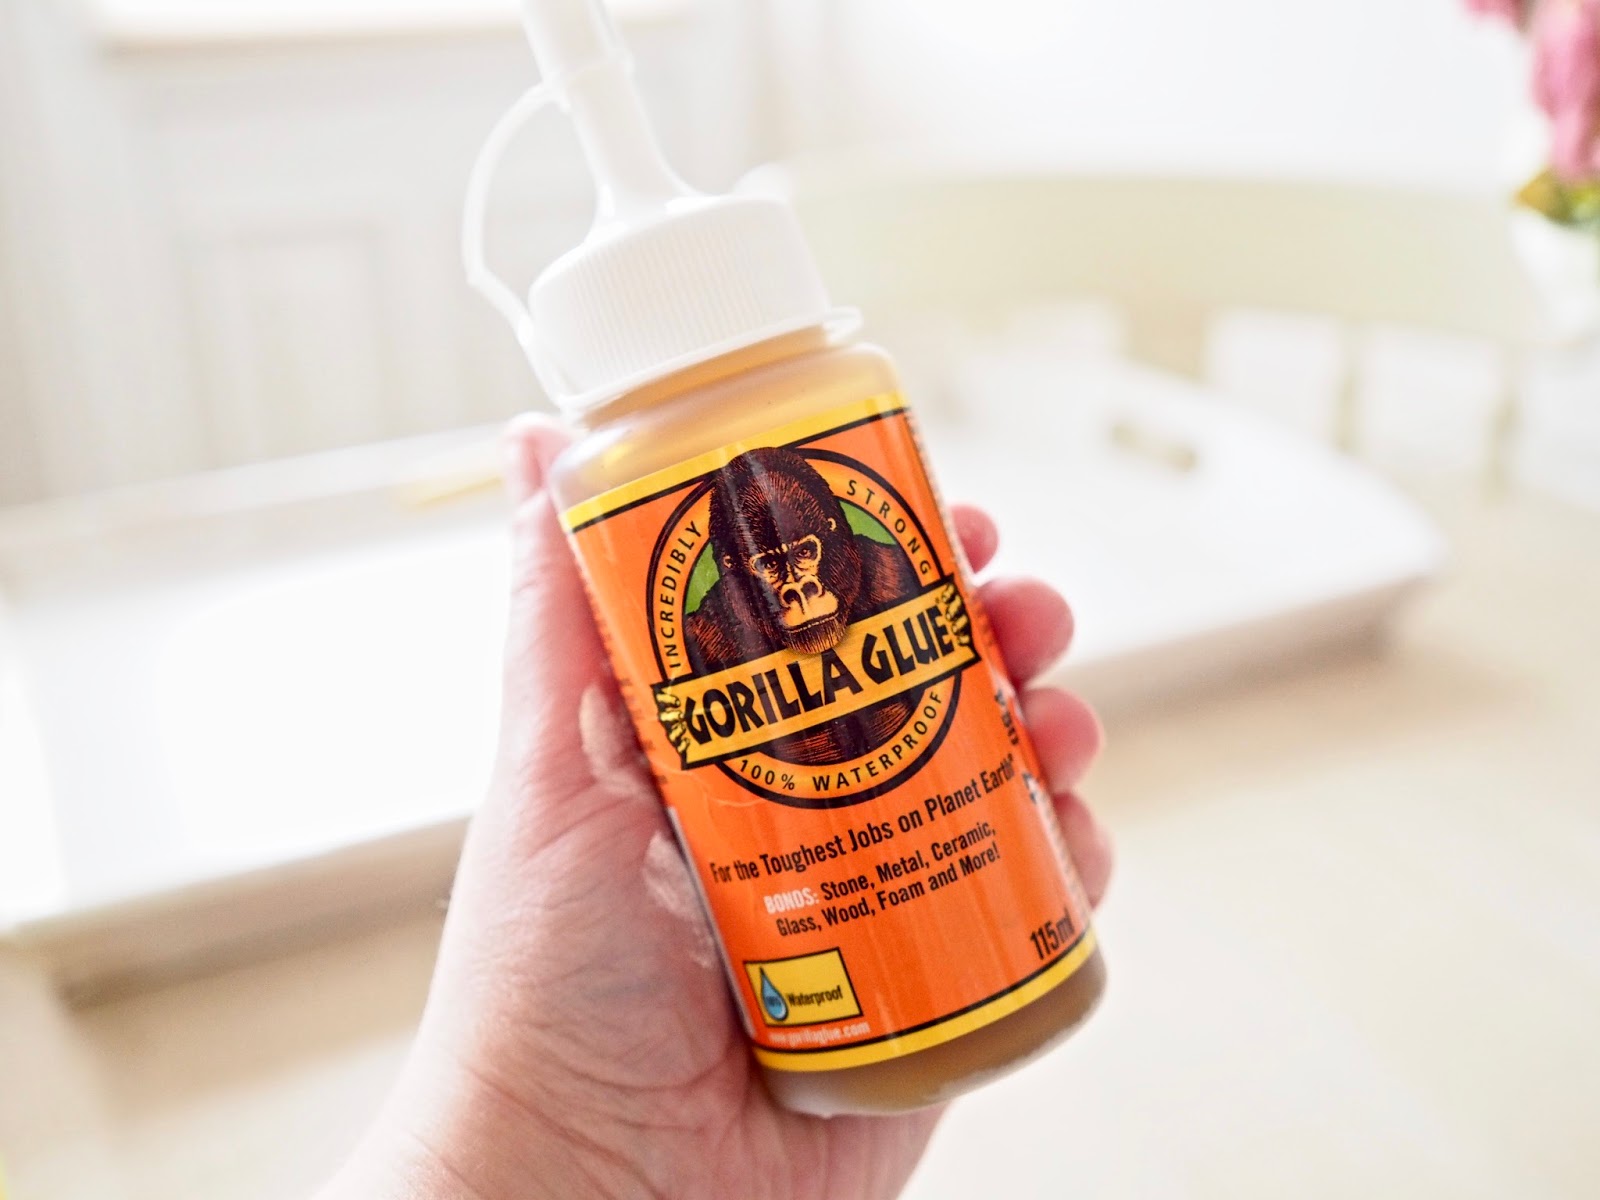
– Gorilla Glue or a strong glue to glue your tiles.
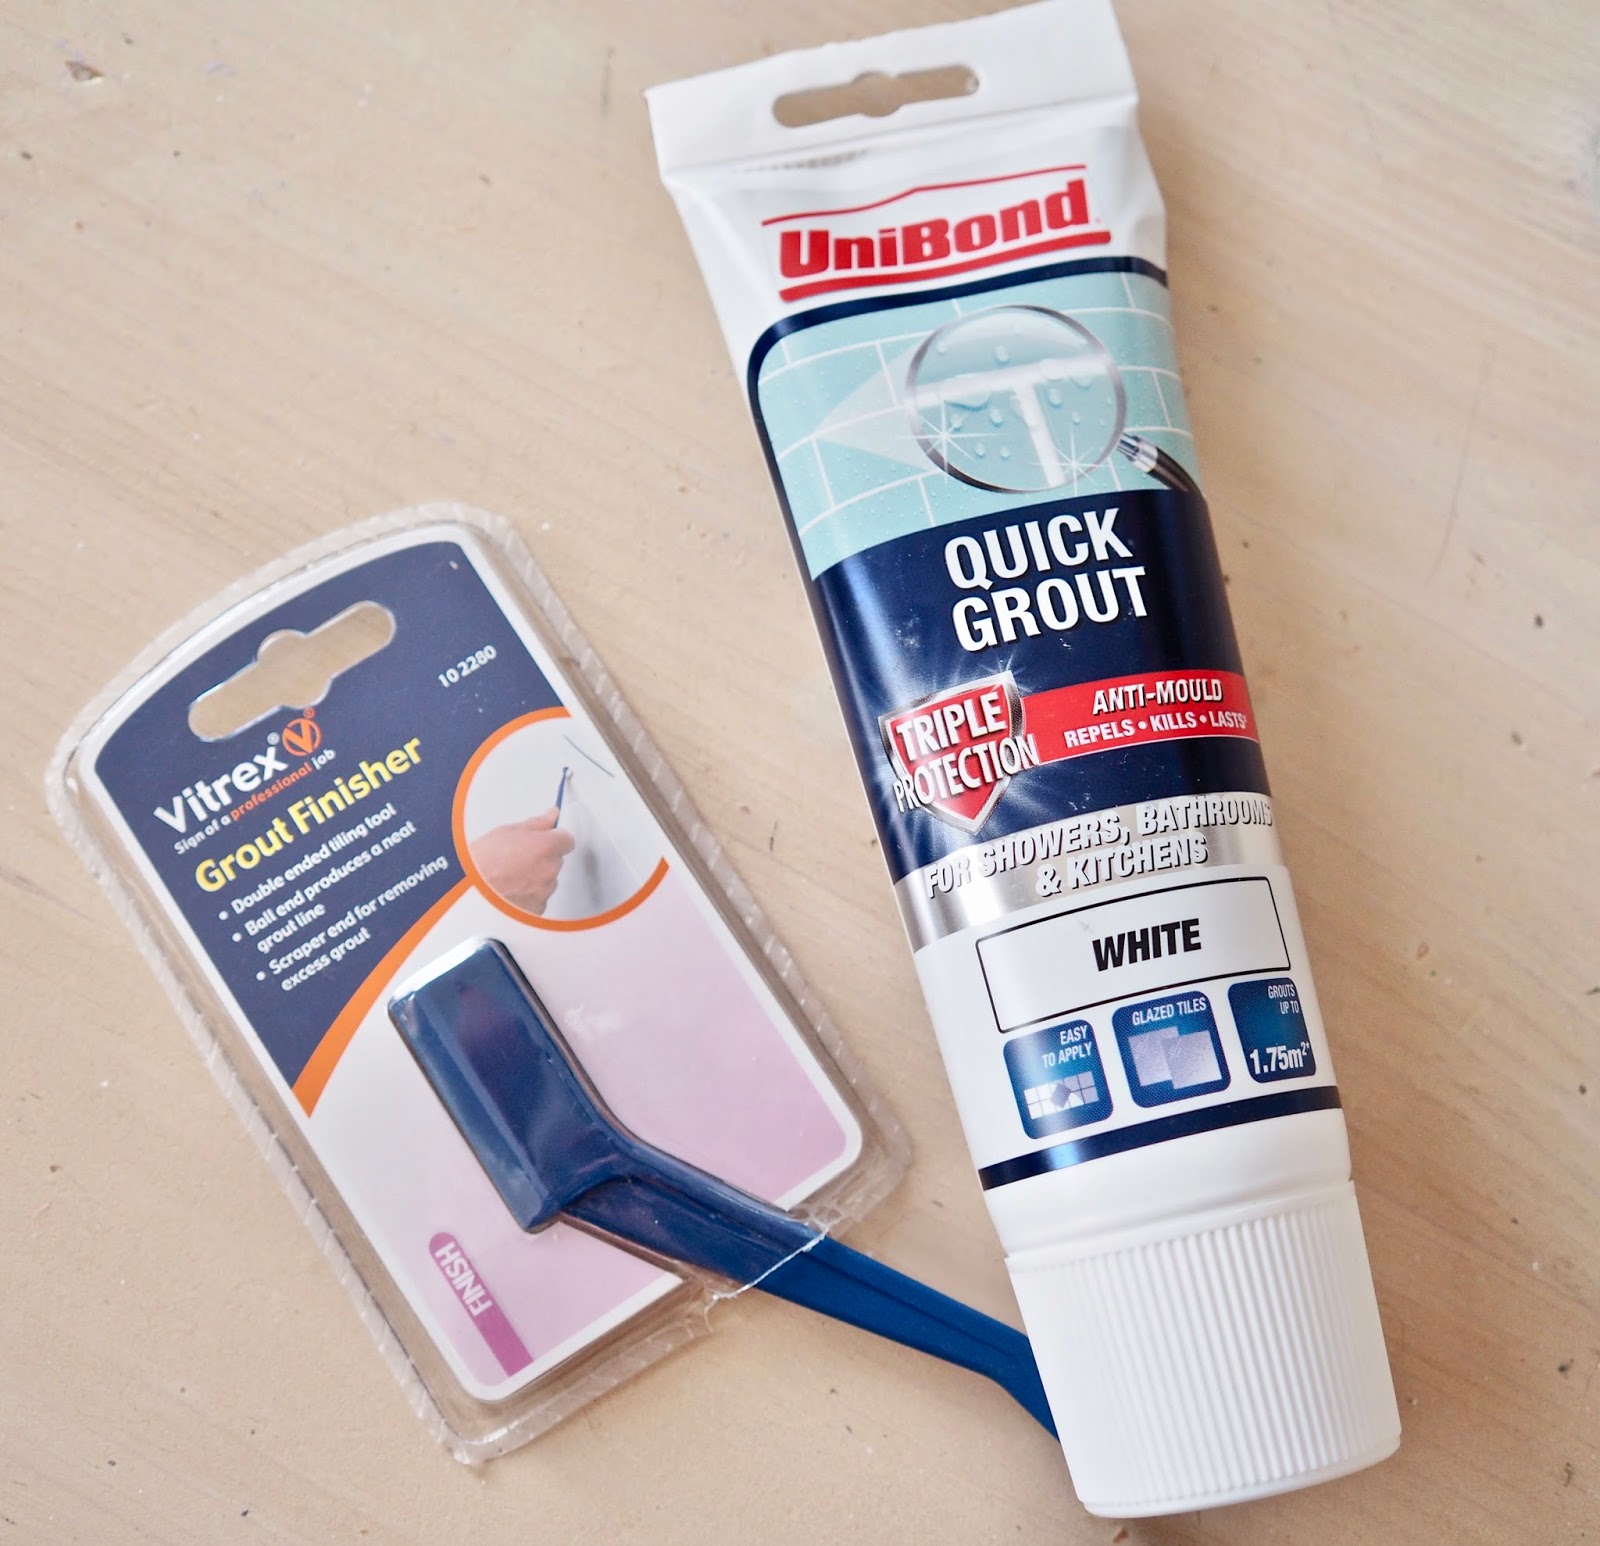
– Grout, I applied grout in between the gaps of the tiles. I used UniBond quick grout that I got in Woodies for €6.89.
– Grout smoothing tool, I found this useful but you could use an old credit card/gift card to smooth your grout.
– Cloth, make sure to have a clean cloth to use when wiping your grout off your tiles.
The most expensive part of my DIY was my tiles. You can shop around and get cheaper tiles or buy a tile cutter and cut some to your desired size. You might even have some tiles left over from other projects in your house.

Painting your piece
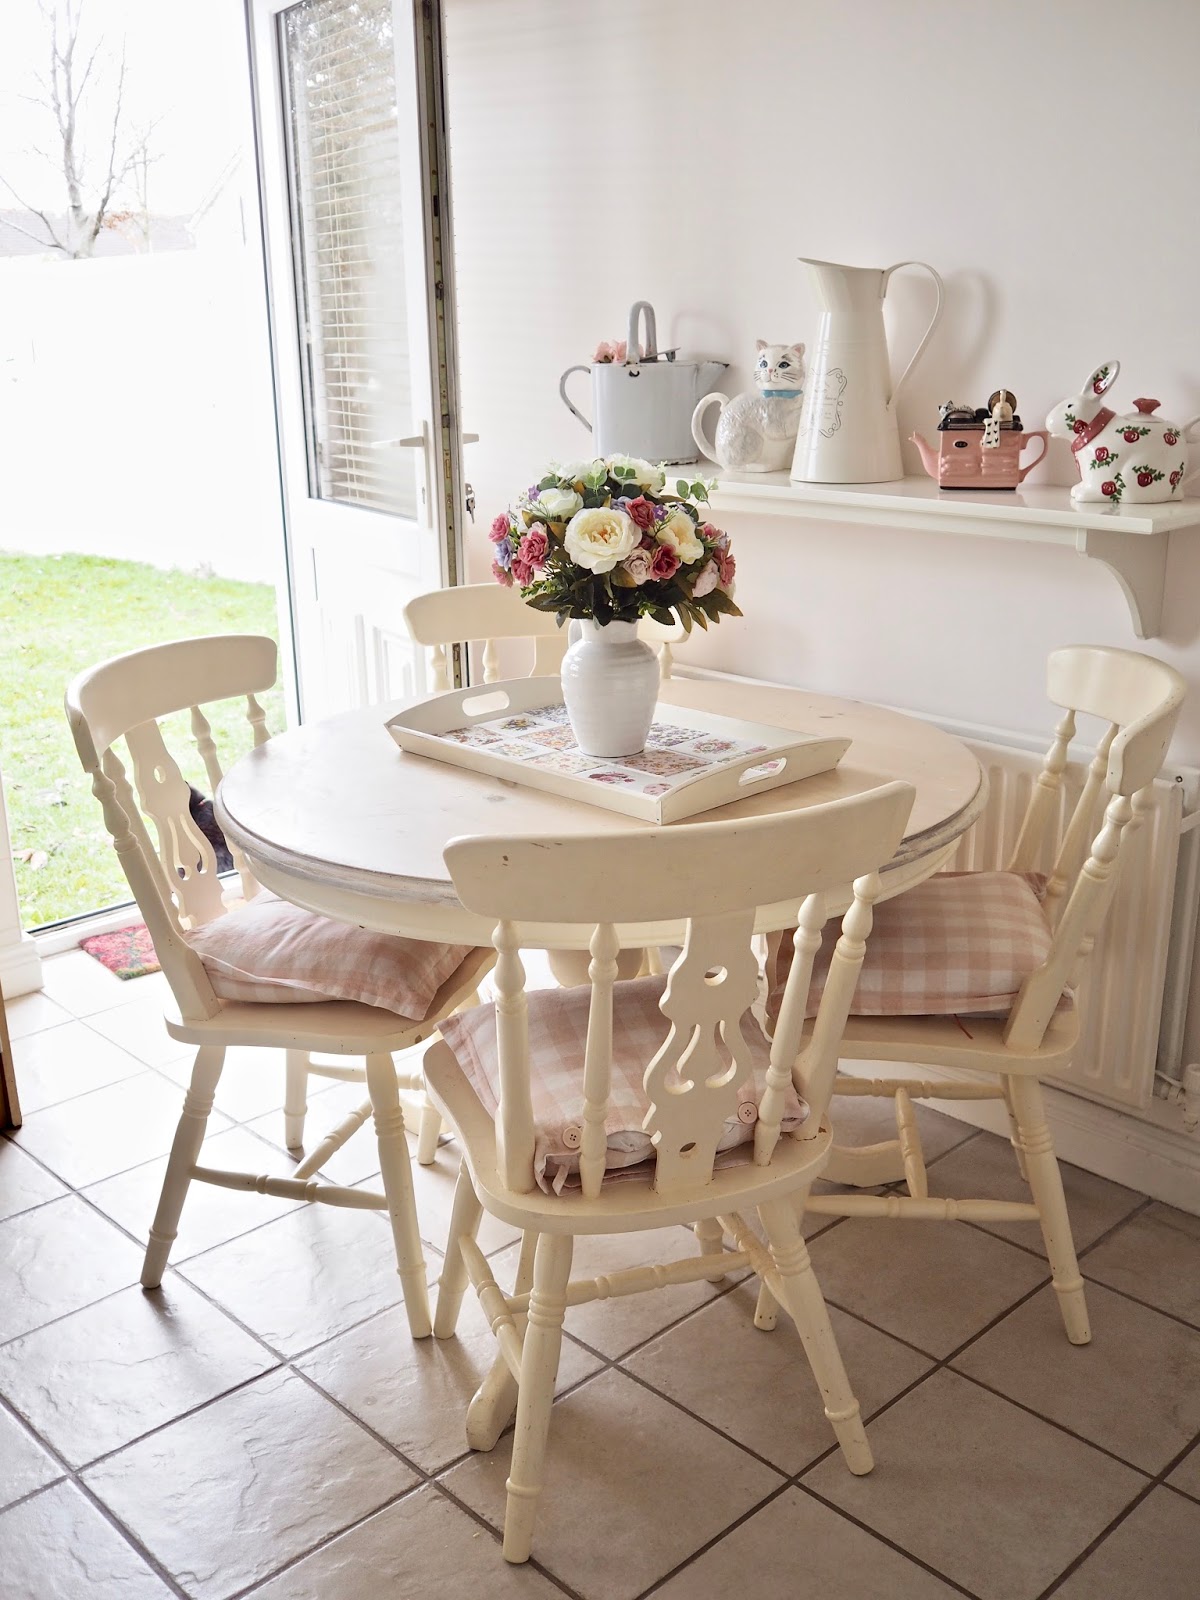
This is entirely optional, However, I painted my tray as I want to use it as a centrepiece on my kitchen table. I gave my tray two coats of Autentico vintage paint in the shade “Ice Cream”. I allowed it to fully dry and then I sealed the paint with some lacquer I had in my kit. You can also seal it with wax. Just make sure if you use a chalk paint that you seal it. As it is a tray, it needs to be wipeable and easy to clean, if you skip sealing your paint it will rub off when you are cleaning it. I also lightly distressed my tray before sealing it to give it a chippy cottage style look.
Adding your tiles
Before I ordered my tiles I roughly worked out how many tiles I would need. For the dimensions of the Ikea Klack tray, I worked out that I needed 15 tiles. The floral tiles I bought are 10cm x 10cm. This left enough room in between the tiles to add some grout.
I cheated a little and I used some Gorilla glue to glue down the tiles. I had some Gorilla glue left over from a previous project so I decided to use it to stick my tiles to the tray. Gorilla glue is really strong, I had used it to glue legs onto my china cabinet in a previous DIY post so I knew it would be great for sticking the tiles to the tray. Make sure to only use a small amount of gorilla glue as it expands whilst it is drying and can leak out of the sides of the tiles. As my tiles were drying the glue expanded and caused my tiles to move, this is why they look a little wonky but I think it adds to the handmade charm. You need to allow your glue to fully dry before your grout.
A little tip! As you have to allow for drying time between paints, glue and grout, I found it better to do this project over the course of three evenings. I did an hour on my project each evening. Take your time with this as it is not a project you can achieve in one day. Always follow the drying time and instructions on the back of the pot.
Adding the Grout
This was my first time to ever use grout and I have to say, I found it messy but fun at the same time. I used a whole tub of Unibond quick grout on this tray.
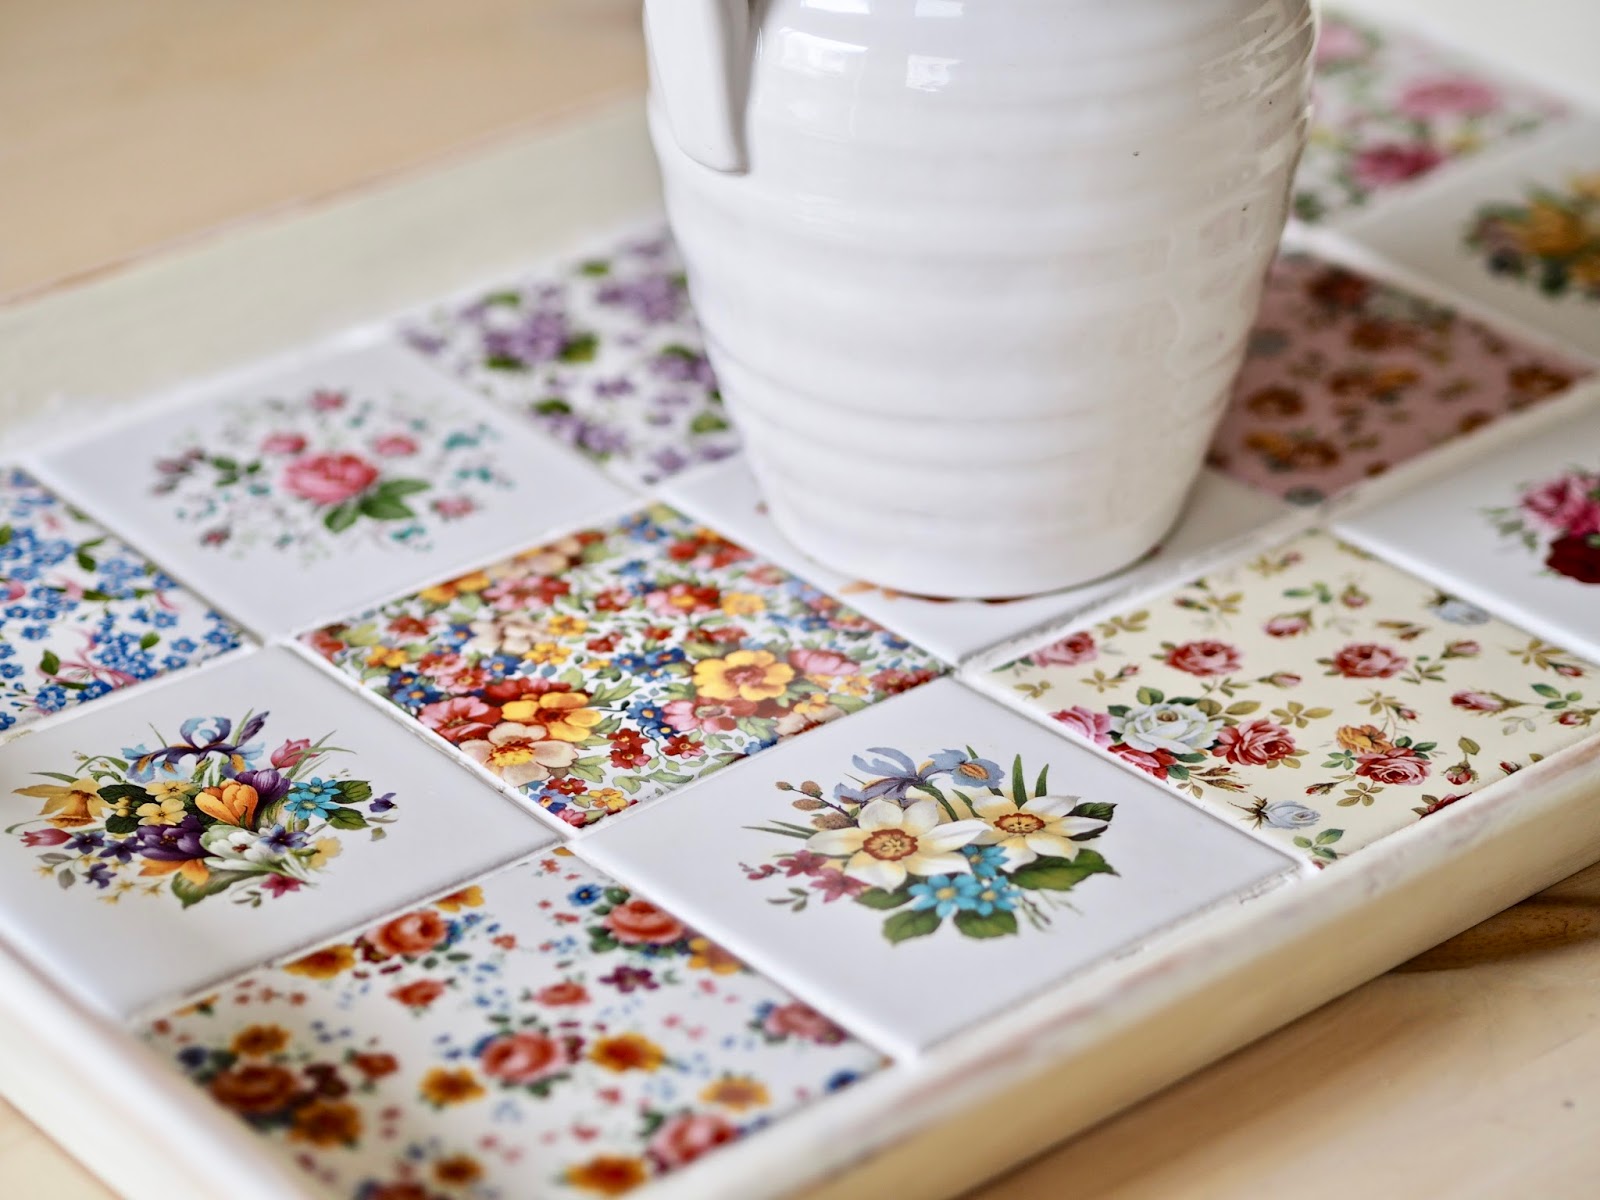
Starting in one corner I applied the grout in between the cracks. I then smoothed the grout using my grout finisher tool. I then wiped away excess grout using a damp cloth. I took my time grouting and it took me an hour to grout the top. I did it section by section and made sure to keep smoothing and wiping as I was grouting in between the tiles. Don’t worry too much about getting the grout perfectly smooth. I found getting the edges smooth was harder as I had a larger gap. I got it as smooth as I could and once it had dried and hardened I was able to lightly sand any bumps.
According to the instructions on the back of the tube, it said to allow 48 hours to fully dry, However, when I woke up the next morning it had dried hard. I allowed it another day to dry and then I polished my tiles and removed any excess grout that had gotten onto my tiles. If you want to read more on how to grout tiles then check out this blog post as I found it really useful when researching my project.

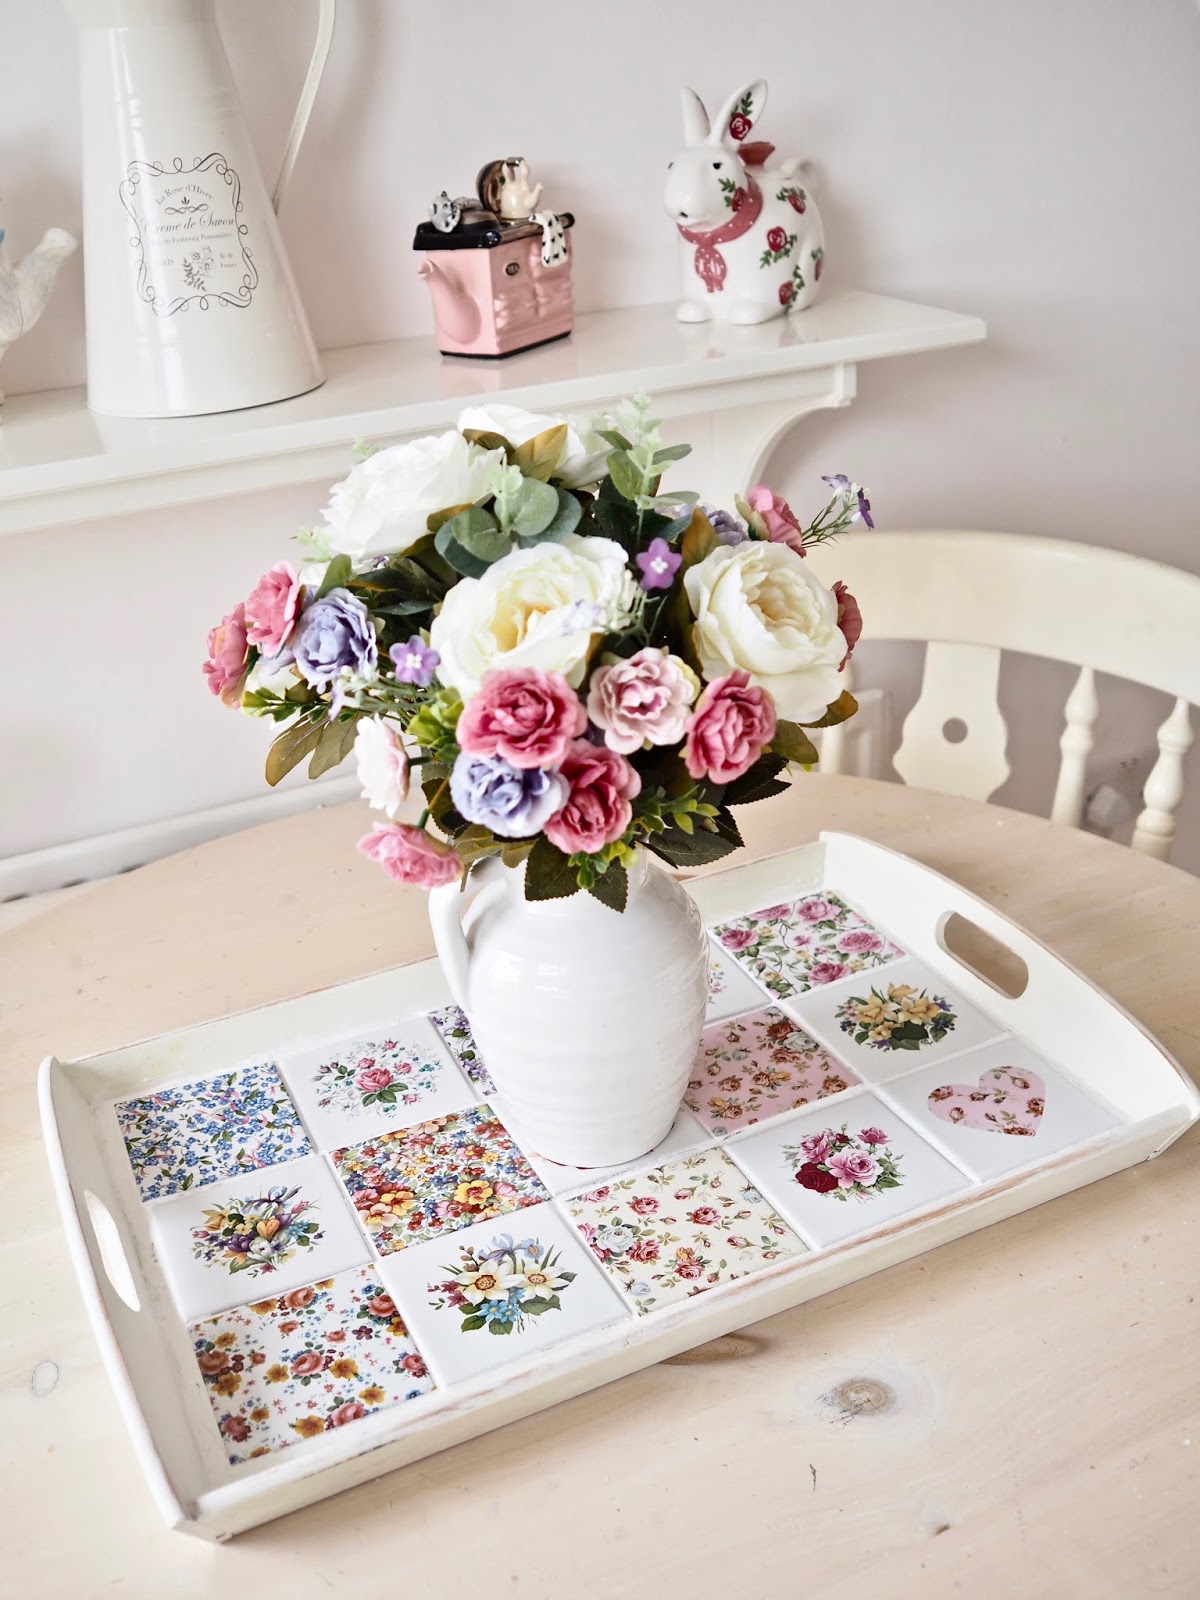
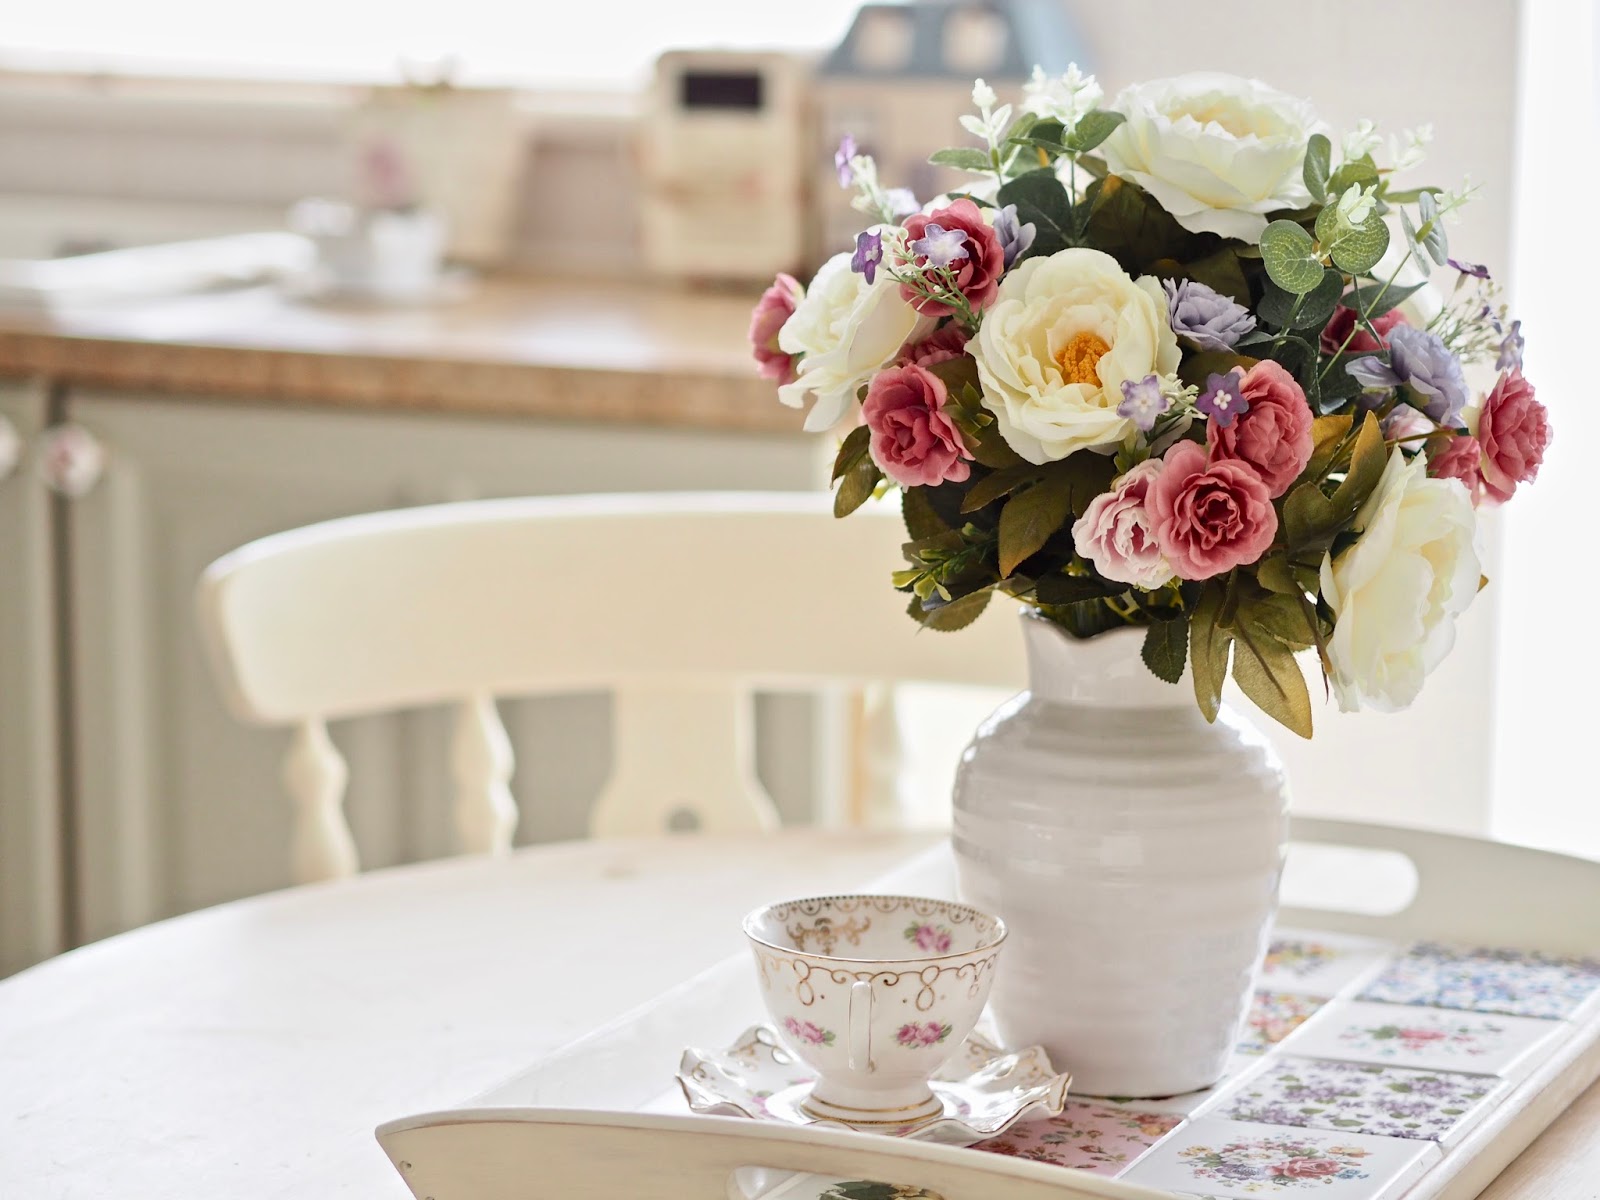
Once you allow your piece to fully dry you can then polish your tiles and remove any excess grout that may have dried to your tiles. You can then have fun and style up your new tray in your house. I am going to keep mine in my kitchen and use it as a centrepiece to brighten up my kitchen table. It would also be a nice tray to treat someone to breakfast in bed or if you were hosting a party.

I hope you liked today’s post! I had so much fun making it and using something new for the first time. Let me know if you give it a go and don’t forget to tag me in your projects over on Instagram. You can check out the tray in my Youtube video below.
Thanks so much for reading,
Chat soon,
Catherine.
Please Pin the image below to your Pinterest boards
SaveSave


