
DIY spray paint tutorial.
Transforming random household objects and giving them a new lease of life.
Today I had tons of fun using some spray paint to up cycle some items and re use them in the home.
I had gotten some inspiration off Pinterest so I headed to my local DIY shop to pick up some spray paint. I went to my local Woodies and picked up the Rustoleum metallic spray paint and surface primer.
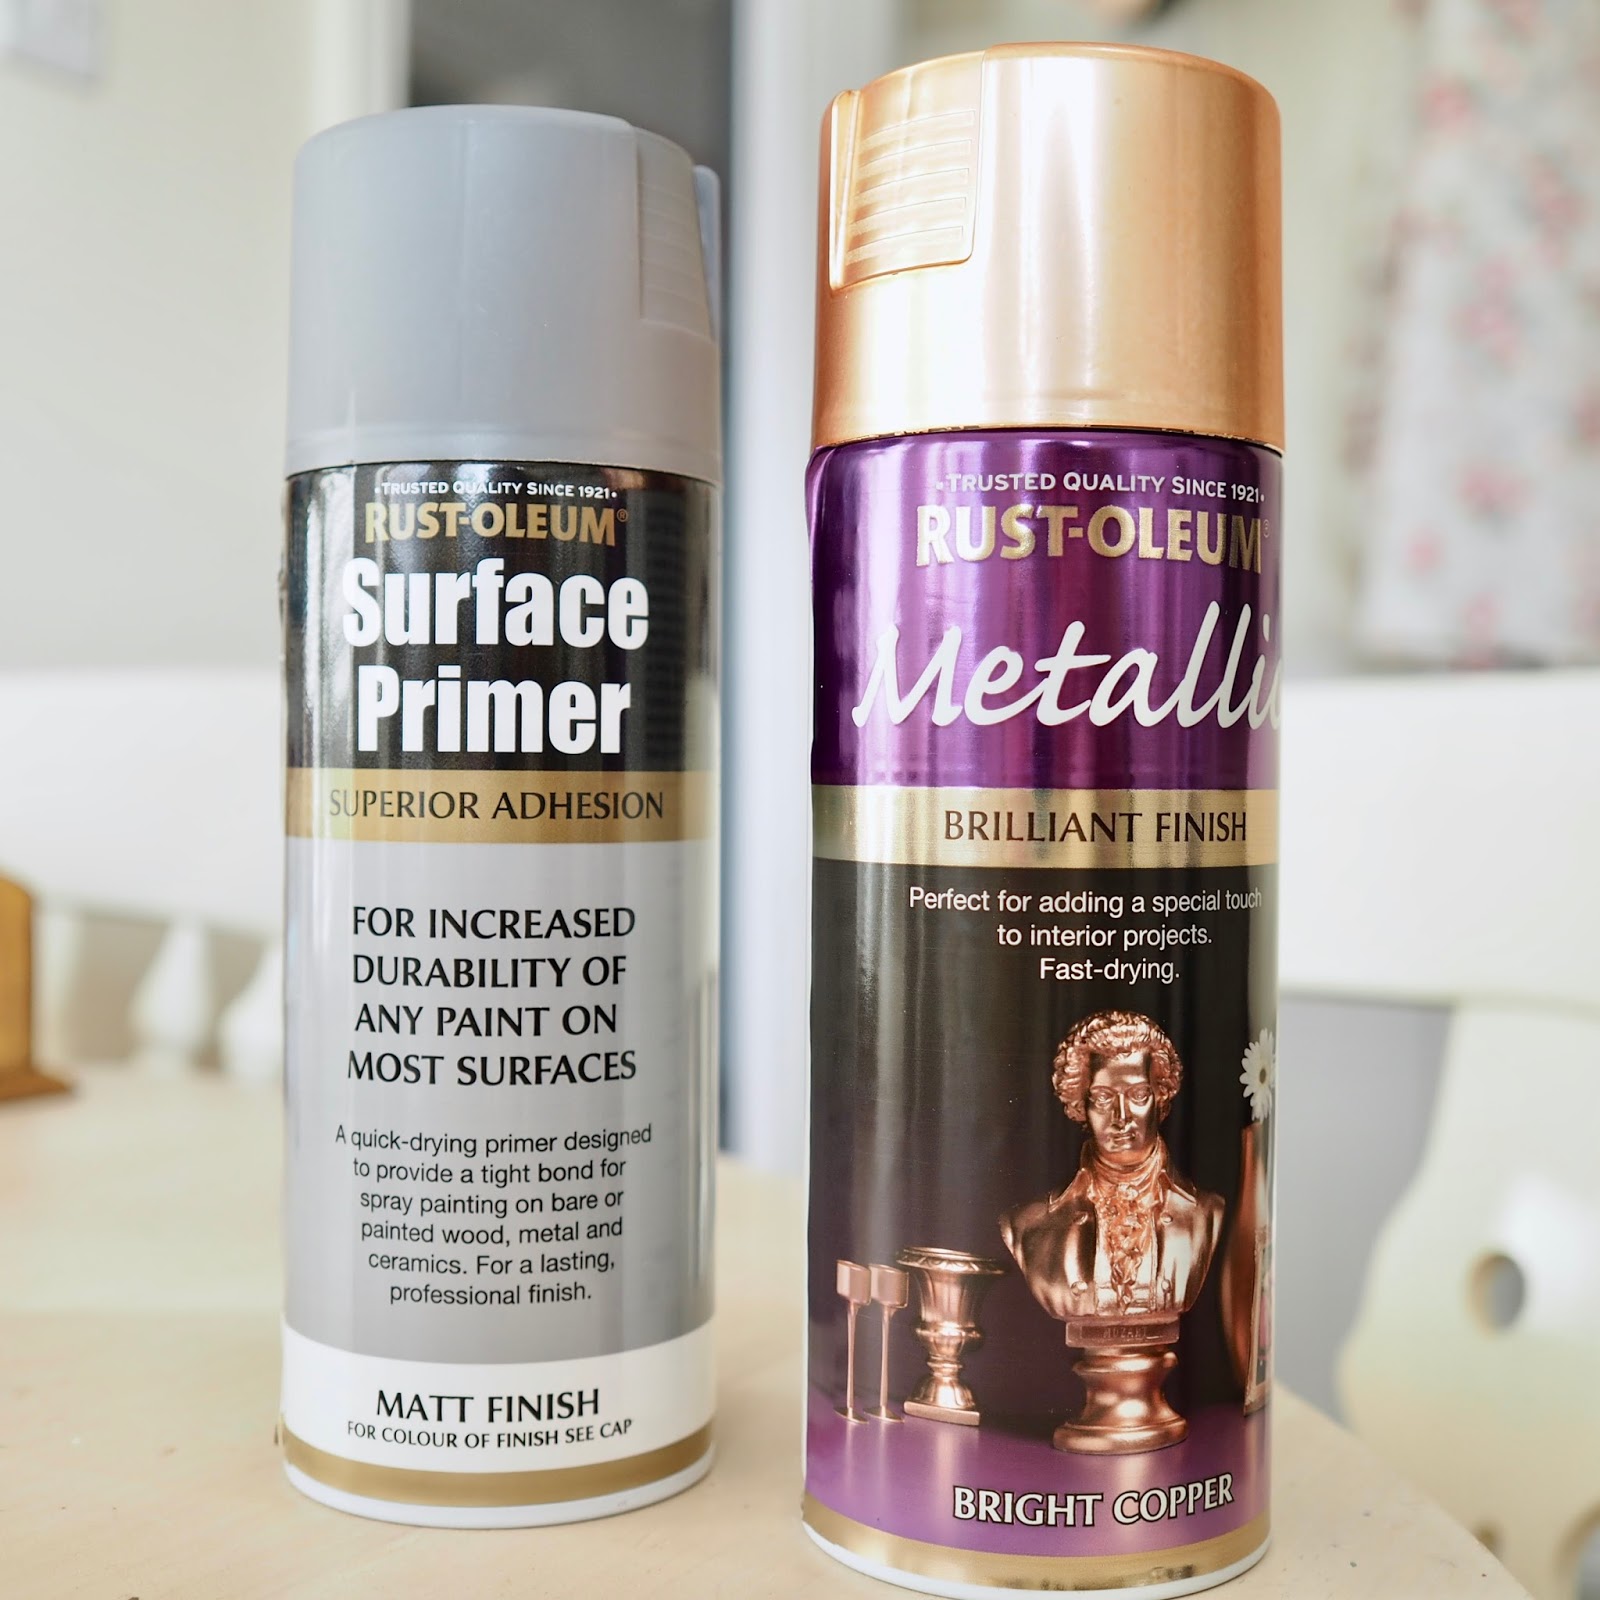
You can pick up spray paint in the pound shops like Dealz and Mr price but I wanted a metallic shade so I went with the Rustoleum brand. There was tons of colours and shades and I really wanted a rose gold shade but the nearest I could get was a bright copper shade. I actually think this colour is even nicer after using it.
Picking the items.
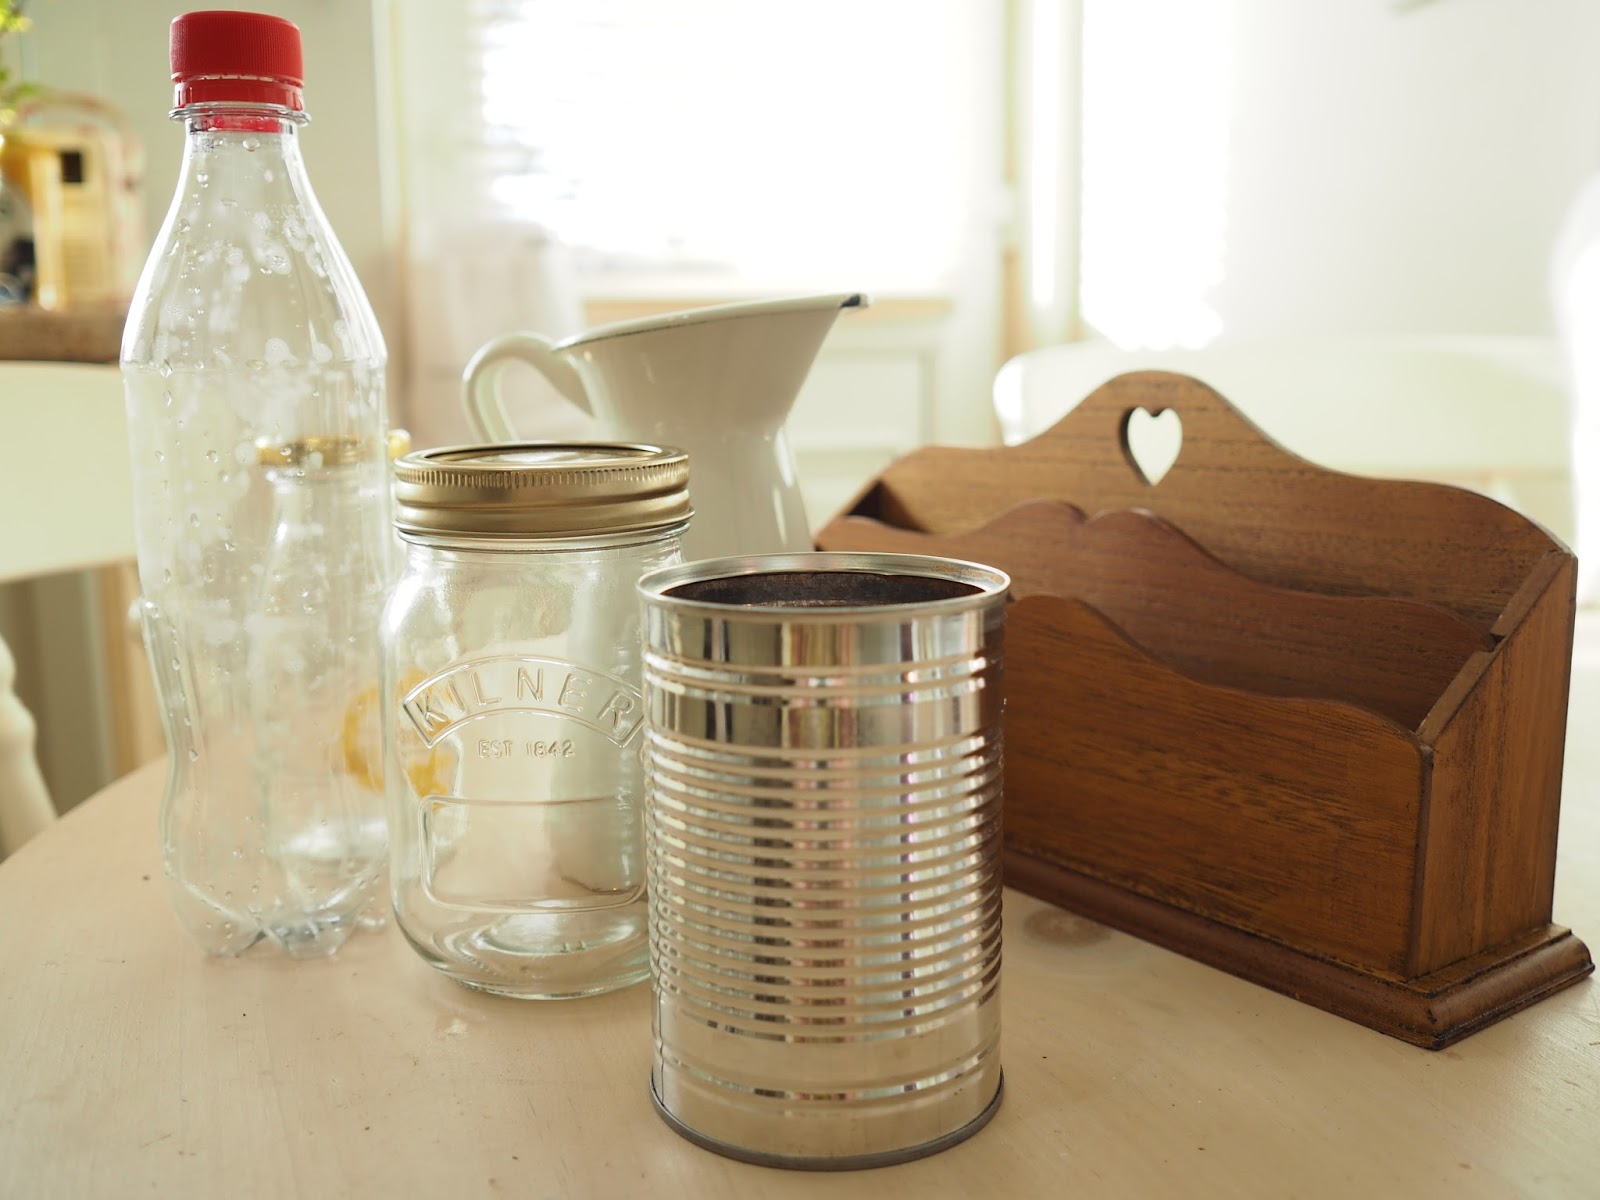
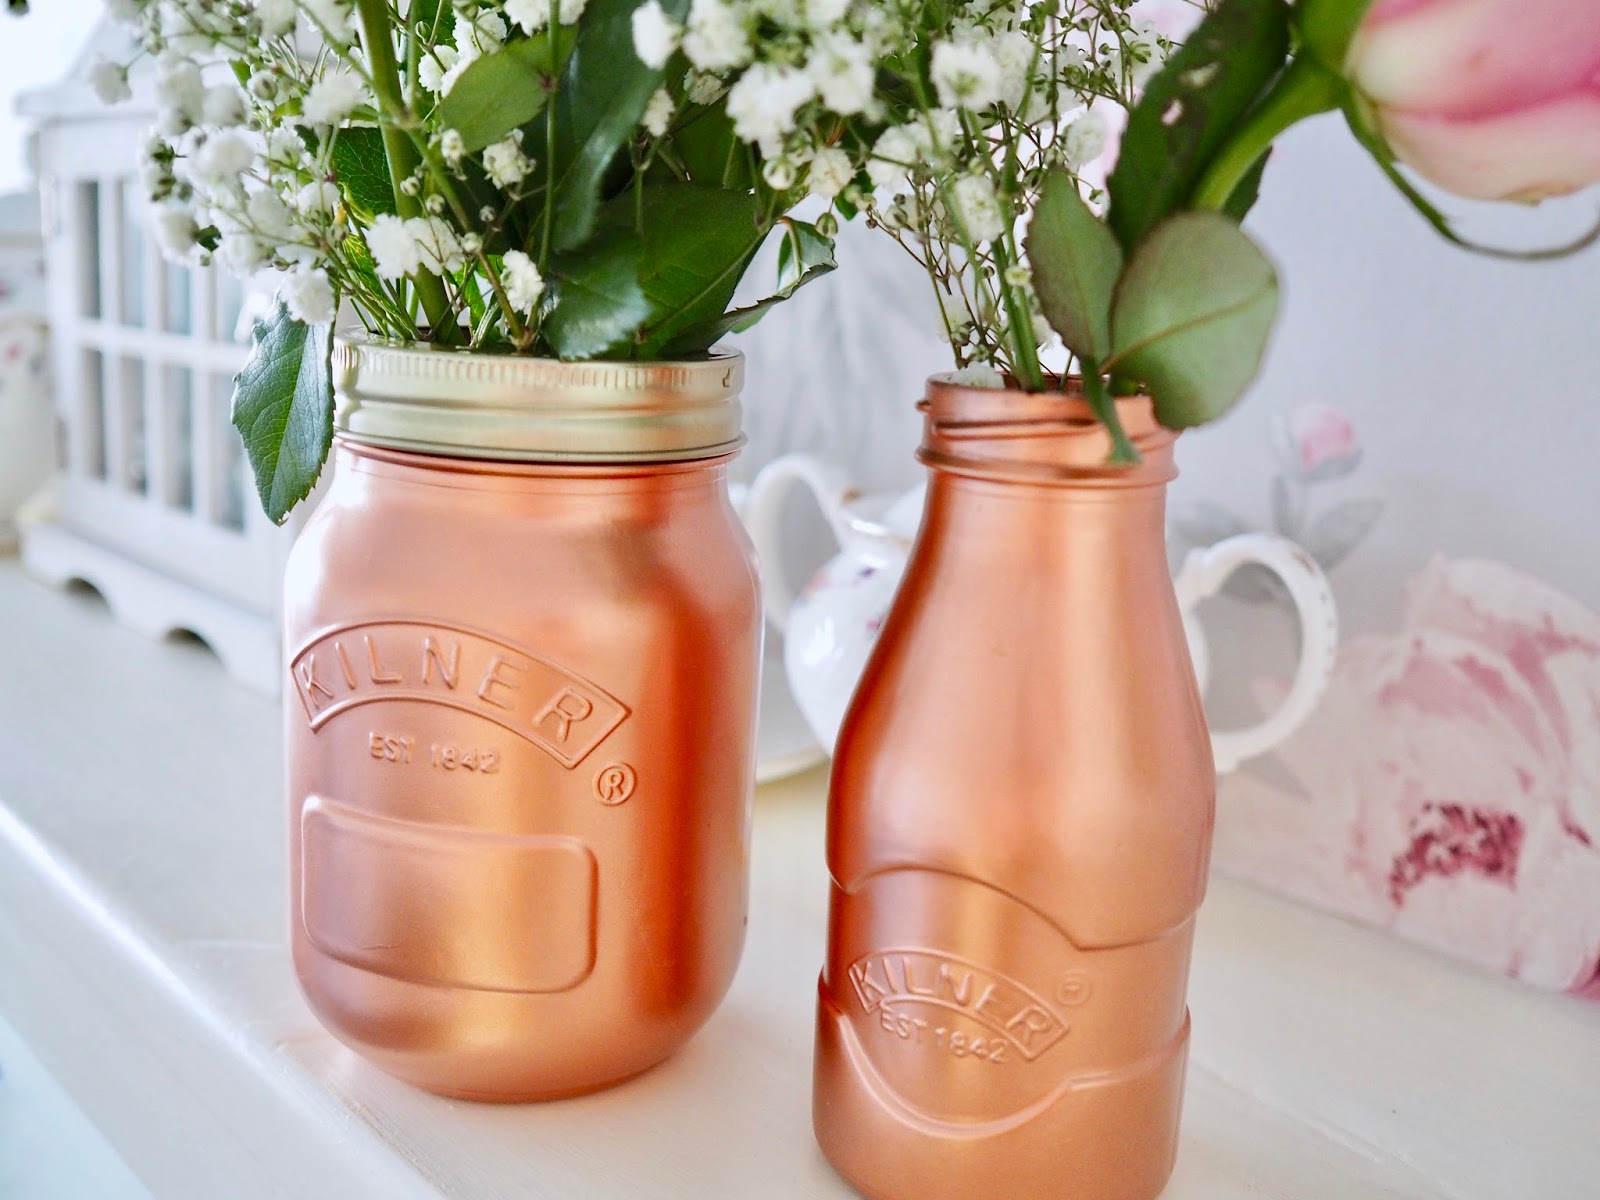
The most fun was had when picking the items to spray paint. The paint said it can be used on ceramic, plastic and wood. I did however try it on glass also and it worked a treat.
It did say on the can to use a primer so I picked up the surface primer in the shade grey matt.
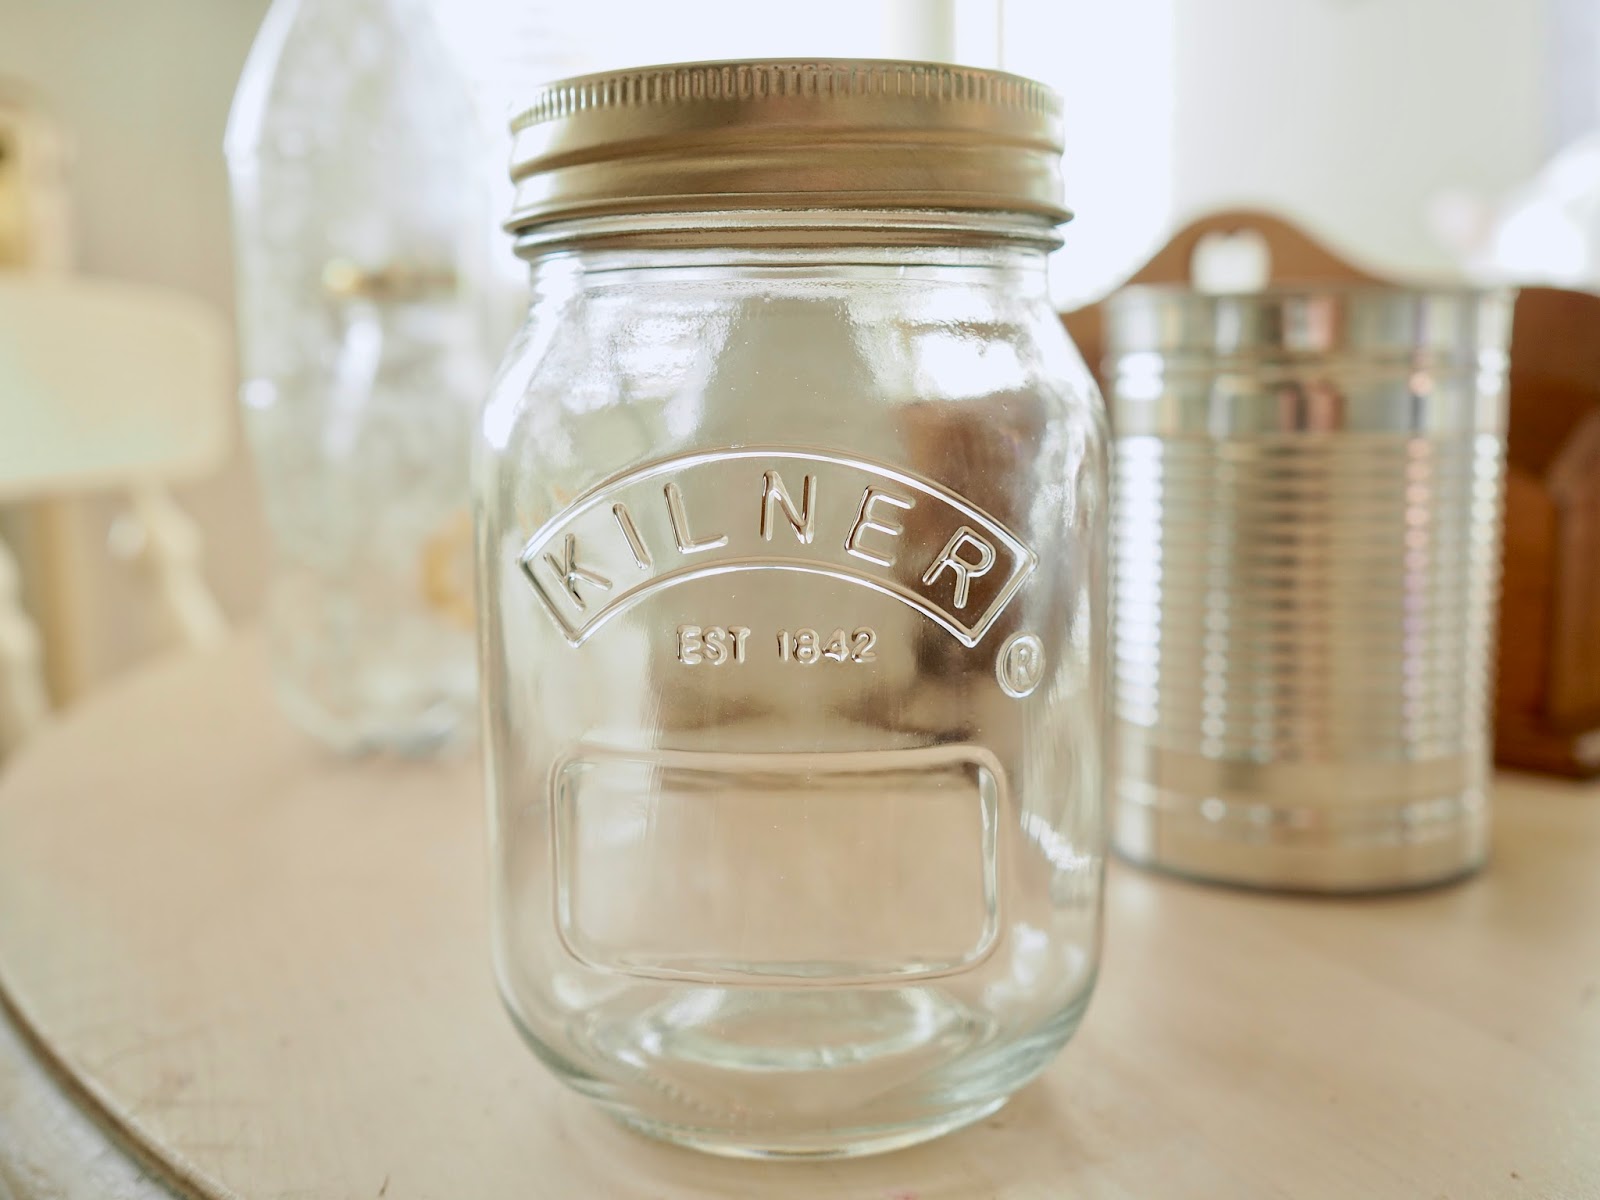
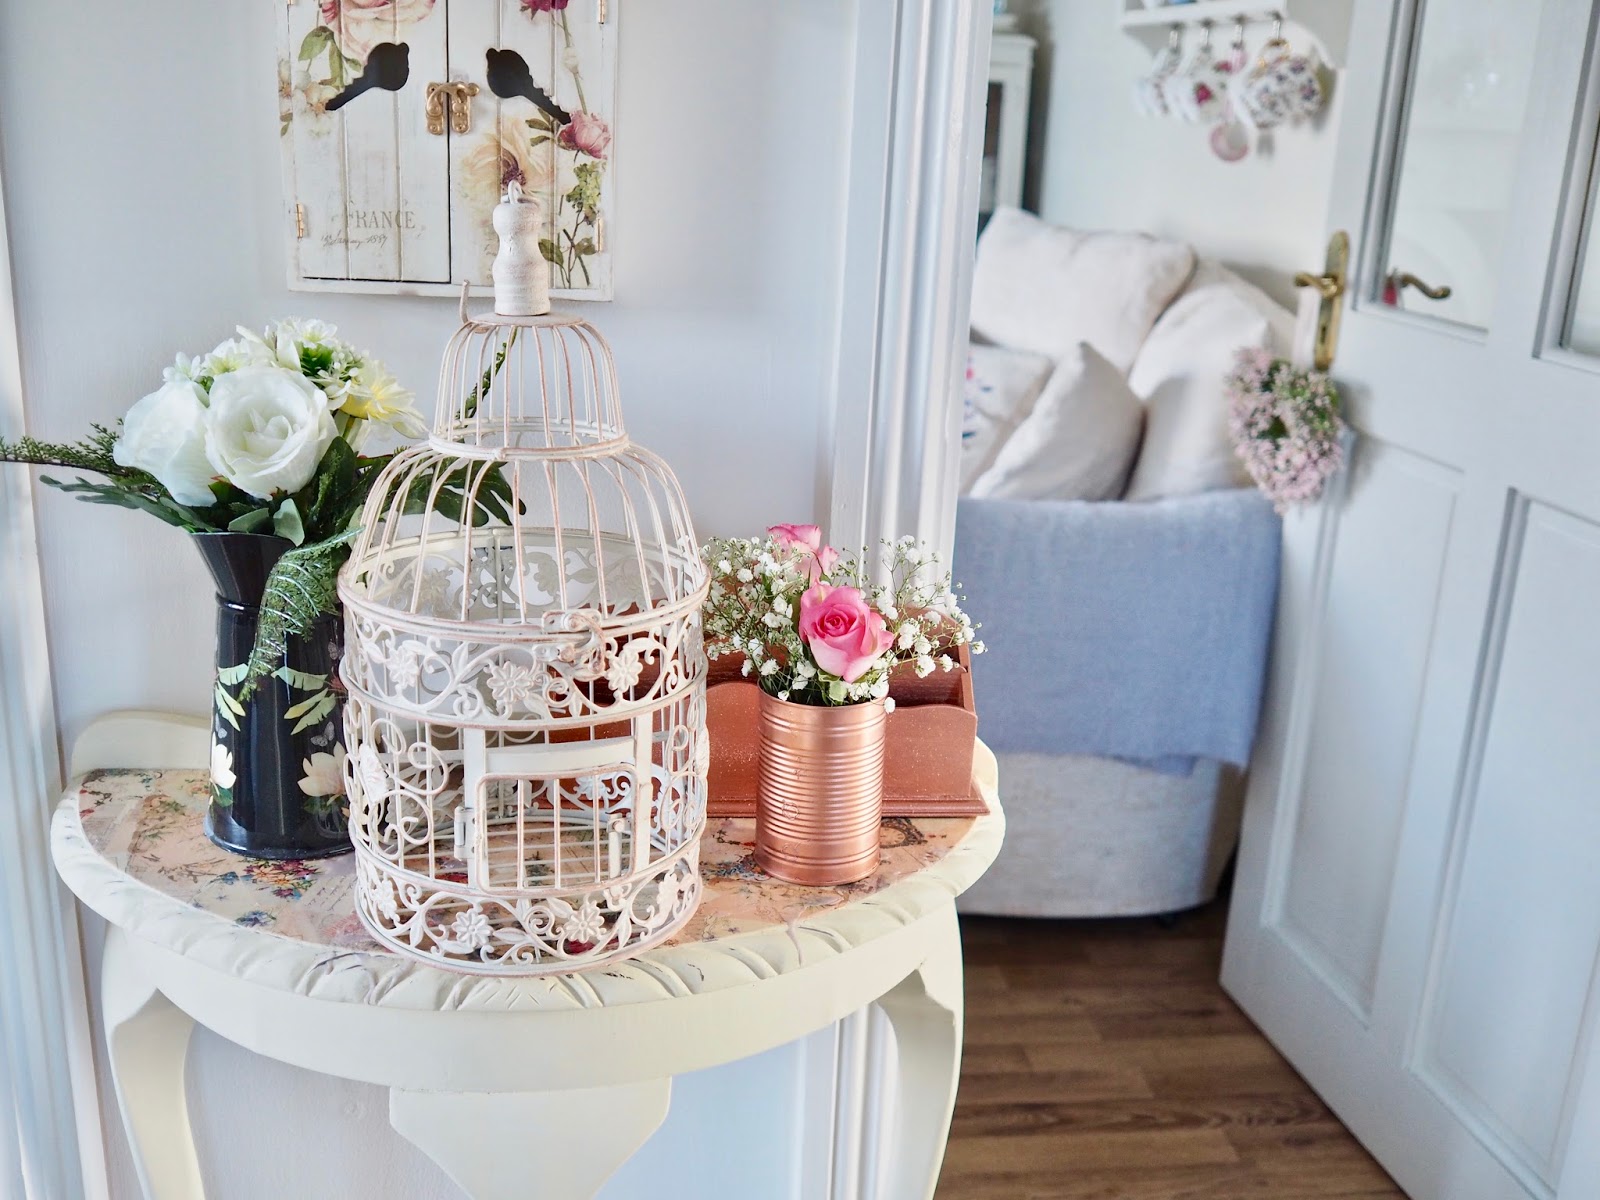
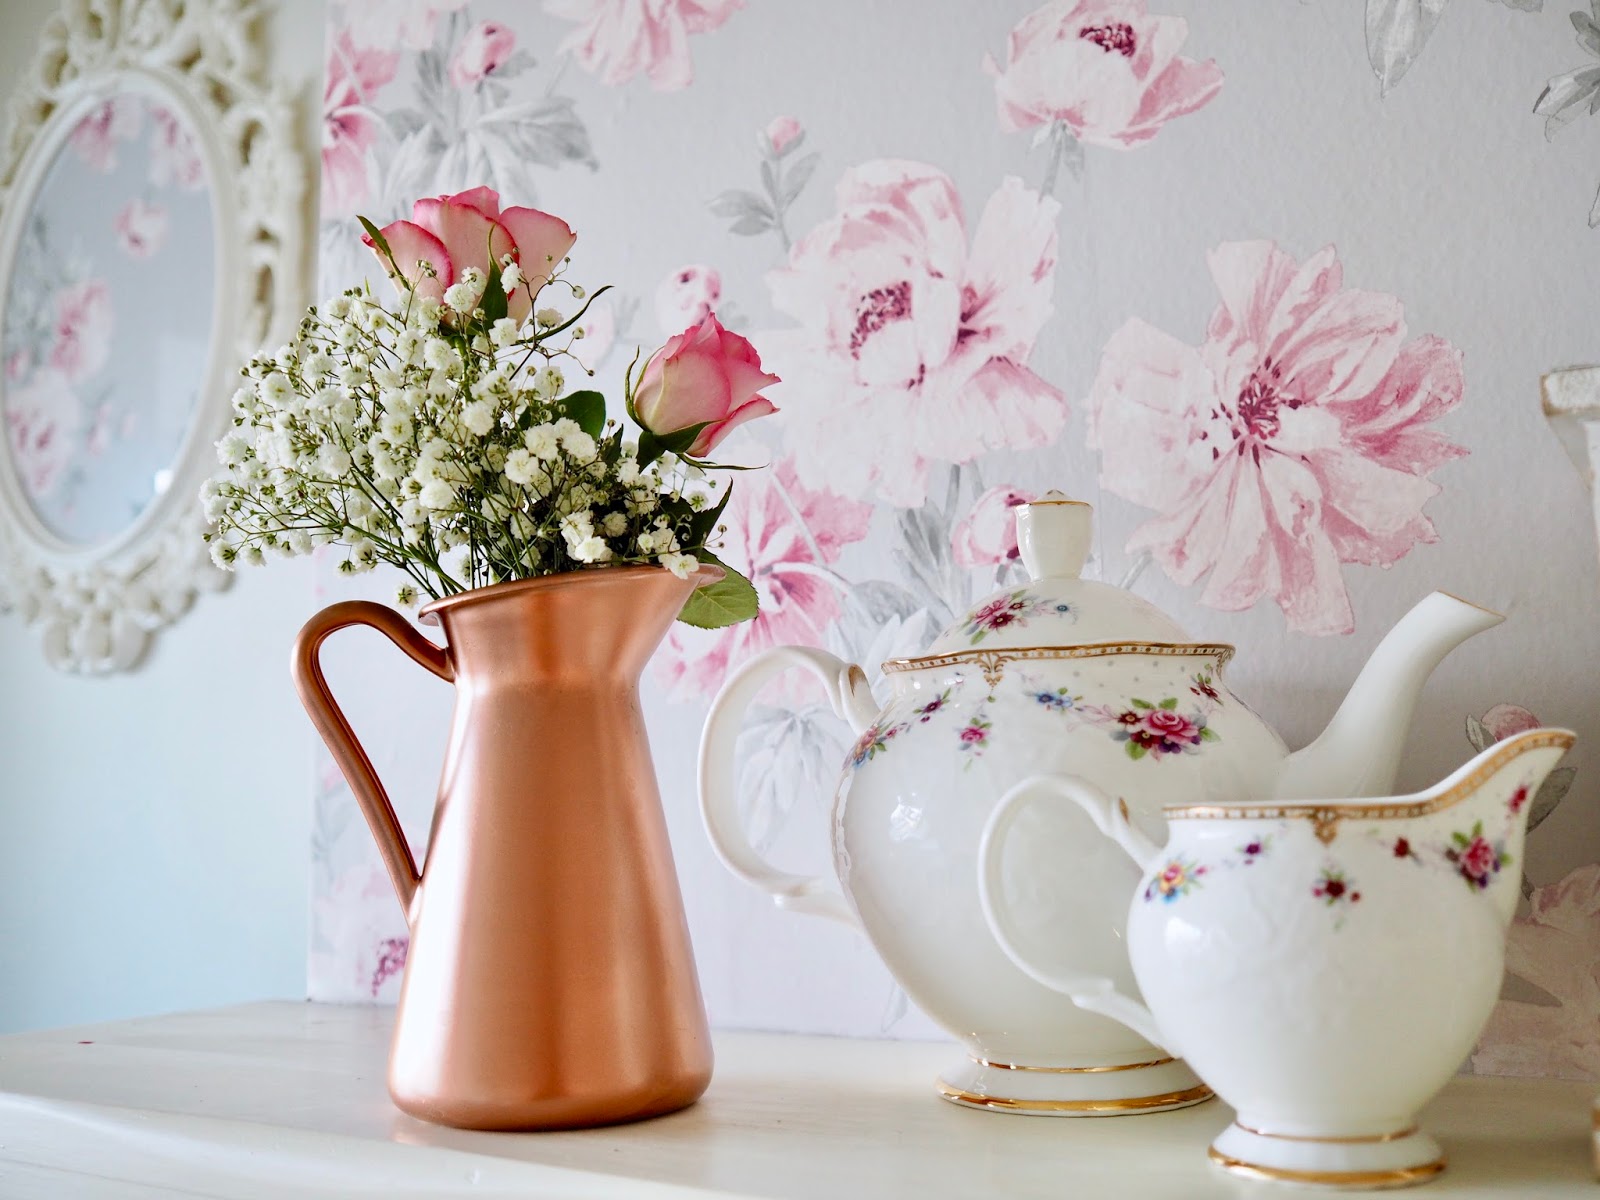
I picked some Kilner jars, a plastic coke bottle, an old Ikea vase, tin of beans and a cute letter holder that I got in Mr Price for 2.99.
This is a great and cheap way to add a colour to a room, so if your on a budget and need some accessories to use in a room and struggling to find a colour then this is a great idea to change up your decor and get the colours you want.

Priming.
I gave all items one coat of primer. The primer is touch dry and ready to add another coat after 20 mins. It went on smooth with hardly any drips. A tip for drips is to make sure you don’t spray too close to the object and do even thin layers.
The one coat of primer was enough and gave amazing coverage.


Adding the colour.
Once the primer was dry I went in with the bright copper shade. This went on just like the primer and it was touch dry after 20 mins. It then takes a full 24 hours for your items to fully dry so be extra careful with them and let them fully dry.
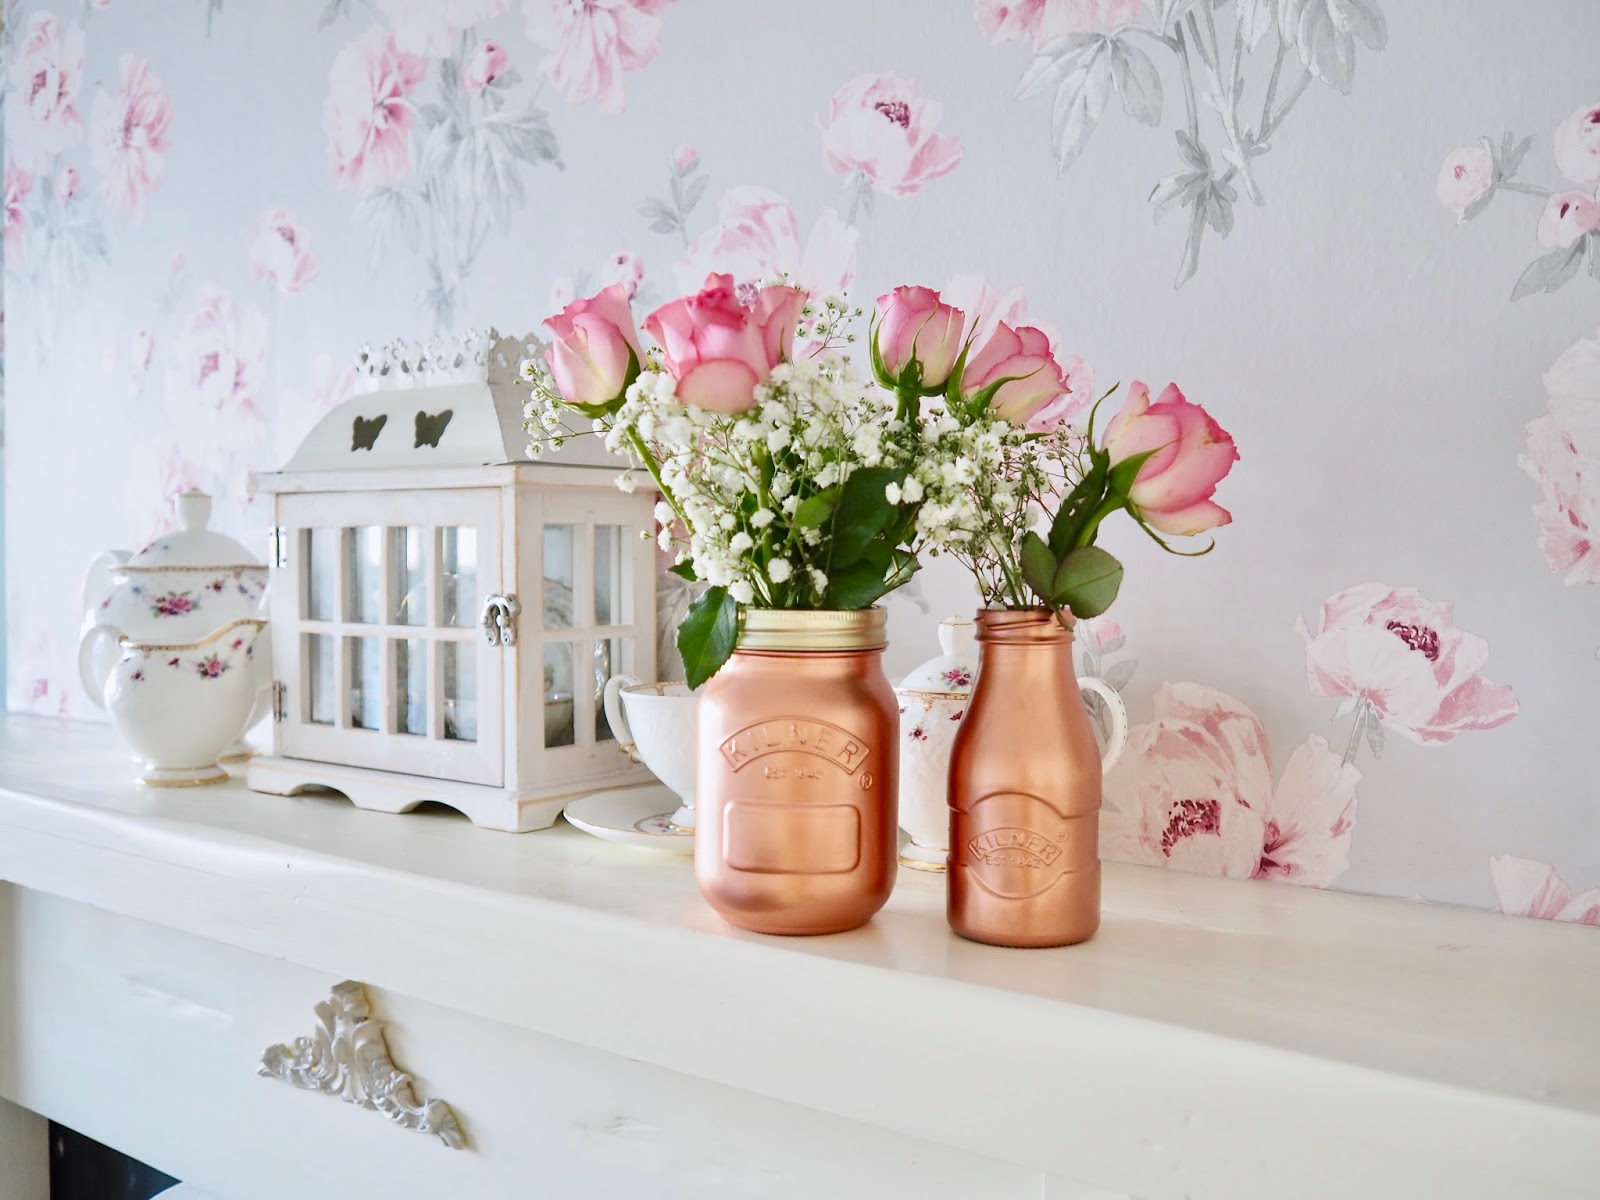
The colour has a gorgeous sheen and in different lights it gives off a gorgeous glow. I actually really like this colour.

I added some pink roses and some gyspophelia to my jars and vases. The pop of copper is a nice compliment to my neutral background.
If you want to see more shades and more info on the primer then click this link here. I picked my cans up in my local Woodies.


I hope you liked what I done with the spray paint and I would love to see your DIY’S and your project so don’t forget to leave your links in the comments below or you can tag me on Instagram.
Don’t forget to check out my Youtube video and give it a cheeky thumbs up.
Chat soon,
Catherine.
This post is NOT an add or sponsored post, all items in this post were purchased myself.


Obsessed with these! Oh I'm gonna spray paint the crap out of my office! Fab post 🙂
Your office is going to be so bronze and fabulous! Thanks for reading.
Great.. this spray turned a simple stuff into gold plated beautiful art. I really want to have this in my house i really wanna transform so many things into this gold plated art..!